

Farberware T4800 User Manual
OVEN
7_
8.
9.
10.
11.
12.
13.
14o
15.
2
ORTANT SAFEGUA S
When using electrical appliances, basic safety precauti_ms
should always be followed, includlng the following:
1. Read all instructions.
2. Do not touch hot surfaces. Use handles or knobs_
3. To protect against decUical h_ards, do not immerse czgd.
plug or the appliance into water or other liquid
4. Close suF_ision is necessaIT when any appliance is used
by or near children.
5, Unplug from outlet when not in use and betBre cleaning.
Allow to cool beff_re puNng on or taking off parts.
& Do not operate any appliance with a damaged cord or Nug
or after the appliance mMfunctions or has been damaged in
any manner. Return appliance m the nearest authorized
service facility for examination, repmr or adjustmem,
The use of ac-cessory attachments not recommended b3
are may cause hazards.
Do not use outdoors,
Do not let cord hang over edge of Sable or counter or touch
hot surfaces.
Do not place on or near a hot gas or electric burner.
Extreme caution must I_ us_ when moving an appliance
containing hot oil or other liquids.
Use extreme caution when removing tray or disusing of
hot grease.
Do not pull out md<._to remove hot food.
caution sh_dd be exercised when using containers
constructed of other t_a/r_metal or glass.
Do not store any materi_._, other than Farberware
recommended accessx?rie_ in _he oven when not in use.
16. Do not place any of the t?_llowing materials in the e;,zen:
paper, card_a_rd, plastic and the like.
17, A fire may occur if the oven is covered or touching
flammable material, including curtains, draperies, walls, and
the like, when in operation. Do not store any item on top of
the appliance when in operation.
18. Do not block the louvers when oven is in o_ration, 2_is
may cause overhesaing of the oven.
I9. Do not clean with metal scouting pads. Pieces can breg off
the pM and touch electrical pmrts, creating shock hazard.
20° Prior m connecting or disconnecting plug from wail outlet,
turn all controls to "Off."
21, Do not use appliance for other than intended use.
22, This appliance has a pol_zed plug (one blade is wider than
the other). As a safety feature, this plug will fit in a polarized
outlet only one way. If the plug does not fit in the outl_,
reverse the plug. K it s_l! does not fit, c_ntact a quMNed
Do not to defeat _is safety feature.
SAVE THESE INSTRUCTIONS
HOUSEHOLD USE ONLY
TABLE OF CONTENTS
important Safeguards ................................................... 2-3
Introduction ........................................................................... 4
Use & Care Nstrucfions ............................................... 5-8
Cooking Instructions ................................................... 9-12
Clewing instructions ....................................................... !3
Roasdng Cha_ ............................................................... 14
Broiling Chart .................................................................. 15
Troubleshooting ....................................................... 16-17
Warranty ............................................................................ 8
Recipes ........................................................................ 19-34
index ............................................................................... 35
INTRODUCTION
Congratulati(ms on becoming the proud owner of a Farberware
Convection/Broil Oven, the finest quality oven of its kind. As
you use it, you will discover its great versatility and enjoy its
outstanding performance.., so much so that you may never use
your conventional oven again!
What c_ you expect from your Farberware Convection/Broil
Oven? A great deal! When you use it in the °'convection" mode,
expect juicy roasted meats and _ultD' Nat require no b_ting
while cooking, yet brown beautifully. Convection-baked pies,
cakes, breads and cookies bake perfectly and brown e_,enly with
flaky crests. When you select the "broil" mode, prepare your
taste buds for sizzling smaks and tender chops, as well as
invi_ng top-browned casseroles.
But roasting, baking: and broiling are not the only functions of"
your convection oven. if you bake bread, use the oven to proof
dough. You can dehydrate* fruits, vegetables and herbs as well.
N other words, your Farberware ConvectiordBroil Oven is
really a baker/master/broiler/pro r N1 in one[
With your Farberwa_re Convection/Broil Oven you will save on
cooking time, too. Roast in up w one-Nird less time than in
conventionN-oven c_?king and bake at 75 ° lower temperatures.
The shorter cooking time and Mower temperature requirements
are energy savers, and when you factor in _e oven's excellent
• ree-chamber design that helps keep your cool, you
really save energy, which transla_Jes into saved dollars.
And don't let the oven's size fool you Even though it's compact
enough to fit on your kitchen countertop, its interior is so space-
efficient that you can mast up m an 18-lb. turkey or c(x)k several
dishes at the same time. Happy c(×)king!
*Dehydrating screens can be purchased separately. (See page 13 -- Accessories)
HOW T_ CO_CTION/BRO_ OVEN WOPd_S
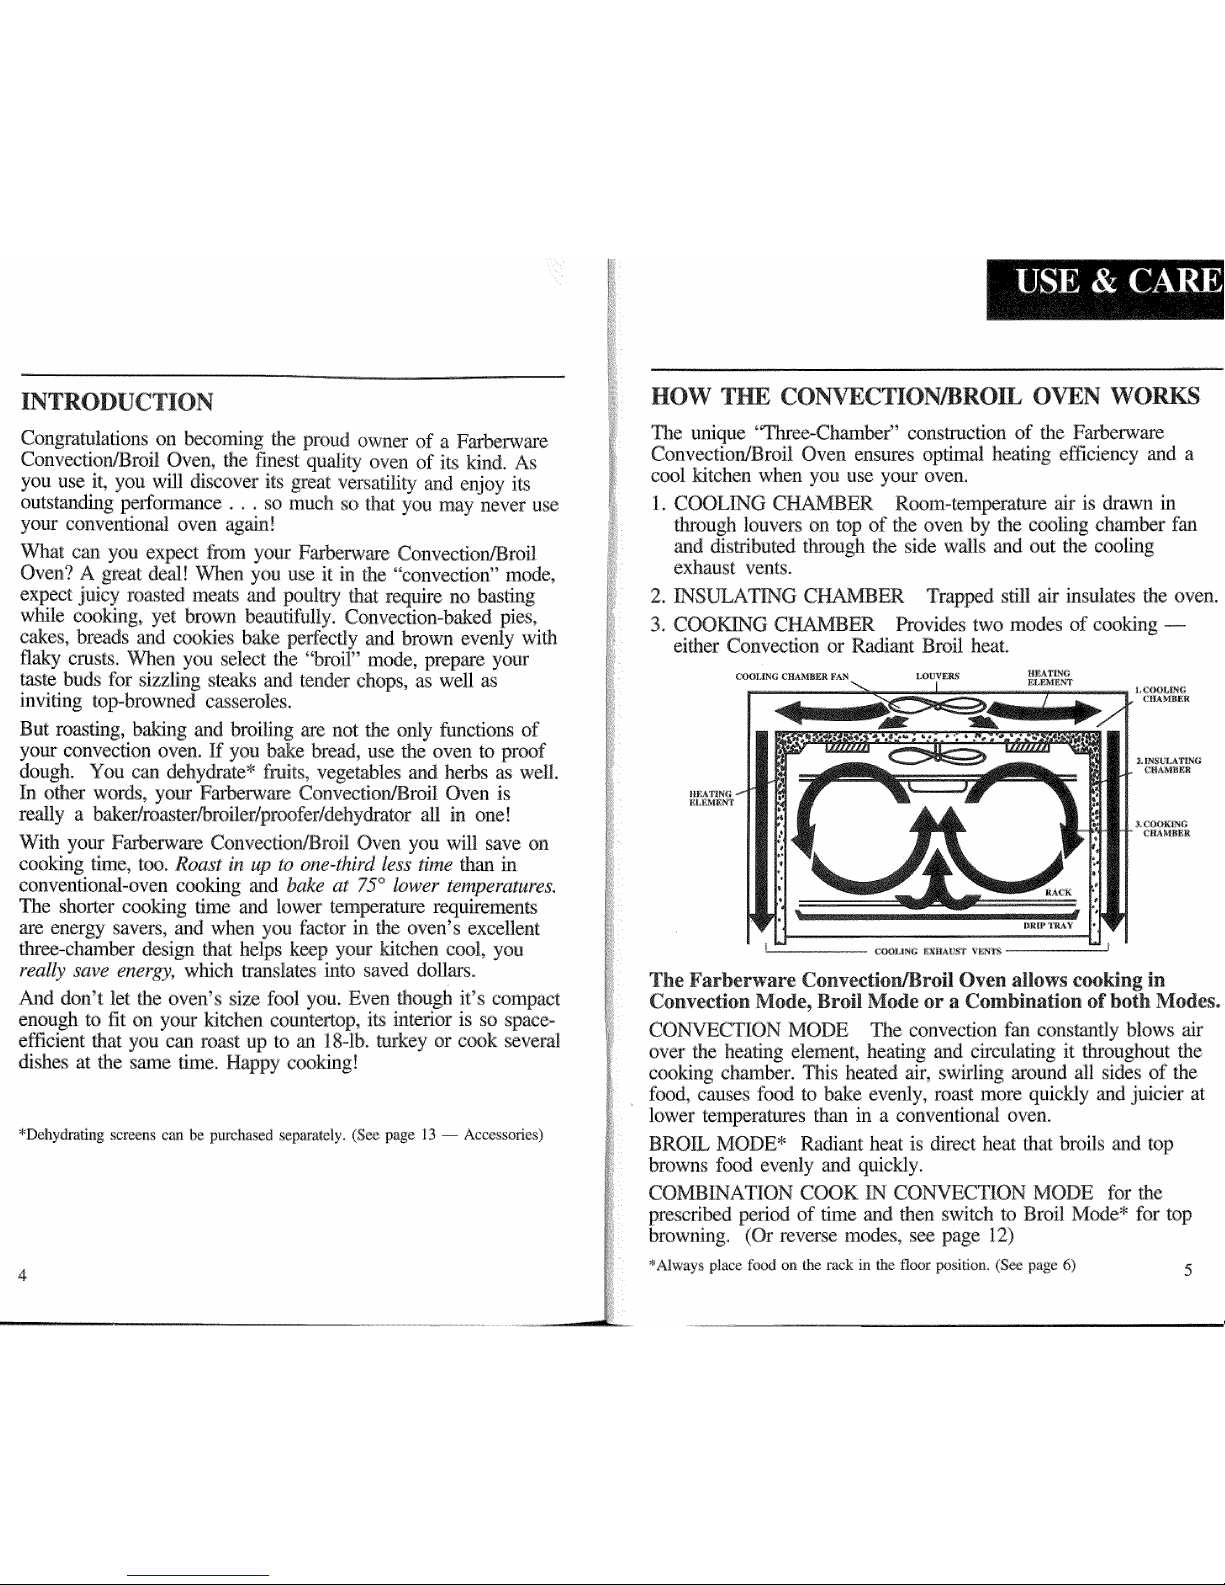
The unique "Tbxee-Chamber" conswaction of the Barberware
ConvectiopJBroil Oven ensures opfiraal heating efficiency and a
cool kitchen when you use your oven.
I. COOL_G ER Room-temperature air is drawn in
through louvers on top of fine oven by the cooling chain.bet fan
_md distributed through fine side walls _-ld out the cooling
exhaust vents.
2. _SULATPgG CHAMBER Trap_d still air insulates the oven.
3. COOK_G CHAMBER Provides two modes of cooking --
ei_er Convection or Radiant Broil heat.
L(2_NILING
CHAMBER
2_ iNS_LA_N{I
CBAM_ER
3 COOK[N€;
C|IAMI_R
The Farberware Convectio_/BroB Oven allows cooking in
Convection Mode_ Broil Mode or a Combination of both Modes°
CON MODE The convection fan constantly blov_s air
over the heating element, heating and circulating it throughout the
cooking chamber. This heated air, swirling m-ound all sides of the
food, causes fo_ to bake evenly, roast m(we quickly and juicier at
lower te s than in a conventional oven.
BROIL MODE* Radiant heat is direct heat that broils and top
browns floyd evenly and quickly.
COMBINATION COOK IN CO N MODE for the
prescribed period of"time and then swimh to Broil Mode* for top
browning. (@ reverse modes, s_ page 12)
*Always place ff)od on _he rack in the flc49r position. (See page 6)
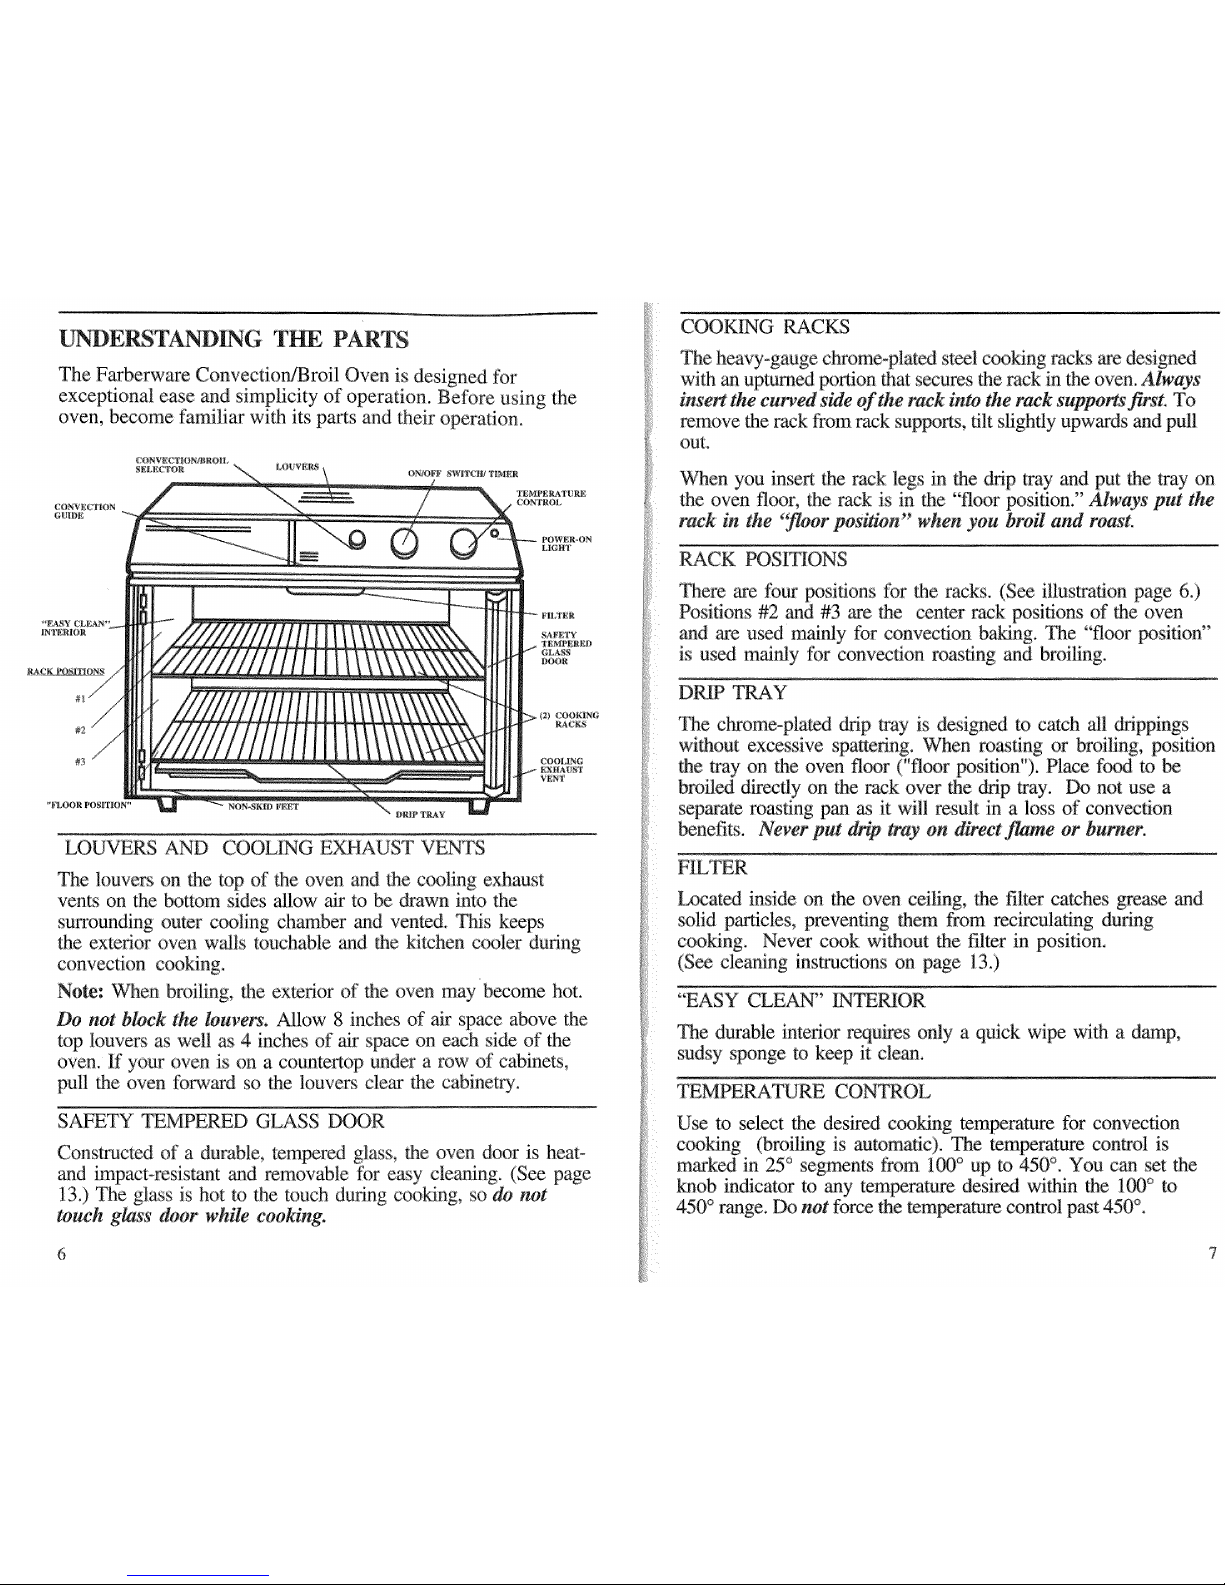
U_ERSTANDING T_ PARTS
The Farberware Convection/Broil Oven is designed tbr
exceptional ease and simplicity of operation. Before using the
oven, become familiar with its parts and their operation.
DRIP TRAY
LOUVERS AND COOLING EXHAUST VENTS
The louvers on the top of the oven and Ne cooling exhaust
vents on the bottom sides allow air to be drawn into the
smTounding outer cooling chamber and vent_. This keeps
the extm'ior oven walls touchable and the kitchen cooler during
convection cooking.
Note: When broiling, the exterk)r of the oven n-my_come hot.
Do not block the Nuvers. Allow 8 inches of" air space above the
top louvers as well as 4 inches of air space on each side of the
oven. If your oven is on a countertop under a row of cabinets,
pull the oven forward so the louvers cle_ the cabinetry.
SAFETY TEMPERED GLASS DOOR
Constructed of a durable, tempered glass, the oven door is heat-
and impact-resistant and removable fbr easy cleaning. (See page
130 The glass is hot m the touch during cooking, so do not
touch glass door wh_ cooking.
CC_3KING RACKS
The heavy-gauge chrome-plated steel coCKing racks are designed
with an upturned portion that secures the rack :in the oven. Always
insert the curved side of the rack into the rack supl_,_rts first. To
remove the rack fi'om rack supports, tilt slightly upwards and pull
out.
When you insert the rack legs in the drip tray and put the tray on
the oven floor, the rack is in the "floor position." Always put the
rack in: the "fwor pos_on" when you broil at,M roast,
RACK POSITIONS
There are four positions for the racks. (See illustraqion page 6.)
Positkms #2 and .#:3are the center rack positions of the oven
and are u_d mainly for convection baldng. The "fl_)r position"
is used maiNy for convection roasting and broiling.
DRIP TRAY
The chmrne-plated drip tray is designed m catch all dri s
without excessive spattering. When masting or broiling, position
the tray on the oven floor ("floor position"). Place t_-_d m
broiled directly on the rack over the drip tray. Do not use a
separam roasting pan as it will result in a loss of convection
benefits. Never put drip tray on direct j_'ne or burner.
Located inside on Ne oven ceiling, the filter catches grease and
solid pm'ticles, preventing them from recirculating during
Never cook without the filter in position.
(S_ cleaning instructions on page 13.)
°' A YE S CLEAN" D{TERIOR
The durable inmrior requires only a quick wi_ with a damp,
sudsy s_nge to keep it clean.
TEMPERATURE CONTROL
Use to select the desired cooking te for convection
cooking (broiling is automatic). The te control is
marked in 25° segments from 100° up m 450°. You can set the
knob indicator to any temperature desired within the 100° to
450° range. Do not force the te control past 450°.
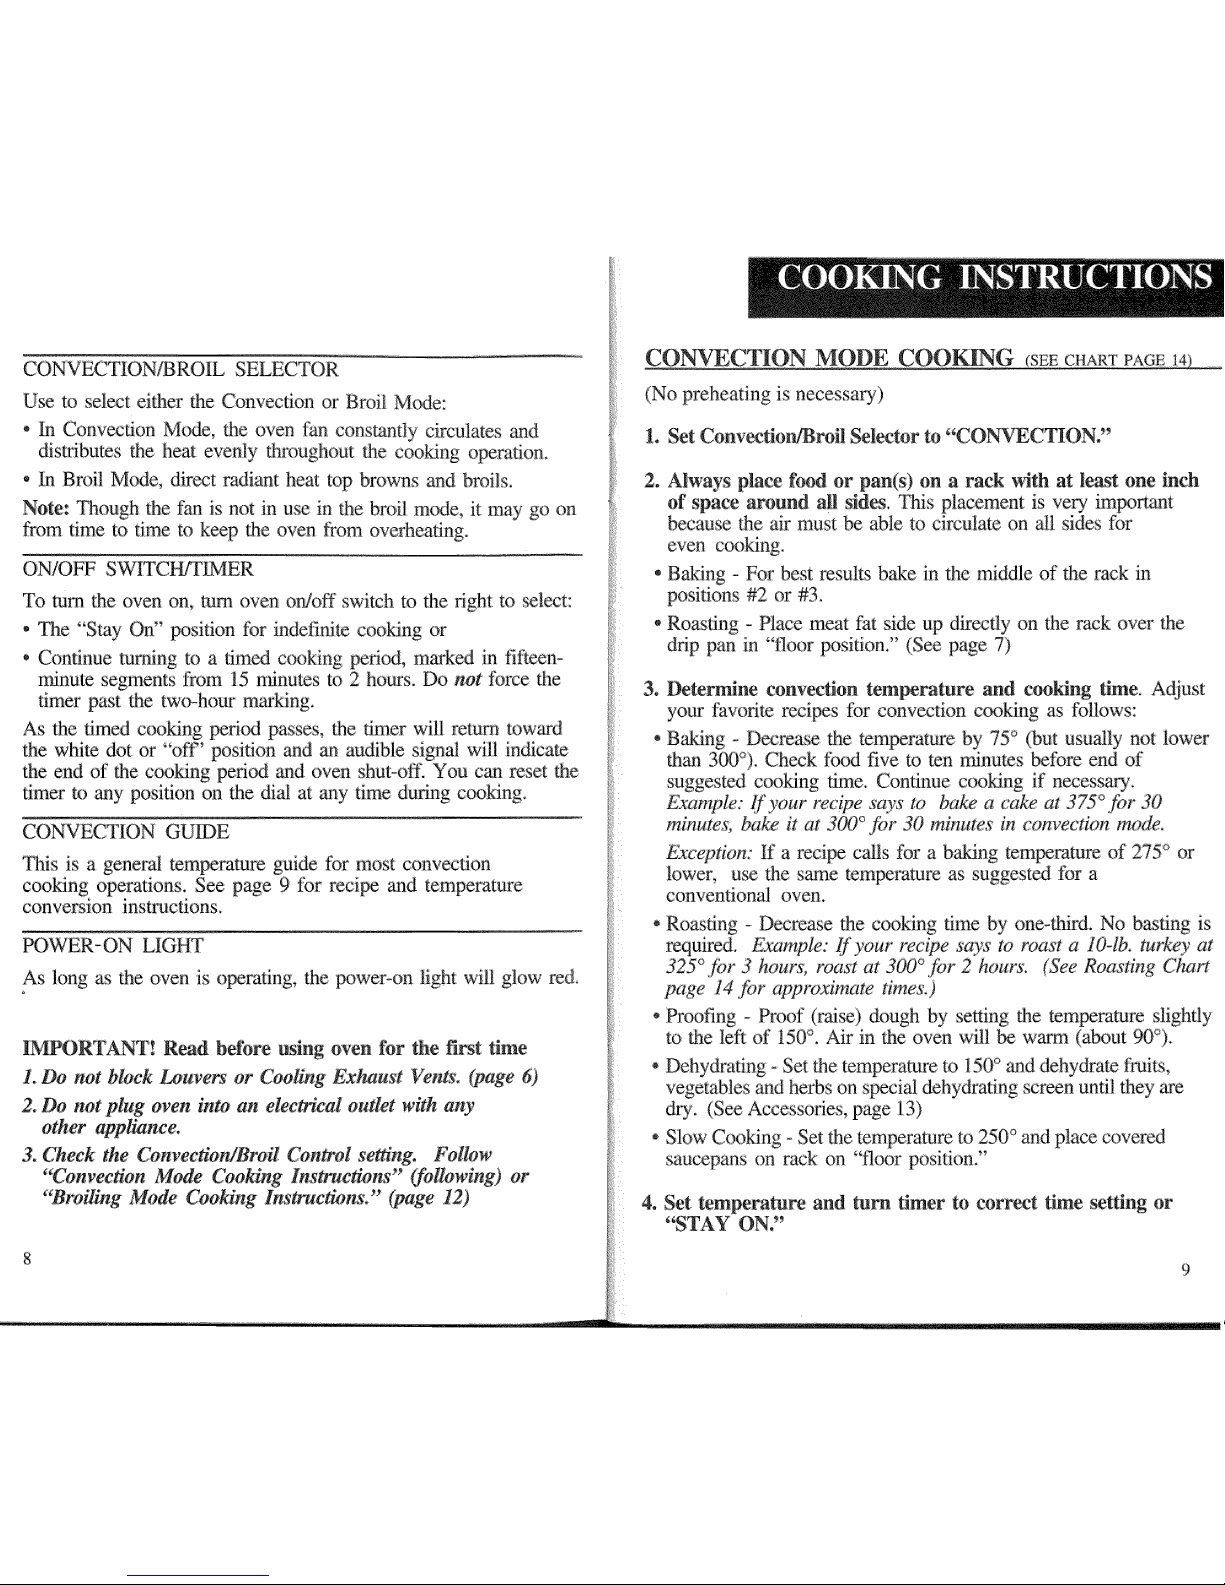
CONV_TION/BROIL SELECTOR
Use to select @her the Convection or Broil Mode:
- In Convection M_e, the oven fan constantly circuIates and
distributes the heat evenly throughout the cooking operation.
• In Broil Mc_e, direct radiant heat mp browns and broils.
Note: Though the fan is not in use in the broil mode, it may go on
from time m time m keep _e oven :from overheating.
ON/OFF SWITCH!TIMER
To turn the oven on, turn oven o_ffoff switch to the right m select:
* The "Sw On" position tbr in cooking or
* Continue tmq_ing m a timed c(×)k_ing wriod, marked :in fil;t_n-
minute segments from 15 minutes to 2 hours. Do not force the
timer past the two-hour marking.
As the timed cooking period passes, the timer will return reward
the wNm dot or "oN' posNon and an audible signal will indicate
the end of the cooking perio:! and oven shut-off. You can reset the
timer m any position on the din at any time during cooMng.
CONVECTION GUDE
_is is a general tem_ratum guide for most convection
cooking operations. See page 9 for recipe and temperature
conversion instructions.
POWER-ON LIGHT
As long as the oven is o_mting, the power-on light will glow red_
B_ORTANT! Read before using oven for Ne first time
L Do not block _uve_ or Cooling Exhaust Vent_. (page 6)
2. Do not plug oven into an electr_al outlet with al_V
other appliance.
3. Check the ConvectioniBroff Con_ol setting. Follow
"Convection Mo_ Cookb_g Instruc_ns" (following) or
"Broiling Mode Cooking Insgruetions." (page 12)
CONVECTION MODE COO_G _sEECHARTPAGE!4) ,
(No preheating is necessary)
1, Set Conv_tio_JBroil Selector to "CONVECTION."
2. Always place ibod or pan(s) on a rack Mth at Least one inch
of space around all sides. This ent is veui
because the air must be able m circulate on dl sides for
even cooking.
* Baking - For best results bake in the middle of the rack in
positions #2 or #3.
* Roasting o Place meat fat side up Nrectly on the rack over the
drip pan in "floor position?' (See page 7)
3_
Determine convection temperature and c(mking time. A@ust
your favorite recipes for convection cooking as follows:
B&kng - Decrease the temperature by 75 ° (but usually not lower
than 3_°). Check food five m ten minutes before end of
suggested c(×)king time. Continue cooking if necessm3 ,_.
£vample: if your recipe says to bake a cake at 375°j%r 30
minutes, bake # at 3_ °f!)r 30 minutes in convectwn mode.
n: If a recipe cNls for a b_ing temt_rature of 275 ° or
lower, use the same temperature as suggested for a
conventional oven.
• Roasting - Decrease the cod_:ing dine by one-third. No basting is
required, le: ,§€),our r_ii_ s(_vs to roast a lO-lb, turkey at
325°jbr 3 hours, roast at 3_° fi)r 2 hours'. (See Roasting Chart
page 14 for al_oroximaw times.)
• iN'toting - N'oof (raise) dough by setting the m slightly
to the left of 150°. Air in Ne oven will be warm (about 90°).
*Dehy&'ating - Set the m m 150°and dehydrate fruits,
vegetables and herbs on special dehydrating screen until they we
du. (See Accessories, page 13)
- Slow Cooking - Set the temperature m 2500and place covep_
saucepans on rack on "floor position?'
4. Set temperature and turn freer to corral time _tting or
N _"STAY O .
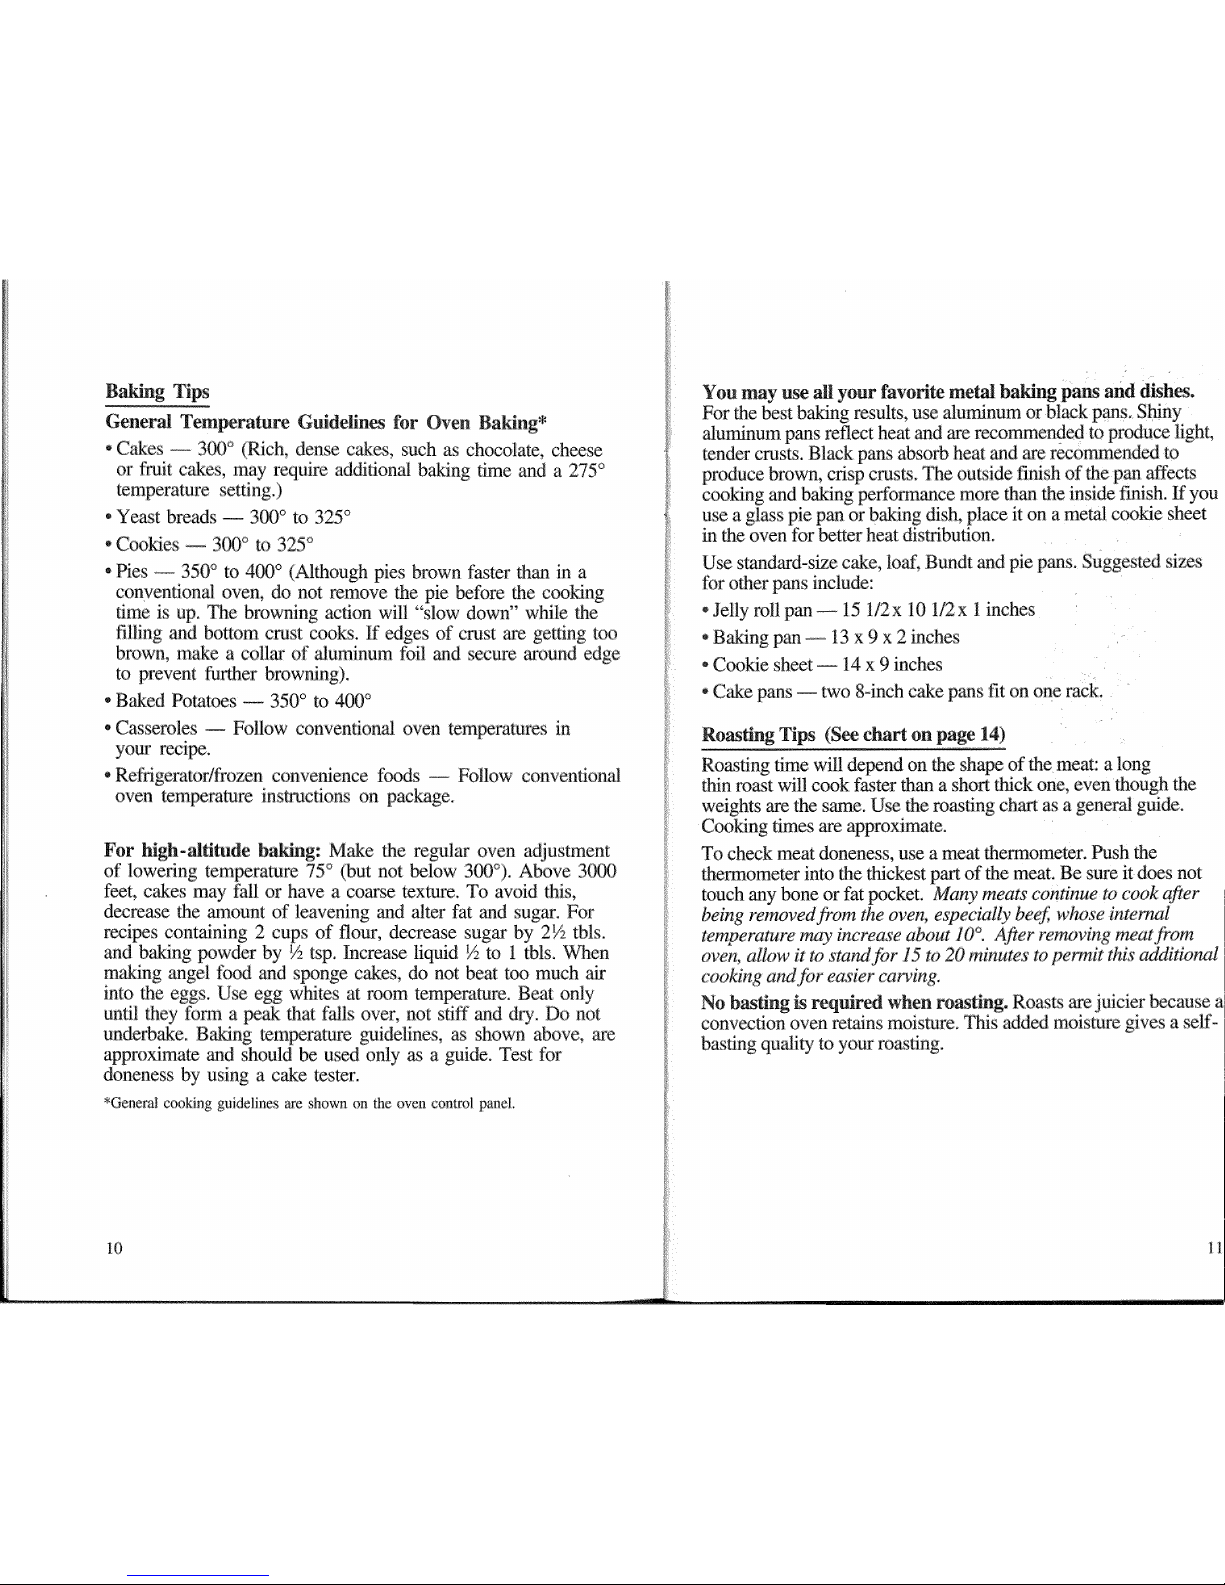
Baking Tips
General Temperature Guidelines fer Oven Baking*
. Cakes -- 300° (Rich, den_ cakes, such as chocolate, cheese
or fruit cakes, may require additional baking time and a 275 °
temperature setting.)
° Yeast breads --300 ° m 325 °
-Cookies- 3_ ° to 325 °
. Pies -- 350 ° to 400 ° (Although pies brown iSster than in a
conventionN oven, do not remove tile pie before _e cooking
time is up. _e browning action will "slow down" while the
filling and bottom crest cooks. If edges of crest are getting mo
brown, make a collar of aluminum foil and secure around edge
m prevent t)rther brnwning).
Baked Potatoes _ 350 ° m 400 °
Casseroles _ Follow conventional oven temperatures in
your recipe.
, Refrigeratorffrozen convenience foods -- Follow conventional
oven temperatnre instructions on p_kage.
For Mgh-Mtitnde baking: Make the regular oven adjustment
of lowering temperature 75° (but not below 300°). Above 3(_3
feet, cakes may fall or have a coarse texture. To avoid this,
d_rease the amount of leavemng and alter fat and sugar. For
recipes containing 2 cups of flour, decrease sugar by 2½ tbls.
and baking powder by ½ tsp. Increase liquid ½ m 1 tNs. When
making angel f_ and sponge cakes, do not beat mo much a_
into the eggs. Use egg whites at room temperatt_e. Beat only
until they form a _ that falls over, not stiff and dry. Do not
underb_e. Baking temNmture guidelines, as shown above, are
_proximate and should be used only as a guide. Test _br
doneness by using a cake tester.
*Genera! cooking guidelhles m_eshown on the oven co\,atrol panel
I0
You may use all ),our favorite metal baking pans and dishes.
For the best baking results, use aluminum or black pans_ Shiny
aluminum pans reflect heat and are reco to produce ligb&
tender crusts. Black pans absorb heat _d are recommended to
produce brown, crisp crests. The outside finish of the pan affects
cooking and baking performaxtce more than the inside finish. It you
use a glass pie pan or baking dish, place it on a metal cookie sheet
in the oven tor better heat distribution.
Use standard-size cake. loaf. Bundt and pie pans. Suggested sizes
for other pans include:
, Jellyroll pan 15 l/2x 10 I/2x 1 inches
, Baking pan 13 x 9 x 2 inches
- Cookie sheet 14 x 9 inches
- Cake pans two 8-inch cake pans fit on one rack.
Roasting Tips (See chart on page 14)
Roasting time will depend on the shape of the meat: a long
thin roast will cook faster th_ a shorn thick one, even though the
weights are the same. Use the roasting ch_ as a general gtfide.
Cooking tLmes are approximate.
To check meat doneness, use a meat th . Push the
thermometer into the thickest part of the meat. Be sure it does not
touch any bone or fat pocket. Many meats continue to cook after
being removedfivm the oven. especially beel; whose inwrnal
temperature rmdy increase about 10 °. After removing meat_ora
oven, allow it to stamljbr 15 to 20 minutes to permit this add#ional
cooking andJbr easier carving.
No basting is required when roasting. Roasts are juicier because a
convection oven retains moisture. This added moisture gives a self-
basting quality m your masting.
 Loading...