

Falconeyes RC-2L Instruction Manual
Thank you for purchasing FalconEyes’ products.
For further details of our related products, please contact your
local distributor or visit our webpage at www.falconeyes.com.hk
Thank you.
Please read this manual carefully before using this product.
FM1301_RC-2L_eng
D)
Warning:
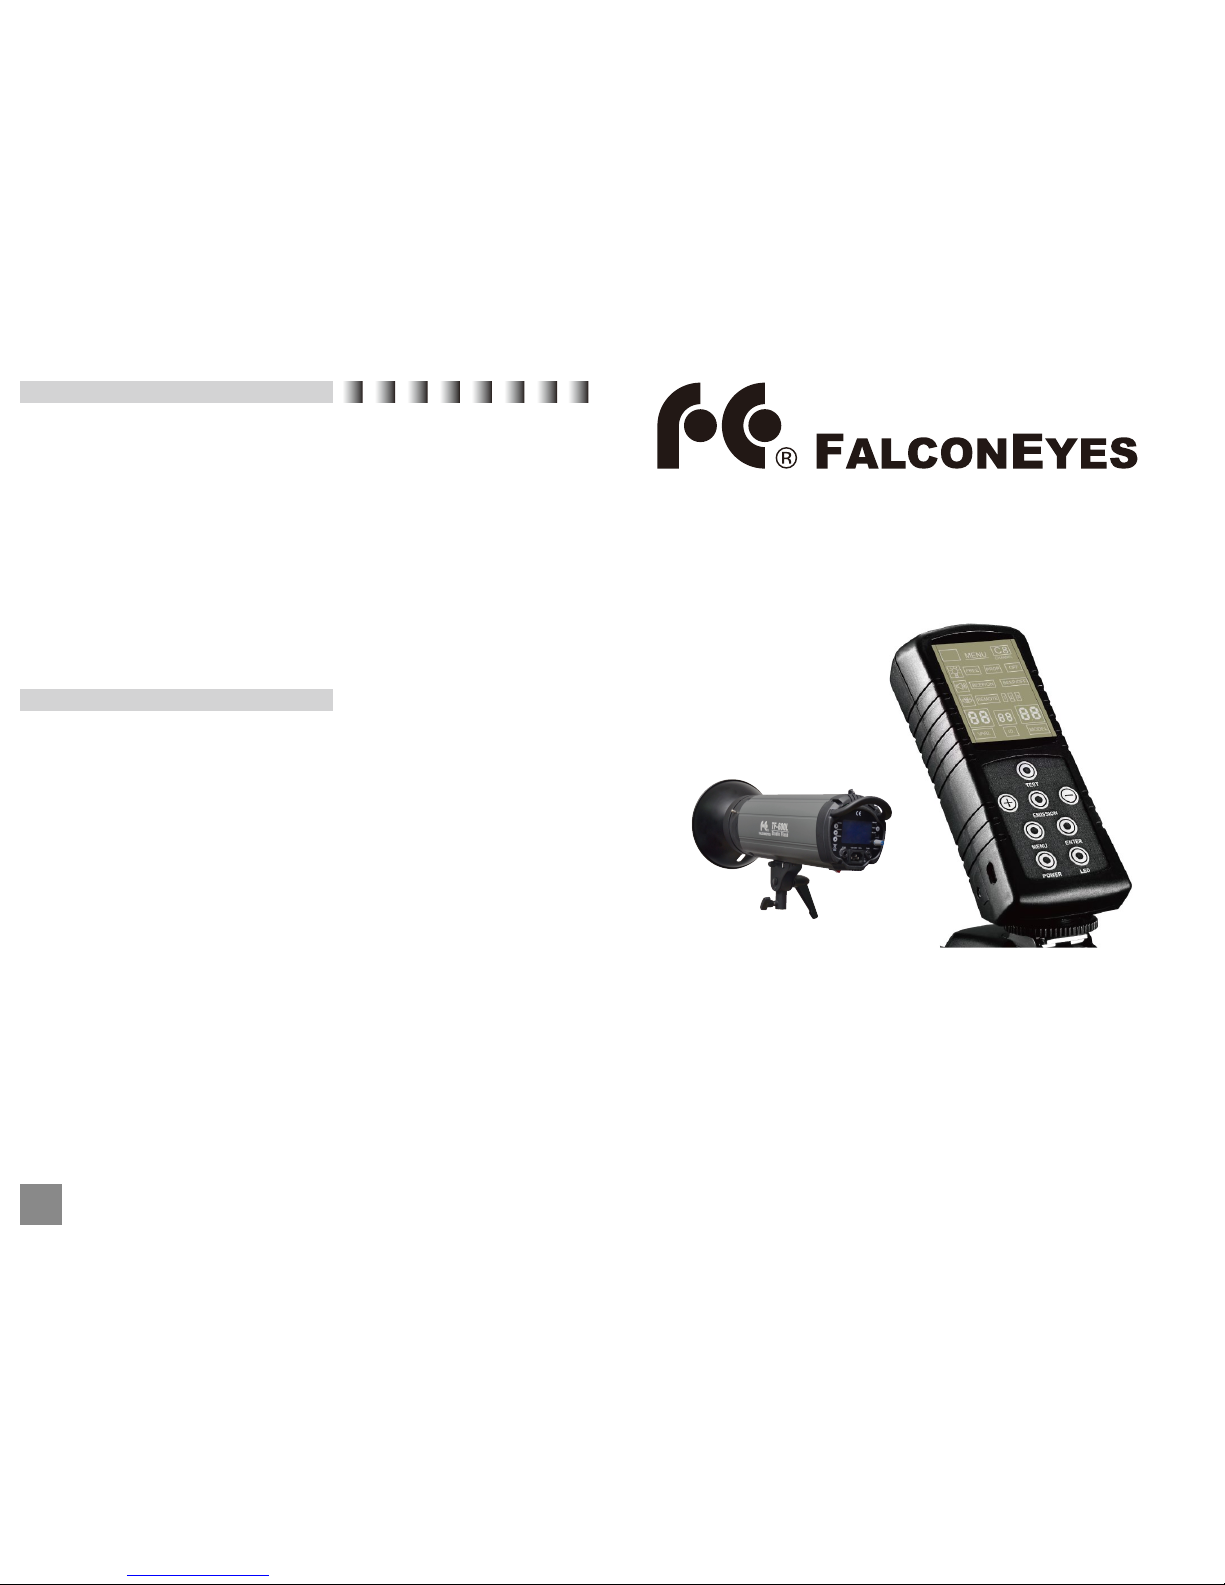
RC-2L - Wireless Remote Control
(For TF-L Professional Flash)
Instruction Manual
1. Read the Instruction Manual carefully before usage.
2. To prolong lifespan of the device, avoid violent crashing or vibrations to the flash.
3. Repair the device only by professionals and do not open the unit yourself.
4. Use the device in clean and dry environments. Do not use it in humid or dusty
environments. Keep the device away from explosive or corrosive gases.
5. Switch off the remote after use. As setting up of the remote is completed, it can
be switched off until settings need to be changed.
6. Store the remote in a place where children cannot reach to prevent any damages
of the remote.
- Adjust the flash and modeling lamp power
By pressing the key "Enter", you can select flash or modeling lamp, then simply
use the “+” “-“buttons to regulate.
-Signal confirmation “Emission” button
Once you have done setting up with the RC-2L, press the key "Emission" to send
the signals to the flash units.
-Test button "Test":
Click test button "Test" to check if the flash unit is in a normal working status.
Power adjustment button "Power":
- Pressing the "POWER" button can bring the flash unit into hibernation.
3
(TF-L Series Remote Control Studio Flash)
A) Product Feature:
Control Panel:
B)
C) Instruction:
RC-2L remote control is equipped with accurate power regulator and LCD digital
display as well as 2.4GHz anti-interference wireless function. Transmission
range is far up to 15 meters, it allows you to freely adjust the settling of the flash
unit. Once you have the remote control in your hand, everything will become a lot
easier and efficient.
Channel and ID settings
Each flash unit has 10 channels, each channel has 100 IDs, channel and ID are
the identification of the flash unit. Channel and ID must be set through the flash
unit; other functions can be set via the remote control.
Channel: Set C0-C9 (same channel can be triggered with remote control)
ID: set 00-99 (each channel can be set from 00 to 99)
- To trigger one (or more) flash units: simply set the same channel on the flash
unit and remote.
- To adjust the setting of one (or more) flash units: simply set the same channel
and ID code on the flash unit and remote.
1 2
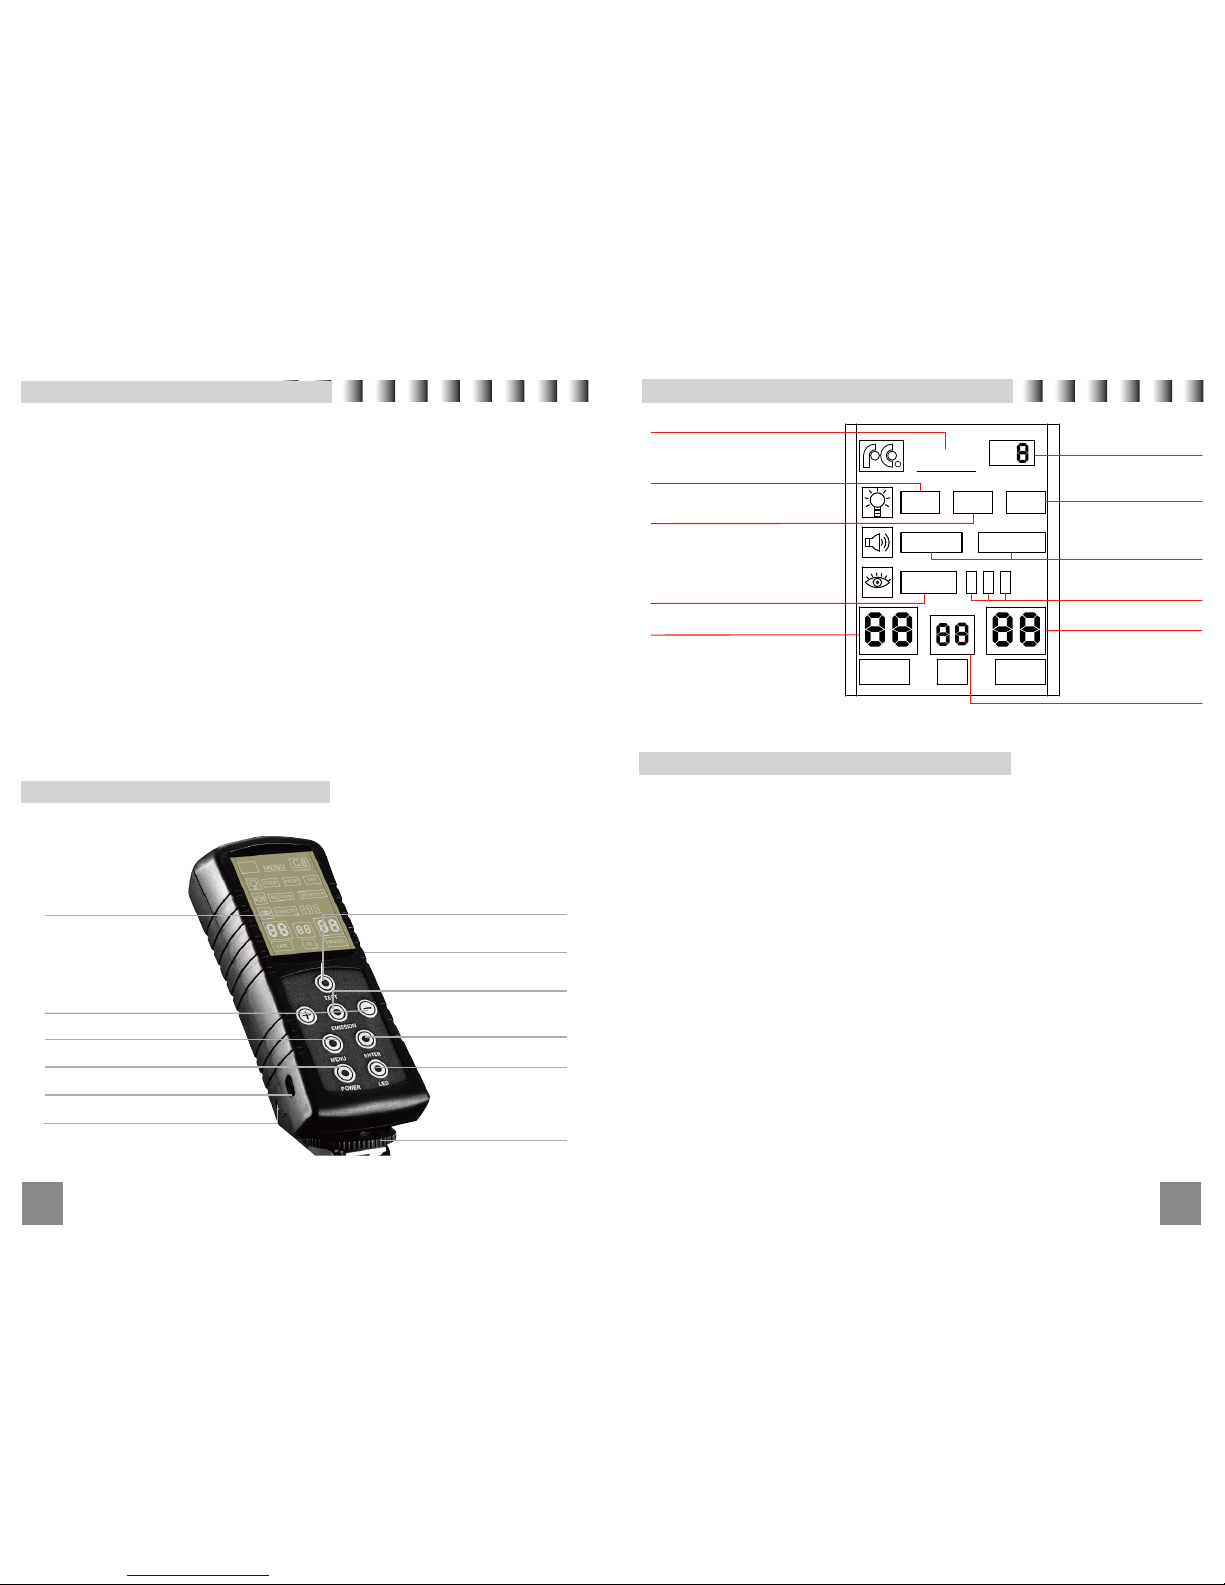
RC-2L Remote LCD Display
Main menu "Menu":
• When you click the main menu key "Menu", the modeling lamp function "lamp
logo" blinking, then press enter key "Enter" to select function. Features choice
of three types (1, "FREE" the monotonous modeling lamp power, "PROP" Modeling
lamp synchronized with the flash power adjustment, "OFF" turn off modeling lamp).
• Double-clicking the main menu key "Menu" beeper function blinking, then press
the Enter key "Enter" to select the "BEEPER / ON" to turn on the beeper or select
"BEEPER / OFF" to turn off the beeper.
•Triple-clicking the menu key "Menu", REMOTE feature blinking, then press the
Enter key "Enter" to select the REMOTE synchronization function ("REMOTE"
turn off the light synchronization, "REMOTE 1" as normal trigger, "REMOTE 2"
is pre-flash trigger function , "REMOTE 3" simply means to pre-flash 2 times.
•Consecutively press the menu key "Menu" four times, “channel” blinking, press
the Enter key "Enter" to adjust the channels.
•Consecutively press the menu key "Menu" five times, ID code first digit blinking,
press the Enter key "Enter" to adjust the parameters.
•Consecutively press the menu key "Menu" six times, ID code second digit blinking,
press the Enter key "Enter" to adjust the parameters. (Or done setting up the first ID
code, click the main menu key "Menu" if it’s still blinking, select the second ID code).
LCD Display
Power Adjustment
Menu
Sleep Mode
Power Socket
Sync Cord Socket
Test Button
Signal Emission Button
Power Switch
Enter
LED Backlight
Hot Shoe
MENU
FREE
PROP OFF
BEEP/ON
BEEP/OFF
REMOTE
1 2 3
VARI. ID. MODEL
.
.
CHANNEL
R
C
Menu
Channel
Modeling Lamp Off
Beeper Switch
Pre-flashes mode
Modeling Lamp Power
ID code
Modeling Lamp
works Independently
Modeling Lamp and
Flash tube work proportionality
Photo Sensor Off
Flash Power Output
 Loading...