

Page 1
installation
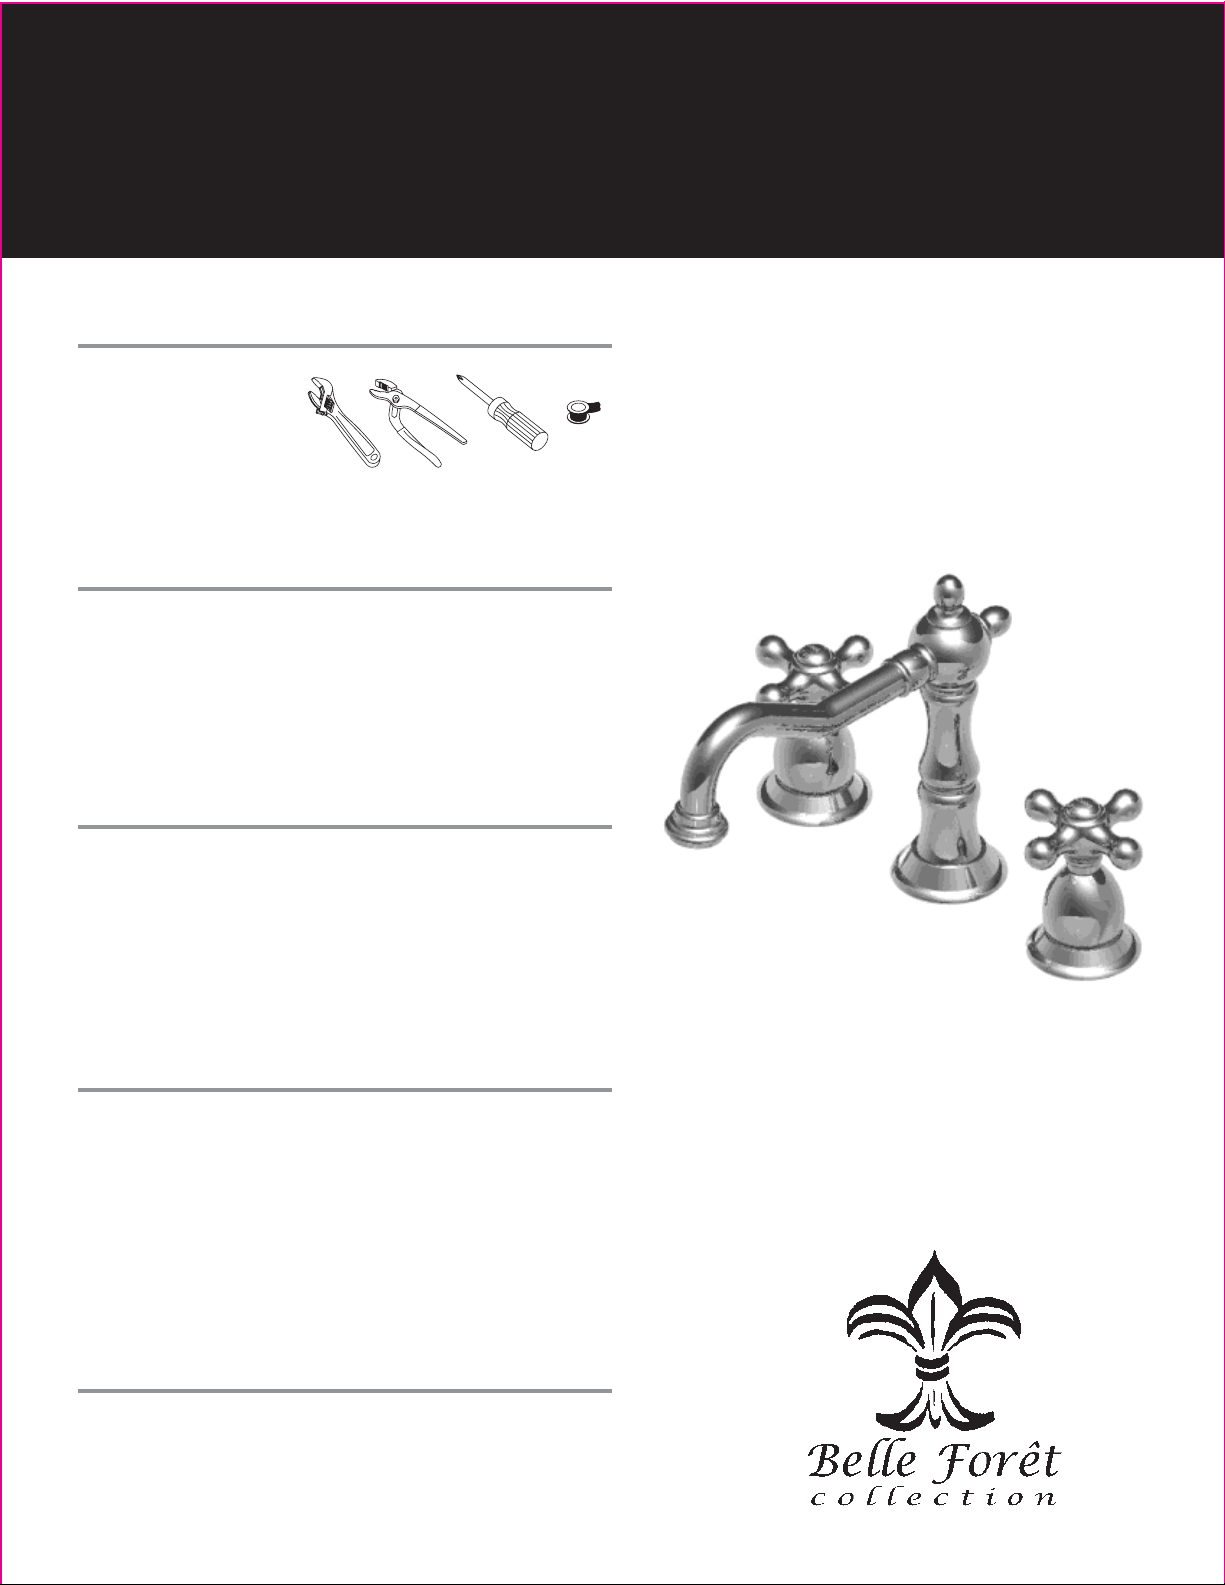
Tools
• Adjustable wrench
• Groove joint plier
• Phillips screwdriver
• Pipe tape
Maintenance
Your new faucet is designed for years of trouble-free performance.
Keep it looking new by cleaning it periodically with a soft cloth.
Avoid abrasive cleaners, steel wool and harsh chemicals as these will dull the finish
and void your warranty.
Safety Tips
• If you use soldering for the installation of the faucet, the seats, cartridges and
washers will have to be removed before using flame. Otherwise, warranty will be
void on these parts.
• Protect your eyes with safety glasses when cutting or soldering water supply line.
• Cover your drain to avoid losing parts.
Important points
Prior to beginning installation, turn off the cold and hot water lines and open the
old faucet to release built-up pressure. When installing your new faucet, turn the
connector nuts finger-tight, then use one wrench to anchor the fitting and a second
wrench to tighten the nut an additional turn. Connections that are too tight will
reduce the integrity of the system. Wrap all threaded connections with Teflon tape
available at your local hardware or plumbing supply store. Always wrap in a
clockwise direction.
Things You May Need
All installations can vary depending on how your previous faucet was installed.
Necessary supplies to install your faucet are not all included; however, they are
available wherever plumbing supplies are sold. When choosing your installation
supplies, make sure they are IAPMO and/or CSA approved products.
For Models: N300 01, N300 02
Page 2
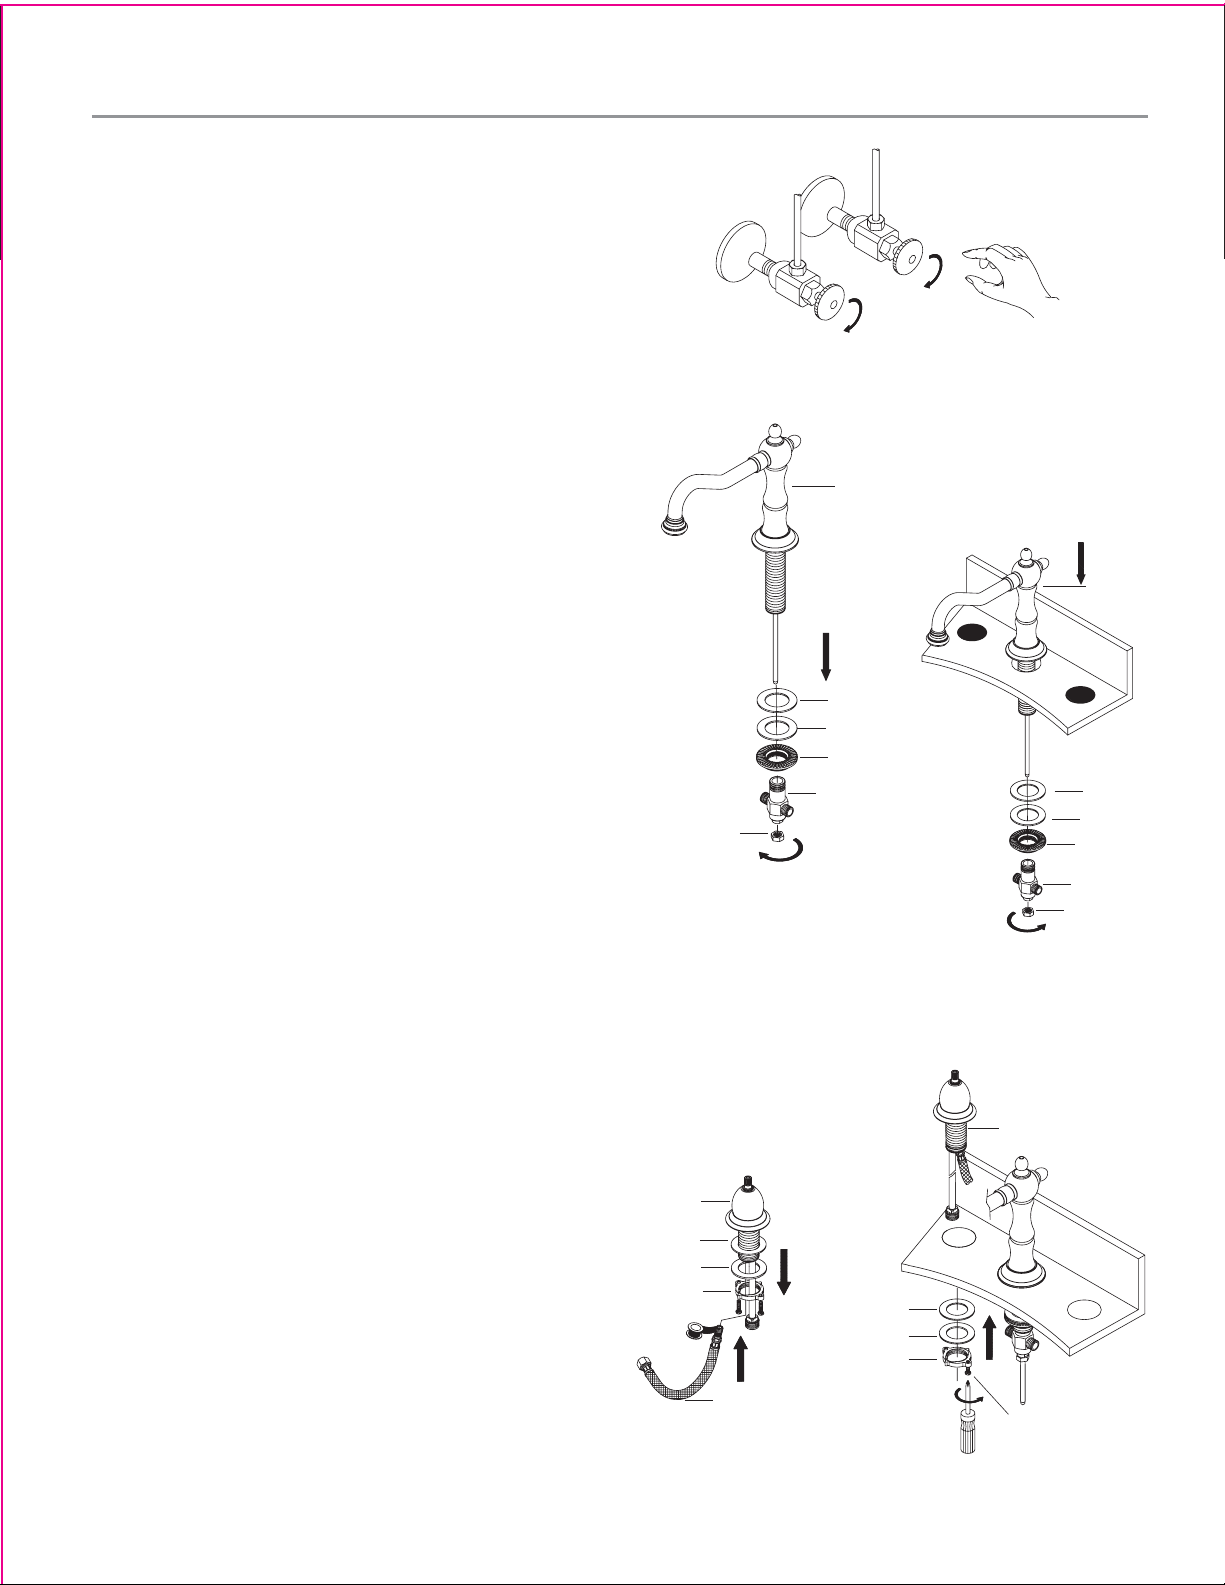
Preparation/Assembly
2
Remove rubber washer, metal washer, lock nut, spout connector and
nut from spout shank. Position the spout in the faucet hole of the
sink. Slide the rubber and metal washers up the shank and secure
spout with the lock nut. Reattach spout connector and secure with
nut.
1
Shut off water supply before installation.
3
Remove lock nut, rubber washer and metal washer from hot valve
body. Wrap male threaded end of flexible spout connector hose, and
install in bottom of valve body. Insert valve body through the correct
faucet hole, replace rubber and metal washers, and secure with lock
nut.
4
Repeat step 3 for cold valve body.
Steps 1-4
1
2-2
2-1
3
Spout
Spout
Metal washer
Lock nut
Rubber washer
Screw
Spout connector
Metal washer
Lock nut
Rubber washer
Metal washer
Lock nut
Rubber washer
Canopy
Hot valve body
Spout connector hose
Metal washer
Lock nut
Rubber washer
Spout connector
Nut
Nut
Page 3

Preparation/Assembly
6
Wrap valve body inlets with pipe tape and connect to water supply.
5
Wrap spout connector inlets with pipe tape, and connect to valve
bodies with flexible spout connector hoses.
7
Install handles.
8
Remove aerator and turn on water for 1 minute to flush the lines.
Replace aerator. Check for leaks.
Steps 5-8
8
5
7
6-2
6-1
Spout connector inlets
Flexible spout connector hoses
Valve body inlets
Pipe tape
Aerator
Water supply
Screw
Cap
Cross handle
Page 4

1
6
2
3
5
1
Remove flange from pop up main body. Leave large black washer
and nut on drain body.
2
Unthread the nut from the pop-up body and remove the spring clip
from the ball rod (please note: retain the white packing ring on the
ball rod), and place the nut in the ball rod. lnsert the ball rod into the
side hole of drain, through the hole in the stopper, slide the nut on
and tighten securely.
3
Place a ring of putty around drain opening of sink. Insert threaded
end of drain body up through drain hole and attach flange to body
with ball rod pointing to rear of sink.
Installation - Pop-Up drain
4
Thread locknut from underside of sink until rubber washer seats
securely inside opening of sink. Tighten locknut with a wrench. Wipe
excess putty.
5
Place one end of spring clip on the end of the ball rod. Insert rod
through hole in lift rod strap. Secure the lift rod strap by placing the
other end of the spring clip on the ball rod.
6
Insert bottom of lift rod into hole at top of pop-up strap. Tighten with
thumb screw.
Steps 1-6
Flange
Ball rod
Ball rod
Ball rod
Ball rod
4
Lift rod
Stopper
Flange
Rubber washer
Lock nut
Lift rod strap
Lift rod strap
Lift rod strap
Spring clip
Spring clip
Page 5

Parts Breakdown
Trouble-Shooting
PROBLEM
Leaks underneath handle.
CAUSE
Retainer nut is loose or O-ring on cartridge is dirty or twisted.
SOLUTION
Tighten the retainer nut. Clean or replace o-ring.
PROBLEM
Aerator leaks or has an inconsistent water flow pattern.
CAUSE
Aerator is dirty or improperly installed.
SOLUTION
Remove aerator, check for debris in the aerator screens, and confirm the rubber
washer is properly installed.
Cross handle
Lever handle
Washers
Washers
Canopy
Lift-rod cap
Retainer nut
Aerator
Cartridge
Flange
Body
O-ring
Lock nut
Lock nut
Coupling nut
Spout connector hose
Pop-up assembly
Spout
Spout connector
 Loading...