

Page 1
i n s t a l l a t i o n
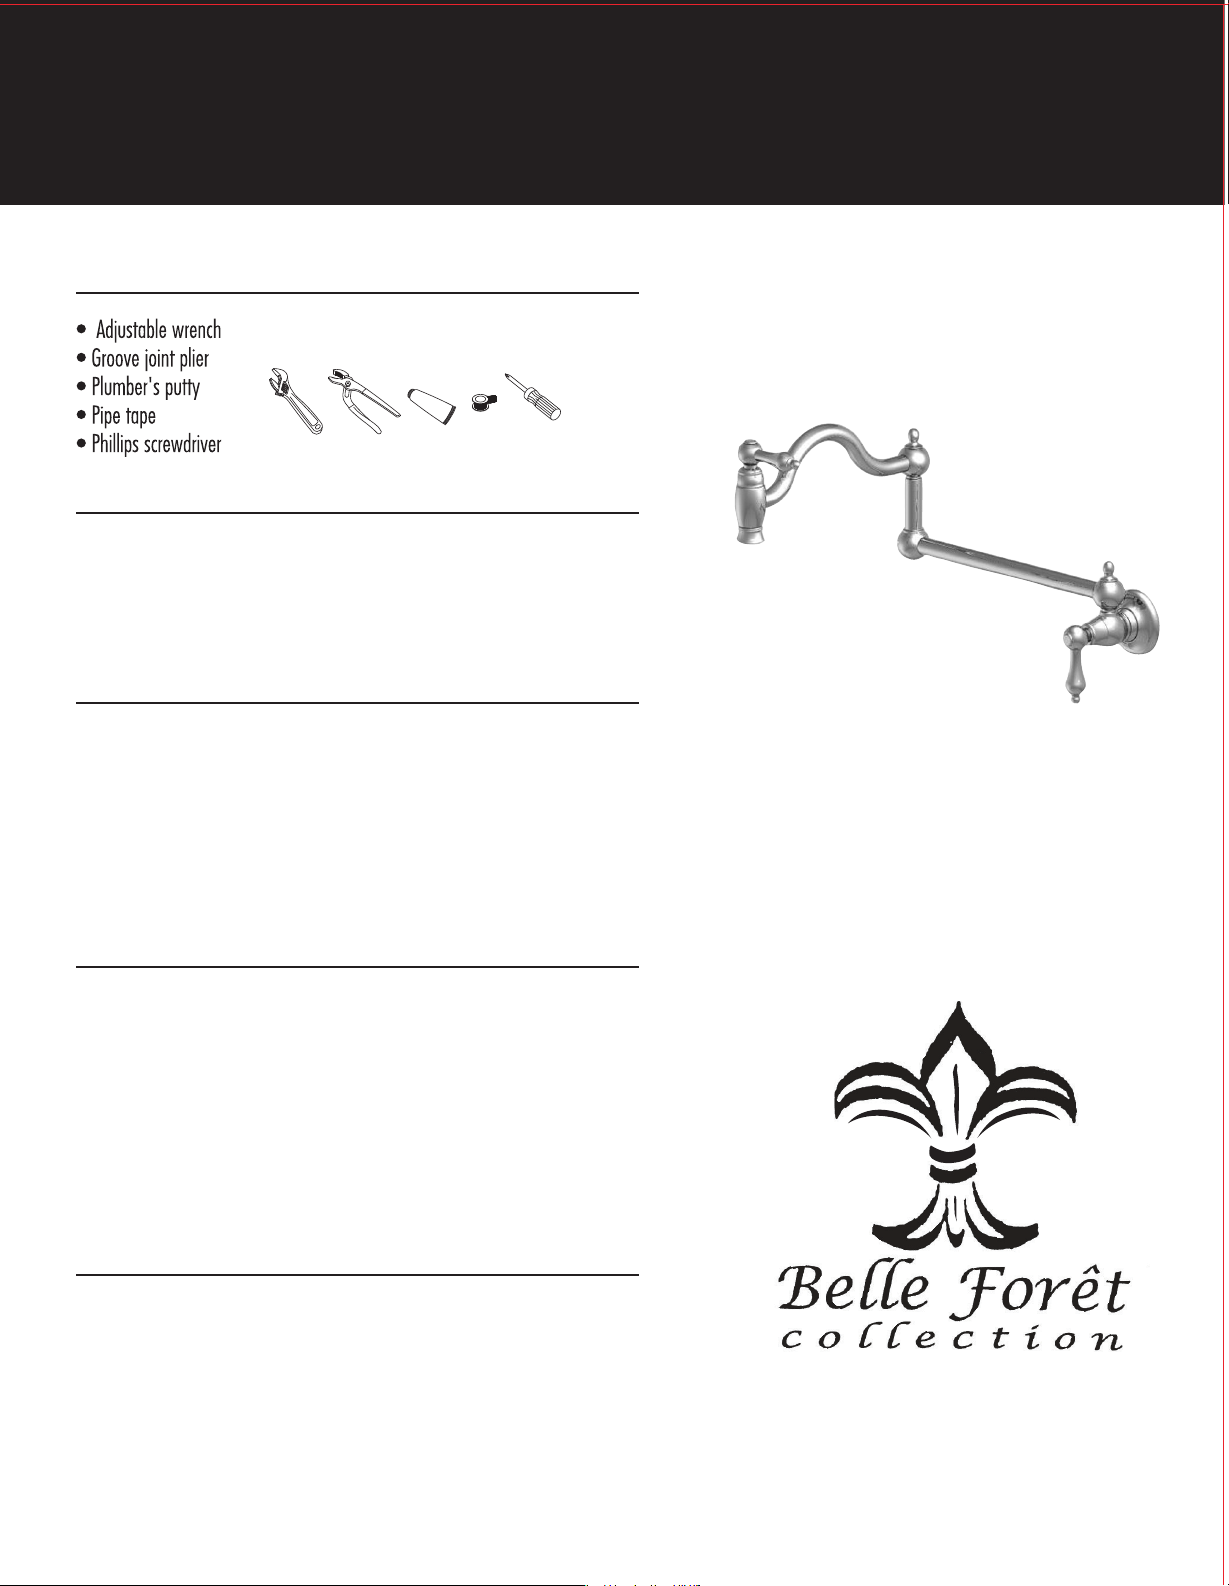
Too ls
Mai nte nan ce
Your new pot filler faucet is designed for years of trouble-free performance.
Keep it looking new by cleaning it periodically with a soft cloth. Avoid
abrasive cleaners, steel wool and harsh chemicals as these will dull the finish
and void your warranty.
Sat et y T ip s
• If you use soldering for the installation of the faucet, the seats, cartridges
and washers will have to be removed before using flame. Otherwise,
warranty will be void on these parts.
• Protect your eyes with safety glasses when cutting or soldering water
supply line.
• Cover your drain to avoid losing parts.
For Models: N180 01
Imp or ta n t P oi n ts
Prior to beginning installation, turn off the cold and hot water lines and open
the old faucet to release built-up pressure. When installing your new faucet,
turn the connector nuts finger-tight, then use one wrench to anchor the fitting
and a second wrench to tighten the nut one additional turn. Connections that
are too tight will reduce the integrity of the system. Wrap all threaded connections
with Teflon tape available at your local hardware or plumbing supply store.
Always wrap in a clockwise direction. The fittings should be installed by the
State-licensed plumber.
Thi ngs You M a y N ee d
All installations can vary depending on how your previous faucet was installed.
Necessary supplies to install your faucet are not all included; however, they are
available wherever plumbing supplies are sold. When choosing your installation
supplies, make sure they are IAPMO and/or CSA approved products.
Page 2
Pre par ati on/ A ss e mb l y
Shut off water supply before installation.
1
2
RUN 1/2" IPS/NPT threaded stub out pipe through center of blocking
board; length of stub out to allow 1/2" to extend beyond the finished
wall surface.
After the wall is finished, install the mounting bracket. Apply pipe tape to
3
the threads of stub-out pipe. Screw on the wall mount bracket clockwise.
4
Before attaching the screws provided to the wood blocking, drill four holes
into wall materials by passing through the slots of bracket. Attach the
bracket with minimum 1 3/4" long screws through the wall surface and
into the wood blocking.
5
A. Position the wall flange onto the shank of the wall valve body. (The
flange will not pass over the set screw if it projects out).
B. After sliding on the flange, unscrew the set screw so that the point
inside is flush with the body wall. (You can not install the body onto the
bracket if the set screw is in the way).
C. Press the valve body onto the bracket; take care that the swing arm is
level. Install the faucet by tightening the set screw at the bottom of body
clockwise with allen wrench supplied, then slide flange to the wall.
Steps 1-5
Page 3

Ins tal lat ion
After installation, remove aerator and turn on water to remove any left
6
over debris. Reassemble aerator. This faucet is equipped with two valves,
the wall valve should be closed (handle in vertical position) when faucet
is not in use.
Par ts Br e ak d ow n
Canopy
Aerator
Mental handle assembly
Wrench
Pipe tape
Cap
O-ring
O-ring
Canopy
Mental handle assembly
adaptor
O-ring
Gasket
Bracket assembly
Flange
O-ring
Screw
Cartridge
Parts Diagram
 Loading...