

Page 1

F5 WANJet™ 200 Appliance
Quick Start Card
How to get started with the WANJet 200 appliance
Page 2

WANJet 200 | Quick Start Card
Overview
Power
Status
This Quick Start Card describes how to install
™
the F5 Networks WANJet
200 appliance.
1 Before you begin
Gather the following information from your network administrator:
• IP address and corresponding netmask for the WANJet appliance. The IP address must be in the
same subnet as the WAN router that connects directly to the WAN port on the WANJet appliance.
• IP address of the WAN router (WAN gateway).
• Optional: IP address for the Management port if you are using out-of-band management and an
Ethernet cable to connect to the management network.
2 Check package contents
The WANJet 200 shipping box includes the following parts:
• WANJet 200 appliance • Power cord
• Blue CAT-6 Ethernet cable • External power supply
• Yellow CAT-5e crossover cable • Beige console cable
Unpack the box and verify that all items are included. If parts are missing, contact F5 Networks Technical Support.
CAUTION:
The power cord included with the WANJet appliance is for exclusive use with the WANJet appliance. Do not use this power
cord with other electrical appliances.
3 Power up the WANJet 200 appliance
There is no power button on the WANJet 200 appliance. To power up the WANJet appliance,
perform the following steps.
1. Plug the power cord into the external power supply on the back of the WANJet appliance.
2. Plug the external power supply into a power outlet.
The WANJet appliance starts up automatically.
Page 3
4 Set the addresses
The WANJet appliance is shipped with the following default values:
• IP address 192.168.168.100 • Subnet mask 255.255.255.0
Important
The following instructions are for a PC with Windows® XP installed. If the computer or laptop that you are using to access
the WANJet appliance is currently connected to your corporate LAN, you must remove the corporate LAN cable from the
computer before proceeding.
To attach a computer to the WANJet appliance
1. On a computer or laptop, plug the yellow CAT-5e
crossover cable into the Ethernet port.
2. Plug the other end of the yellow CAT-5e crossover
cable into the LAN port on the back of the
WANJet appliance.
3. From the attached computer’s Start menu, choose
Control Panel.
4. Click the Network and Internet Connection icon
then click Network Connections. A new window
opens with a list of network connections.
5. Click the network connection (likely a local area
connection) that corresponds to the port to which
you connected the Ethernet cable in step 1. The
Local Area Connections Properties dialog box opens.
6. On the General tab, click Properties. The Local Area
Connections Properties dialog box opens.
7. In the box that reads This connection uses the
following items, select Internet Protocol (TCP/IP)
and click Properties.
8. On the General tab, select the option Use the
following IP address.
9. Into the IP address box, type 192.168.168.175 or
an address in the same subnet as the WANJet
appliance default IP address (192.168.168.100).
10. Into the Subnet mask box, type 255.255.255.0.
11. Click OK when you are done, then click OK again
to dismiss the Local Area Connections Properties
dialog box.
To set WANJet appliance addresses from the
attached computer
1. Open a web browser.
2. Connect to the WANJet appliance using the
default address. In the address bar, type
https://192.168.168.100:10000 and click Go.
3. If you see a Security Alert dialog box, click Yes.
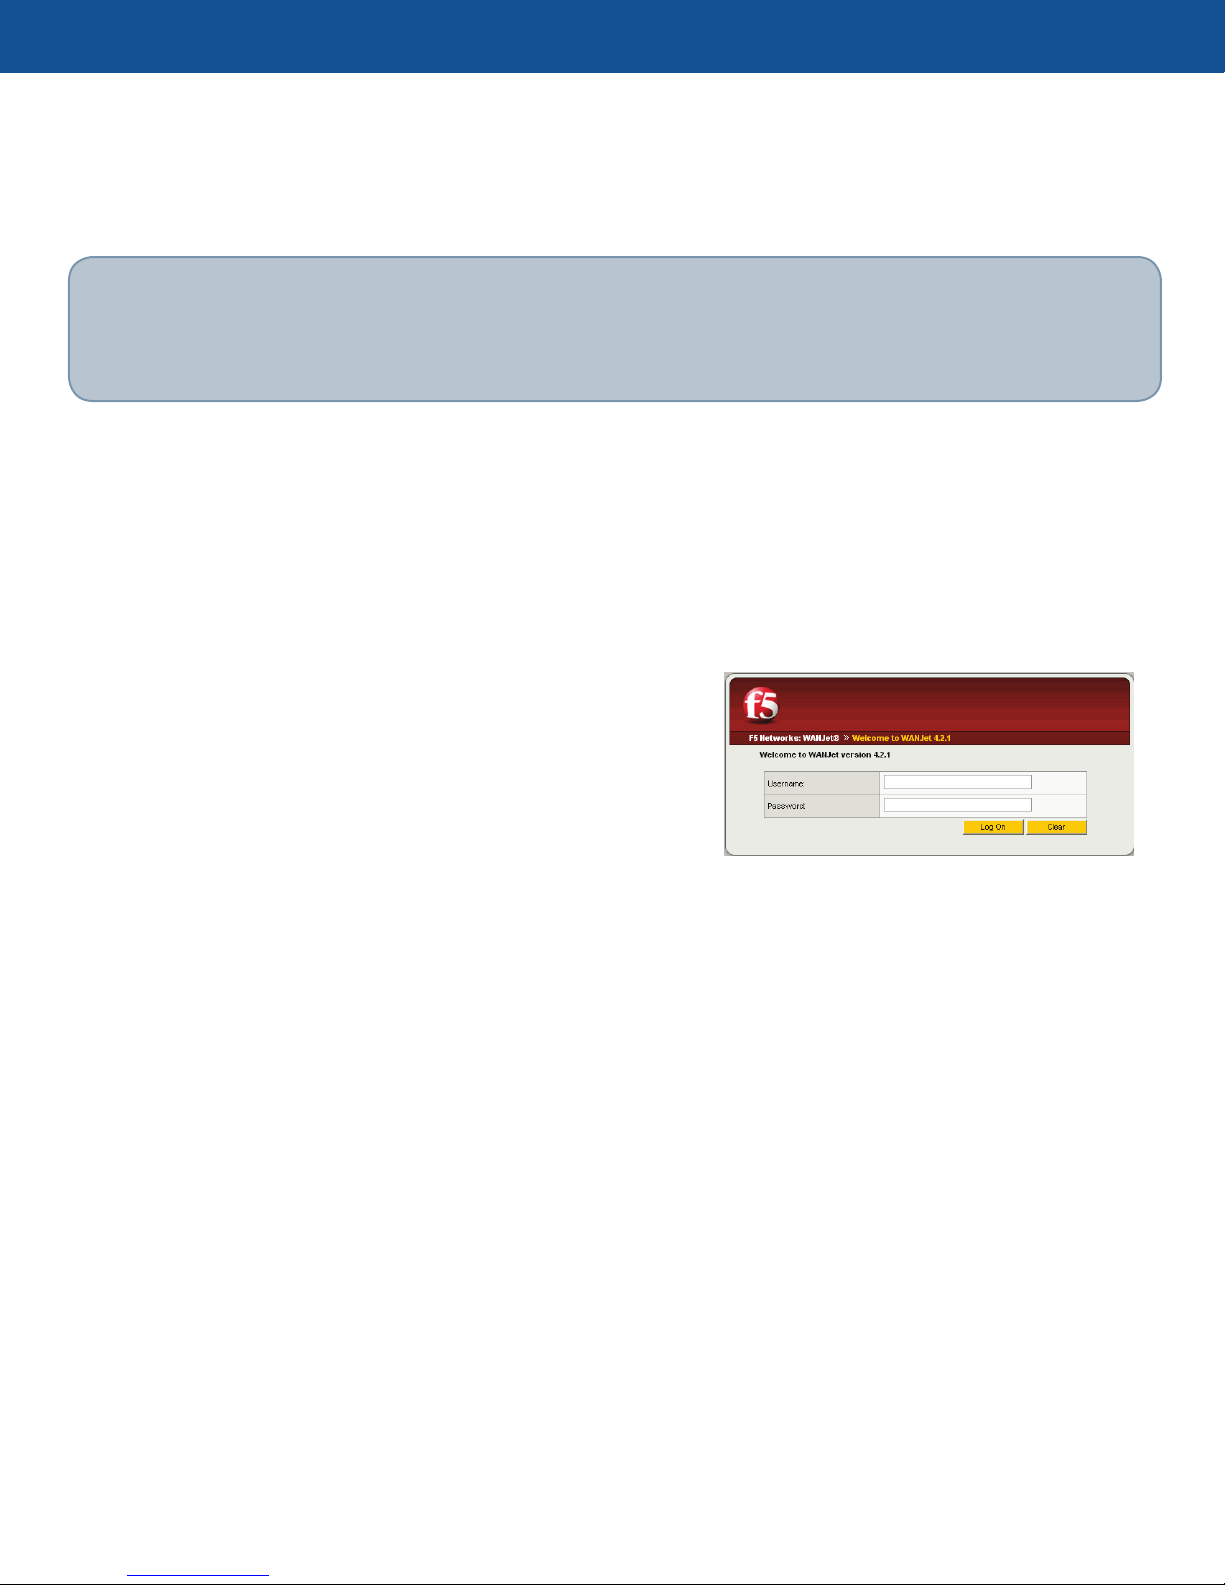
The WANJet appliance login screen opens.
4. Type the user name and password (the defaults
are both admin) and click Log On. The WANJet
appliance Web UI opens.
5. In the navigation pane, expand Confi guration and
click Local WANJet. The Local WANJet screen opens.
6. Confi gure the local WANJet appliance by typing
the following information:
• After WANJet Alias, type a name for the
WANJet appliance.
• After WANJet IP, type the IP address for the
WANJet appliance (default: 192.168.168.100).
• After WANJet Netmask, type the netmask for the
WANJet appliance (default: 255.255.255.000).
• After WAN Gateway, type the default WAN
gateway for the WANJet appliance (default:
192.168.168.001).
7. Use the defaults for the other values. If using
a separate subnet for management, you can
optionally specify addresses for the Management IP,
Management Netmask, and Management Gateway.
When you fi nish, click Save.
8. Unplug the yellow CAT-5e cable from both
the computer and the WANJet appliance.
Page 4
WANJet 200 | Quick Start Card
5 Cable the WANJet 200 appliance
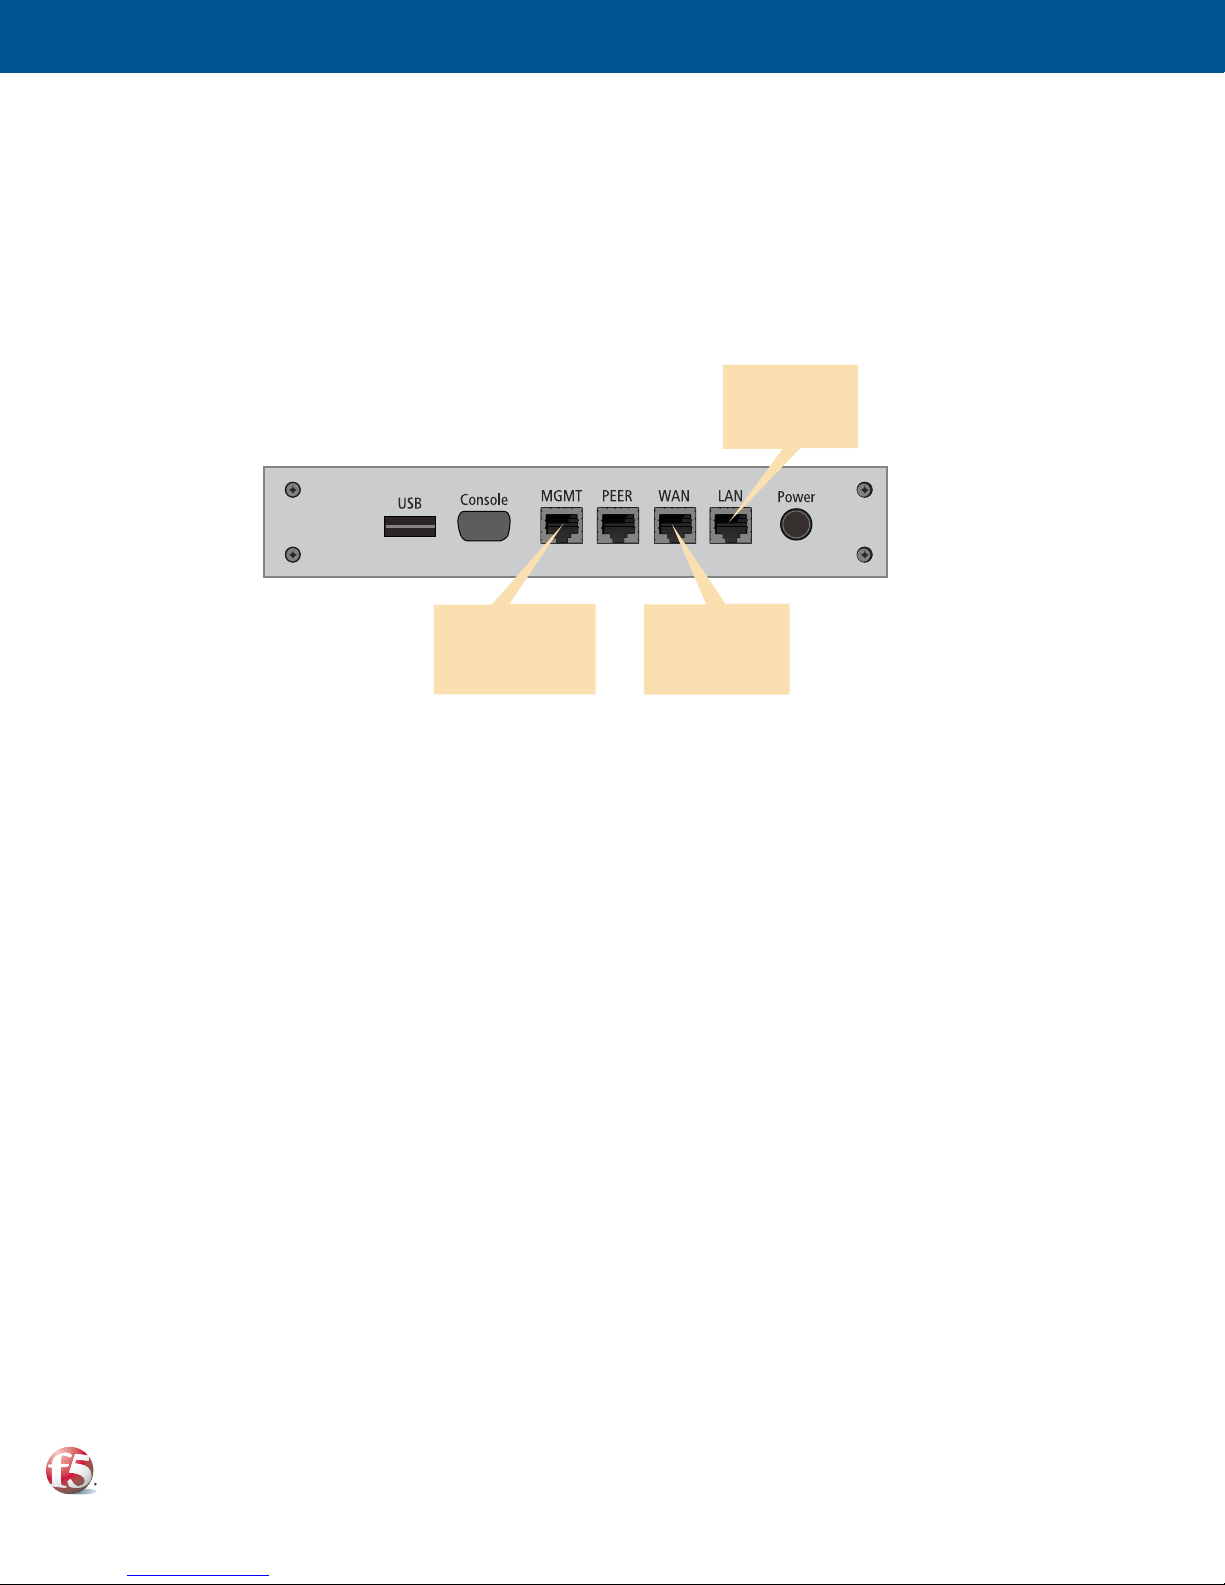
1. Connect the blue Ethernet CAT-6 cable to the LAN port on the back of the WANJet appliance.
Connect the other end to your LAN switch.
2. Connect the yellow CAT-5e crossover cable to the WAN port on the back of the WANJet appliance.
Connect the other end to your WAN router.
Note that the yellow CAT-5e cable now connects to a different port than it did when initially attaching the
computer to the WANJet appliance.
Plug the blue
Ethernet cable
into the LAN port
Optional: Plug an
Ethernet cable into
the Management
port (for out-of-band
management)
Plug the yellow
crossover cable
into the WAN port
3. Verify that the link LEDs on the front panel of the WANJet appliance are lit for the LAN port and the WAN port. If these
lights are not lit, and you have verified that the cables are firmly connected, contact your network administrator.
6 Log on to the WANJet 200 appliance
Finally, check that you can log on to the appliance remotely by using the Web UI, and activate the license.
To log on
1. In a web browser, go to https://<WANJet IP
address>:10000. (If you set up the Management
port, use the Mgt IP Address instead.) The
WANJet appliance login screen opens.
2. Type the user name and password (the defaults
are both admin), and then click Log On. The Web
UI opens and displays the WANJet Status screen.
To activate the license
1. In the WANJet Status screen, click the Not
entered link, next to License, to display the
WANJet License Details screen.
2. Next to Base Registration Key, you should see
your registration key (fi lled in at the factory).
3. Click Next. The EULA (End User License
Agreement) screen opens.
4. Read the EULA, and then click Accept if
you agree to the conditions. When license
activation is complete, the WANJet License
Details screen opens and shows the current
license date.
Note: If automatic license activation does not work,
you can use manual activation instead. On the WANJet
License Details screen, next to Activation Method, select
Manual and follow the directions on the screen.
Next, you can complete the confi guration of the
WANJet appliance including changing the default
password, specifying remote WANJet appliances, and
setting up optimization, IT service, and QoS policies. See
the WANJet Appliance Administrator Guide for details.
F5 Networks, Inc. Technical Support
(888) 88ASKF5 Toll-free • +(800) 11ASK4F5 Intl • (206) 272-6802 Fax • [email protected] (Support) • [email protected] (AskF5SM)
© 2006 F5 Networks, Inc. All rights reserved. F5, F5 Networks, the F5 logo, WANJet, and iControl are trademarks or registered trademarks, and Ask F5 is a service mark, of F5 Networks, Inc. in the U.S.
and in certain other countries. This product protected by U.S. Patent 6,327,242. Other patents pending.
PUB-0154-01
 Loading...