

EZ Tatt B000V1WGLO Instructions Manual

are from the manufacturer and may not last very long
depending on how long they have sat on the shelf.
We just ship them as they come to us, we don’t guarantee them. Many people have used the rechargeable batteries, works fine.
stibbar@att.net
Battery compartment 2AA
Switch Head
To Reach Stibbar for supplies on your Tattooer:
Emails: stibbar@att.net
http://www.stibbar.com
16
are from the manufacturer and may not last very long
depending on how long they have sat on the shelf.
We just ship them as they come to us, we don’t guarantee them. Many people have used the rechargeable batteries, works fine.
Your Tattooer comes ready to go, so gather all your tattoo items together.
Everything that came in your kit along with,
!" Water dampened paper towel,
!" preparation H cream, and
!" alcohol for cleaning ear before tattooing.
Battery compartment 2AA
Switch Head
To Reach Stibbar for supplies on your Tattooer:
Emails: stibbar@att.net
http://www.stibbar.com
16
stibbar@att.net
Your Tattooer comes ready to go, so gather all your tattoo items together.
Everything that came in your kit along with,
!" Water dampened paper towel,
!" preparation H cream, and
!" alcohol for cleaning ear before tattooing.
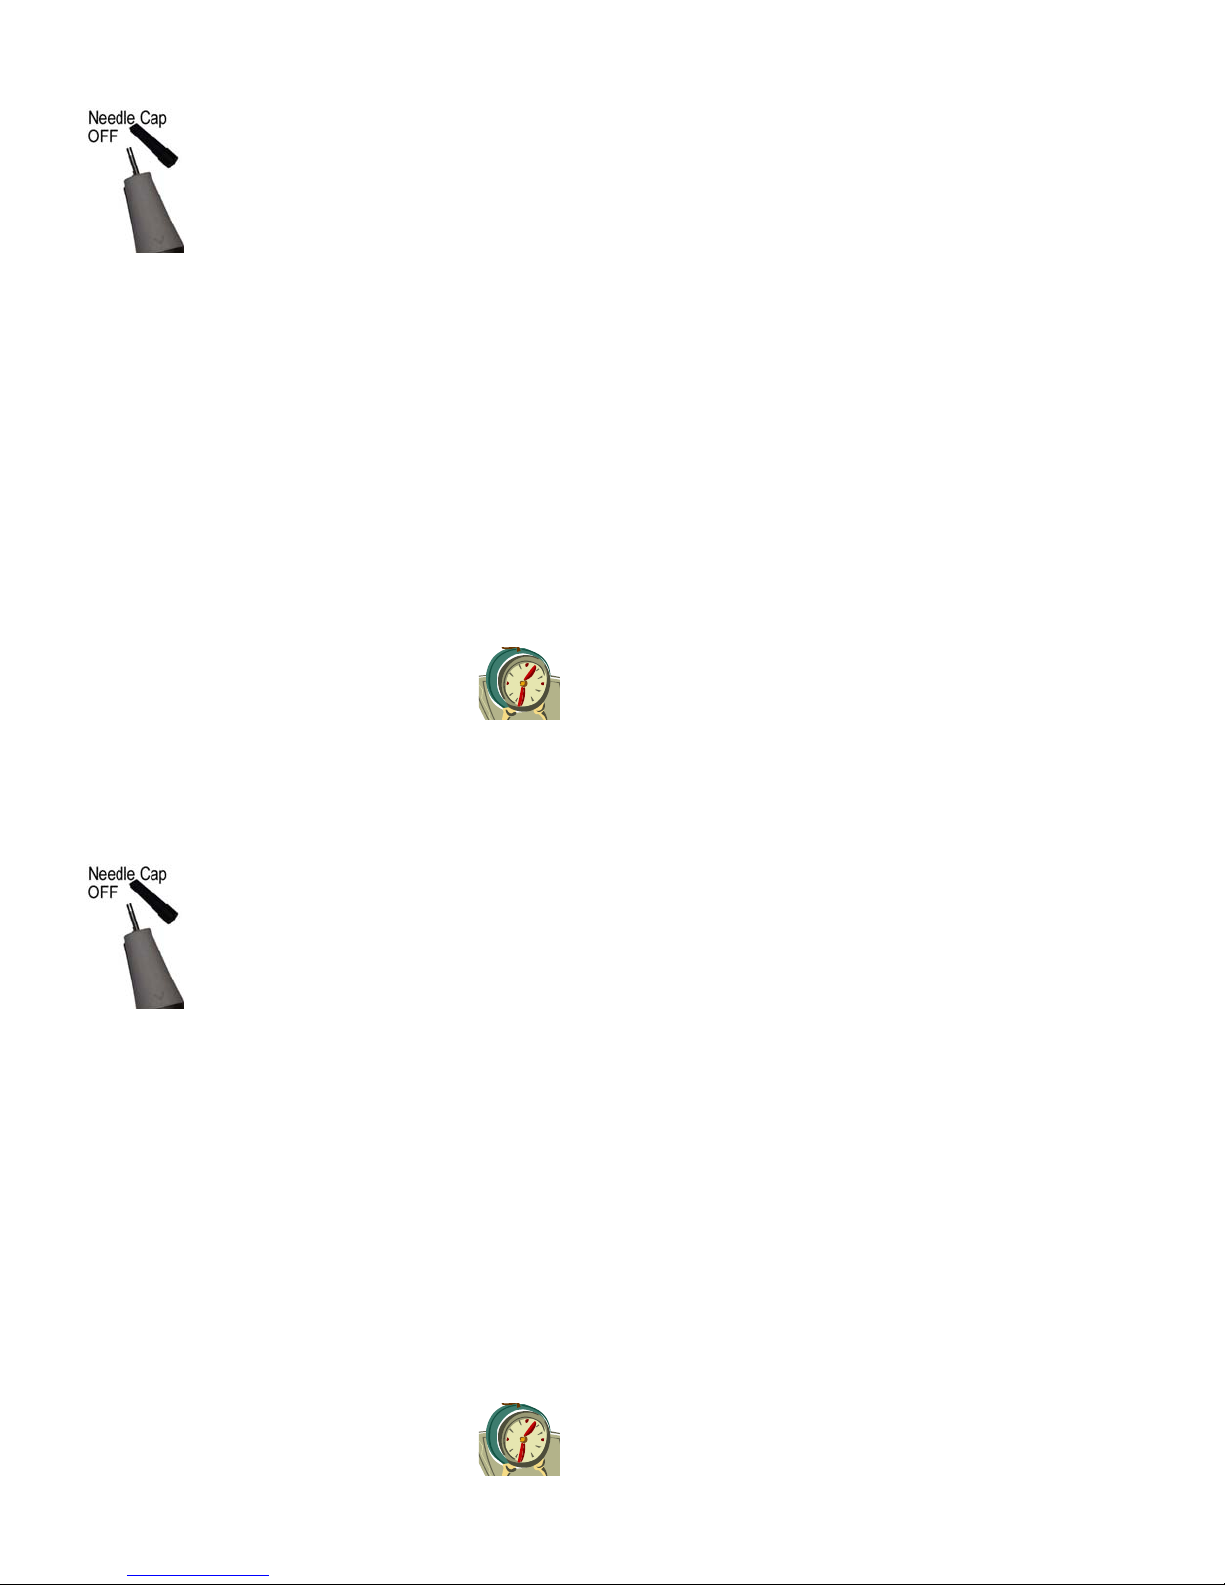
This Tattooer comes with a cap that protects it during shipping or when you go
to a show.
It goes over the barrel, just on the very
tip. Just pop the cap off to use the tattooer. It’s easy to replace it after cleaning. Be
sure that the needle is in the down position before
putting the cap back on. Less likely to damage
the points this way.
INK: Shake well, and put the flat cap back on
when done to keep the ink from drying out. This
ink should last for 2 years, but if it gets dried out
you can use ethanol alcohol to rejuvenate it. Put
the ink well into something like foam for stability.. Extra ink can be poured back into the bottle.
A few drops of ink will go a long ways. Be sure
to have enough ink in the well so that you are not
hitting the bottom of the well with the needle.
That can damage your needle more
quickly. You want to rest the edge of the
tattooer on the lip of the well.
2
move the barrel up or down. At the top on the upstroke the needle should show 1/16 of an inch. That’s
not a lot, about the thickness of a dime, you don’t want
to see any more than that. Move the barrel just a tiny
bit at a time, running the motor between each setting.
The set screw is made of nylon and can be damaged
very easily with a metal screwdriver. I actually use
my thumbnail so I don’t over-tighten the screw. Hard
on thumbnails.. But worth it.
Don’t forget to clean out your little inkwell. If you
have a lot of ink left you can pour it back into the bottle. Otherwise just wash it with hot water down the
sink. A couple of drops of it will do a lot of tattoos.
When putting the tattooer away, make sure all is dry
and the needle is in the down position, you can’t see it
when looking at the barrel. Then put it into the box
and now put it on the shelf. It will be ready for you
next time.
Changing the Batteries is very easy—2 AA, very common— mine have lasted up to three months with a lot
of use.
Disclaimer: The batteries that come with the motor
15
This Tattooer comes with a cap that pro-
tects it during shipping or when you go
to a show.
It goes over the barrel, just on the very
tip. Just pop the cap off to use the tattooer. It’s easy to replace it after cleaning. Be
sure that the needle is in the down position before
putting the cap back on. Less likely to damage
the points this way.
INK: Shake well, and put the flat cap back on
when done to keep the ink from drying out. This
ink should last for 2 years, but if it gets dried out
you can use ethanol alcohol to rejuvenate it. Put
the ink well into something like foam for stability.. Extra ink can be poured back into the bottle.
A few drops of ink will go a long ways. Be sure
to have enough ink in the well so that you are not
hitting the bottom of the well with the needle.
That can damage your needle more
quickly. You want to rest the edge of the
tattooer on the lip of the well.
2
move the barrel up or down. At the top on the upstroke the needle should show 1/16 of an inch. That’s
not a lot, about the thickness of a dime, you don’t want
to see any more than that. Move the barrel just a tiny
bit at a time, running the motor between each setting.
The set screw is made of nylon and can be damaged
very easily with a metal screwdriver. I actually use
my thumbnail so I don’t over-tighten the screw. Hard
on thumbnails.. But worth it.
Don’t forget to clean out your little inkwell. If you
have a lot of ink left you can pour it back into the bottle. Otherwise just wash it with hot water down the
sink. A couple of drops of it will do a lot of tattoos.
When putting the tattooer away, make sure all is dry
and the needle is in the down position, you can’t see it
when looking at the barrel. Then put it into the box
and now put it on the shelf. It will be ready for you
next time.
Changing the Batteries is very easy—2 AA, very common— mine have lasted up to three months with a lot
of use.
Disclaimer: The batteries that come with the motor
15
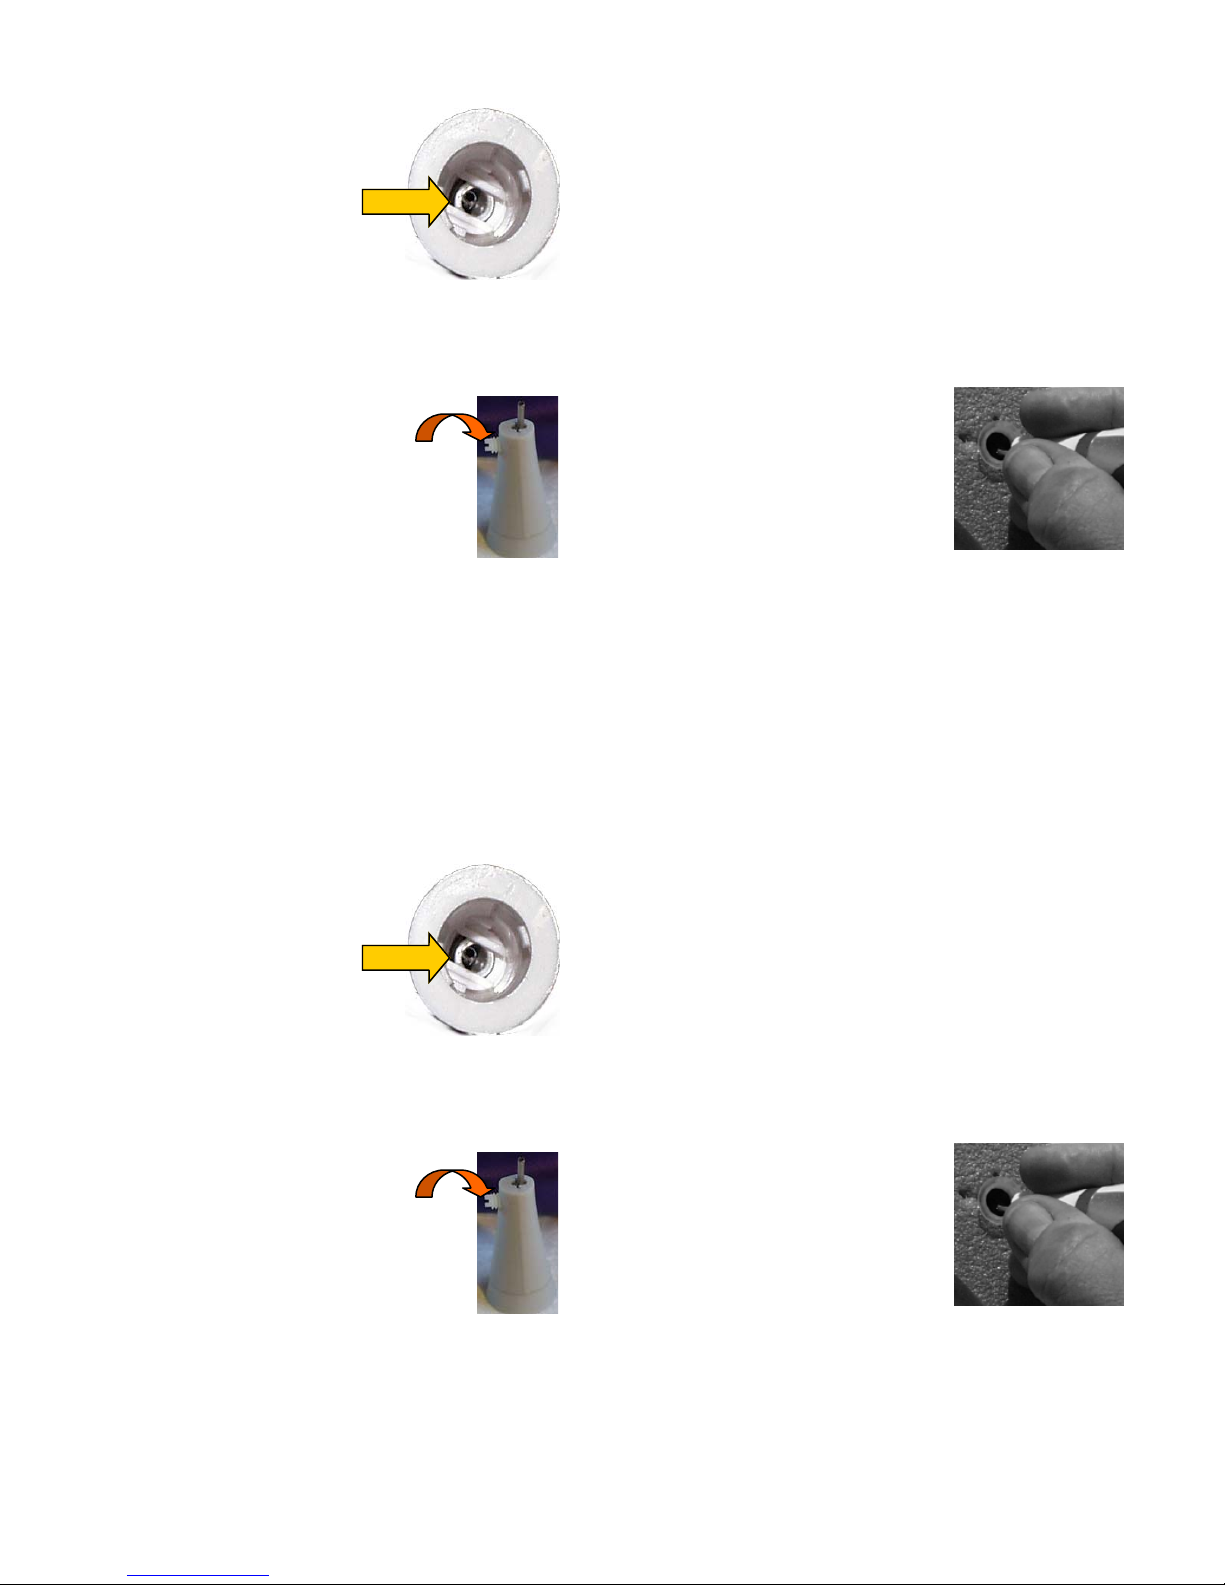
After the needle is in place, take the
head, get a good strong light behind
you and THREAD the needle
carefully through the barrel.
The barrel is cut at an angle so the
needle can be laid against it and slid
carefully up the barrel until the head
is seated onto the motor, then turn the head clockwise
until the arrows on both the head and the motor are
once again lined up. Be sure to clean your barrel between uses very well as it’s harder to see through it if
the barrel is clogged with ink. The point of
the barrel is inside the head
Once you’ve got the needle inside the
barrel, make sure that arrow on the
head is pointing 1/4 turn to the right
of the arrow on the body. Then seat
the head downwards and turn to the left so
that the arrows line up. This should not take
effort. If it does, check to make sure that you’ve got
the head lined up properly.
Turn the tattooer on to see if the needle is the correct
length. If the new needle is not showing out of the
barrel, loosen the set screw on the side of the head and
14
SET
Screw
Turn the motor on and then dip the tube into the
ink cup, holding it there for at least five (5) seconds. Count 1001, 1002 etc.
Holding it in the ink that long will allow the tube
to fill up with ink. The needle moves in and out
and pulls the ink into the tube so that when you
start tattooing you can get up to 8 characters from
one dipping. This is the one step that takes the
longest amount of time, but it’s well worth it.
You can refill between bunnies if you use long
numbers.
Place your fingers on the tatt
head as close to the Stainless
Steel barrel as you can get.
This will give you more control over your printing. Just as
you would with a pencil on
paper.
Don’t be concerned with where the on switch is,
turn the motor around until you’re comfortable.
You can lay this tattooer down on the table while
you’re grabbing the next bunny and it will con-
3
 Loading...