

Page 1
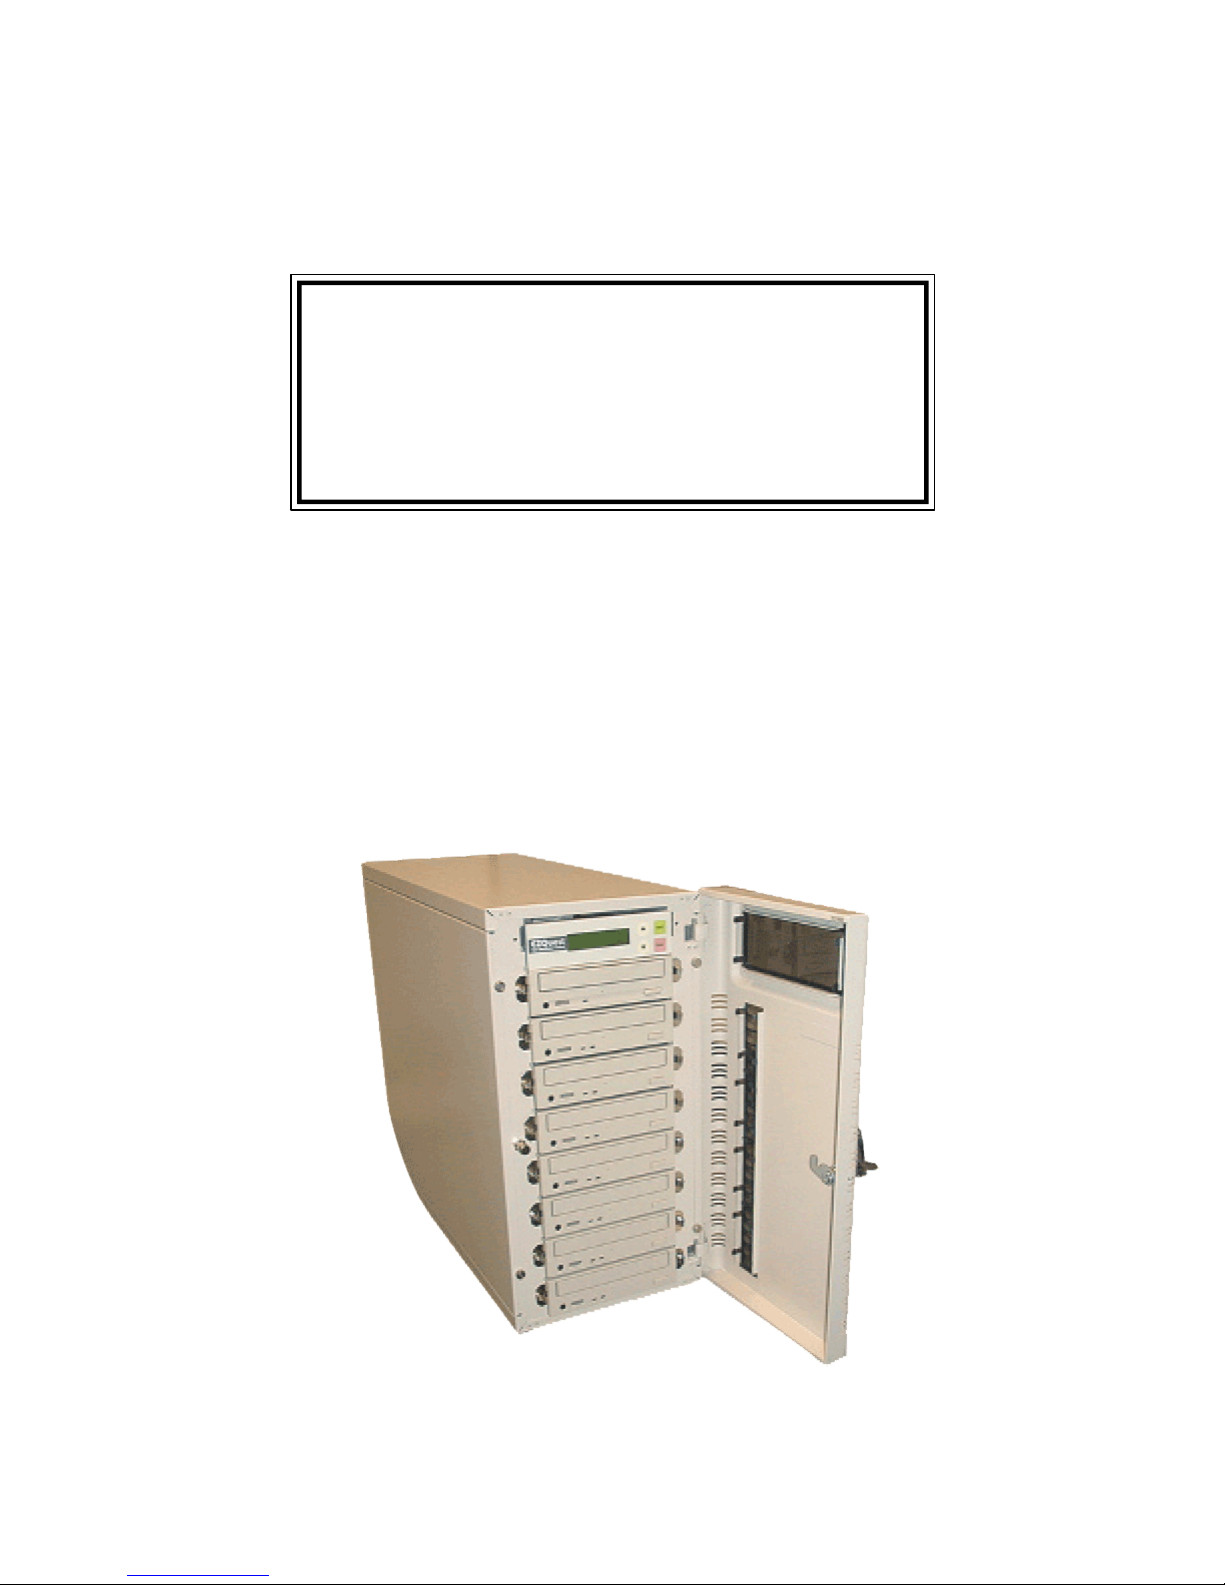
EZQuest Duplicators
King Boa DVD Duplication
User's Manual
Page 2

Copyright and Trademark
The information in this manual is subject to change without prior notice and does
not represent a commitment on the part of vendor, who assumes no liability or re-
sponsibility for any errors that may appear in this manual.
This manual contains materials protected under International Copyright Laws. All
rights reserved. No part of this manual may be reproduced, transmitted or tran-
scribed without the expressed written permission of the manufacturer and author of
this manual.
The EZQuest King Boat DVD to DVD-R/RW Duplicator is merely used for copy-
ing and editing personal audio and video data. Violating Copy Right is a criminal
act. ACARD's Copy Smart Plus only supports legal backup operation.
EZQuest Inc.. is not responsible for the user"s illegal actions.
Page 2
Page 3
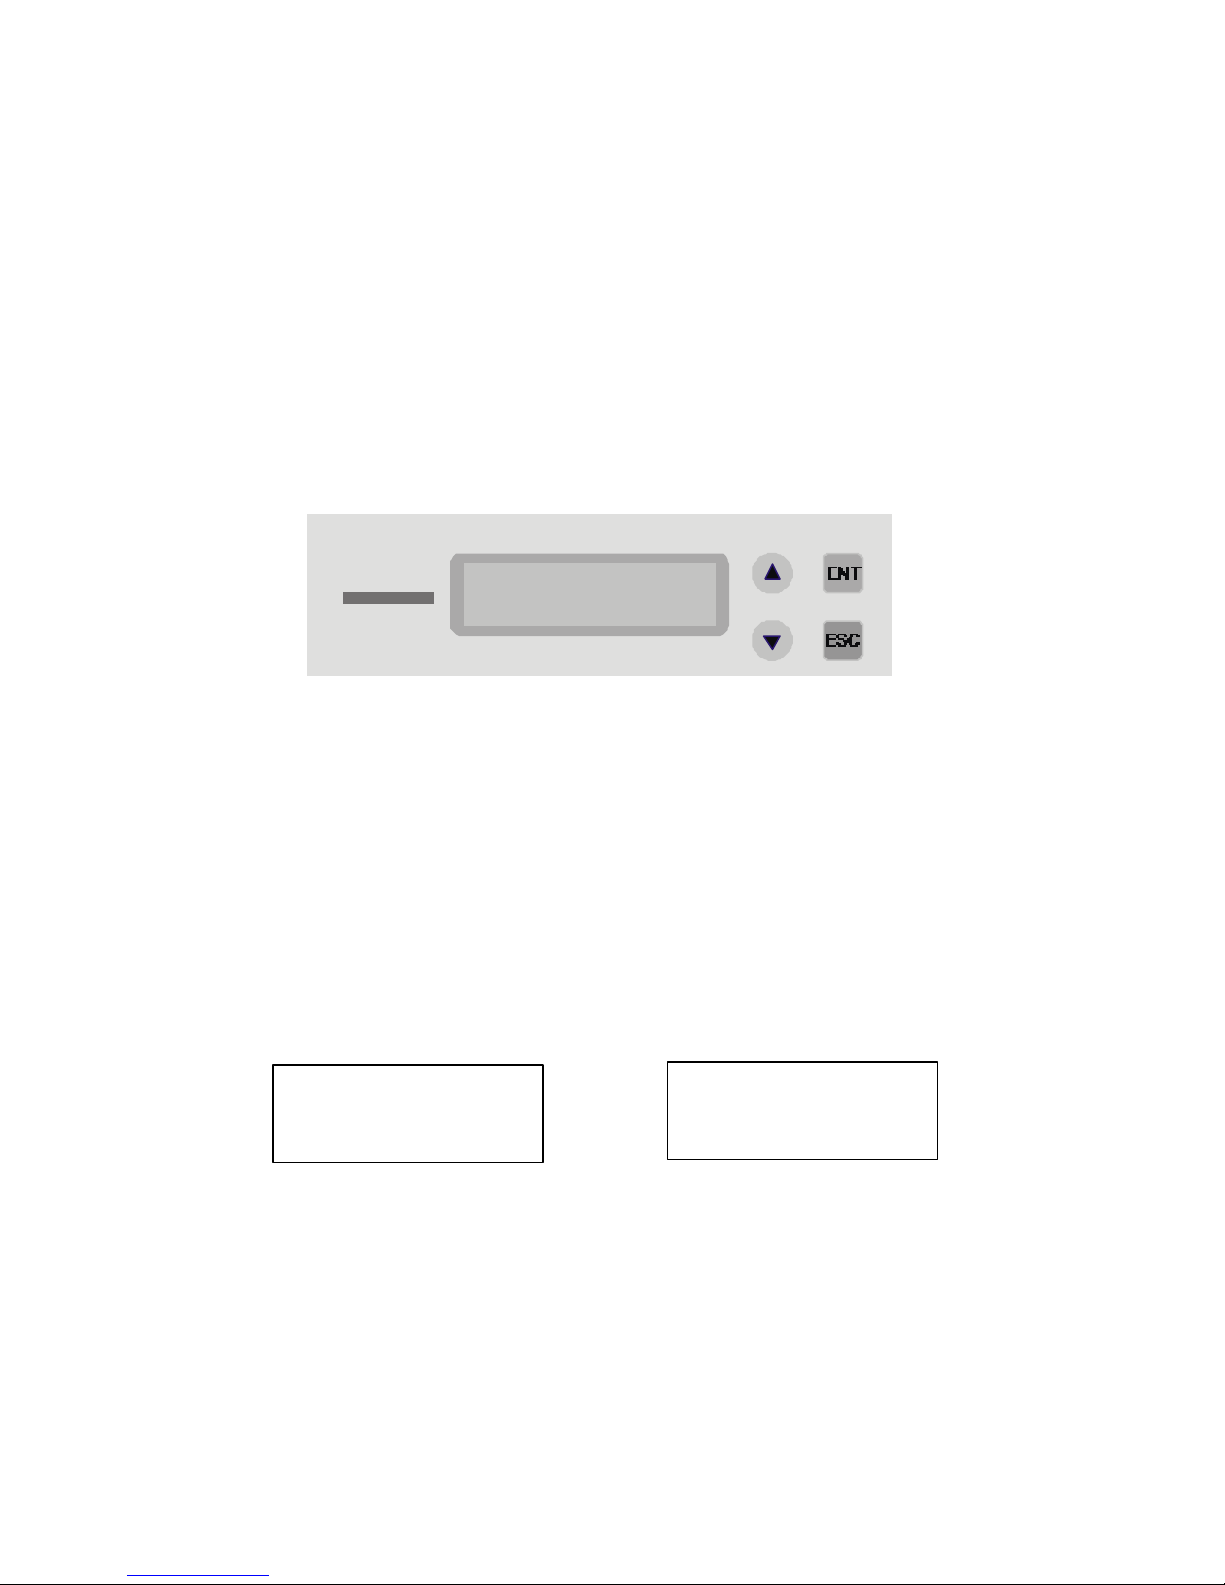
Buttons and LCD
There are four buttons and an LCD on the panel of the copy smart plus. They are
described as follows.
1 2 4
EZQuest
3 5
1. It shows all functions and messages.
2. It is used to scroll up through functions or menus.
3. It is used to scroll down through functions or menus.
4. It is used to execute a selected function.
5. It is used to cancel a selected function.
After you power on,and the King Boa detects installed hardware like DVD-
ROM, DVD writers, it will execute a self-test for seconds. When the self-test finishes,
LCD will show the messages as follows.
1. 2.
DVD Duplicator
Initialize SDRAM
1-3 ver: 2.03K
Page 3
Page 4

3. 4.
Detect Drives
There are 12 functions for you to use. Function 1 is Copy. You can press t to select
other functions.
1. Copy
l Place a source DVD into DVD-ROM.
l Switch to function 1 Copy by pressing s . Place blank DVD disks into the
DVD writers, and press ENT to start copying.
l When copying comes to an end, the passed DVDs will eject automatically.
The default is eject automatically, but you can change it.
l The failed DVDs will remain in the writers. The default is keeping failed
DVDs in the writers, but you can change it. To take the failed DVDs you
need to press the ìejectî buttons on the writers.
Page 4
Page 5

Chapter 5 Functions
There are 12 functions: Copy, Test, Test & Copy, Verify, Compare, Prescan, Disc
Info, Select Source, Image, Edit Track, Setup and Advanced Setup. Among the 12
functions, Edit Track is designed exclusively for editing a collection of favorite
songs from CDs. During operation if you do not understand an LCD message, you
can see Appendix 2.
5.1 Copy
Function 1 Copy is to copy data from a source DVD directly into blank DVD disks.
Before copying be sure that the source DVD is placed onto DVD-ROM, or there are
data in a certain HDD partition if you have installed a hard disk. If you are not so
sure of real copying, you can use Function 2 Test to simulate first.
Select function 1. Put a source DVD onto DVD-ROM and blank DVD disks onto
the DVD writers. DVD rewriteable disks containing old data are usable, too.
1.Copy
After the DVD-ROM and DVD writers detect DVDs, press ENT to start copying.
LCD will show the copying information as follows.
Copying- DVD 0%
4213.4MB d:20:15
Page 5
Page 6

When copying is in progress, MB and time will decrease whereas the percentage of
completion increase.
When copying comes to an end, LCD will show the results as follows. The passed
DVDs will eject automatically.
1.Copy
OK: 03
5.2 Test
Function 2 Test is to simulate the copying progress. When simulation finishes, there
will be no data really written into DVD disks.
Select function 2. Put a source DVD onto DVD-ROM and blank DVD disks onto
the DVD writers.
2.Test
Press ENT to start simulation. If you use DVD rewriteable discs that contain data,
the old data will be quickly erased before simulation as shown below.
Erasing disc
Page 6
Page 7
LCD will show the testing information as follows.
Testing- DVD 0%
4213.4MB d:20:15
When the test comes to an end, LCD will show the results as follows.
2.Test
OK: 03
Stopping the test halfway does not affect the DVD disks, but if the DVD-rewriteable
disks contain important data, they may be destroyed.
5.3 Test & Copy
Function 3 Test & Copy is to test first and then copy actually.
Select function 3. Put a source DVD onto DVD-ROM and blank DVD disks onto
the DVD writers.
3.Test & Copy
Press ENT to start simulation. LCD will show the testing information as follows.
Testing- DVD 0%
4213.4MB d:20:15
Page 7
Page 8
When the test finishes, actual copying will begin as shown below.
Copying- DVD 0%
4213.4MB d:20:15
When the whole process finishes, LCD will show the results as follows.
3.Test & Copy
OK: 03
5.4 Verify
Function 4 Verify is to examine if the target DVDs can be read correctly after copying.
Select function 4.
4.Verify
Press ENT to verify. LCD will show the verification information as follows.
Verify- DVD 0%
4213.4MB 2:29:14
Page 8
Page 9
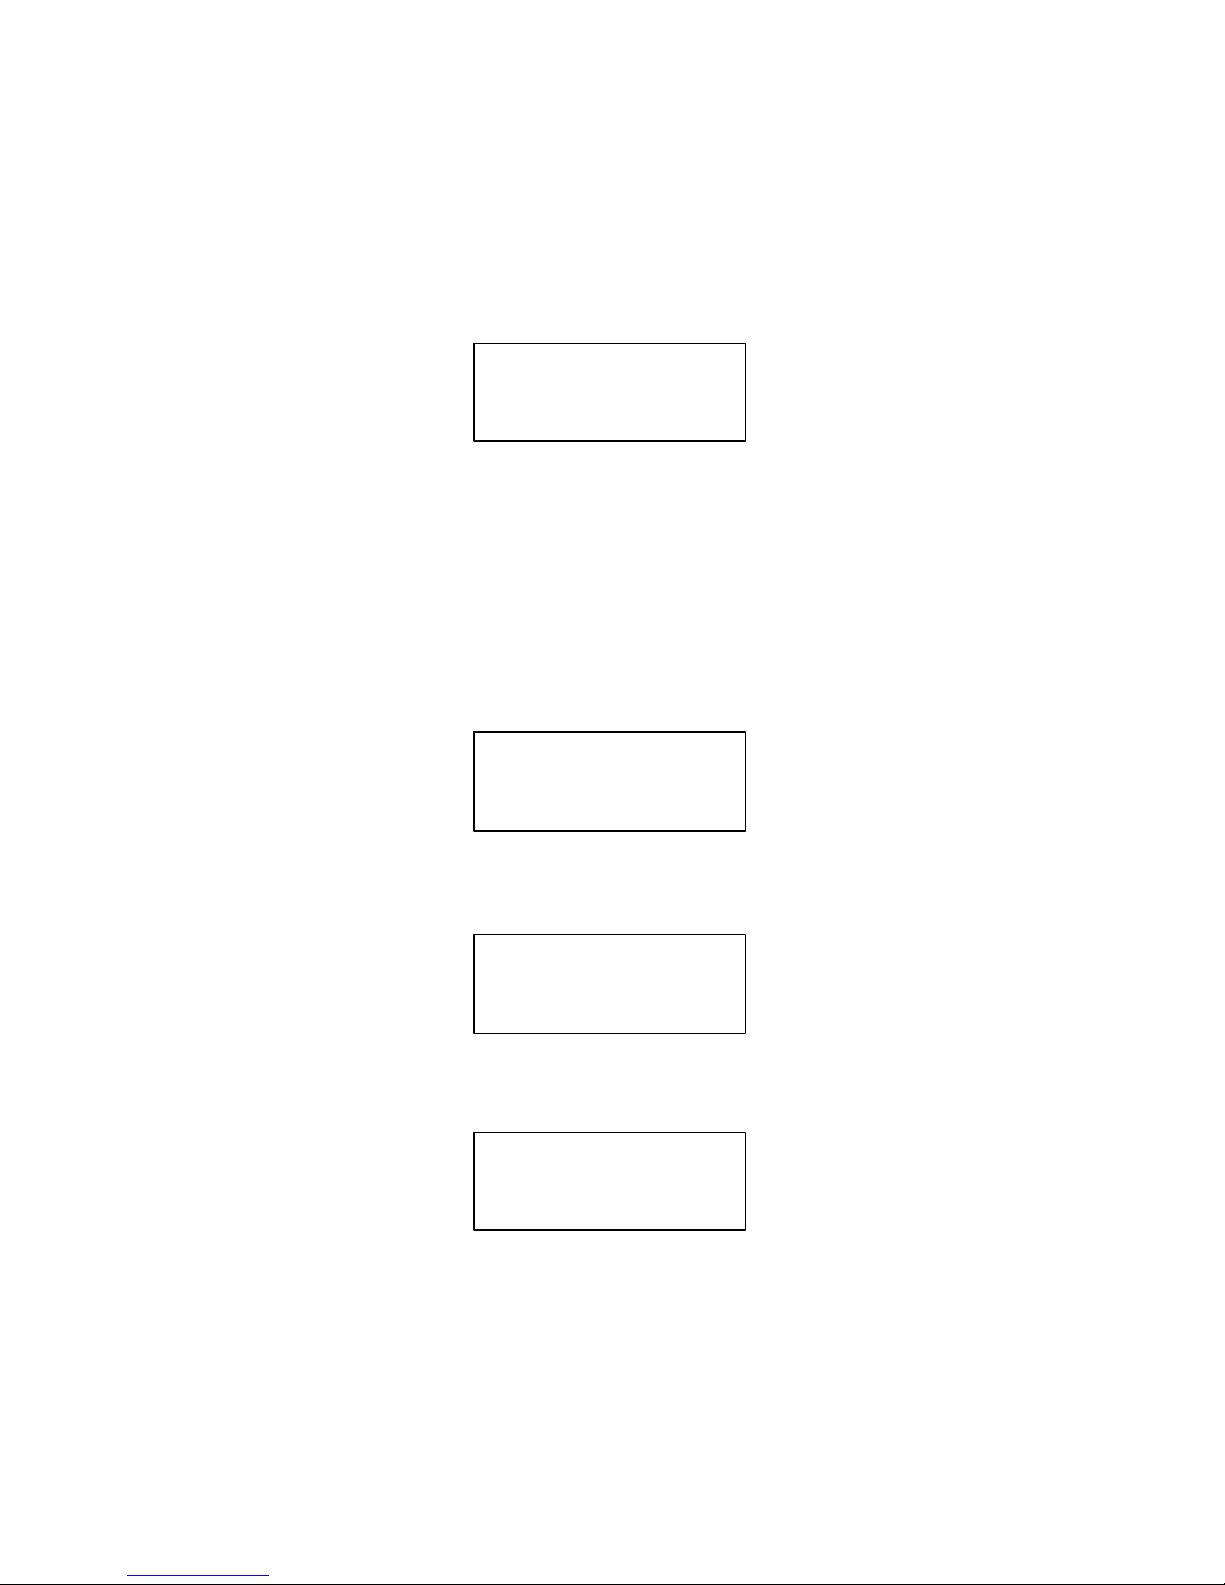
When verification comes to an end, LCD will show the results as follows.
4.Verify
OK: 03
5.5 Compare
Function 5 Compare is to make a comparison between the source DVD and the
target DVDs after copying.
Select function 5. Put the source DVD onto DVD-ROM and the target DVDs onto
DVD writers.
5.Compare
Press ENT to compare.LCD will show the comparison information as follows.
Compare- DVD 0%
4213.4MB 1:05:06
When comparison comes to an end, LCD will show the results as follows.
Compare OK: 3
Fail: 0 Diff: 0
Page 9
Page 10
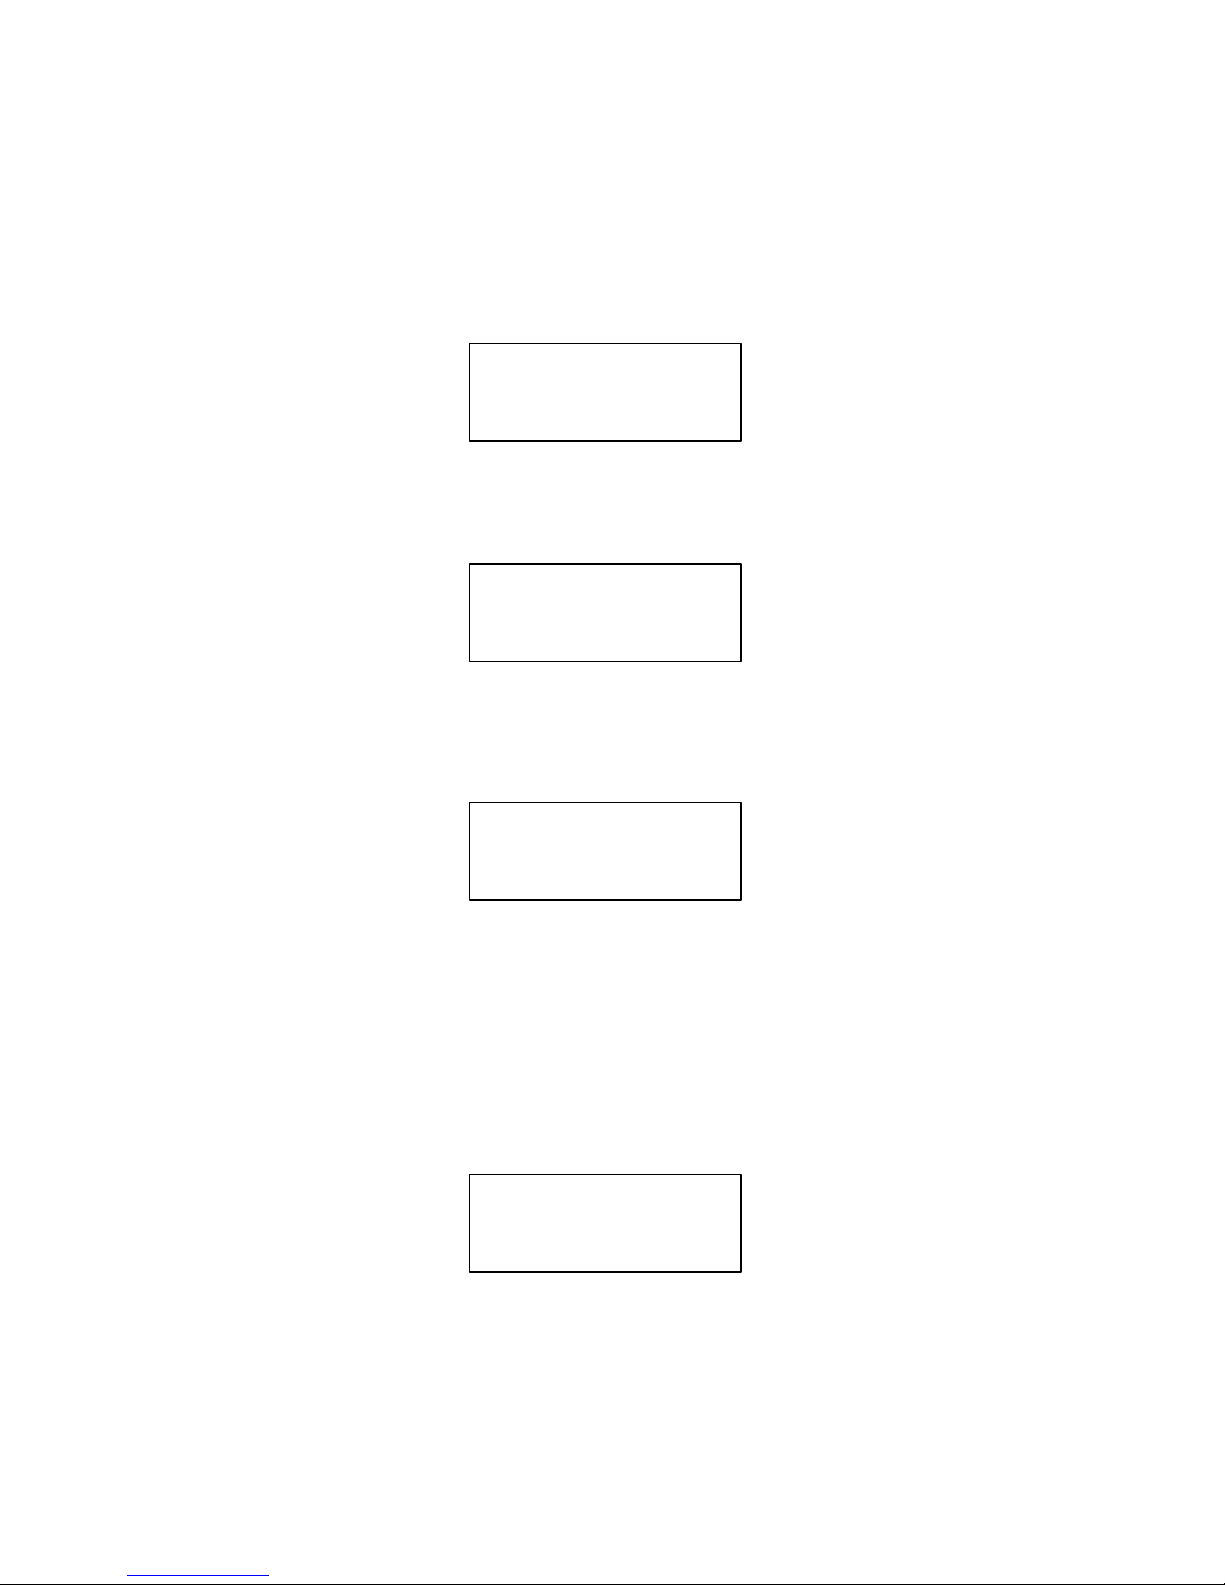
Press ENT to see the details of source 1 as shown below.
Src: 01 DVD-ROM
Total: 4213.4MB
Press ENT to see the details of source 2. If the comparison is identical, LCD will
show the message as follows.
Src: 02 DVD-RW
Identical
If comparison fails, LCD will show the failure. By pressing ENT twice, LCD will
show that the contents of source 1 and those of source 2 do not match as follows.
Src: 02 DVD-RW
TOC not match
5.6 Prescan
Function 6 Prescan is to scan if the source DVD can be read correctly, and by the
way to test the reading speed.
Select function 6. Put the source DVD onto DVD-ROM.
6.Prescan
Page 10
Page 11
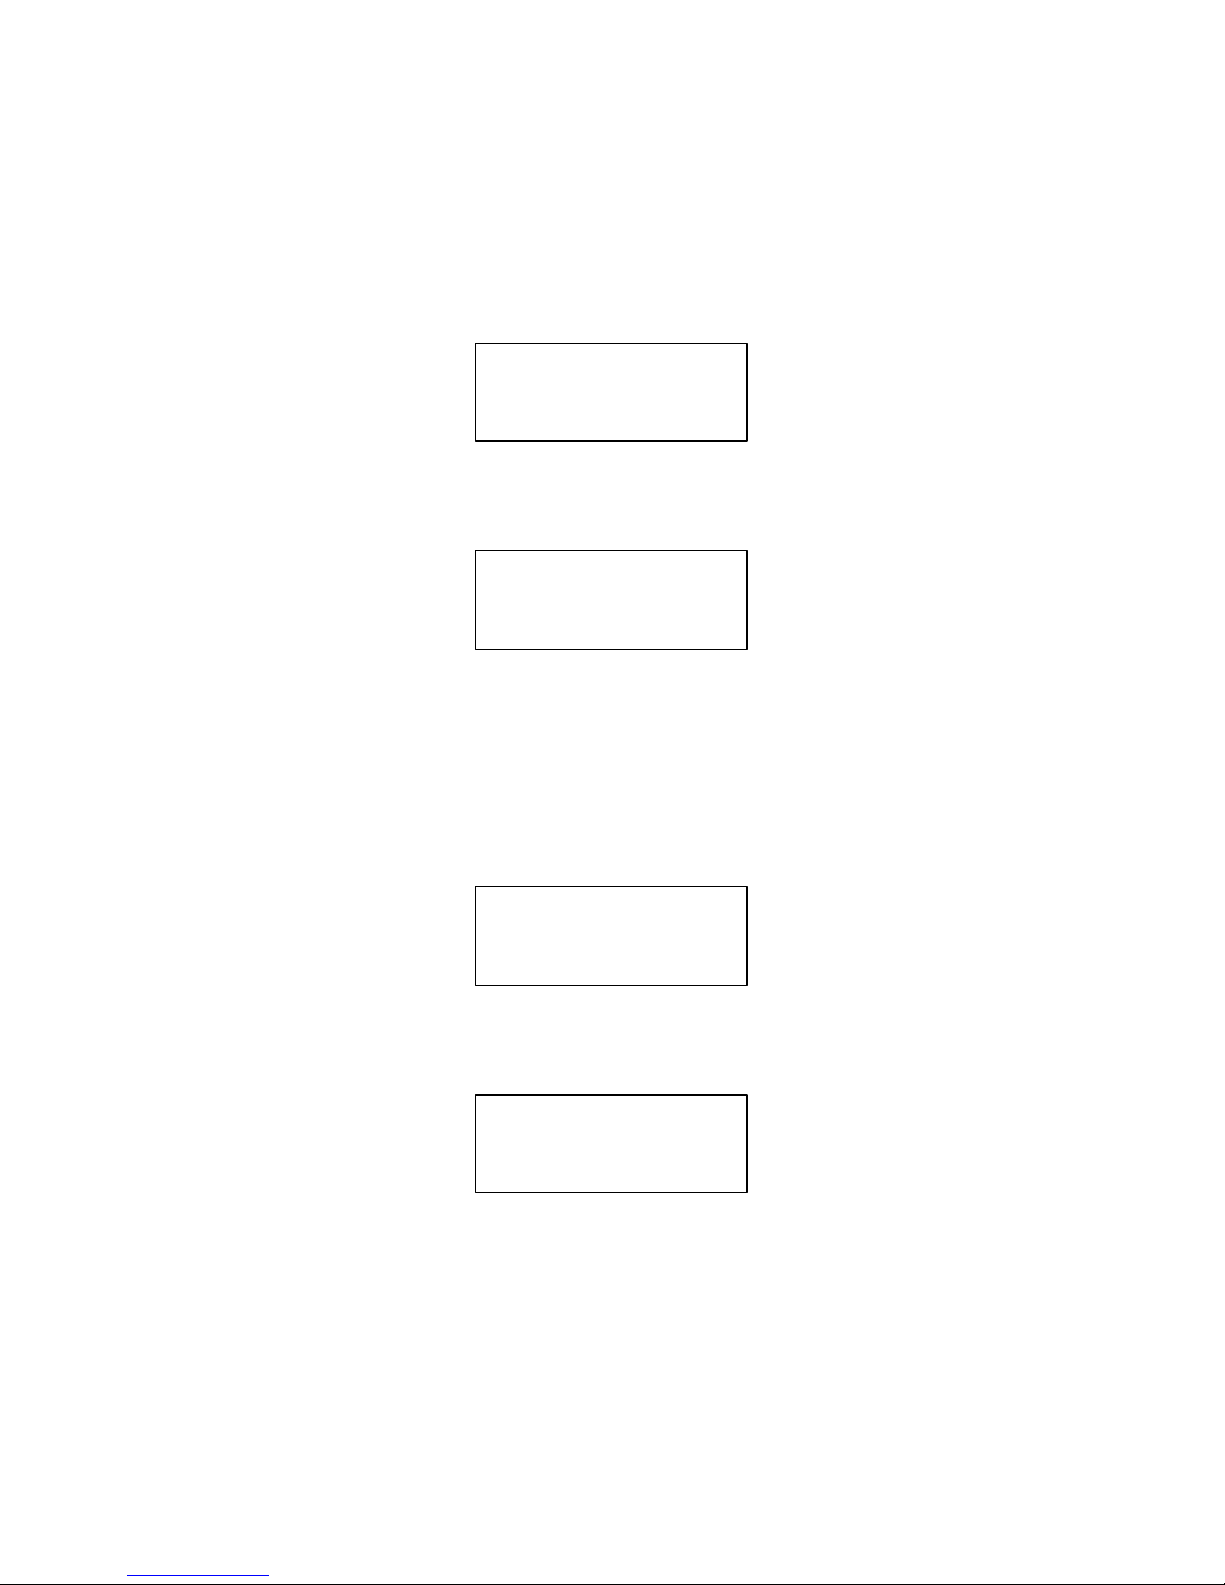
Press ENT to prescan. LCD will show the scanning information as follows.
Scaning- DVD 0%
4213.4MB 40:40
When scanning finishes, and the source DVD can be read correctly, LCD will show
the results as follows.
PreScan OK!
5.7 Disc Info
Function 7 Disc Info is to show the basic information of source DVD.
Select function 7. Put the source DVD onto DVD-ROM.
7.Disc Info
Press ENT , and LCD will show the DVD information as follows.
Disc Type: DVD-ROM
Capacity: 4213.4MB
Page 11
Page 12

5.8 Select Source
Function 8 Select Source is to let you select the data on DVD-ROM, DVD writers or
HDD as the source from which copying will be done.
Select function 8.
8.Select Source
Press ENT , and then press s t to select the source as shown below.
Src: DVD-ROM
01 IDE1 Master
After selecting the source such as DVD-ROM, you can press ENT , and LCD will
show the message as follows.
DVD-ROM selected!
Suppose you select HDD as the source and try to copy from one of its partitions, but
the partition contains no data, an error message will appear on LCD. At this moment,
you can switch to another partition that contains data, or use function 9 Image to
load the data into the chosen partition first.
Page 12
Page 13

5.9 Image
Function 9 Image is valid only when you have installed a hard disk. This function
includes 6 parts. They are Load, Delete Image, Image Info, Compare Image, Select
Partition and Select Src Drive. The loaded data is called an image file.
Select function 9.
9.Image
5.9.1 Load
On the above figure press ENT , and you will enter the following figure. Here the
function Load is to let you load data from DVD-ROM or any one of the DVD writers
into the current partition of the hard disk. P:A means partition A.
9-01.Image P: A
Load
Press ENT to load. LCD will show the loading information as follows.
Load- A - DVD 0%
4213.4MB d:20:15
Page 13
Page 14
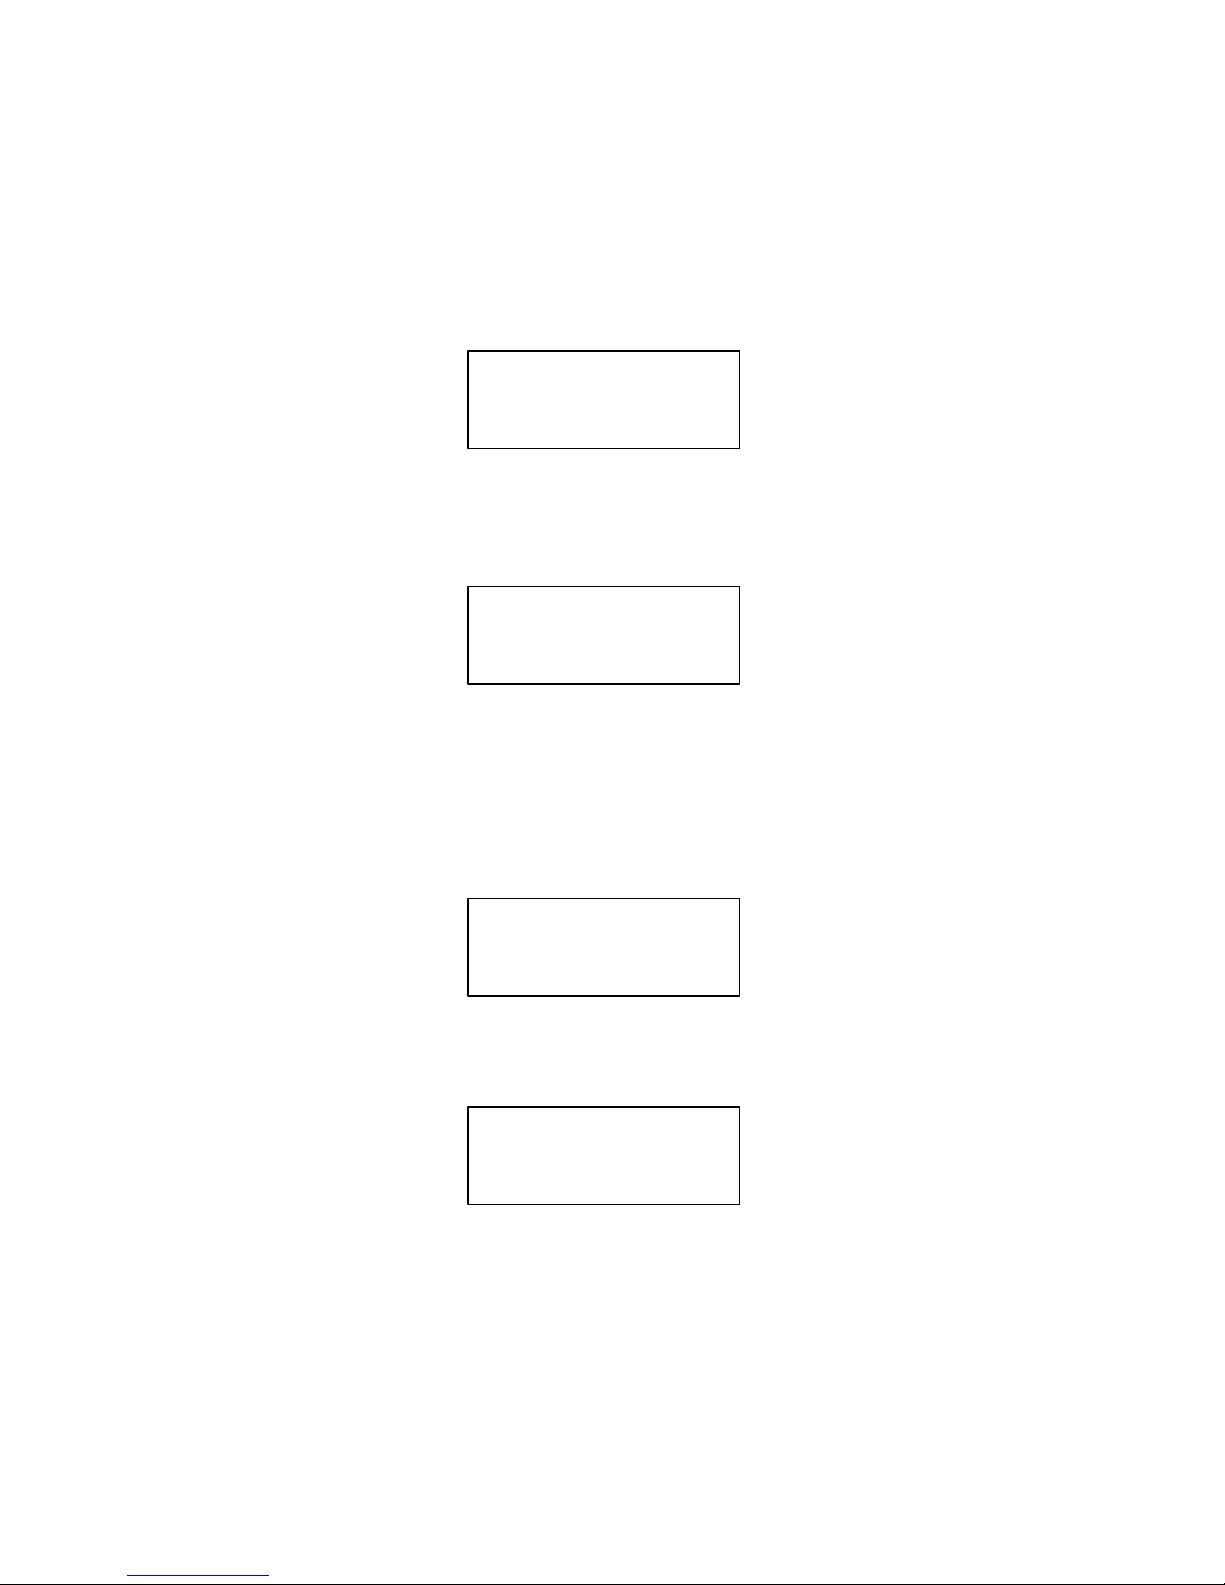
After the image file is successfully loaded, LCD will show the results as follows.
Image load OK
If there is an image file existing in the current partition, the system will ask you
whether to overwrite it or not. Please use s t to confirm Yes or No.
Image Exists
Overwrite?Yes
5.9.2 Delete Image
If you want to empty an image file stored in a particular partition, you can use the
function Delete Image to do so. First, select the function by pressing t .
9-02. Image P: A
Delete Image
The system will ask if you are sure to delete. Use s t to confirm Yes or No.
Delete Image in
Partition A?Yes
Page 14
Page 15
After the image file is deleted, LCD will show the results as follows.
Partition A:
Image is deleted
5.9.3 Image Info
This function is to show the basic information of an image file stored in a particular
partition. First, select the function by pressing t .
9-03.Image P: A
Image Info
Press ENT , and LCD will show the information of the image file as follows.
Disc Type: DVD-ROM
Capacity: 4213.4MB
5.9.4 Compare Image
This function is to compare the contents of the source DVD and those of the image
file in the partition. First, select the function by pressing t .
9-04. Image P: A
Compare Image
Page 15
Page 16
Press ENT , and LCD will show the comparison information as follows.
Compare- DVD 0%
4213.4MB 1:05:06
When comparison comes to an end, LCD will show the results as follows.
Compare OK: 1
Fail: 0 Diff: 0
Press ENT to see the details of source 1 as shown below.
Src: 01 DVD-ROM
Total: 4213.4MB
Press ENT to see the details of source 2. If the comparison is identical, LCD will
show the message as follows.
Tgt: 00 HDD P: A
Identical
If comparison fails, LCD will show the failure. By pressing ENT twice, LCD will
show that the contents of source 1 and those of source 0 do not match as follows.
Tgt: 00 HDD P: A
TOC not match
Page 16
Page 17

5.9.5 Select Partition
This function is to select a partition in the hard disk. First, select the function by
pressing t .
9-05.Image P: A
Select Partition
After installing a hard disk, your copy smart plus will format it automatically. Each
partition will occupy 5GB. The number of partitions is dependent on the hard diskís
capacity. The partitions is alphabetically arranged. Now select a working partition
by pressing s t , and LCD will show the message as follows.
Select Working
Partition - A
After the partition is selected, LCD will show the results as follows.
Set Partition to
A
5.9.6 Select Src Drive
This function is to select DVD-ROM or any of the DVD writers as the source from
which you can load data into a particular partition as an image file.
Page 17
Page 18

First, select the function by pressing t .
9-06. Image P: A
Image Src Drive
Then, use s t to select DVD-ROM or any of the DVD writers as the source.
Select Img Src:
01 IDE1 DVD-ROM
After selecting the source such as DVD-ROM, you can press ENT , and LCD will
show the message as follows.
Load image from
Drive ID-01
5.10 Edit Track (for CD only)
Function 10 Edit Track is exclusively designed for editing a collection of favorite
songs from CDs. In other words, it can collect different tracks (songs) on a number
of CDs and merge them into a single CD. This function includes 4 parts. They are
CD to CD, CD to HDD, Play Audio Track and Close Session.
Page 18
Page 19
Select function 10.
10. Edit Track
5.10.1 CD to CD
On the above figure press ENT , and you will enter the following figure.Here the
function CD to CD is to let you select a track or more from CD-ROM, and then copy
into blank CD-R/RWs.
10-01. Edit Track
CD to CD Edit
On the above figure press ENT , and you will enter the following figure. Here 1/10
means the number one of the 10 tracks, and 03:25 means the playing time.
Select Track:
1/10 03:25
You can press t to see the second track and so on. Suppose we decide to select the
first track, then press ENT . A ì+î will appear beside 1/10 as shown below. But
pressing ENT again may cancel the selection.
Select Track:
+1/10 03:25
Page 19
Page 20
After selecting, please use s to move to the ìEndî menu as shown below.
Select Track:
End 1Trk03:25
Press ENT to finish the CD editing, and use s t to confirm Yes or No.
End edit disc
and burn?Yes
LCD will show the copying information as follows.
Copying- 24X Edit
1/10 - > 1/1
On the above figure 1/1 means the first track of all tracks we have selected, and here
we have just selected one track. When copying comes to an end, LCD will show the
message as follows.
Burn Complete!
OK: 03
Page 20
Page 21
The system will ask if you want to keep editing. Please use s t to confirm Yes or
No. as shown below.
Continue edit
next Disc?Yes
If you want to keep editing, the current source CD will eject auctomatically, and the
system will ask you to insert another new CD as shown below.
Insert next disc
After inserting the new CD, press ENT to edit as before. Suppose we decide to
select the second track, then press ENT . A ì+î will appear beside 2/10 as shown
below.
Select Track:
+2/10 04:25
After selecting, please use s to move to the ìEndî menu as shown below.
Select Track:
End 1Trk04:25
Page 21
Page 22
Press ENT to finish the CD editing, and use s t to confirm Yes or No.
End edit disc
and burn?Yes
LCD will show the copying information as follows.
Copying- 24X Edit
2/10 - > 2/2
On the above figure 2/2 means the second track of all tracks we have selected, and
so far we have selected two tracks from two different CDs. When copying comes to
an end, LCD will show the message as follows.
Burn Complete!
OK: 03
The system will ask if you want to keep editing. Suppose we donít like to continue,
then press t to confirm No.
Continue edit
next Disc?No
Page 22
Page 23
On the above figure Press ENT . The system will ask if you want to close all CDsí
sessions. Please use s t to confirm Yes or No as shown below.
Close all discís
session? Yes
After deciding to close, LCD will show the message as follows.
Closing Session
Please wait---
5.10.2 CD to HDD
After closing sessions, press ESC and t to enter the following figure.Here the
function CD to HDD is to let you select a track or more from CD-ROM, and then
copy into a certain partition of HDD.
10-02. Edit Track
CD to HDD Edit
On the above figure press ENT , and you will enter the following figure. Here 1/10
means the number one of the 10 tracks, and 03:25 means the playing time.
Select Track:
1/10 03:25
Page 23
Page 24
Suppose we decide to select the first track, then press ENT . A ì+î will appear beside
1/10 as shown below. But pressing ENT again may cancel the selection.
Select Track:
+1/10 03:25
After selecting, please use s to move to the ìEndî menu as shown below.
Select Track:
End 1Trk03:25
Press ENT to finish the CD editing, and use s t to confirm Yes or No.
End edit disc
and burn?Yes
Then, the track as an image file will be loaded into HDD. LCD will show the loading
information as follows.
Load- P0 -24X Edit
1/10 - > 1/1
When loading comes to an end, LCD will show the message as follows.
Image load OK
Page 24
Page 25
The system will ask if you want to keep editing. Please use s t to confirm Yes or
No. as shown below.
Continue edit
next Disc?Yes
If you want to keep editing, the current source CD will eject auctomatically, and the
system will ask you to insert another new CD as shown below.
Insert next disc
After inserting the new CD, press ENT to edit as before. Suppose we select the
second track, then press ENT . A ì+î will appear beside 2/10 as shown below.
Select Track:
+2/10 04:25
After selecting, please use s to move to the ìEndî menu as shown below.
Select Track:
End 1Trk04:25
Press ENT to finish the CD editing, and use s t to confirm Yes or No.
End edit disc
and burn?Yes
Page 25
Page 26
Then, the track as an image file will be loaded into HDD. LCD will show the loading
information as follows.
Load- P0 -24X Edit
2/10 - > 2/2
When loading comes to an end, LCD will show the message as follows.
Image load OK
The system will ask if you want to keep editing. This time please use t to confirm
No as shown below.
Continue edit
next Disc?No
Then, the system will ask if you want to burn from HDD into CD-R/RW or move
into a partition. Please use s to confirm Burn as shown below.
Burn or Move to
partition?Burn
After pressing s , LCD will show the copying information as follows.
Copy- P0 -24X 0%
1/2 Trk03:25
Page 26
Page 27
When burning finishes, LCD will show the results as follows.
Burn Complete !
OK: 03
On the above figure press ESC to enter the following figure. Now press t to move
the data from HDD template into a certain partition.
Burn or Move to
partition? Move
After pressing t , you need to select a partition into which the data will be moved.
Suppose we select A as shown below.
Select Partition
A
After pressing ENT , LCD will show the moving information as follows.
Moving to P: A
0%
When moving finishes, LCD will show the results as follows.
Moving to P: A
OK!
Page 27
Page 28
If the chosen partition has contained image data, the system will ask to overwrite or
keep the data. Here please use s to overwrite.
Image Exists
Overwrite?Yes
After pressing s , LCD will show the moving information as follows.
Moving to P: A
0%
When moving finishes, LCD will show the results as follows.
Moving to P: A
OK!
5.10.3 Play Audio Track
This function is to make the copy smart plus act as a music player. You can plug an
AV terminal in the audio port on the back of the device, and enjoy the music.
On the above figure press ESC and t to select the function.
10-03. Edit Track
Play Audio Track
Page 28
Page 29
Use s t to select the track you want to play.
Select Track:
1/10 03:25
After selecting and pressing ENT , LCD will show the playing information below.
Playing Track-1
00:00 / 03:25
5.10.4 Close Session
This function is to close CDs and let no data written into. After closing, you can put
the CDs on any normal player and listen.
On the above figure press ESC and t to select the function.
10-04. Edit Track
Close Session
After pressing ENT , the system will ask if you are sure to close.
Close all discís
session? Yes
Page 29
Page 30

After pressing ENT , LCD will show the message as follows.
Closing Session
Please wait---
When closing finishes, LCD will show the results as follows.
Closing Complete
OK :3 Fail :0
5.11 Setup
Function 11 Setup lets you change the default settings. Once you change a setting,
remember to press ENT to save it. However, it is suggested to use the defaults for
the optimal operation. This function includes 16 parts. They are Language, Burn
Speed, Read Speed, Auto Start Drive, Startup Menu, Auto Verify, Auto Compare,
Auto Prescan, Eject Disc, Burn On The Fly, Burn Mode, Button Sound, Device
Info, System Info, Quick Erase and Full Erase.
Select function 11.
11. Setup
Page 30
Page 31
5.11.1 Language
On the above figure press ENT , and you will enter the following figure. The function
Language lets you select a language in which messages can be shown on LCD.
11-01. Setup
Language
Press ENT to enter the following figure. Here LCD only supports English.
Language
English
5.11.2 Burn Speed
On the above figure press ESC and t to enter the following figure. The function
Burn Speed lets you control the burning speed of DVD writers.
11-02. Setup
Burn Speed
Press ENT to enter the following figure. The default is maximum, but there are still
other choices: 8X, 4X, 2X and 1X.
Burn Speed
Maximum
Page 31
Page 32

5.11.3 Read Speed
On the above figure press ESC and t to enter the following figure. The function
Read Speed lets you control the reading speed of target DVDs.
11-03. Setup
Read Speed
Press ENT to enter the following figure. The default is maximum, but there are still
other choices: 32X, 16X and 8X.
Read Speed
Maximum
5.11.4 Auto Start Drive
On the above figure press ESC and t to enter the following figure. Auto Start
Drive is to copy or test automatically once you put blank DVDs onto the writers.
11-04. Setup
Auto Start Drive
Press ENT to enter the following figure. The default is Off. Press t to select 1 (one
blank DVD).
Auto Start Drive
Off
Page 32
Page 33

5.11.5 Startup Menu
On the above figure press ESC and t to enter the following figure. Startup Menu
lets you select any one of the functions except Adv Setup as the first item appearing
on the menu whenever you turn on the copy smart plus.
11-05. Setup
Startup Menu
Press ENT to enter the following figure. The default is Copy. Of course you can
select any other function as the first item, but remember to press ENT .
Startup Menu
1.Copy
5.11.6 Auto Verify
On the above figure press ESC and t to enter the following figure. Auto Verify is
to verify automatically if the target DVDs can be read after copying.
11-06. Setup
Auto Verify
Press ENT to enter the following figure. The default is Off. Press t to select On.
Auto Verify
Off
Page 33
Page 34

5.11.7 Auto Compare
On the above figure press ESC and t to enter the following figure. Auto Compare
is to compare automatically the source DVD and the target DVDs after copying.
11-07. Setup
Auto Compare
Press ENT to enter the following figure. The default is Off. Press t to select On.
Auto Compare
Off
5.11.8 Auto Prescan
On the above figure press ESC and t to enter the following figure. Auto Prescan is
to scan automatically if the source DVD can be read correctly, and by the way to test
the reading speed.
11-08. Setup
Auto Prescan
Press ENT to enter the following figure. The default is Off. Press t to select On.
Auto Prescan
Off
Page 34
Page 35

5.11.9 Eject Disc
On the above figure press ESC and t to enter the following figure. Eject Disc
provides three choices. They are Eject Good Only, Eject All Disc, and Do Not Eject.
Eject Good Only means that the DVDs will eject automatically only when they are
copied successfully. Eject All Disc means that the DVDs will eject automatically
whether they are copied successfully or not. Do Not Eject means that you need to
eject the DVDs manually when copying finishes.
11-09. Setup
Eject Disc
Press ENT to enter the following figure. The default is Eject Good Only. Press t to
select Eject All Disc or Do Not Eject.
Eject Disc
Eject Good Only
5.11.10 Burn On The Fly
On the above figure press ESC and t to enter the following figure. Burn On The
Fly lets you control the copying methods. When the setting is On, the data will be
copied directly from the source DVD to the target DVDs. When the setting is Off,
the data will be loaded into a partition of HDD first, and hence copying will be done.
11-10. Setup
Burn On The Fly
Page 35
Page 36
Press ENT to enter the following figure. The default is On. Press t to select Off.
Burn On The Fly
On
If your copy smart plus doesnít connect with a hard disk, LCD will show the message
as follows.
No Valid HDD !
5.11.11 Burn Mode
On the above figure press ESC to return to Function 11, and then select part 11 Burn
Mode as the following figure shows. Burn Mode lets you control the burning modes.
There are two modes: DAO (Disc At Once) and TAO (Track At Once). They only
supports CD. If the DVD writer doesnít support the mode you have selected, the
copy smart plus will automatically switch to another mode.
Press ENT to enter the next figure. The default is DAO. Press t to select TAO.
11-11. Setup
Burn Mode
Burn Mode
DAO
Page 36
Page 37
5.11.12 Button Sound
On the above figure press ESC and t to enter the following figure. Button Sound
lets you control the sound of a button when you press it.
11-12. Setup
Button Sound
Press ENT to enter the next figure. The default is On. Press t to select Off.
Button Sound
On
5.11.13 Device Info
On the above figure press ESC and t to enter the following figure. Device Info
shows the information of the DVD-ROM and any of the DVD writers you have
installed.
11-13. Setup
Device Info
Press ENT to enter the next figure.
01 IDE1 Master
DVD-ROM : PIONEER
Page 37
Page 38
Press ENT to enter the next figure.
DVD-ROM DVD-116
1.22
Press t twice to enter the next figure.
02 IDE2 Master
DVD-RW : PIONEER
Press ENT to enter the next figure.
DVD-RW DVR-103
1.80
5.11.14 System Info
On the above figure press ESC and t to enter the following figure. System Info
shows the information of the system.
11-14. Setup
System Info
Press ENT to enter the next figure. Ver.2.03S is for 1-7 and Ver.2.03X for 1-14.
DVD Duplicator
1-3 ver: 2.03K
Page 38
Page 39

5.12 Adv Setup
Function 12 Adv Setup lets you change the system configuration. This function
includes 13 parts. They are UnderRun Protect, Overburn, Read Error Skip, Format
HDD, Verify HDD, Burn-in, Update Firmware, Compare Firmware, H/W Diagnostic,
Load Default, CD+G, ISRC and Switch Link-Host.
On the above figure press ESC to return to Function 11. Then, press ESC for 2
seconds to enter Function 12 as the following figure shows.
12. Adv Setup
5.12.1 UnderRun Protect
On the above figure press ENT , and you will enter the following figure. UnderRun
Protect lets you control On and Off of Buffer Under Run Protection such as Burn
Proof, SafeBurn, JustLink, Seamless Link, etc.
12-01. Adv Setup
UnderRun Protect
Press ENT to enter the following figure. The default is On. Press t to select Off.
UnderRun Protect
On
Page 39
Page 40
5.12.2 Overburn
On the above figure press ESC and t to enter the following figure. Overburn lets
you decide whether to copy beyond the limit of the CD or not.
12-02. Adv Setup
Overburn
Press ENT to enter the following figure. The default is Off. Press t to select On.
Overburn
Off
5.12.3 Read Error Skip
On the above figure press ESC and t to enter the following figure.Read Error Skip
is to neglect any error that occurs during copying. Under normal circumstances,
when an error occurs during copying, a message will appear on LCD. Yet, you can
use Read Error Skip to copy some defective DVDs.
12-03. Adv Setup
Read Error Skip
Press ENT to enter the following figure. The default is Off. Press t to select On.
Read Error Skip
Off
Page 40
Page 41
5.12.4 Format HDD
On the above figure press ESC and t to enter the following figure. Format HDD is
to partition the hard disk. But before formatting, all data on the hard disk will be
deleted.
12-04. Adv Setup
Format HDD
Press ENT to enter the next figure. Use s t to confirm Yes or No.
All data will be
lost, format? Yes
If your copy smart plus doesnít connect with a hard disk, LCD will show the message
as follows.
There is no HDD!
5.12.5 Verify HDD
On the above figure press ESC to return to Function 12, and then select part 5 Verify
HDD as the following figure shows. Verify HDD is to verify if the hard disk or any
of its partitions can work well.
12-05. Adv Setup
Verify HDD
Page 41
Page 42
Press ENT to enter the next figure. Use s t to confirm Disk or Parti.
Verify Disk or
Partition? Disk
Press ENT to verify. After verification LCD will show the results as follows.
Verify Hard Disk
OK!
5.12.6 Burn-in
On the above figure press ESC and t to enter the following figure. Burn-in is to
simulate the copying progress many times. The time can be from 1 to 1000. After
each cycle of simulation, the DVDs on the DVD writers will eject automatically and
recede for the next bout of simulation.
12-06. Adv Setup
Burn-in
Press ENT to enter the next figure. Test is simply a simulation.
Burn-in
Test
Page 42
Page 43
Press ENT and use s t to select the time of simulation such as 1, 2, 3...1000 or
Run Continuous. The figure below shows Run Continuous.
Sel burn-in num:
Run Continuous
Press ESC , ENT, t to select Erase & Copy as the following figure shows. Erase &
Copy is to erase and write repeatedly. It is only for DVD rewriteable disks.
Burn-in
Erase&Copy
Press ENT and use s t to select the time of simulation such as 1, 2, 3...1000 or
Run Continuous. The figure below shows Run Continuous.
Sel burn-in num:
Run Continuous
5.12.7 Update Firmware
On the above figure press ESC and t to enter the following figure. Update Firmware
is to update firmware to the latest version. But you should get the version first.
12-07. Adv Setup
Update Firmware
Page 43
Page 44

You can get the newest firmware version from ACARD by e-mail, or download it
directly from the web site: http://www.acard.com Then, unzip the file ìcdxxx.binî
and copy it into a blank DVD.
After placing the DVD on the DVD-ROM , press ENT . The system will begin
searching the new firmware and show the message on LCD as follows after it finds
the new firmware. Then press ENT to update.
Searching F/W---
XXX/XXXXX
5.12.8 Compare Firmware
On the above figure press ESC and t to enter the following figure.Compare
Firmware is to compare the current firmware version and the newly downloaded
version. It can prove if the downloaded version is the newest one.
12-08. Adv Setup
Compare Firmware
5.12.9 H/W Diagnostic
Press ESC and t to enter the next figure. H/W Diagnostic is to test the system.
12-09. Adv Setup
H/W Diagnostic
Page 44
Page 45

Press ENT to enter the next figure. Follow the instructions on LCD to do the button
test. After that, the system will do the self-test of SDRAM, the hardware connection
test and flash test. All test results will be shown on LCD. It is the easiest way to
know if the system can work well.
π Ø Enter ESC
Holde ESC to exit
When the whole process finishes, LCD will show the message as follows.
Test finished
5.12.10 Load Default
On the above figure press ESC and t to enter the next figure. Load Default is to
make all changed settings recover to defaults.
12-10. Adv Setup
Load Default
Press ENT to enter the next figure. Use s t to confirm Yes or No.
Load Default
Config? Yes
Page 45
Page 46
When default loading finishes, LCD will show the results as follows.
Load Default
OK
5.12.11 CD+G
On the above figure press ESC and t to enter the following figure. CD+G is a kind
of special copying format. This function supports the special format.
12-11. Adv Setup
CD+G
Press ENT to enter the next figure. The default is Off. Press t to select On.
CD+G
Off
5.12.12 ISRC
On the above figure press ESC and t to enter the following figure. ISRC is a kind
of special copying format. This function supports the special format.
12-12. Adv Setup
ISRC
Page 46
Page 47

Troubleshooting
6.1 About LCD
After powering on if there is no LCD, please check if the connection of power cord
is frim and the environment of power outlet is normal.
6.2 About Error Messages
During Copy, Test, Compare and Verify, etc. if you press ESC to abort, an error
message will appear on LCD. Abortion may cause the copy smart plus to hang up,
therefore you have to power on again.
If reading fails, an error message will appear on LCD. Please get a new source DVD
to try again.
If the copy smart plus hasnít detected any device after powering on, an error message
will appear on LCD.
6.3 About DVD-ROM/DVD Writers
If a DVD-ROM or DVD writers cannot read, please confirm the format of the
source DVD and check if it is damaged.
Use any DVD writer to read the source DVD. If it works, the DVD-ROM is probably
defective or not compatible with the source DVD.
Use a fine DVD writer as the data reader, and set the ìRead Speedî at minimum.
Page 47
Page 48

6.4 About Buttons
If you press any one of the four buttons on the panel, but there is no response, it is
perhaps that the button cannot function well. Please inspect the jumper setting.
6.5 About DVD Writer Not Readable
After copying if the DVD writer is not readable, please use Compare to examine, or
get another DVD-ROM to test.
6.6 About High Failure Rate
If the failure rate of copying is high, please do the following things to improve.
l Lower the speed of DVD writer
l Inspect if the blank diskís quality is bad.
l Update the firmware.
l Inspect the DVD writerís maximum writing speed. If the speed is over 24X,
copy the data to a hard disk first, and then transmit to DVD.
6.7 About Firmware Update
If you cannot update the firmware, please inspect the BIOS program. Perhaps you
have downloaded a wrong program, or let a zipped file be written into DVD. The
zipped file should be unzipped first.
Failure in firmware update may cause the copy smart plus to fail in booting. Under
the circumstances, please return the control board to ACARD for repair.
Page 48
Page 49

6.8 About Function 12 and Cancellation
If you want to execute function 12 Advanced Setup, you can press ESC for 2 seconds.
And during operation if you want to cancel a function like Copy, Test, Verify and so
on, you can press ESC for 2 seconds, too.
Page 49
Page 50

Appendix 1 List of Functions
1 Copy
2 Test
3 Test & Copy
4 Verify
5 Compare
6 Prescan
7 Disc Info
8 Select Source
9 Image (It works only when a hard disk is connected)
9.1 Load
9.2 Delete Image
9.3 Image Info
9.4 Compare Image
9.5 Select Partition (Each partition is 5GB)
9.6 Select Src Drive
10 Edit Track (for CD only)
10.1 CD to CD
10.2 CD to HDD (It works only when a hard disk is connected)
10.3 Play Audio Track
10.4 Close Session
11 Setup
11.1 Language (English)
11.2 Burn Speed (Default is Maximum)
11.3 Read Speed (Default is Maximum)
11.4 Auto Start Drive (Default is Off)
11.5 Startup Menu (Default is Copy)
11.6 Auto Verify (Default is Off)
11.7 Auto Compare (Default is Off)
11.8 Auto Prescan (Default is Off)
11.9 Eject Disc (Default is Eject Good Only)
Page 50
Page 51

11.10 Burn On The Fly (Default is On)
11.11 Burn Mode (Default is DAO)
11.12 Button Sound (Default is On)
11.13 Device Info
11.14 System Info
11.15 Quick Erase
11.16 Quick Erase
12 Adv Setup
12.1 UnderRun Protect (Default is On)
12.2 Overburn (Default is Off)
12.3 Read Error Skip (Default is Off)
12.4 Format HDD
12.5 Verify HDD
12.6 Burn-in
12.7 Update Firmware
12.8 Compare Firmware
12.9 H/W Diagnostic
12.10 Load Default
12.11 CD+G (Default is Off)
12.12 ISRC (Default is Off)
12.13 Switch Link-Host
Page 51
Page 52

Appendix 2 LCD Messages
1. Normal Conditions:
Initialize SDRAM............................................Initialize the memory of the system.
Detect Drives..............................Detect what drives are connected with the system.
User Abort!.............................................................Cancel the job during operation.
Analyzing............................................................................Analyze the source disc.
Source Drive Not Ready........................................Source drive is not ready to read.
Target Drive Not Ready.........................................Target drive is not ready to write.
Source Disc Not Ready....................................... Source disc is not ready to be read.
Target Disc Not Ready............................. Target disc is not ready to be written into.
Erasing disc..............................................The system is erasing the data on the disc.
Fail to get Drive Info!.................................. The drive information cannot be obtained.
Fail to get Src Disc Info!............. The information of source disc cannot be obtained.
Save new config Fail!................ The new setting of configuration cannot be saved.
Load Default Config?...............................Do you want to load the default settings?
Src&Tgt canít in the same channel......During comparison the source and target
discs cannot be in the same channel.
Preparing............................................................. The system is preparing to record.
Check Target Please Wait ........................The system is checking the target device.
Audio Disc!!! Canít compare!............... The system cannot compare the audio discs.
Identical.......................................................... The comparison results are the same.
Read disc error .....................................During comparison the disc cannot be read.
Cannot read TOC................................. The system cannot read the contents of disc.
TOC not match......................................... The comparison results are not the same.
Source Disc Empty!!!............................... The source disc doesnít contain any data.
Target overflow............... The target disc hasnít enough capacity to store new data.
Target Disc Not Empty!!!............................................. The target disc still has data.
Page 52
Page 53

Press a Key to Eject Good Disc... Press any ket to eject the good disc after copying
Press a Key to Eject Fail Disc......Press any key to eject the failed disc after copying.
DVD-RW does not Support the Func.......... DVD-RW doesnít support this function.
Hold ESC to exit................................. Press ESC for a second to terminate the test.
All data will be lost, erase?.........All data on the disc will be lost. Confirm the
erasing of data.
Erase Finished................................................. The erasing of data comes to an end.
No Eraseable Disc in DVD-RW!!.......The disc on the DVD-RW device is not
rewritable.
2. Connecting with a HDD:
HDD not Format!........................................The hard disk hasnít been formatted yet.
Format HDD?........................................... Ask if you want to format the hard disk.
All data will be lost, format?.......All data on the hard disk will be lost. Confirm the
formatting of hard disk.
Format HDD OK! ........................The Formatting of hard disk has been completed.
Image load OK.......... The image is successfully loaded from DVD to the hard disk.
Image load Fail......The image isnít successfully loaded from DVD to the hard disk.
HDD too small to handle image!.........The hard disk hasnít enough capacity to
store the data image (at least 5Gbytes).
No Valid HDD!.................................................. The system cannot find a hard disk.
HDD too small .............................................. The capacity of hard disk is too small.
No Image in Partition xx...............................There is no data image in partition xx.
Image Exists Overwrite?........There is a data image in the current partition. Confirm
the overwriting of data.
Delete Image in Partition xx?....Confirm the deleting of data image in partition xx.
Partition Damage...............................................................The partition is damaged.
Verify Disk or Partition?..... Do you want to verify the hard disk or just a partition?
Page 53
Page 54

Verify Hard Disk OK!................................... The hard disk is verified successfully.
Verify Hard Disk Fail!............................ The hard disk is not verified successfully.
Verify Partition Header!.................................................. Verify the partition header.
Select HD First!................................................ Select a formatted hard disk at first.
3. Audio Editing:
Lost selected Tracks?................................ Abort the selected tracks and delete them.
End edit disc and burn?................... Finish the music disc editing and start to copy.
Continue edit next Disc?.............. Ask if you want to continue the music disc editing.
Target Overflow Re-Select........... The disc capacity is not enough to store the
selected tracks. Please select again.
Close all discís session?................................... Confirm the closing of disc sessions.
Canít edit HDD..................... The hard disk cannot be edited as a source audio disc.
NO AUDIO track in this disc.......................... The source disc has no audio track.
Insert next disc.................................................................. Insert the next audio disc.
Sessions were closed already!................ The disc sessions have already been closed.
Burn or Move to partition?................ Do you want to directly copy the data into
disc or move them to the partition.
Tgt overflow, del last trk?......... The disc capacity is not enough to store the selected
tracks. So, do you want to delete the last track?
Ins empty disc Continue?.. Do you want to insert a blank disc and continue copying?
4. Firmware Update:
Invalid firmware Disc................................ The disc doesnít contain a valid firmware.
Updating F/W................................................The system is updating the firmware.
Update F/W xxx to yyy?...... Do you want to update the firmware version from xxx
to yyy?
Searching F/W ................................... The system is searching for a valid firmware.
Page 54
Page 55

Check Sum Error!.................................................. The udpated firmware has errors.
Source canít be Hard Disk!.......During comparison the source cannot be hard disk.
Last update F/W OK!................................... The firmware is updated successfully.
Last update F/W Fail!.............................. The firmware is not updated successfully.
Flash ROM fail!......................................... Data cannot be written into Flash ROM.
Page 55
 Loading...