

ezee Glider User Manual
EZee Glider Manual
Congratulations on your purchase of the EZee Glider! Your glider is designed for years of nearly carefree use by
your child. These instructions include how to set up your glider and the maintenance procedures which you should
perform to ensure long-lasting use and optimal performance
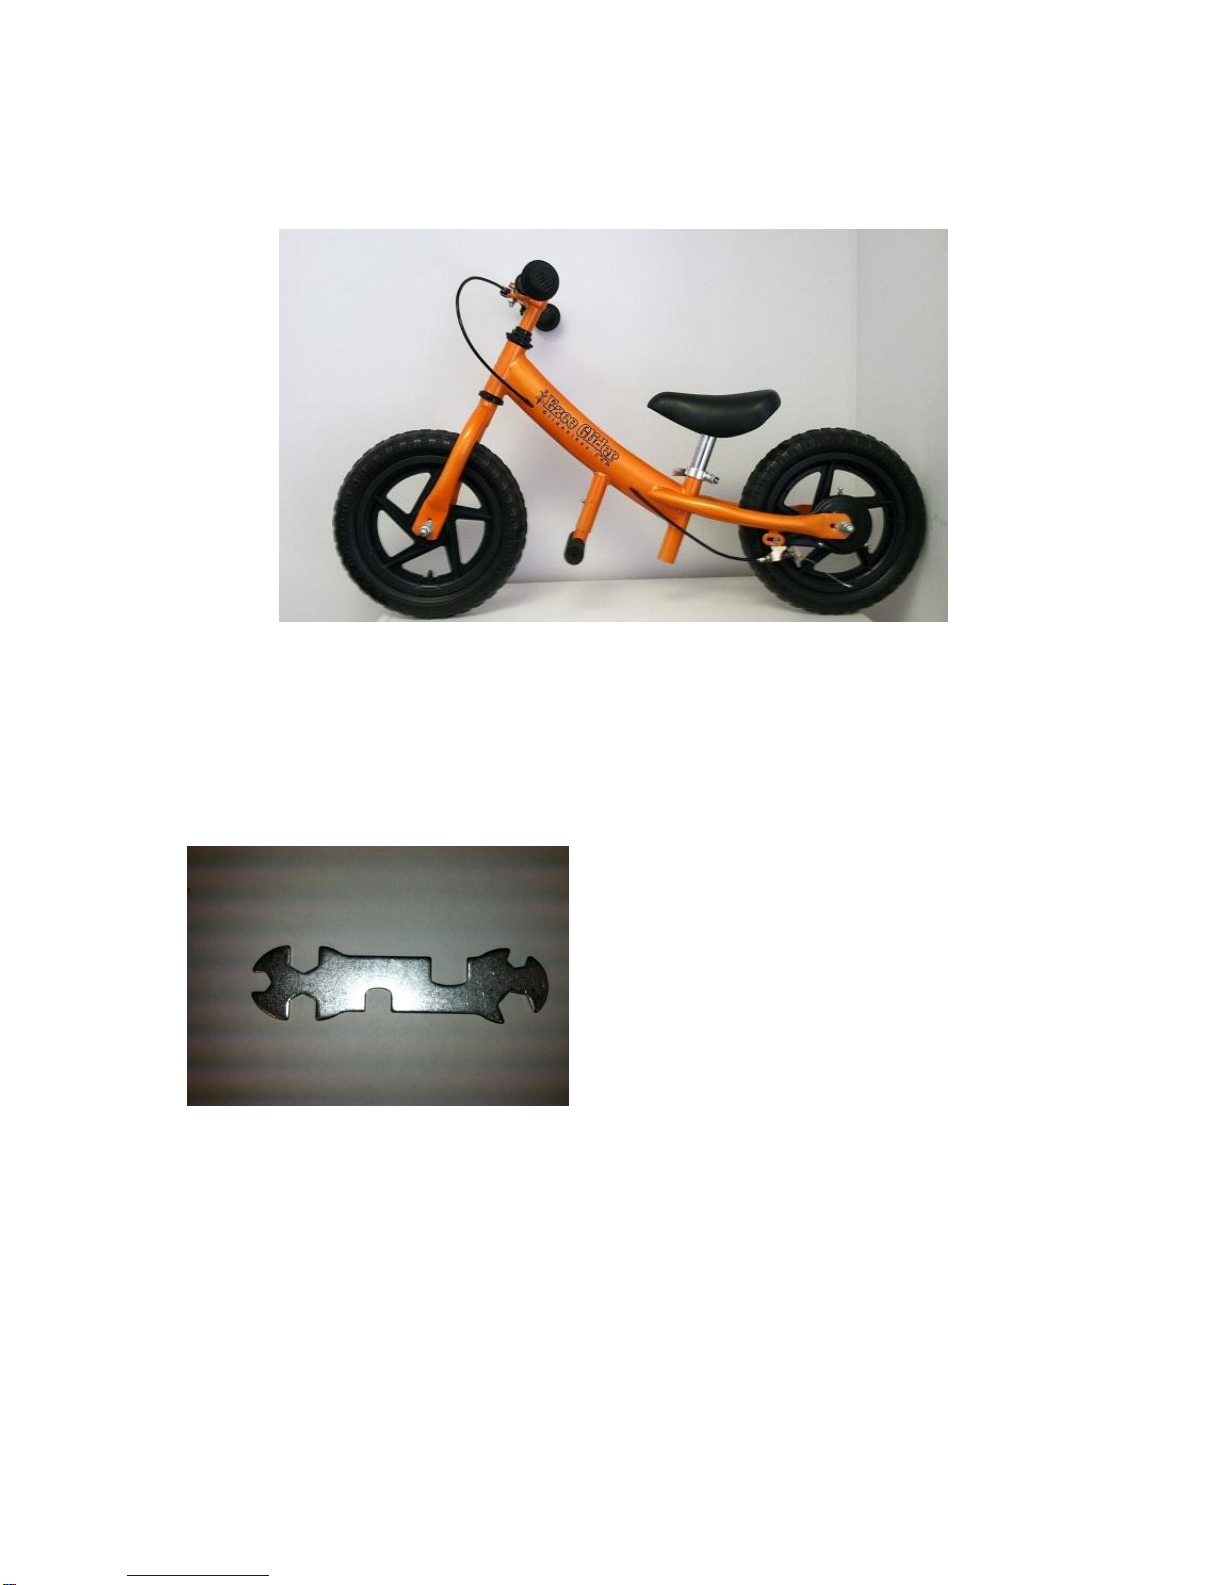
Tools needed for Assembly:
Wrench (included)
Philips Screwdriver (not included)
Assembly Instructions
Your Glider comes partially assembled. The only things that you need to do are install the front wheel, install and
adjust the handlebars, and put in the seat.
Installing and Adjusting the Handle bar:
1. Remove the plastic cover on the end of the handlebar stem by first removing the Velcro cover on top of the
handlebar stem and then loosening the chrome 12 mm bolt by 2-3 Turns to the left. The plastic cover should
slide off.

2. Once the bolt is loose and the cover has been removed, insert the handlebars. Twist the handlebars so that it
is perpendicular to the frame.
3. Tighten 12 mm bolt with provided wrench on top of stem until front wheel and handlebars won’t twist.
4. To adjust the angle of the handlebars for smaller riders, simply loosen 13 mm nut on front of the handle bars
and rotate the handles to the desired angle and retighten. Loosen screw on brake handle attachment to
adjust accordingly.

Installing and Adjusting Seat
The proper seat height is achieved when your child can put both feet on the ground at the same time when
seated. If the seat is too high or too low, use the quick-release to loosen the seat clamp bolt, adjust the seat to the
proper height, and retighten quick release. There is a line on the seat tube describing its highest setting. Do not
exceed this limit, it is dangerous and can permanently damage your bike.
Insert seat post into seat tube opening and align your seat with the frame. Once the seat is positioned to the
proper height and direction, tighten the silver quick-release until the seat won’t rotate or slide up and down.
Installing Front Wheel
With the bike upside-down on its seat and handlebars, remove the nuts and washers from both sides of the axle.
Check to make sure that the front wheel is being installed in the same direction as the rear wheel. Remove fork
protector.
 Loading...