

Page 1
TROUBLE-SHOOTING
© 2012 EyeSpy TM is a registered trademark of EyeSpy Toys Ltd. All rights reserved.
Manufactured for and distributed by Citiwell International Inc.
Conforms to the safety Requirements of ASTM F963 and EN-71(1).
WARNING! . Not suitable for children under 3 years of age due to small parts.
In an effort to continually improve our products, the items inside this package may vary slightly
from the photographs
9-401 Magnetic Drive, Toronto,Canada, M3J 3H9
Customer Care:1866 469 9686
MADE IN CHINA
PRINTED IN CHINA
www.eyespytoys.com
Contains LiPo battery pack. • Battery pack must be recycled or disposed of properly. • If at any time in
the future you should need to dispose of this product please note that Waste Electrical Products should
NOT be disposed of with household waste. Please recycle where facilities exist. Check with your Local
Authority or retailer for recycling advice. (Waste Electrical and Electronic Equipment Directive).
INSTRUCTION GUIDE
surveillance technology
6+6+
If at any time the camera unit or viewer/controller unit stops working, or works in an
unexpected fashion:
1. Check the condition of the AAA and AA batteries. If necessary, replace with fresh
batteries.
2. Check the battery condition icon on the viewing screen. If indicated remaining life is low,
please recharge the unit with the USB cord.
3. Turn both units off for 15 seconds and then turn them both back on. This will reset the
electronic systems in both units.
For any other problems or concerns,
please contact us
via the EyeSpy website
www.eyespytoys.com or call our Customer Assistance Line at 1866 469 9686
www.eyespytoys.com
Warning: Changes or modifications to this unit not expressly approved by the party responsible for compliance could void the user’s authority to
operate the equipment.
NOTE: This equipment has been tested and found to comply with the limits for a Class B digital device, pursuant to Part 15 of the FCC Rules.
These limits are designed to provide reasonable protection against harmful interference in a residential installation. This equipment generates,
uses and can radiate radio frequency energy and, if not installed and used in accordance with the instructions, may cause harmful interference to
radio communications.
However, there is no guarantee that interference will not occur in a particular installation. If this equipment does cause harmful interference to
radio or television reception, which can be determined by turning the equipment off and on, the user is encouraged to try to correct the
interference by one or more of the following measures:
- Reorient or relocate the receiving antenna.
- Increase the separation between the equipment and receiver.
- Connect the equipment into an outlet on a circuit different from that to which the receiver is connected.
- Consult the dealer or an experienced radio/TV technician for help.
- Shielded cables must be used with this unit to ensure compliance with the Class B FCC limits.
Page 2

Xplorer:
– With its rugged rubber tracks – like those of a bulldozer or a tank – the Xplorer vehicle can go
almost anywhere, carrying its color camera on board and sending back images to the viewing
screen unit atop the remote control.
USB Cord :
- The USB cord is used to charge the viewer’s lithium-polymer rechargeable battery, and
connects the viewer to the USB port that is commonly found on most computers.
Viewer:
- This hand-held viewer lets you see images being sent by the camera. You can watch live
action views, record snapshots or movies (saved to a user-supplied SD memory card), review
pictures and movies that you have created, and set the camera to record a movie after a pre-set
delay of between one and five minutes.
Remote Control:
- The simple controls allow you to steer the xplorer easily. The camera angle can also be
adjusted remotely.
CONTENTS LIST AND PARTS IDENTIFICATION
KEY FEATURES
1. 6.
Xplorer Viewer
Add SD Card
Remote Control
To record a movie, press the Select button (check mark).
The red dot in the upper right
corner of the screen will begin to flash on and off and a timer will appear that shows the
duration of the movie. To stop the recording, press the button with the Back button
(up-arrow).You can also instantly start a recording by pressing the large round button on top
of the camera.
REVIEW – When you choose this screen option and press the check mark button, you will
be given the choice of reviewing any photos or movies you have taken. The SD memory
card containing the photos or movies must be inserted in the viewer to use this function.
Once you choose to review either photos or movies you will be shown a list of the items
stored on the SD memory card. Move the cursor down with the down buttons. Press the
check mark button to choose which item you wish to review. Press the up-arrow button to
return to the item choice menu. Press the up-arrow again to return to the main screen menu.
TIMER – Use the Next button (down-arrow) to choose the timer function, then press the
Select button (check-mark). A timer display is shown and you are given the choice of adding
time or confirming your choice (OK). The timer display will increase by one minute every
time you choose to “Add Time”, up to a maximum of 5 minutes. If you continue pushing the
Select button the timer display will return to “00:01” (one minute). Choosing “OK” will start
the countdown to “00:00.” Movie recording will then start, and will continue for 90 seconds.
The timer will then begin the countdown again, using the preselected time. Another 90
second movie will be recorded. This will continue until the user-installed SD memory card is
full. The number of movies you can record and save will depend on the memory capacityof
the SD card you are using.
DELETE – Choosing this function and pressing the check-mark button lets you delete any
photo or movie by choosing it and then pressing the check-mark button. You will be asked
to confirm your choice by pressing the check-mark button again. Choices are also available
to delete all photos or all movies at once.
Some function screens will show a battery icon in the upper left hand corner of the screen.
As battery power is used the bars that make up the battery icon will disappear one by one.
When the lithium-polymer battery needs to be recharged a “Battery Low” icon will briefly
appear and the battery icon will turn red and flash on and off several times.
Attach the USB cord and connect the viewer to a computer’s USB port as described in the
above section “GETTING STARTED.”
VIEWER BATTERY RECHARGING
USB Cable
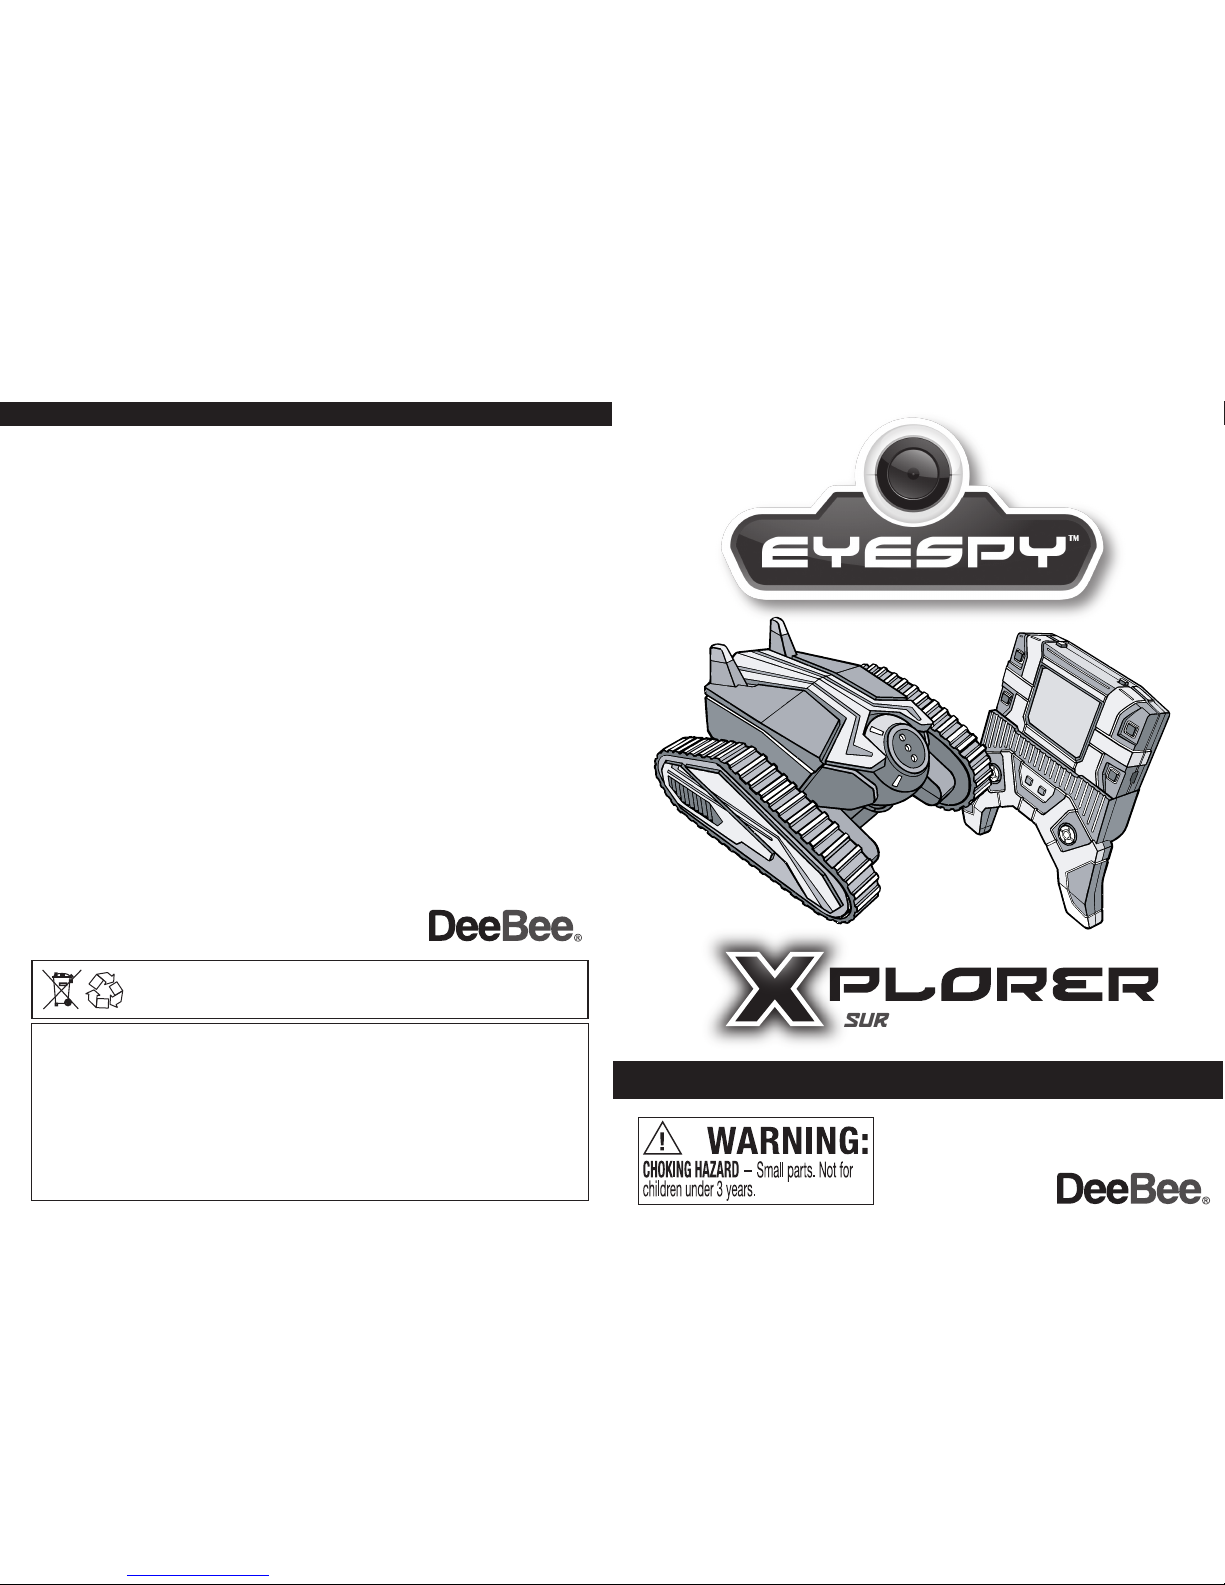
The EyeSpy™ Xplorer is a super-tough go-anywhere, radio-
controlled, audio-video spy vehicle for observing in real time with full
color. It consists of a tracked vehicle and a controller/viewer.
Antenna
Page 3

GETTING STARTEDHOW TO USE (Continued)
5. 2.
Photo - to take a picture
or start a recording
Next - moves the screen
cursor down to choose
another task
Select - to confirm
chosen function
Back - cancels current
function & goes back
one step to previous function
WATCH
RECORD
REVIEW
TIMER
DELETE
Night Vision OFF / ON
Video Screen
WATCH – When you press the button with the check mark, the screen will show you what
the EyeSpy Xplorer camera is seeing. If you are in low-light conditions and the image is not
clear, you can press the small square button on top of the viewer. This will turn on the
amplified Night Vision circuit which will make the image easier to see, and will impart a slight
green tint to the image. In either mode a sharp picture will be seen if the camera is no closer
than 8 inches (20cm.) from the subject.
To take a picture, push the button with the icon of a camera on it. Note: To use this feature
you must have an SD memory card inserted.
RECORD – Note: To use this feature you must have an SD memory card inserted into the
card socket located on the left side of the viewer, as shown in the illustration.
Viewer – Slide the power switch on top of the viewer to the left. The screen will light up and
show the EyeSpy logo. In another second or two the menu will appear as below. To
navigate the menu there are four buttons on the front of the viewer.
EXPLANATION OF EACH FUNCTION
Xplorer:
Use a small Philips head (+) screwdriver to remove the battery compartment cover
located on the bottom of the Xplorer. Insert four AA 1.5V alkaline batteries, taking care to
insert them correctly, using the images molded into the plastic of each battery location.
Reinsert the battery cover and retighten the chromed screw. Do not use inexpensive
carbon-zinc batteries, generally labeled “heavy-duty.”
Remote Control:
Insert two AAA 1.5V alkaline batteries in the battery compartment located on the back of
the remote control.
1
2.
BATTERY SAFETY INFORMATION
• This unit uses two AAA 1.5 volt batteries and four AA 1.5V batteries.
• Always use fresh batteries.
• Do not mix old and new batteries.
• Do not mix batteries of different types.
• Remove exhausted batteries and dispose of them properly.
• If this toy will not be used for an extended term please
remove the batteries.
• Do not try to recharge a non-rechargeable battery.
• Do not take a battery apart. Do not short-circuit the terminals.
• Do not dispose of batteries in fire – they may explode.
BATTERY INSTALLATION
Xplorer
Remote Control
Night Vision
LED on camera ON/OFF
Switch
- Press to
Rotate Lens
- Press again
to stop
rotation
- Forward/Reverse
- Left and Right
Turns Toggles
Remote Control – Fully extend the remote control’s antenna.
Rotate Camera
Add
Antenna to
Controller
Warning: Changes or modifications to this unit not expressly approved by the party responsible for compliance could void the user’s authority to
operate the equipment.
NOTE: This equipment has been tested and found to comply with the limits for a Class B digital device, pursuant to Part 15 of the FCC Rules.
These limits are designed to provide reasonable protection against harmful interference in a residential installation. This equipment generates,
uses and can radiate radio frequency energy and, if not installed and used in accordance with the instructions, may cause harmful interference to
radio communications.
However, there is no guarantee that interference will not occur in a particular installation. If this equipment does cause harmful interference to
radio or television reception, which can be determined by turning the equipment off and on, the user is encouraged to try to correct the
interference by one or more of the following measures:
- Reorient or relocate the receiving antenna.
- Increase the separation between the equipment and receiver.
- Connect the equipment into an outlet on a circuit different from that to which the receiver is connected.
- Consult the dealer or an experienced radio/TV technician for help.
- Shielded cables must be used with this unit to ensure compliance with the Class B FCC limits.
Page 4

GETTING STARTED (Continued)
Note: Reception is good in open areas such as arenas, or outdoors on level ground and
away from buildings and transmission towers, poles and wires. Keep a good distance away
from home or business Wi-Fi routers. Keep away from machine rooms.
EyeSpy wireless transmission can suffer from interference caused by other 2.4MHz devices
such as baby monitors, home wireless CCTV security systems and wireless telephones.
Keep away from high voltage cable and towers. Keep away from communication/mobile
stations.
Do not use the units in damp, wet or high temperature conditions. Do not drive the vehicle
through water.
The effective range of 100 feet (30 metres) may be severely reduced if the units are used in
any of the above noted situations.
Fully extend the remote control’s antenna. Power up the Xplorer by moving the on/off
switch, located on the bottom of the unit, to the left. Set the unit down on the floor or the
ground.
The two round buttons on the
remote control the movement of the
rubber treads. Pushing both round
buttons downward and forward at
the same time makes the Xplorer
move straight ahead. Pressing them
downward and back moves the
Xplorer straight back.
Pressing the right button down and
ahead makes the explorer turn left.
Pressing the left button down and
ahead makes the Xplorer turn right.
Pressing each button down and
backward causes the Xplorer to turn
in reverse.
The small square button on the left is
pressed to turn an LED light above the
Xplorer’s camera on. Pressing it again will
turn the light off. Pressing the small
square button on the right will move the
camera lens up and down, letting you
take pictures or movies of subjects that
are either straight ahead, or that are
located higher than the Xplorer.
Never aim the camera at a very strong
light source such as the sun, a nearby
floodlight or car headlight or a powerful
flashlight. This may destroy the camera
and screen. If this occurs, you should
return the unit to us for repair or replacement at your expense.
When you are finished, turn the Xplorer off with the switch on the bottom of the Xplorer.
HOW TO USE
3. 4.
Some function screens will show a battery icon in the upper left hand corner of the screen.
As battery power is used the bars that make up the battery icon will disappear one by one.
When the lithium-polymer battery needs to be recharged a “Battery Low” icon will briefly
appear and the battery icon will turn red and flash on and off several times.
Attach the USB cord and connect the viewer to a computer’s USB port as described in the
above section “GETTING STARTED.”
(Continued on page 5)
Viewer:
The viewer’s built-in Lithium Polymer rechargeable
800mAh, 3.7 V, non-removable battery requires
charging before its first use. The small plug on the
included USB cord must be carefully inserted into the
jack on the right-side of the viewer. The larger plug is
inserted into an open USB port, found on most desktop,
laptop, and notebook computers.
Leave the USB cord attached for two hours. After two
hours, disconnect the USB cord. The circular opening
next to the USB connection jack is a 1/8” mini-jack.
IMPORTANT SAFETY INSTRUCTIONS AND WARNINGS
For LI-ION / POLYMER BATTERIES
• You should read these safety instructions and warnings before using or charging your battery.
• Never disassemble the viewer or try to remove the battery.
• While generally safe, Lithium-Polymer batteries are volatile. Failure to read and follow the below
instructions may result in fire, personal injury and damage to property if charged or used improperly.
• Lithium-Polymer battery may explode and cause fire if misused or defective.
• When charging the battery, please place it on a fire resistant surface. Do not leave the viewer on
a wood surface or on paper, carpet, or grass. Do not leave the unit unattended while it is
charging. If at any time you witness the viewer starting to swell up, emit smoke or feel hot,
discontinue charging process immediately, disconnect the viewer and observe it in a safe place
for approximately 15 minutes. The battery may be leaking, and the reaction with air may cause
the chemicals to ignite, resulting in fire. In the unlikely event of this occurring, please contact us
via the EyeSpy website www.eyespytoys.com or call our Customer Assistance Line at 1866 469 9686.
•
Never store or charge the viewer inside your car in extremely warm temperatures (105ºF or 41ºC),
since extreme temperature could ignite a fire.
• Never drop the viewer, as this may cause a battery to leak.
Add
USB
Cable
3.
When the viewer unit battery is charged
and new batteries are installed in the
Xplorer and the viewer, attach the viewer
to the top of the remote, as shown in the
diagram.
For two person play, the screen can be
detatched for one person to hold control
the Xplorer and one person to hold the
viewer.
Your EyeSpy Xplorer is ready for use.
4.
Xplorer
Forward
Right Turn
- Left Toggle
forward More
Left Turn
- Right Toggle
forwaed More
Pivot
to Right
Pivot
to Left
VEHICLE TURNS
PIVOT VEHICLE
 Loading...