

Eyeris ERB-LW1965N, ERB-LW1965P Installation And Operating Instruction Manual
www.eyerisdigital.com
Installation and Operating
Instruction Manual
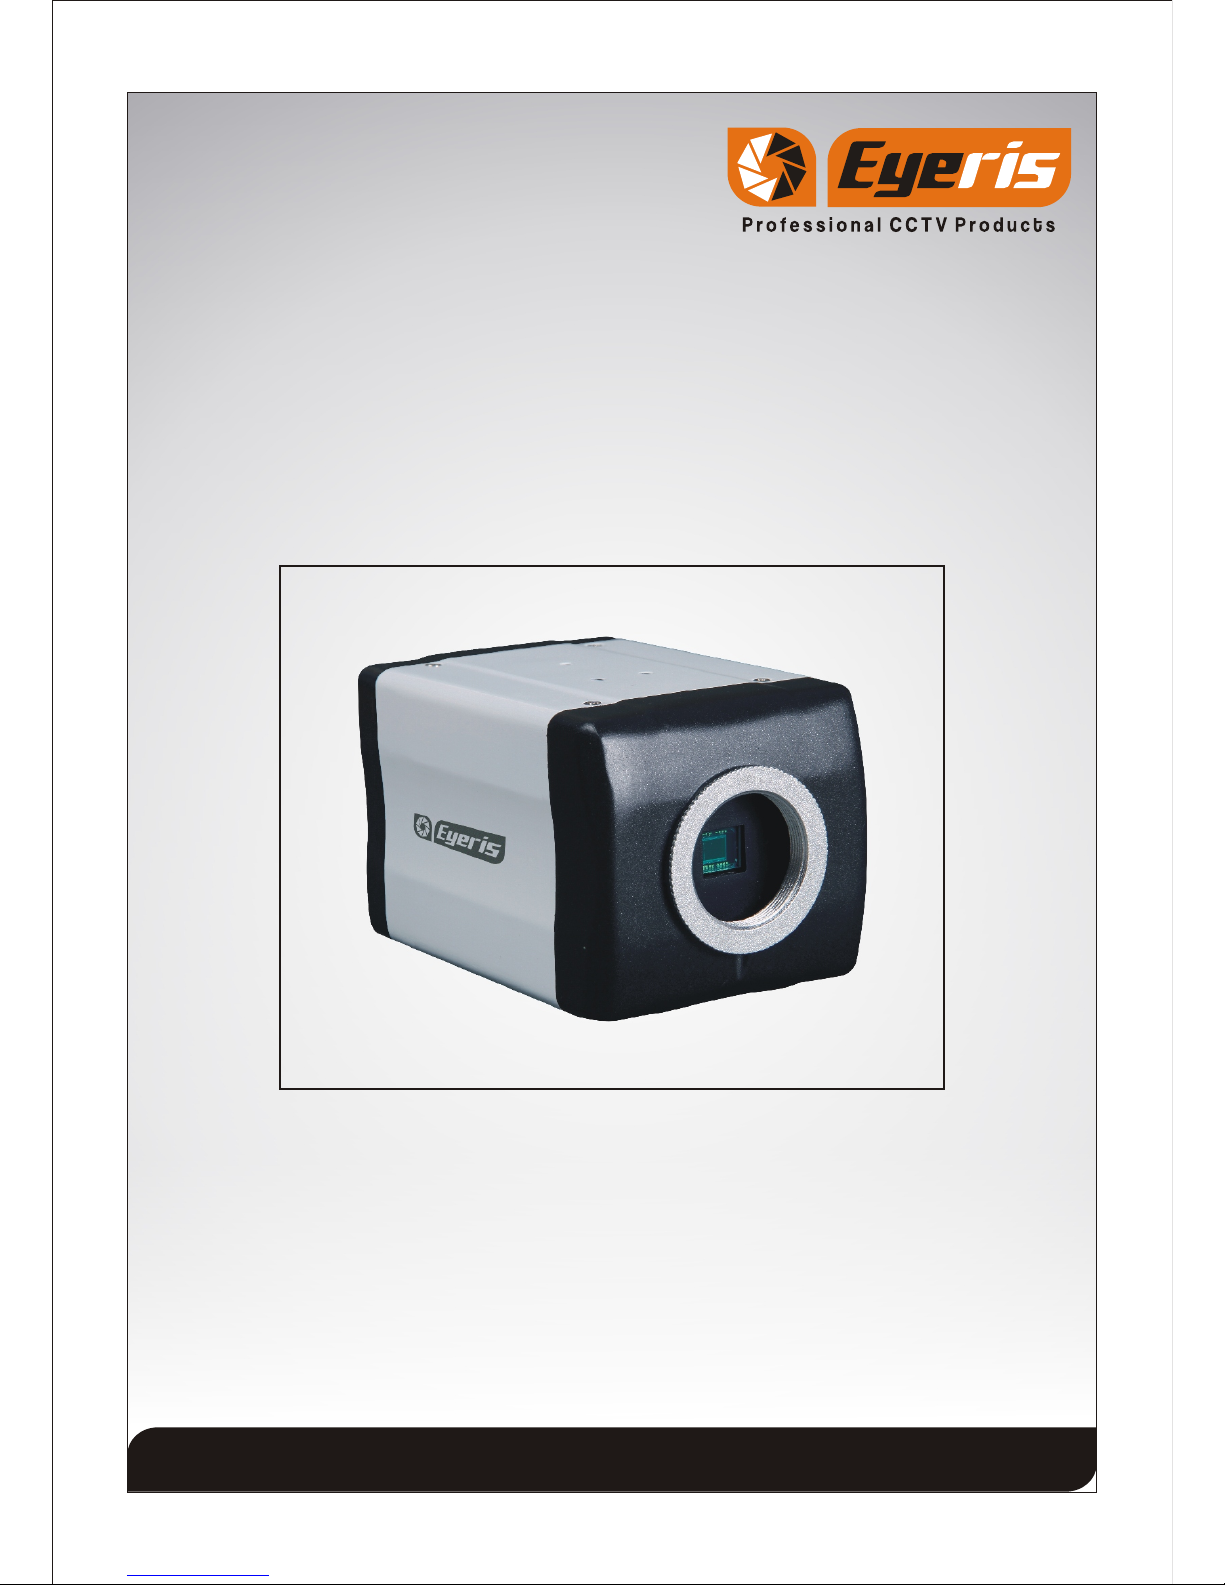
TRUE WDR C/CS(BOX) MOUNT CAMERA
ERB-LW1965N
ERB-LW1965P
Thank you for your purchase of this product.
Before attempting to connect or operate this product, please read these instructions
completely.
Product specifications and its contents subject to change without any prior notice.
The picture is for reference, the object as the standard.
Page 1

CONTENTS
1. General Information
- Safety Precaution
- Package contents
2. Installation of Camera
- Camera Connection
- Installation of Camera
- Tips for Camera Location
- Dimension
3. Operation Guide
- Menu structure
- Function Description
4. Technical Specification
5. Troubleshooting
6. Cleaning and Care
7. Maintenance and Support
Page 2
1.General Information
> Safety Precaution
1.Read these instructions carefully before commissioning the camera in order to avoid
damages caused by improper installation or use.
2.Do not abuse the camera. Avoid striking, shaking, etc. The camera could be damaged
by improper handing or storage.
3.Use a dry cloth to clean the camera lens glass when dirty. When the dirt is hard to
remove, use a mild detergent and wipe gently. Then wipe off the remaining detergent
with a dry cloth.
4.Do not aim the camera at bright objects. Whether the camera is in use or not, never aim
it at the sun or other extremely bright objects. Otherwise, blooming or smears may be
caused.
5.In case of outdoor use, you have to install the camera in a suitable weather protection
case incl. heating element.
6.Operate the camera with the designated voltage only.
7.Use the camera at temperatures within -10 C to +50 C and humidity below 90%.
> Package Contents
1.True WDR C/CS(Box) Mount Camera
2.Operating Instructions
3.Mounting Template Sticker
Caution
To Reduce the risk of electric shock, do not remove cover. No
user serviceable parts inside. Refer servicing to qualified
service personnel.
Page 3

2.Installation of Camera
> Camera Connections
12V DC Power Supply
Use standard 12V DC output power supply. Connect 12V DC supply to 2-pin power
terminal block. Check power supply polarity (+ and -).
Video Output Connection
Use standard 75 Male BNC pin terminate with Co-axial video cable then connect to
camera video out BNC Female pin.
> Installation of Camera
Mounting Template Sticker: The mentioned technical drawing is for reference only.
Actual size of Mounting Template Sticker is matched with Dome Base. Stick Mounting
Template Sticker supplied for drilling the mounting hole on the mounting surface.
> Tips for Camera Location
1. Never expose the camera to direct sunlight without additional camera housing. Keep
sufficient distance to direct heat sources.
2. Never install the camera at humid, oily or dusty locations without using an additional
housing. (Without additional housing the camera is not suitable for outdoor use)
3. Do not aim the camera towards indoor lighting, the windows, the sunlight or the sky.
(To get good pictures, camera and light should be aimed towards the object)
4. Avoid peak light as background (Also caused by reflection)
Page 4
 Loading...