

Page 1

ophthalmic refractometer
Product Manual
Model: EQ102
Page 2

VisionCheck Device
Other
Power
Eye cup
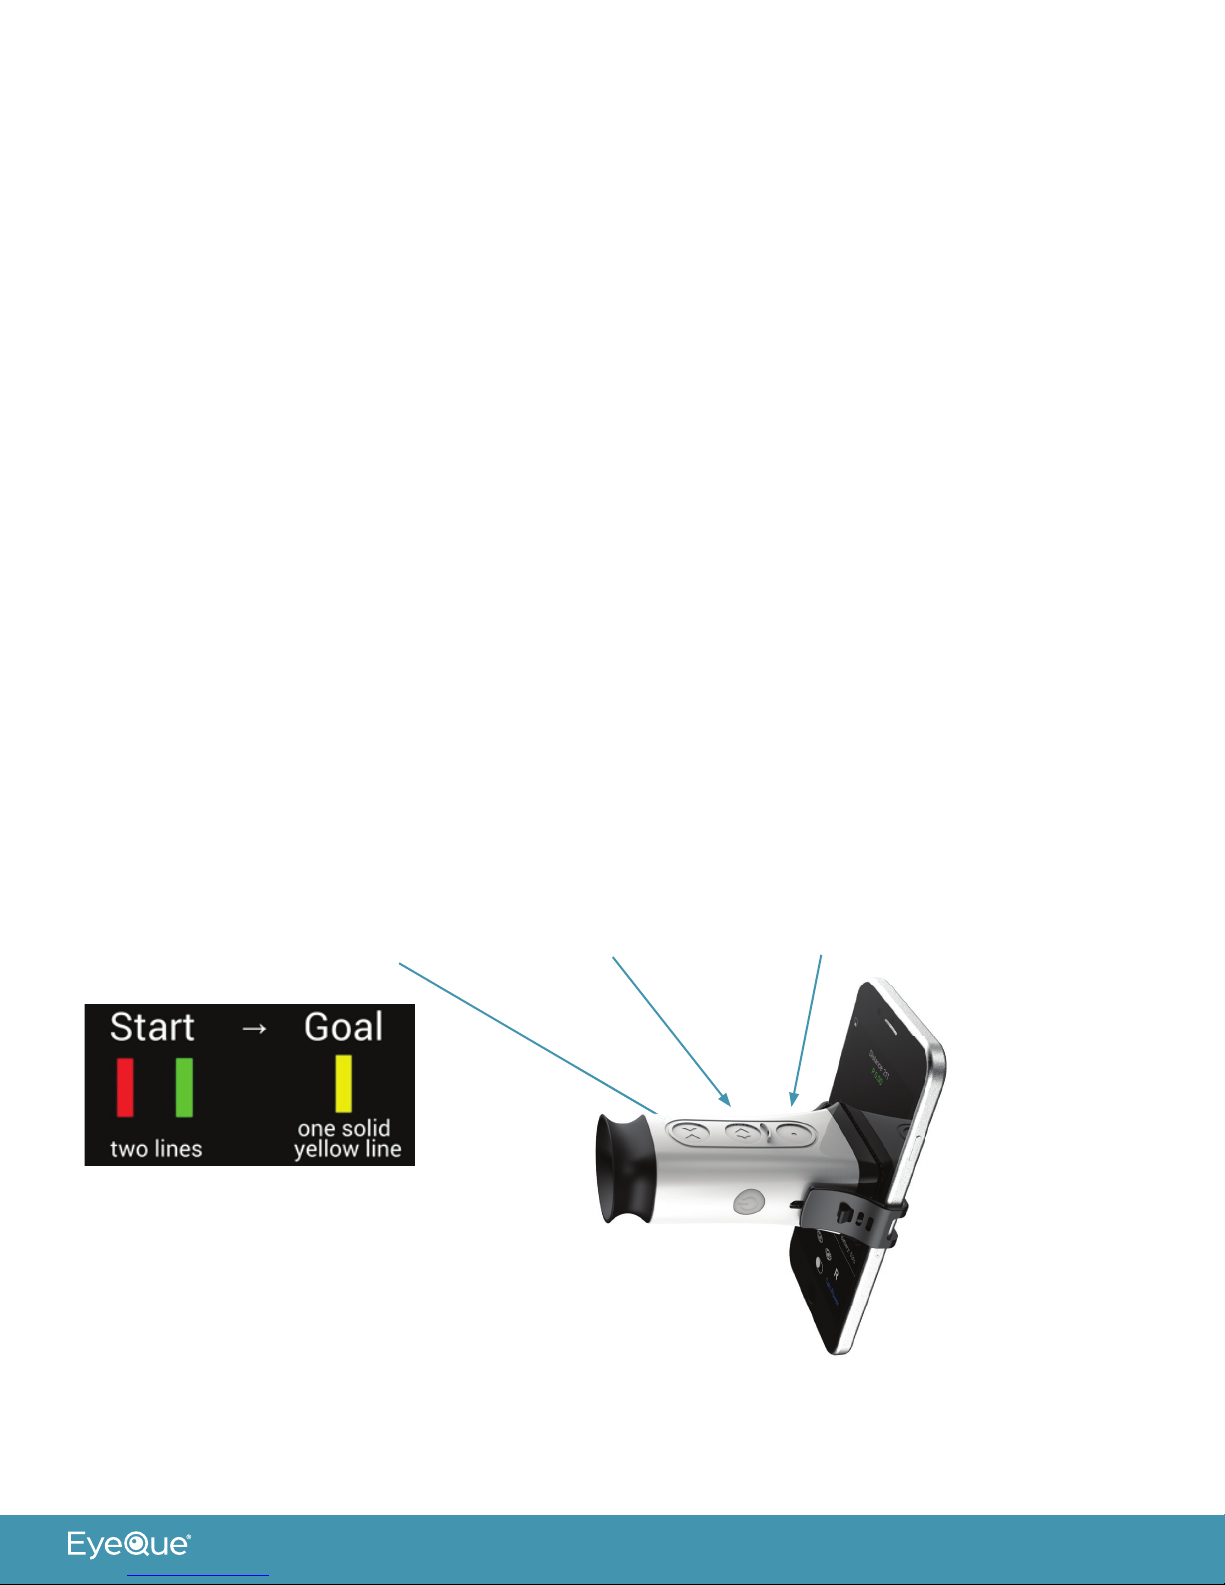
Test Buttons
Move lines closer
Move lines farther
Micro USB charging port
Hooks for elastic band
Technical Specifi cation
Spherical power -10 to +8 D (0.25 D steps)
Cylindrical power 0 D to -5D (0.25 D steps)
Astigmatic axis 0° to 180° (1° steps)
Next/Rotate lines
Device weight 2 ounces
Dimensions 92mm X 50mm X 35mm
Light source Smartphone Display (eye safe)
Operational Condition
• Temperature range
• Humidity
Power supply Battery, 400 mAh, Lithium-Ion
Minimum smartphone
requirement
Bluetooth Supports Bluetooth 5.0 standard
Auto-off 15 minutes of inactivity
1
0 to 40 degrees C (32 to 104 degrees F)
< 95 % non-condensing
250 ppi screen resolution
Page 3
Intended use
The EyeQue VisionCheck is a self-administered, mobile application-driven refraction
measurement device that provides spherical, cylindrical and axis correction metrics of
the eye. The VisionCheck allows the tracking of vision changes over time and generates
estimated refractive corrections.
Description
The EyeQue VisionCheck is a self-administered refraction measurement device that uses
your smartphone to determine EyeQue EyeGlass Numbers®: lens power needed to correct
nearsightedness or farsightedness as well as lens power and axis needed to correct for
astigmatism. Your EyeQue results are safely stored in the EyeQue Cloud®.
EyeGlass Numbers are not prescriptions. Personal vision testing does not replace the need
for an annual eye health exam by an eye doctor.
For ages 18 years or older.
Activation with serial number
Each EyeQue device has a serial number. This number is used to unlock your EyeQue app
to ensure you are using a genuine EyeQue device. Activation is a one-time operation for an
EyeQue member account. If the device is used on another account, the device serial number
may need to be re-entered. Store in a safe place.
Before you get started
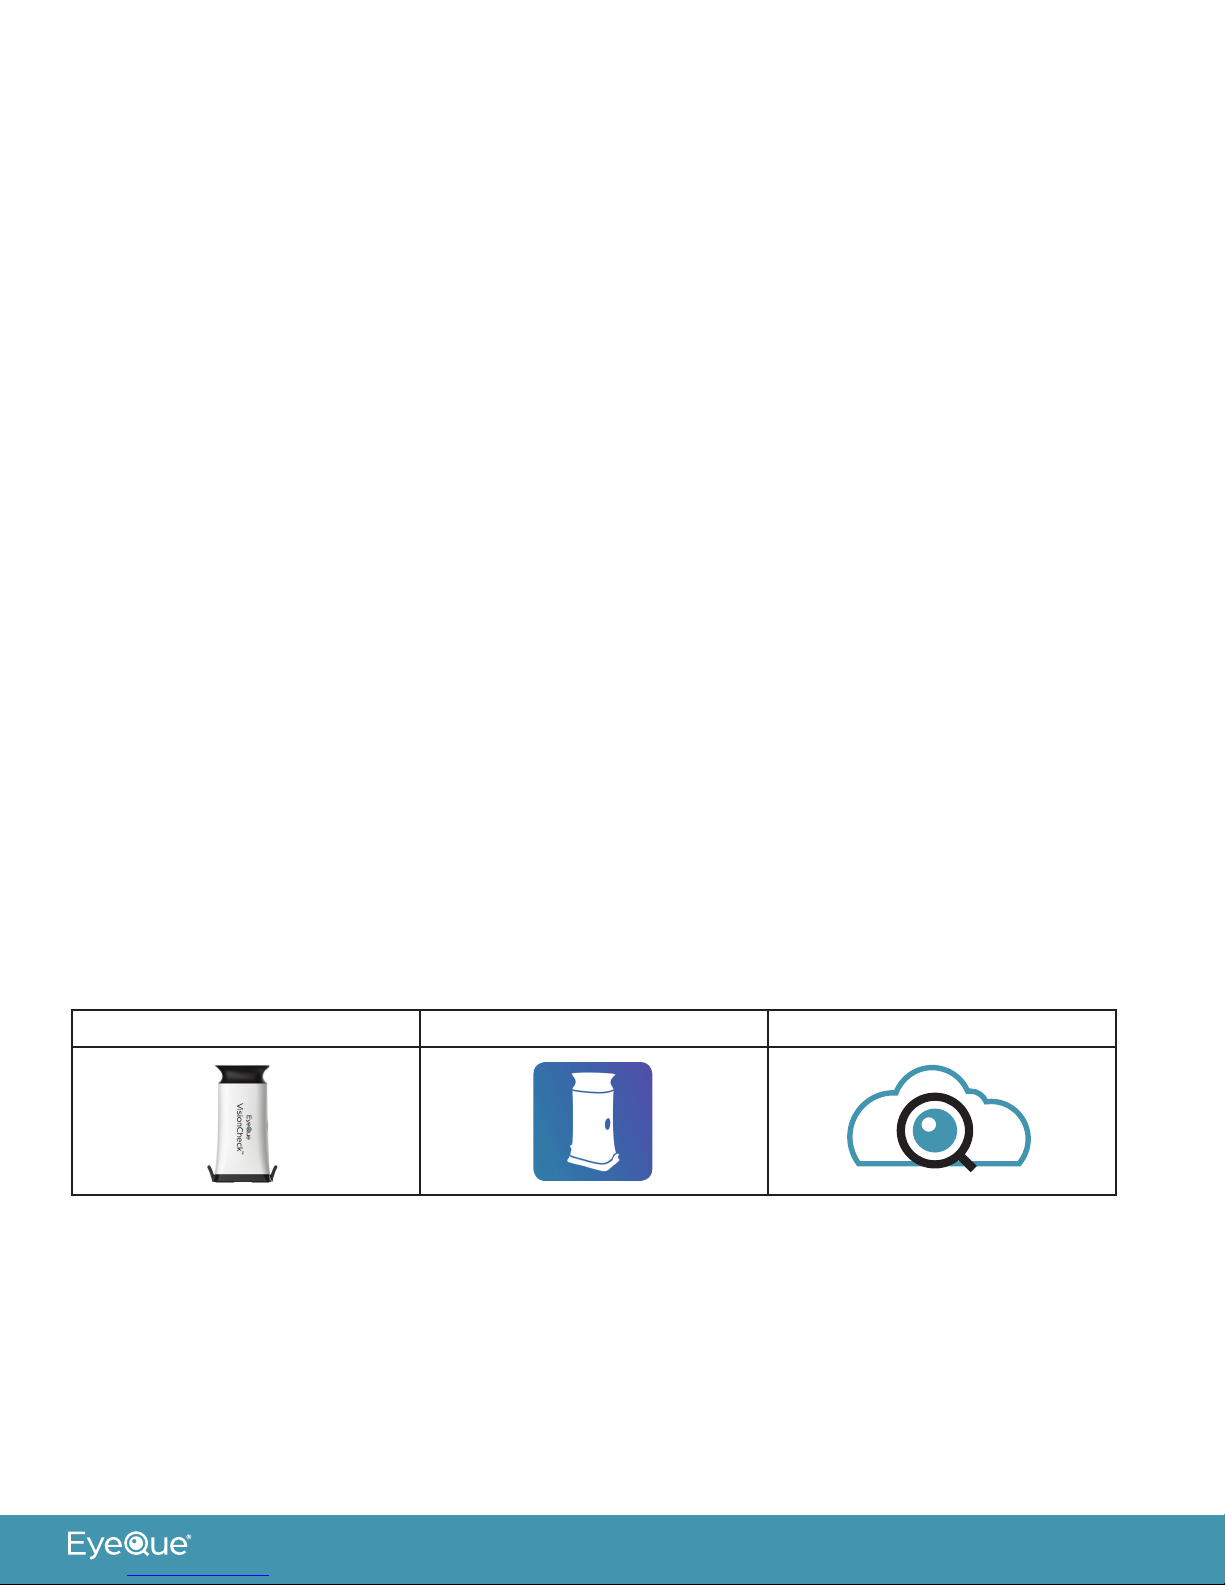
Charge the Device Download the App to your Phone Setup your Membership
Charging
• It is recommended that you charge the VisionCheck device before using.
• Charge the device with the micro USB cable (USB wall charger not included).
• LED on the power button turns red while charging.
• LED on the power button turns off once charging is complete.
2
Page 4

Download the app and complete your account activation process
• Download the EyeQue VisionCheck app from Google Play or Apple App store.
• Launch the app and register for an account. If you already have an EyeQue account, sign
in to your existing account.
• You’ll be asked for the serial number. You will find a serial number inside the box for
registration.
• Complete the app activation process.
Getting started
• Remove the VisionCheck device from the box and remove the protective cover from the
base.
• Turn up your smartphone screen’s brightness, as well as the volume. There will be voice
prompts to help you through your test.
• Click on the “Test” tab in the app.
Turning on the VisionCheck device
• Turn on the device by pressing the power button for three seconds.
• Power Button will blink blue indicating that the device is ready to be paired to your phone.
Setup Bluetooth connection between the VisionCheck device and your phone
• Turn on the EyeQue VisionCheck app on your phone and press “Test”.
• The app will look for the VisionCheck device for up to 30 seconds.
• Once the app discovers the VisionCheck device, it will display the device name for you to
select.
• You can use the pen icon to personalize your device name.
• After selecting the device, click on “Continue” on the app.
• The blinking blue light on the power button will turn solid blue when paired.
Attach the device to your phone
• Attach the device within the dotted line displayed on your phone screen with the
VisionCheck logo facing toward the bottom of the phone and the three test buttons
towards the top. The device should not slide easily once attached to your phone.
• Secure the device by attaching the silicone elastic band with a snug fit.
3
Page 5
Check battery status from app
• When you pair with the VisionCheck device the app will indicate the charge level of the
VisionCheck device.
• While testing there will be a battery level indicator on the screen.
How to take your first vision test
Note: If this is your fi rst time we recommend going through the tutorial as well as
the practice test. Once you find the lines and successfully complete your first test, all
subsequent tests will become much easier to perform.
• Click “Next” and select whether you will be taking the test with or without glasses or
contact lenses and if your phone has a screen protector.
• Place your elbows on a flat surface to hold your smartphone as steady as possible.
• Hold the smartphone at reading distance, and slowly move it closer until the eye cup of
the device touches your right eye.
• You should see two lines, one red, and one green. Take a few seconds to find these lines.
If you do not see them, try gently moving the device left and right, up and down. It takes
some practice and is an important part of getting accurate test results.
• Once you see the red and green lines, open and relax your left eye (untested eye) during
the test. Most people find it helpful to focus the untested eye on a large object at least 6
feet away. If you continue to have diffi culty go to eyeque.com/visioncheck for additional
tips.
Move lines closer • Move lines farther • Next/Rotate lines
• Tap on the (> <) or the (< >) button on the VisionCheck device and overlap the red and
green lines completely, to form one solid yellow line.
• The device will vibrate gently when you tap the buttons.
4
Page 6
• Holding the (> <) or the (< >) button for a longer period of time, also known as “longpress”, will result in repeated step-movements of the lines.
• Once you are satisfied that the lines are overlapped, press the “Next/Rotate” button for
two seconds on the device.
• Continue looking into the device. The red and green lines will be rotated to a different
angle. Overlap them as you’ve done for the previous test; press the “Next/Rotate” for two
seconds when you see one solid yellow line.
• Continue and complete all 9 measurements for your Right and then the 9 measurements
for your Left eye. Follow the voice prompts.
• You may choose to save or discard the test result. Discarded result will not be used in
calculating EGNs.
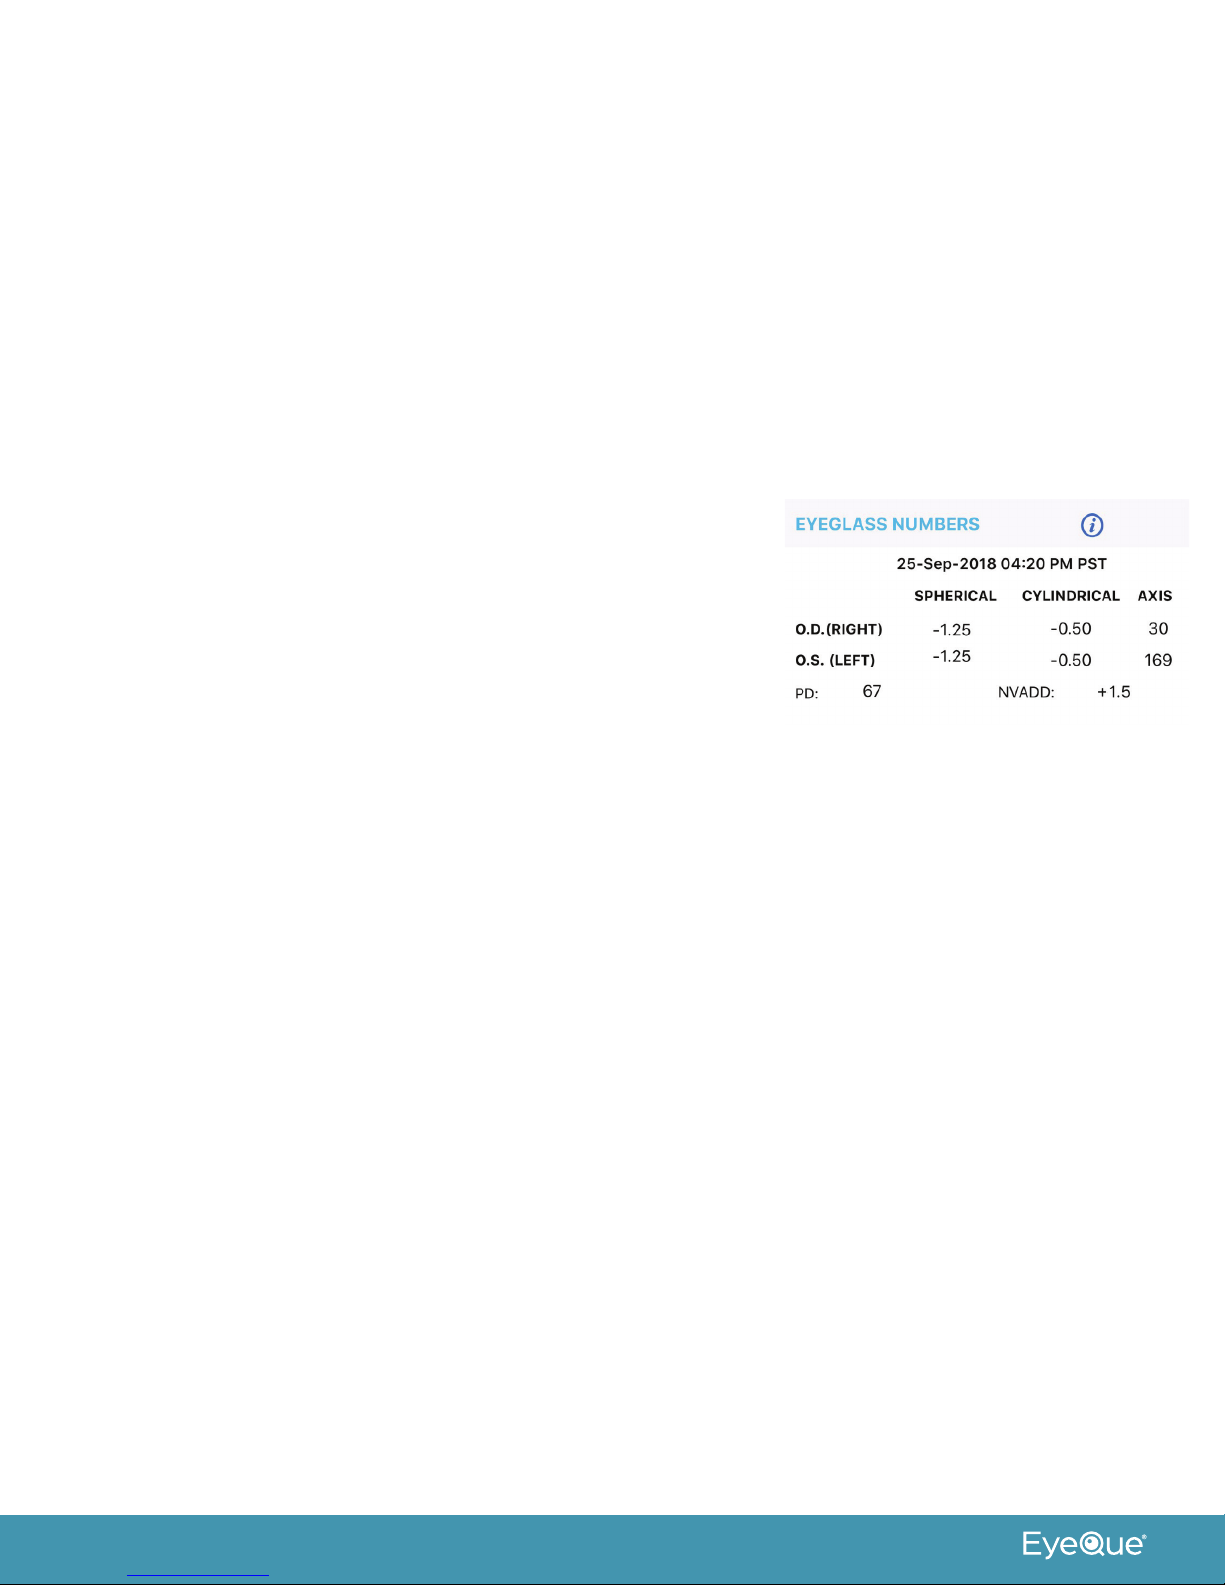
EyeGlass Numbers® (EGNs)
• After taking at least three sets of saved vision tests with
the EyeQue VisionCheck, the app will display a set of
EyeGlass Numbers.
• See: What Can You Do with EyeGlass Numbers
Note: Although a minimum of three tests are needed,
more vision tests will result in better, more accurate
EyeGlass Numbers.
What can you do with EyeGlass Numbers?
We recommend using them for general tracking of your eyesight over time and providing it
to your eye care provider before your annual eye exam for evaluation. EGNs can be used to
order eyeglasses from online retailers that do not require an eye care provider’s prescription
certification.
EyeGlass Numbers are not prescriptions. Personal vision testing does not replace the need
for an annual eye health exam by an eye doctor.
Multiple users
One device can be shared with other users.
EGN calculations are based upon the results of several saved tests for a given individual
and are available on their personal dashboard. Each user must have a separate EyeQue
membership.
5
Page 7

Clean between users
Clean the VisionCheck device eye cup with rubbing alcohol between users. Remove and/or
allow the rubbing alcohol residue to evaporate before bringing the device eye cup to the eye.
Contraindications
The VisionCheck device should not be shared with users that are known to have, or exhibit
signs or symptoms of, an eye infection.
For other users to obtain their own membership
Via Computer
1. Create an account.
• Create an account by going to https://store.eyeque.com/customer/account/create/
• Confirm your email address and login to your account.
2. Download the EyeQue VisionCheck app.
3. Login using the app.
4. You may be prompted for the serial number from the EyeQue device.
Via the App
1. Download the EyeQue VisionCheck app.
2. Open the app and on the login screen click the “Register” button.
3. Complete the information.
4. Confirm your email address.
5. Login and enter the device serial number.
Warranty information
Your EyeQue VisionCheck purchase comes with a 30-day money back guarantee and a
limited 1-year parts and labor warranty. Proof of purchase from an authorized seller
(e.g.: EyeQue.com, Amazon Inc. on Amazon, EyeQue on Amazon, Indiegogo, and BestBuy.
com) and product serial number are required for processing.
The accuracy and precision of the results can vary among individuals. Not all users
will get accurate or consistent results because of, but not limited to, effects such as
accommodation, other eye conditions, insufficient manual dexterity, or improper use. Since
the EyeQue vision test is self-administered, EyeQue does not make any guarantees regarding
results.
6
Page 8

Please visit our website at www.EyeQue.com for additional product information or email us
at https://www.eyeque.com/support/#visioncheck with any questions.
Address:
39608 Eureka Drive
Newark, CA 94560
USA
Safety warning
While using EyeQue products to personally measure and track vision has the benefit of
detecting changes between regular eye exams, it does not replace a comprehensive eye
exam that evaluates ocular health or binocularity. EyeQue urges people to visit an eye doctor
annually for a full eye health exam.
For ages 18 years or older.
This device contains a Lithium-ion battery.
• Do not discard in trash.
• Do not expose to high heat or incinerate.
• Do not charge in high temperatures.
• This device should be disposed of in accordance with your local rules and regulations.
Pupillary distance (PD) measurement tool
The PDCheck, a pupillary distance measurement tool, is included with your EyeQue
VisionCheck purchase. It is provided as a useful tool if you choose to order glasses from
online retailers. It is not a part of the VisionCheck vision test and is not required to achieve
accurate EGNs.
What is pupillary distance?
Pupillary Distance is the distance between the centers of the pupils of the eyes, measured in
millimeters. PD is one of the measurements necessary to order glasses.
7
Page 9

Frequently asked questions
Q. What is the charging time for the VisionCheck?
A. Approximately 1.5 hours.
Q. What does the power button light indicate?
A. When the EyeQue device is ON (and not plugged in for charging):
• Blinking blue: Broadcasting/waiting for pairing.
• Blinking red: Low battery.
• Solid blue: Connected/paired.
When the EyeQue device is plugged in for charging and the device is OFF:
• Solid Red: Charging.
• LED OFF: charging is complete.
Q. My device makes a sound when it rotates, is this normal?
A. Yes. The sound is from the internal mechanical movement.
Troubleshooting
Situation: Nothing happens when I hold the power button down for 3 seconds.
Action: Ensure the device is fully charged and try again.
Situation: The lines in the device are not rotating when the Next/Rotate Lines button is
pressed.
Action: Exit the test, pair the device, and try again.
Situation: The Bluetooth connection drops.
Action: Make sure the device is within 5 feet of the phone and try pairing again.
Situation: The Bluetooth connection drops during the test.
Action: Exit the test, pair the device, and try again.
Situation: The device battery dies during a test.
Action: Exit the test, charge the device, and restart the test.
If you have any additional questions, contact us at [email protected].
8
Page 10
ophthalmic refractometer
39608 Eureka Drive, Newark CA 94560
Made in Taiwan
Manufactured for EyeQue Corp.
P/N: VCKPM082018A Rev. 3.0
 Loading...