

Eyemax IT-6339V, IT-6335V User Manual
Surface Mount / Flush Mount Type
Waterproot Housing (IP68 rating)
Upgraded 4Axis
Easy Installation
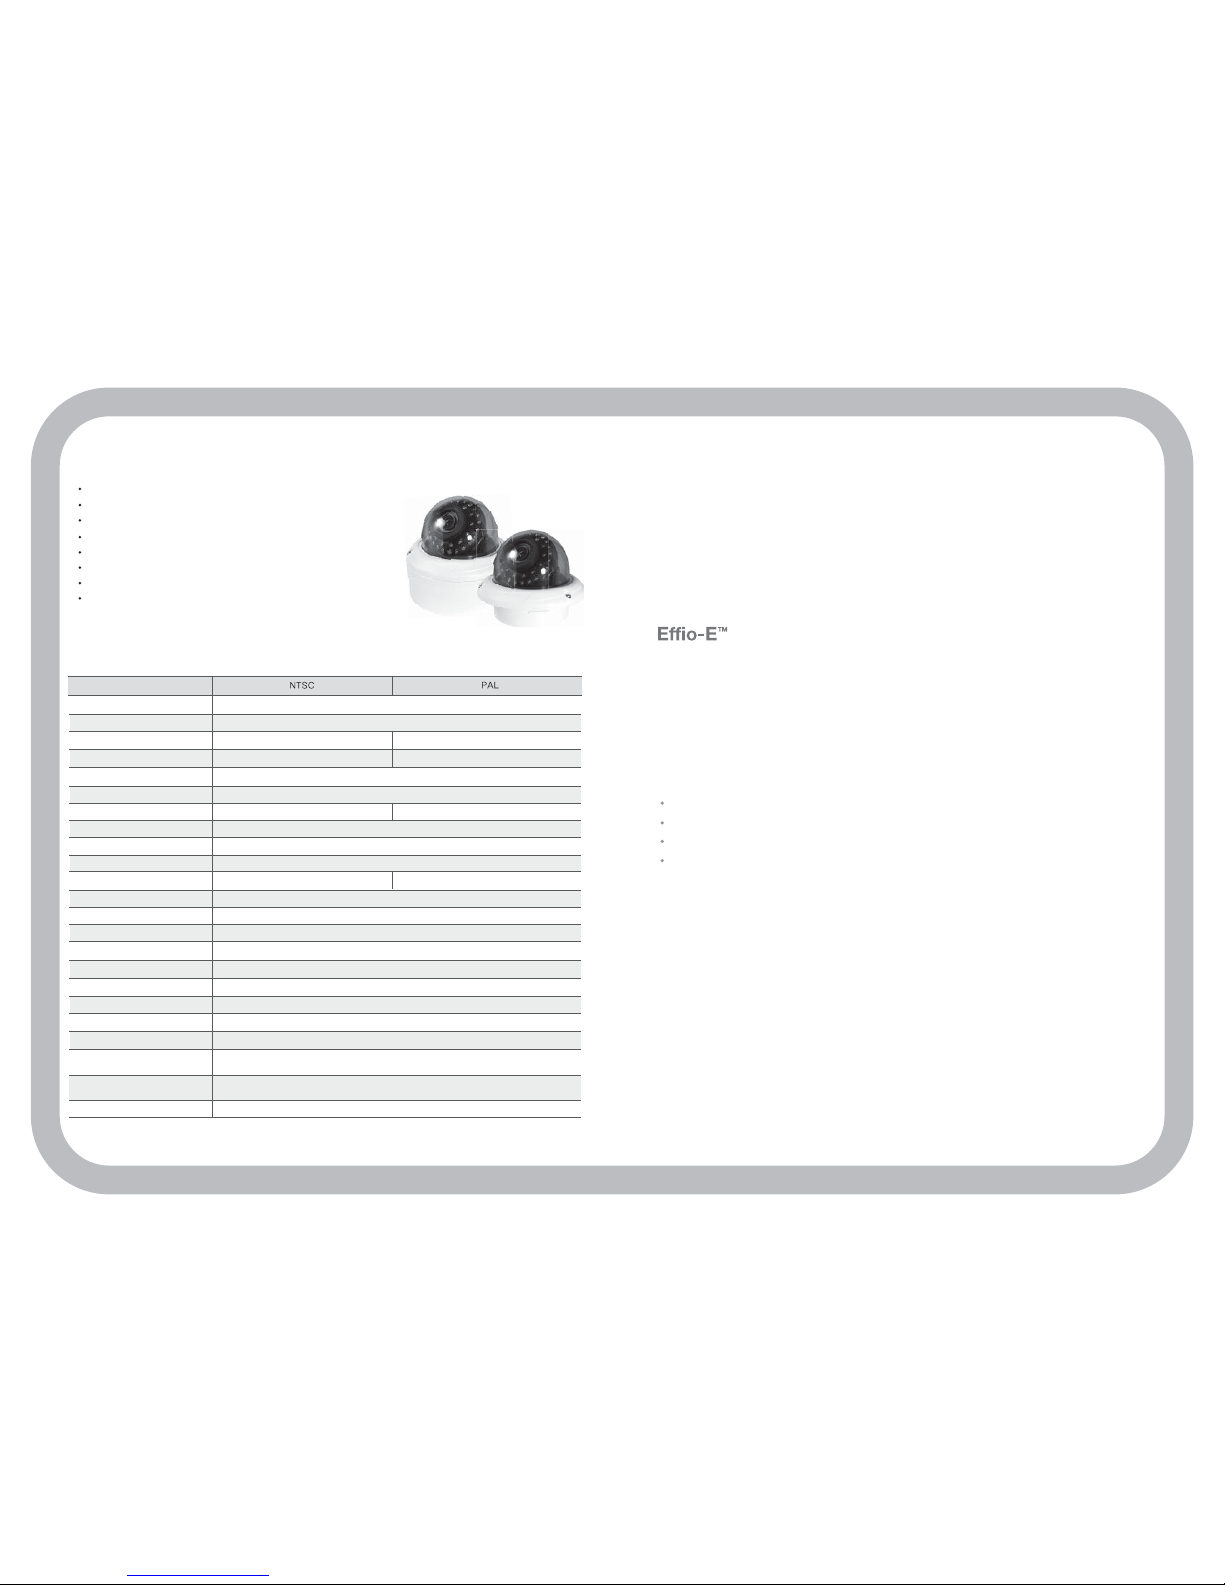
INFRARED
VANDAL PROOF
DOME CAMERA
Above specifications may be changed without any notice.
3700-8397A [66]
ON / OFF
OFF / ON ( 4 Z one)
Language
ENGLISH, JAPANESS, GERMAN, FRENCH, RUSSIAN, PROTUGUESE, SPANISH
O FF , BL C,H LC, S el e ct ab l e
Auto (Day <--> Night TIME Chang e) , COLOR , B/W
ATR
ON / OFF (LEV EL ADJUSTA BLE)
ON / OFF (LEV EL ADJUSTA BLE)
0 Lux a t IR On
More than 52 dB (AGC Off)
1/3 INCH SONY EXVIEW HAD CCD II
1020(H) x 508(V ) 520K pi xel s 1020(H) x 596(V ) 610K pi xel s
976(H) x 494(V ) 480K pi xel s 976(H) x 582(V ) 570K pi xel s
Resolution 700 TV Line
Sensor
MODEL
Scanning System
2:1 Inter lace
S/N (Y signal)
Total Pixels
Effe ctive P ixels
Min.Illumina tion
White Balanc e
Frequency
Horizontal : 15.734KHz / Vertic al: 59.94Hz
Horizonta l: 15.625KHz / Vertical: 50.00Hz
Video Out put
CVBS: 1.0Vp-p / 75o hm
O.S.D
Built-in
Electronic shutter speed
AUTO / MANUAL (1/60sec ~ 1/100,000sec) AUTO / MANUAL (1/50sec ~ 1/100, 000sec)
2DNR (2D Digital Noise Reduction)
Day & Night
Backlight Compensation
Image Conversion
Privacy
Motion Detection
Power
DC12V [ AC24V / DC12V DualPower (option) ]
Operating Temperature/
Humidit y
-10'C ~ +50'C / 30% ~ 80% RH
Storage Temperature/
Humidit y
-20'C ~ +60'C / 20% ~ 90% RH
SPECIFICATION
OFF / ON (8 Zone) [ Motion on : 4 Zone ]
1/3 INCH SONY EXVIEW HAD CCD II
High Resolution (700 TVL) / High Sensitivity
Two Function in One Product (Surface + Flush)
Upgraded Waterproof Housing (IP68 rating)
0 Lux at IR On (IR LED 35 pcs)
OSD Controlled / ATR / 2DNR / BLC
Motion / Privacy / Easy Installation / 4Axis
DC Auto IRIS V/F Lens 2.8~12mm
DC Auto IRIS & TDN V/F Lens 2.8~12mm
FEATURES
ATW / P USH / USER 1 / UESR2 / ANTI CR / MA NUAL / PUSH-LOC K

DIMENSION DIMENSION
INSTALLATION
CONNECTING CABLE
Screws
Screws
4. Pan / Tilt (4Axis) Controls.
Pan / Tilt (4Axis) Controls.
DC12V
VIDEO
AC24V / DC12V
DualPower
SURFACE MOUNT TYPE FLUSH MOUNT TYPE
DC12V
VIDEO
AC24V / DC12V
DualPower
INSTALLATION
GUIDE PATTERN
143
103
100
112
49
130
100
143
67
143
83.5
46
1. Place a guide pattern on a
mounting position and cut a hole
along the dotted line.
5. Fasten the screws until the
camera does not move.
3. Place the camera.
4. Slide the screws in the holes
on base bracket as shown below.
6. Close the cover as shown
below.
2. Drill three holes on crossed
circle for bolts and insert
toggle bolts as shown below.
Camera Cover Screws Holes
 Loading...