

Extreme Flight 52’’ EXTRA 300 EXP, SLICK 580 EXP Instruction Manual

52" EXTRA 300 EXP
Electric ARF
Copyright 2016 Extreme Flight
1

Greetings and congratulations on your purchase of the Extreme Flight RC
52" Extra 300 EXP ARF!
This new Extra is the first in a series of midsized electrics built around the
new Xpwr T3910 brushless outrunner. This size aircraft delivers big plane
performance in a package that is easy to transport and maintain at a very
reasonable price point.
The 52" Extra is loaded with all of the groundbreaking tech first brought to
market in the 48" EXP models including generous use of carbon fiber and
fiberglass material to add strength while keeping overall weight very low. The
result is a very robust airframe capable of handling most aerodynamic loads
while remaining lightweight for best performance. The Extra excels in all
modern aerobatic flight regimes including low and slow 3D, fast and
aggressive XA and ultra precise precision flight.
2

Tips for Success:
1. Before starting assembly, take a few minutes to read the entire instruction
manual to familiarize yourself with the assembly process.
2. Please take a few minutes and go over all the seams on the aircraft with a
covering iron on a medium heat setting.
3. Use a fresh bottle of thin CA with a fine glue tip when attaching the CA
hinges. This will ensure that the proper amount of CA wicks into the hinge
and surrounding balsa wood and creates a proper bond between the wood and
hinges.
4. Apply a couple drops of CA to high stress areas such as anti-rotation pins,
landing gear mounts, servo trays and motor box joints .
5. When applying decals, first clean the area where the decal will be applied
with alcohol. Mist the area lightly with Windex before applying the decal
which will allow you to properly position it, then use a rubber squeegee to
push all of the liquid from under the decal. This will result in very few air
pockets trapped under the decal.
6. Take the time to properly balance and trim your aircraft and set up rates
and exponential values. Your flying experience will be greatly enhanced by
doing this.
Please note: The assembly of the 52" Extra is almost
identical to the assembly process of the previously
released EXP models. Some photos will show the
previous model component assembly steps.
3

Items needed for completion
-Masking tape
-Hobby knife with #11 blades
-Razor saw
-Fresh bottle of thin and medium CA
-Blue Loctite.
-Silicon based glue (Zap-A-Dap-A-Goo, etc.)
-Electric drill with an assortment of small drill bits.
-Small flat head and Phillips head screw drivers.
-Standard and needle nose pliers.
-Metric balldriver or allen key set.
-4 micro metal geared servos. All flight testing was performed with Hitec HS-5087MH
digital servos.
-Xpwr T3910 Brushless Outrunner motor.
-Airboss Elite 80 Amp ESC (Timing must be set to high with the Xpwr 3910 motor).
-4S 2500-3300 mah LiPo battery.
-XOAR 14x8 or 15x7 PJN propeller.
-57mm Extreme Flight spinner.
-2 Extreme Flight 28awg 18"extensions for the 2 rear servos and 2 6"extensions to go
between the receiver and the aileron servo leads.
-Adhesive backed Velcro and Velcro strap for ESC mounting and battery retention.
-Extreme Flight lightweight aluminum servo arms for ailerons and rudder, a G10 arm is
included for elevator.
4

Let's begin!
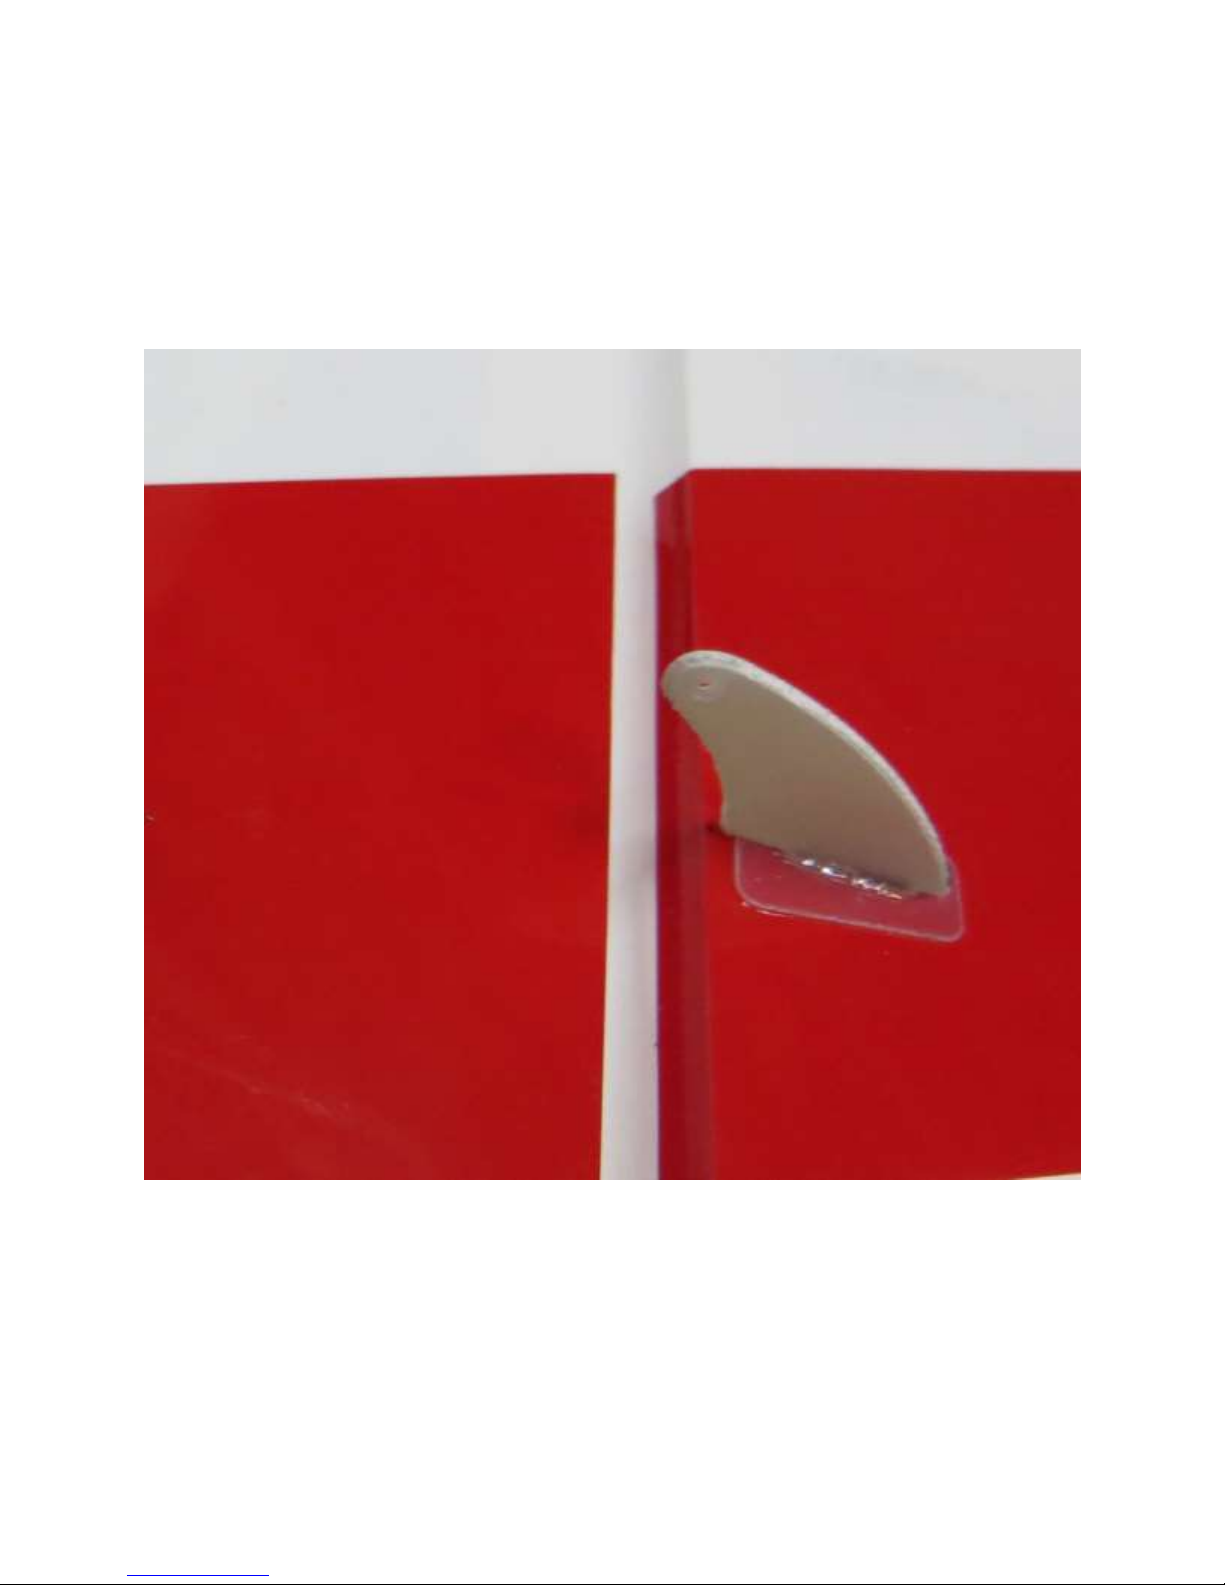
1. Locate the 2 wing panels with ailerons as well as the 2 G10 aileron control
horns and base plates. Remove the ailerons from the wing and remove the
covering over the slot for the aileron horn on the bottom of the aileron with a
sharp hobby blade. Make sure you are doing this on the bottom of the
aileron!
2. Scuff the portion of the control horn that will be glued into the aileron with
sandpaper.
5
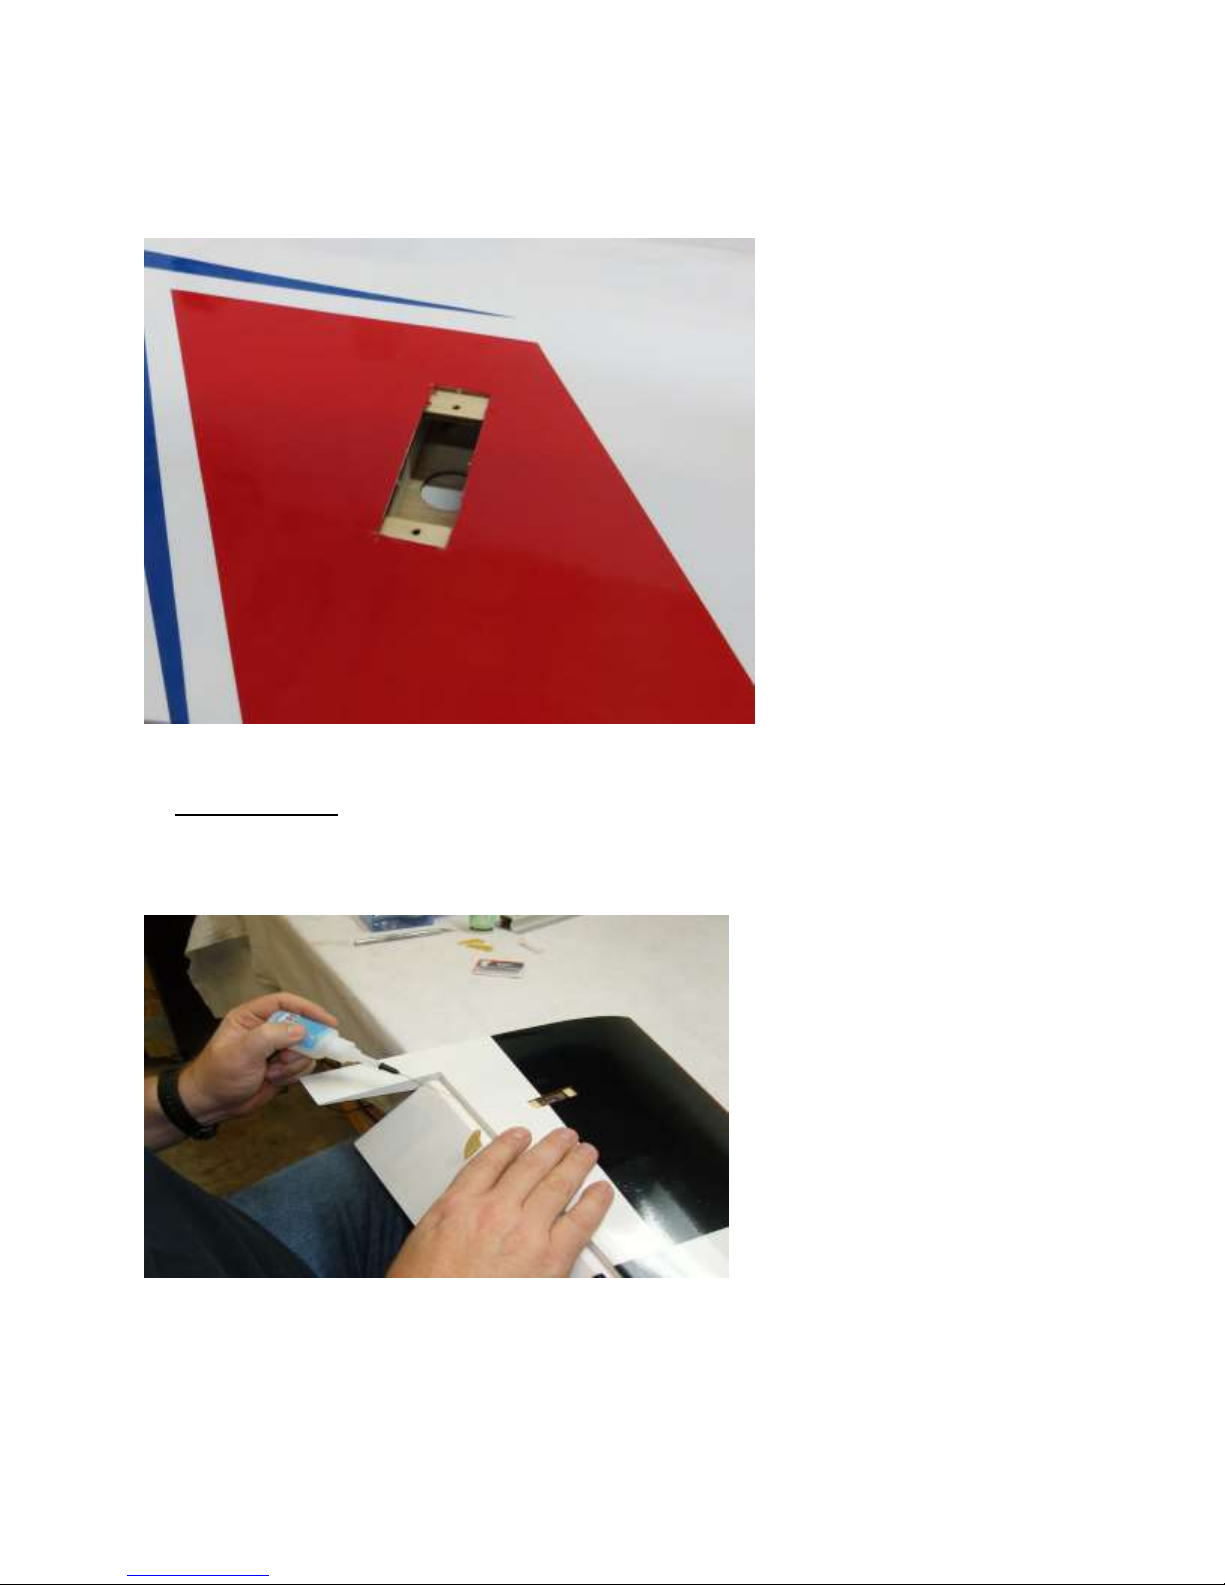
3. Use a glue tip on your bottle of medium CA and apply glue to the slot as
well as to both sides of the control horn. Insert the control horn into the
baseplate and then into the slot and make sure it seats properly against the
surface of the aileron. Wipe away any excess glue with a soft cloth soaked in
Acetone.
6
4. Remove the covering from the aileron servo location and make sure the
hinges are centered in their slots.
5. Slide the aileron into position on the hinges and secure with several drops
of fresh thin CA. This process is much easier and more effective if a fine glue
tip is used. Make sure to deflect the surface as pictured while applying the
CA.
7
 Loading...