

Page 1
User Guide
TM
ExStik
Model PH150-C
Concrete pH Kit
Page 2

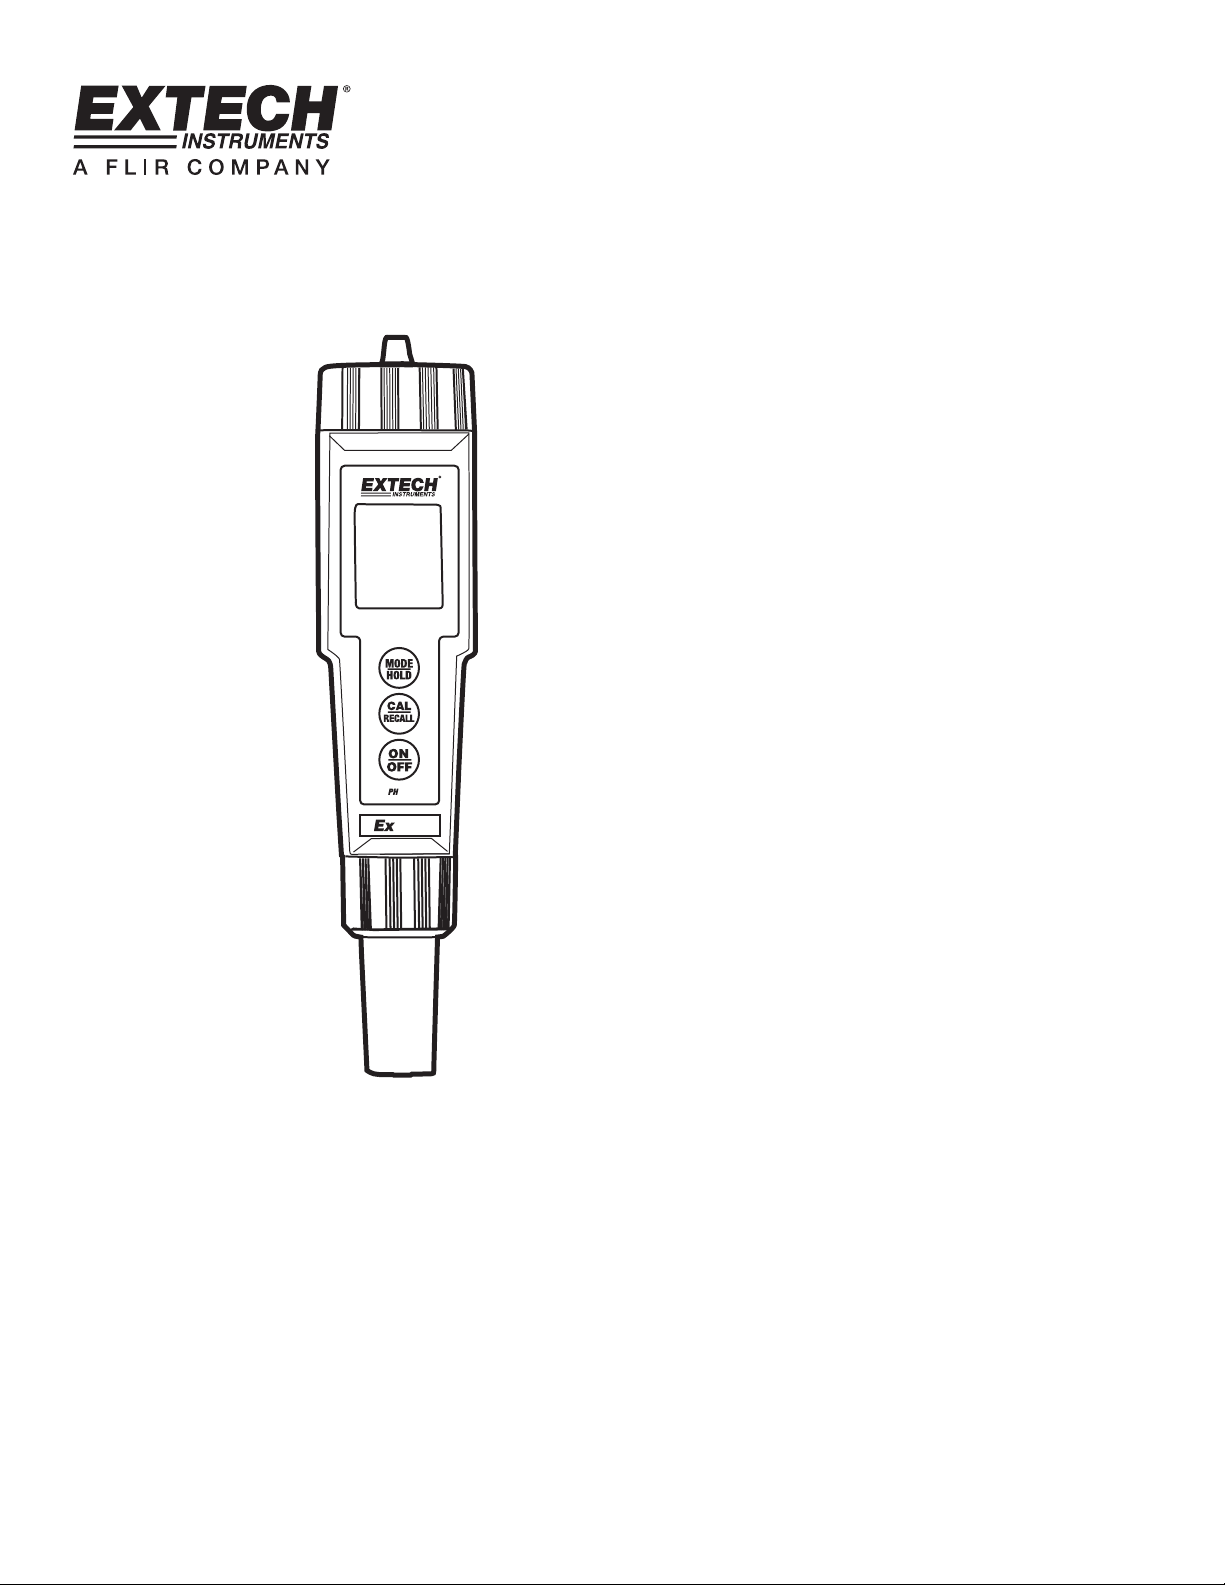
ExStikTM Description
Front Panel Controls
1. Battery compartment cap
2. LCD Display
3. MODE / HOLD button
4. CAL / RECALL button
5. ON/OFF button
6. Electrode collar
7. Electrode
(Electrode cap is not shown)
Display
1. Bargraph reading
2. Measurement reading
3. BAT (low battery) indicator
and pH unit of measure
4. Temperature display
5. Bargraph scale designations
6. Calibration indicators
7. RENEW and HOLD indicators
Cable and Probe Guard
1. PH150
2. O-Ring
3. Retaining nut
4. Extension cable
5. Retaining nut
6. Probe guard
7. Probe
8. O-Ring
1
MLH
pH
BAT
RENEW
HOLD
2
3
4
PH150
5
6
7
6
LMH
7
HOLD
5
76
4
8
3
1
2
O-Ring
2
PH150-C V2.1 07/09
Page 3

Introduction
Congratulations on your purchase of the ExStik® PH150-C Concrete pH Kit. The PH150-C is
designed for pH and temperature measurements on concrete. The flat surface electrode
provides fast and easy measurements. The 3 ft extension cable and probe guard/weighted
base simplify measurements on flat concrete surfaces. The PH150-C, with careful use and
maintenance, will provide years of reliable service.
Overview
Getting Started
• Remove the cap from the bottom of the ExStikTM to expose the electrode glass surface
and reference junction
• Before first use or after extended storage, soak the electrode (with its cap removed) in a
pH 4 solution for about 10 minutes
• White KCL crystals may be present in the cap. These crystals will dissolve in the soak or
they can be simply rinsed with tap water
• Always calibrate close to the expected measurement value
• A sponge is located in the electrode protective cap. Keep this sponge soaked with a pH 4
solution to preserve Electrode life during storage
Replacing Electrodes
The ExStikTM is shipped with an electrode attached. Electrode life is limited and is
dependent on (among other factors) frequency of use and care. If the electrode needs to
be replaced, follow these steps for removing and connecting electrodes.
1. To remove an electrode, unscrew and completely remove the electrode retaining
collar.
2. Gently rock the electrode from side to side, pulling it away from the meter, until it
disconnects.
3. To attach an electrode, carefully plug the electrode into the meter socket (note that
the electrode connector is keyed, ensuring proper connection).
4. Secure the electrode in place by tightly turning the collar in place. (a rubber O-ring
gasket seals the electrode with the meter).
Cable and Guard Installation Instructions:
1. To remove the electrode, turn the instrument OFF and then unscrew the electrode
retaining nut, and remove it (turn counter-clockwise to remove).
2. Gently rock the electrode from side to side, pulling it away from the meter until it
disconnects from the meter.
3. Attach the electrode to the cable by aligning the slots and pins, and carefully plugging
the electrode into the cable socket. Be sure the O-Ring is between the probe shoulder
and the threaded end of the cable connecter (see diagram).
4. Tighten the electrode retaining nut firmly to seal the electrode to the cable. Do not
overtighten.
5. Attach the meter to the other end of the cable, using the same procedure as
described in steps (3.) and (4.).
Note: The guard is not designed to be used without the cable. The cable can be used
without the guard if desired.
3
PH150-C V2.1 07/09
Page 4

Operation
Overview
When the electrode is placed in a solution, the main display and bargraph indicate the pH
reading while the lower display reads temperature. The bargraph is ‘center zero’, i.e. at pH
7 there is no display. As the pH rises, the bar moves from the center to the right. If the pH
drops, the bar moves from the center to the left.
Powering the ExStik™
The ExStik® uses four (4) CR2032 Lithium Ion Batteries (included). If the batteries are
weak, the ‘BAT’ indicator appears on the LCD. Press the ON/OFF key to turn the ExStik
on or off. The auto power off feature shuts the ExStik
®
off automatically after 10 minutes of
inactivity to preserve battery life.
pH Calibration (1, 2, or 3 points)
1. Place the electrode into a buffer solution (4, 7, or 10). Press and hold the
CAL/RECALL key until “CAL” appears in the lower (temp.) display. When doing a 2
or 3 point calibration, calibrate with pH 7 buffer first, then follow with pH 4 then the pH
10 buffer.
2. The ExStik
(the circled number on the LCD will match the solution). Note that if the solution is
more than 1 pH unit off from the L (4), M (7), or H (10) pH buffer, or if the electrode
slope is low, the ExStik
displayed, and the unit will return to measure mode.)
3. During calibration, the pH reading flashes on the main display.
4. When calibration is complete, the ExStik
returns to normal operation mode.
5. The appropriate circled indicator (L, M, or H) appears on the LCD when a particular
calibration or series of calibrations has been completed within one power on cycle.
When the ExStik
data will be retained.
6. For a two or three point calibration, rinse in distilled water and repeat steps 1-4.
®
automatically recognizes the solution and calibrates itself to that value
®
will assume an error and abort the calibration (End will be
®
automatically displays “SA”, then “End” and
®
is turned off, the circled indicator configuration and the calibration
Note: Always turn the meter off and then on before calibrating to allow sufficient time to
complete the calibrations during one power cycle. If the meter auto powers off
during calibration the calibrations remain valid, but new calibrations will turn the
circled indicators off.
Changing the Displayed Temperature Units
To change the displayed temperature units (oC or oF):
1. With the unit OFF, press and hold down the CAL/RECALL button.
2. With the CAL/RECALL button depressed momentarily press the ON/OFF button.
When “SELF CAL” appears in the display release the CAL/RECALL button. The unit
will power on with temperature displayed in the new units.
Data Hold
Press the MODE/HOLD button to hold (freeze) a reading in the display. The meter will
enter the HOLD mode and the “HOLD” indicator will appear.
Note: This also stores the reading.
Press the MODE/HOLD button again to return to normal operation.
®
4
PH150-C V2.1 07/09
Page 5

Storing Readings into Memory
1. Press the MODE/HOLD button to store a reading. The storage location number will be
displayed on the lower display, while the main display shows the stored reading. The
meter will enter the HOLD mode and the “HOLD” indicator will appear.
2. Press the MODE/HOLD button again to exit the HOLD mode and return to normal
operation.
3. If more than 25 readings are stored, previously stored readings (starting with number
1) will be overwritten.
Recalling Stored Readings
Note: Check that the HOLD symbol is not displayed. If it is, exit the HOLD function by
momentarily pressing the MODE/HOLD button.
1. Press the CAL/RECALL button and then press the MODE/HOLD button. A location
number (1 through 25) will briefly appear and then the value stored in that location will
appear. The displayed units will flash, indicating that the storage recall mode is active.
2. The last stored reading will be displayed first. Pressing and releasing the MODE/HOLD
button will scroll through the stored readings one at a time. The location number is
displayed first, followed by the reading stored in that location.
3. To exit the storage mode, press the CAL/RECALL button and the meter will return to
normal operation, after displaying “End”.
CAL Reminder Display
When the ExStikTM is turned on in the pH mode for the 15th time without recalibration, the
‘CAL’ icon will flash 3 times, indicating that the ExStik
applications may require recalibration of the electrode more frequently than others.
TM
may require calibration. Some
RENEW Display
A flashing ‘RENEW’ warning indicates that the probe may be nearing the end of its useful
life. If cleaning or recalibration does not cause the RENEW icon to disappear, replace the
electrode. The RENEW display appears when the output of the pH electrode fails a
diagnostic test.
Considerations
• If the unit appears to be locked (display frozen) it is possible that the Data Hold mode
has been inadvertently accessed by pressing the MODE/HOLD button. Simply press
the MODE/HOLD button again or turn the meter off and restart if the display appears
frozen.
• If the meter does latch up and no button presses revive it, remove the batteries then
reinsert the batteries.
5
PH150-C V2.1 07/09
Page 6

Battery Replacement
1. Twist off the battery compartment cap
2. Replace the four (4) 2032 batteries observing polarity.
3. Replace the battery compartment cap
Specifications
Display Multifunction LCD with Bargraph
Operating conditions 32 to 122
Range and Accuracy 0.00 to 14.00 / ± 0.01pH typical
Temp. Compensation Automatic from 32 to 194
Temperature Range 23 to 194
Temperature Resolution 0.1
Temperature Accuracy ± 1.8
Measurement storage 25 tagged (numbered) readings
Power Four (4)CR2032 button batteries
Low battery indication ‘BAT’ appears on the LCD
Auto power off After 10 minutes of inactivity
Dimensions 35.6x172.7x40.6mm (1.4x6.8x1.6”); 110g (3.85oz)
o
F (0 to 50oC) / < 80% RH
o
o
F (-5 to 90oC)
o
up to 99.9 then 1o thereafter
o
F / 1oC
F (0 to 90oC)
6
PH150-C V2.1 07/09
Page 7

Warranty
EXTECH INSTRUMENTS CORPORATION warrants this instrument to be free of defects in parts and
workmanship for one year from date of shipment (a six month limited warranty applies on sensors and
cables). If it should become necessary to return the instrument for service during or beyond the warranty
period, contact the Customer Service Department at (781) 890-7440 ext. 210 for authorization or visit our
website at www.extech.com (click on ‘Contact Extech’ and go to ‘Service Department’ to request an RA
number). A Return Authorization (RA) number must be issued before any product is returned to Extech. The
sender is responsible for shipping charges, freight, insurance and proper packaging
transit. This warranty does not apply to defects resulting from action of the user such as misuse, improper
wiring, operation outside of specification, improper maintenance or repair, or unauthorized modification.
Extech specifically disclaims any implied warranties or merchantability or fitness for a specific purpose and
will not be liable for any direct, indirect, incidental or consequential damages. Extech's total liability is limited
to repair or replacement of the product. The warranty set forth above is inclusive and no other warranty,
whether written or oral, is expressed or implied.
Support line (781) 890-7440
Technical support: Extension 200; E-mail: support@extech.com
Repair & Returns: Extension 210; E-mail: repair@extech.com
Product specifications subject to change without notice
For the latest version of this User’s Guide, Software updates, and other
Up-to-the-minute product information, visit our website: www.extech.com
to prevent damage in
All rights reserved including the right of reproduction in whole or in part
Copyright © 2009 Extech Instruments Corporation.
in any form.
more infor for Extech PH150-C
Phone: 01235 838 555
Email: cs@airconcern.co.uk
Web. www.airconcern.co.uk
Air Concern Ltd, Building 173 Curie Avenue Harvell Didcot, Oxfordshire
 Loading...