

ET38-en-es-fr_V1.1 11/16 For additional language translations please visit www.extech.com
USER MANUAL
Model ET38
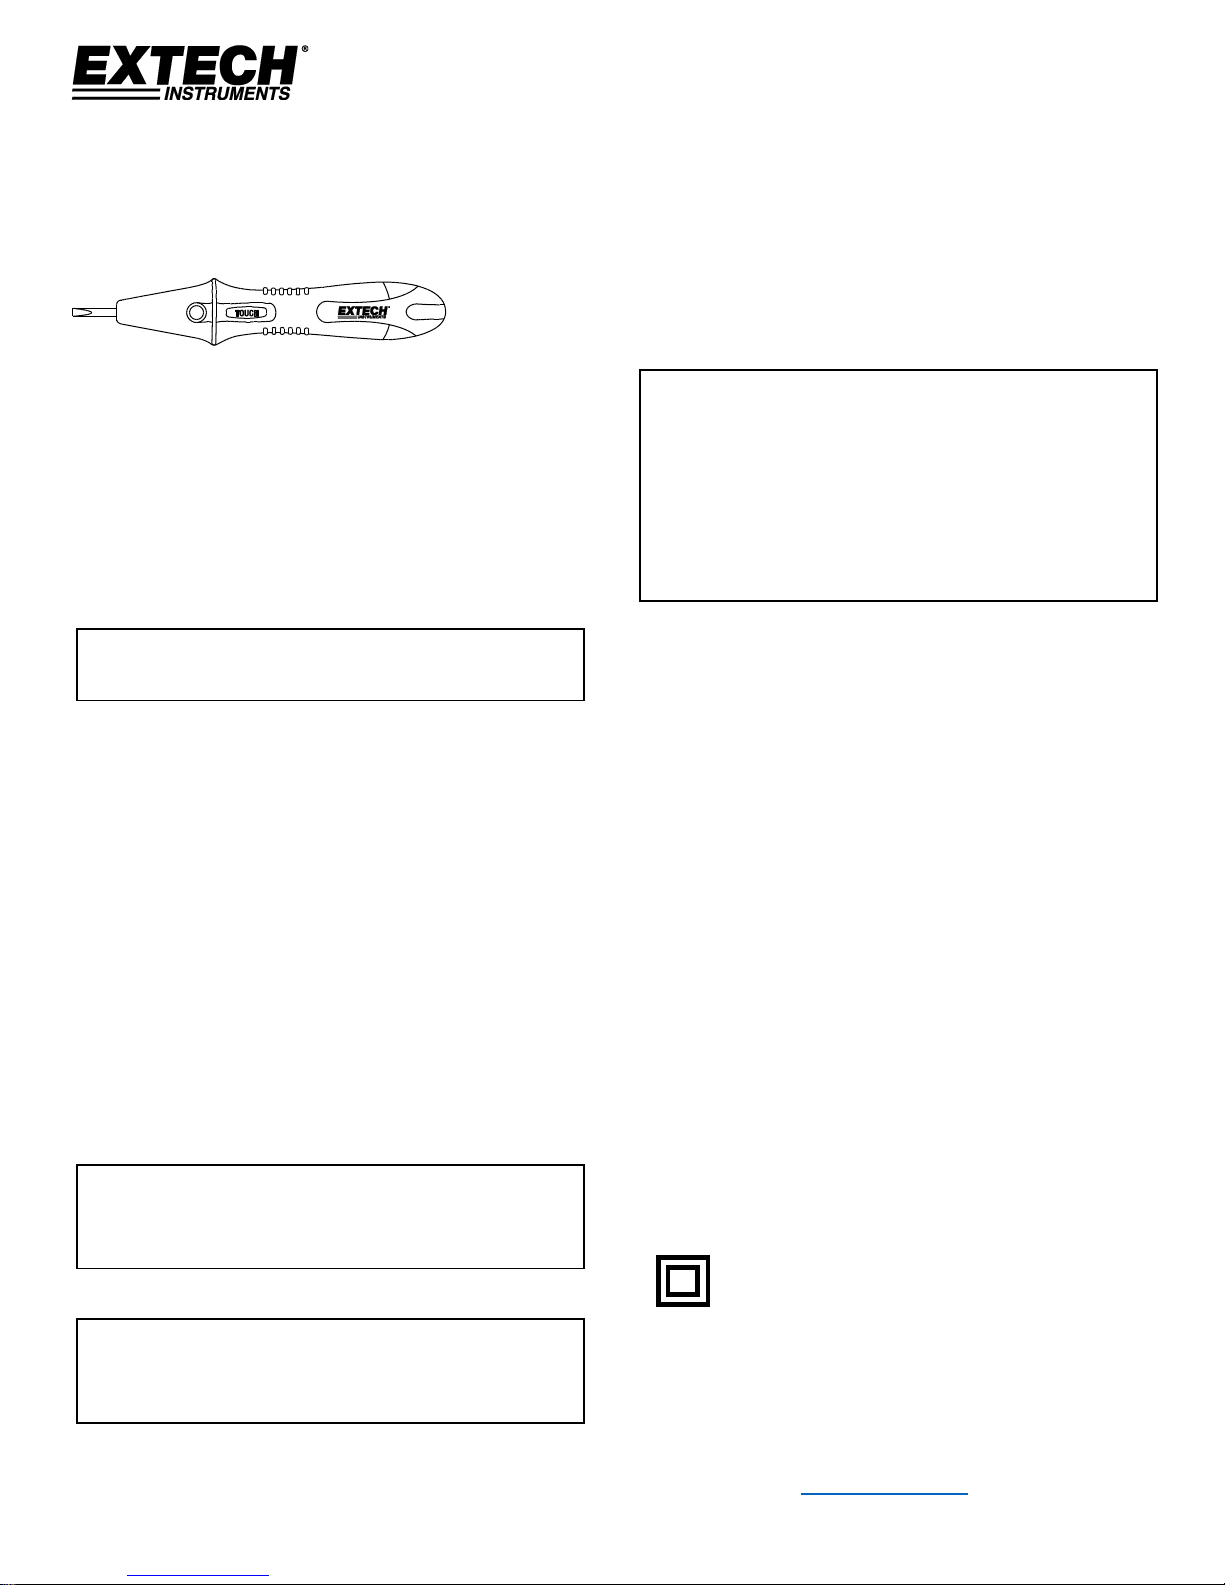
Screwdriver Voltage and
Continuity Tester
Voltage Testing
To check a circuit for voltage, insert the
screwdriver probe into the outlet or carefully
touch probe to the electrical contact or
conductor to be tested. Touch metal contact on
the side of the tester housing with finger. If
voltage is present, the LED indicator will light.
WARNING: Do not touch the screwdriver
tip with fingers.
Continuity Testing
1. Before taking a continuity test, make sure
that power to the device or circuit under
test is disconnected and that all fuses are
removed.
2. Touch the probe to one end of the
conductor to be tested.
3. Place finger or hand on the metal plate
located on the tester handle.
4. Use other hand to complete the circuit on
the other end of the conductor.
5. If continuity is made, the LED indicator will
light.
WARNING: To avoid electric shock, never
measure continuity on circuits that have
voltage on them.
CAUTION: Always test on a known live
circuit before use to make sure tester is
operating correctly and batteries are good.
Replacing Battery
To test the quality of the batteries, touch the
contact point on the tester handle while
touching the screwdriver tip. If the LED indicator
does not light, replace the batteries.
1. Use a screwdriver to remove the Philips
screw and open the battery compartment.
2. Replace with two (2) button type LR44 or
equivalent batteries.
3. Replace the cover and re-test.
CAUTION: Use extreme caution when
checking electrical circuits to avoid injury
due to electrical shock. FLIR Systems, Inc.
assumes basic knowledge of electricity on
the part of the user and is not responsible
for any injury or damages due to improper
use of this tester.
Specifications
Voltage Range 12~300V AC
Frequency 50/60Hz
Power supply Two 1.5V button cell
batteries
Operating Temperature 41 ~ 104°F (5 ~ 40°C)
Relative Humidity 80% RH Max.
50% > 88°F (31°C)
Altitude < 7000 ft. (2000m)
Overvoltage class CAT II / 300V
Pollution degree 2 (accordance with
IED-664)
Recommended Use Indoor
To clean, use a damp cloth only with no
chemical detergents or alcohol.
OVERVOLTAGE CATEGORY II
Equipment of OVERVOLTAGE CATEGORY II is
energy-consuming equipment to be supplied
from the fixed installation
Double Insulation: The meter is
protected by double insulation or
reinforced insulation
Copyright © 2016 FLIR Systems, Inc.
All rights reserved including the right of
reproduction in whole or in part in any form
ISO-9001 Certified
www.extech.com
ET38-en-es-fr_V1.1 11/16 For additional language translations please visit www.extech.com
MANUAL
DEL USUARIO
Modelo ET38
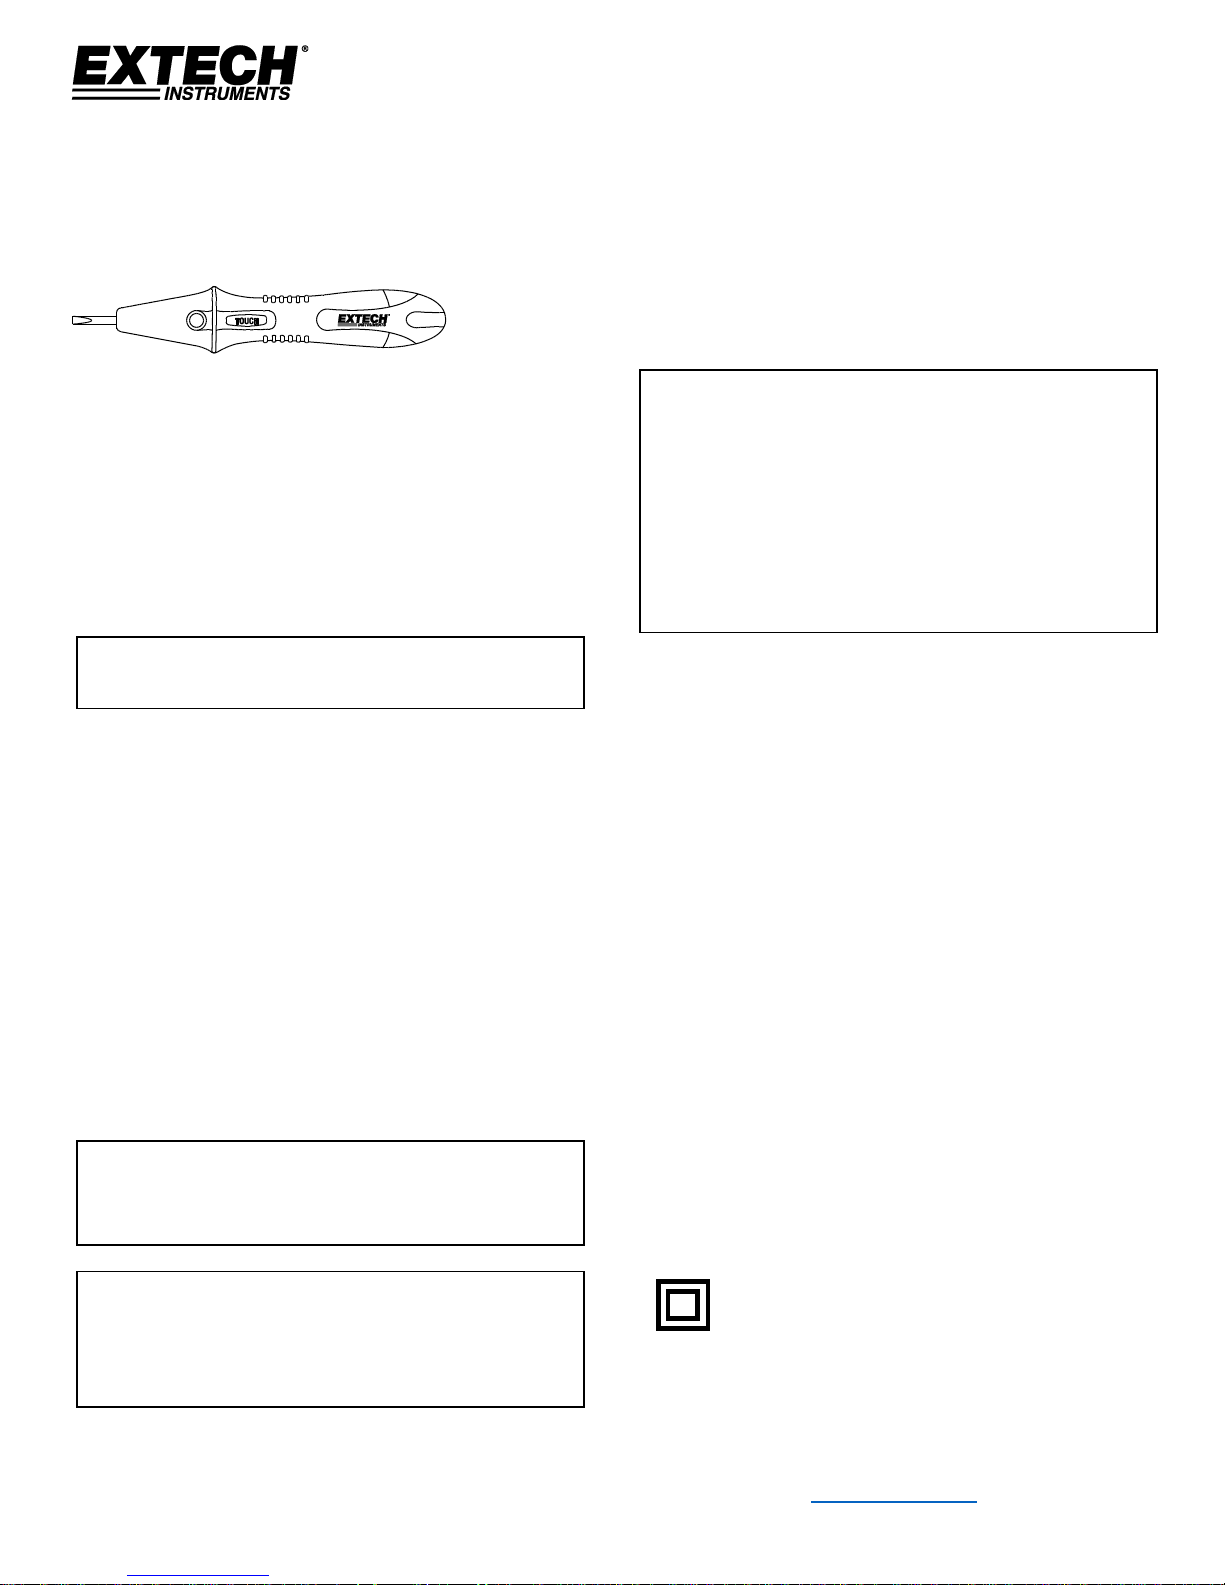
Destornillador Probador de
Voltaje y Continuidad
Pruebas de voltaje
Para comprobar si hay voltaje en un circuito,
inserte el destornillador en el enchufe o toque
cuidadosamente la sonda al contacto o
conductor eléctrico a probar. Toque el contacto
metálico a un lado del probador con el dedo. Si
hay voltaje presente, se iluminará el indicador
LED.
ADVERTENCIA: No toque la punta del
destornillador con los dedos.
Pruebas de continuidad
1. Antes de tomar una prueba de continuidad,
asegúrese que la tensión al dispositivo o
circuito a prueba está cortada y que todos
los condensadores estén descargados.
2. Toque la sonda a un extremo del conductor
a probar.
3. Coloque el dedo o mano en la placa
metálica del mango del probador.
4. Use la otra mano para completar el circuito
en el otro extremo del conductor.
5. Si hay continuidad, se iluminará el indicador
LED.
ADVERTENCIA: Para evitar choque
eléctrico, nunca mida continuidad en
circuitos que tengan voltaje.
PRECAUCIÓN: Siempre haga la prueba en
un circuito conocido bajo tensión para
asegurar que el probador está funcionando
correctamente y las baterías son buenas.
Reemplazar la batería
Para probar la calidad de las baterías, toque la
punta de contacto en el mango del probador y la
punta del destornillador Si el indicador LED no
se ilumina, reemplace las baterías.
1. Use un destornillador para quitar el tornillo
cabeza Philips y abra el compartimiento.
2. Reemplace con dos (2) baterías tipo botón
LR44 o equivalente.
3. Reemplace la tapa y repita la prueba.
PRECAUCIÓN: Extreme sus precauciones al
probar circuitos eléctricos para evitar
lesiones debido a choque eléctrico. FLIR
Systems, Inc. supone conocimientos básicos
de electricidad por parte del usuario y no se
hace responsable por cualquier lesión o
daños debido al uso impropio de este
probador.
Especificaciones
Escala de Voltaje 12~300V CA
Frecuencia 50/60Hz
Fuente de energía Dos baterías botón de
1.5V
Temp. de operación 41 ~ 104°F (5 ~ 40°C)
Humedad relativa 80% HR máx.
50% > 31°C (88°F)
Altitud < 2000m (7000 ft.)
Clase de Sobre voltaje CAT II / 300V
Grado de contaminación 2 (conformidad con
IED 664)
Uso Recomendado Interior
Para limpiar, use un paño húmedo solamente,
no use detergentes químicos o alcohol.
CATEGORÍA II DE SOBRE VOLTAJE
El equipo de CATEGORÍA II DE SOBRE VOLTAJE
es equipo que consume energía suministrada
desde una instalación fija
Doble aislante: El medidor está
completamente protegido con doble
aislante o aislamiento reforzado
Copyright © 2016 FLIR Systems, Inc.
All rights reserved including the right of
reproduction in whole or in part in any form
ISO-9001 Certified
www.extech.com
 Loading...