

Page 1
USER GUIDE
Combination Photo-Tachometer
Stroboscope
Model 461825
netzerotools.com
netzerotools.com
netzerotools.com
Extech 461825 Combination Photo Tachometer Stroboscope
Extech 461825-NIST Combination Photo Tachometer Stroboscope
Page 2
2 461825-EU-EN v1.6 10/13
Introduction
Congratulations on your purchase of Extech’s Combination Photo-Tachometer/Stroboscope. This
device is shipped fully tested and calibrated and, with proper use, will provide years of reliable
service. Please visit our website to check fo
r the latest version of this User Guide, Product Updates,
and Customer Support.
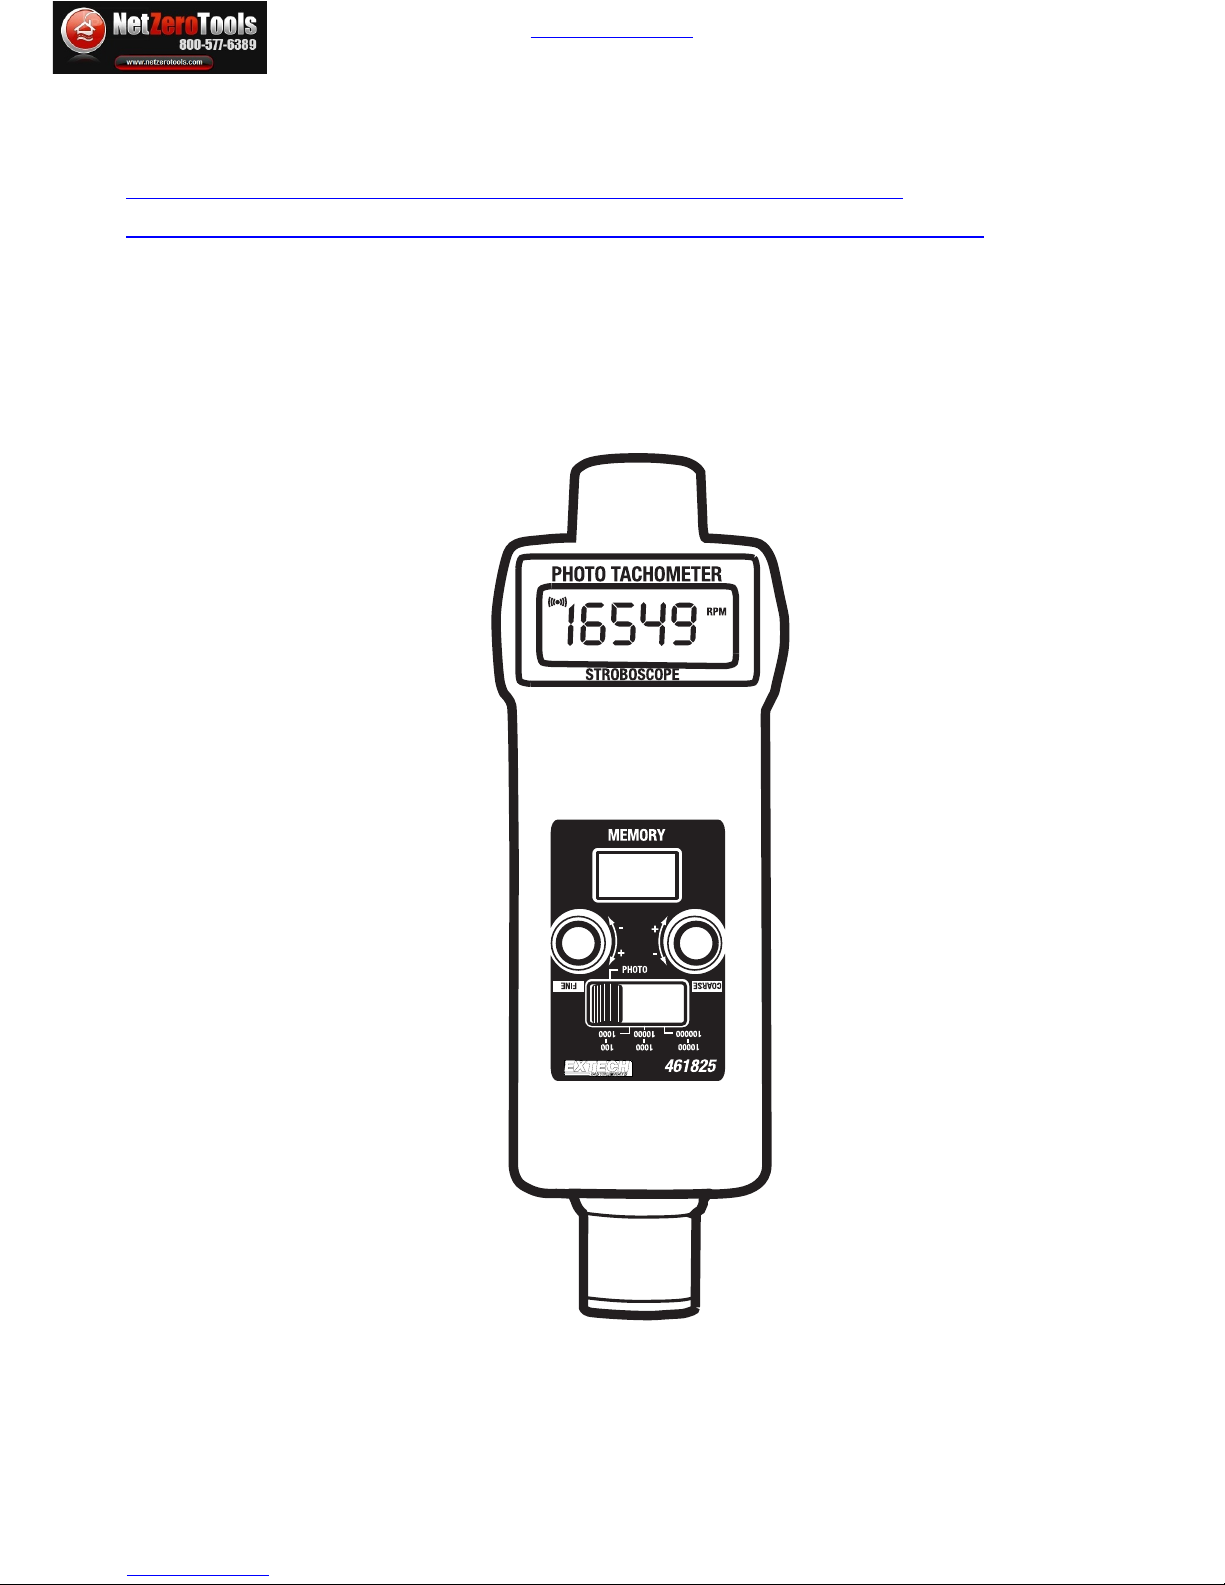
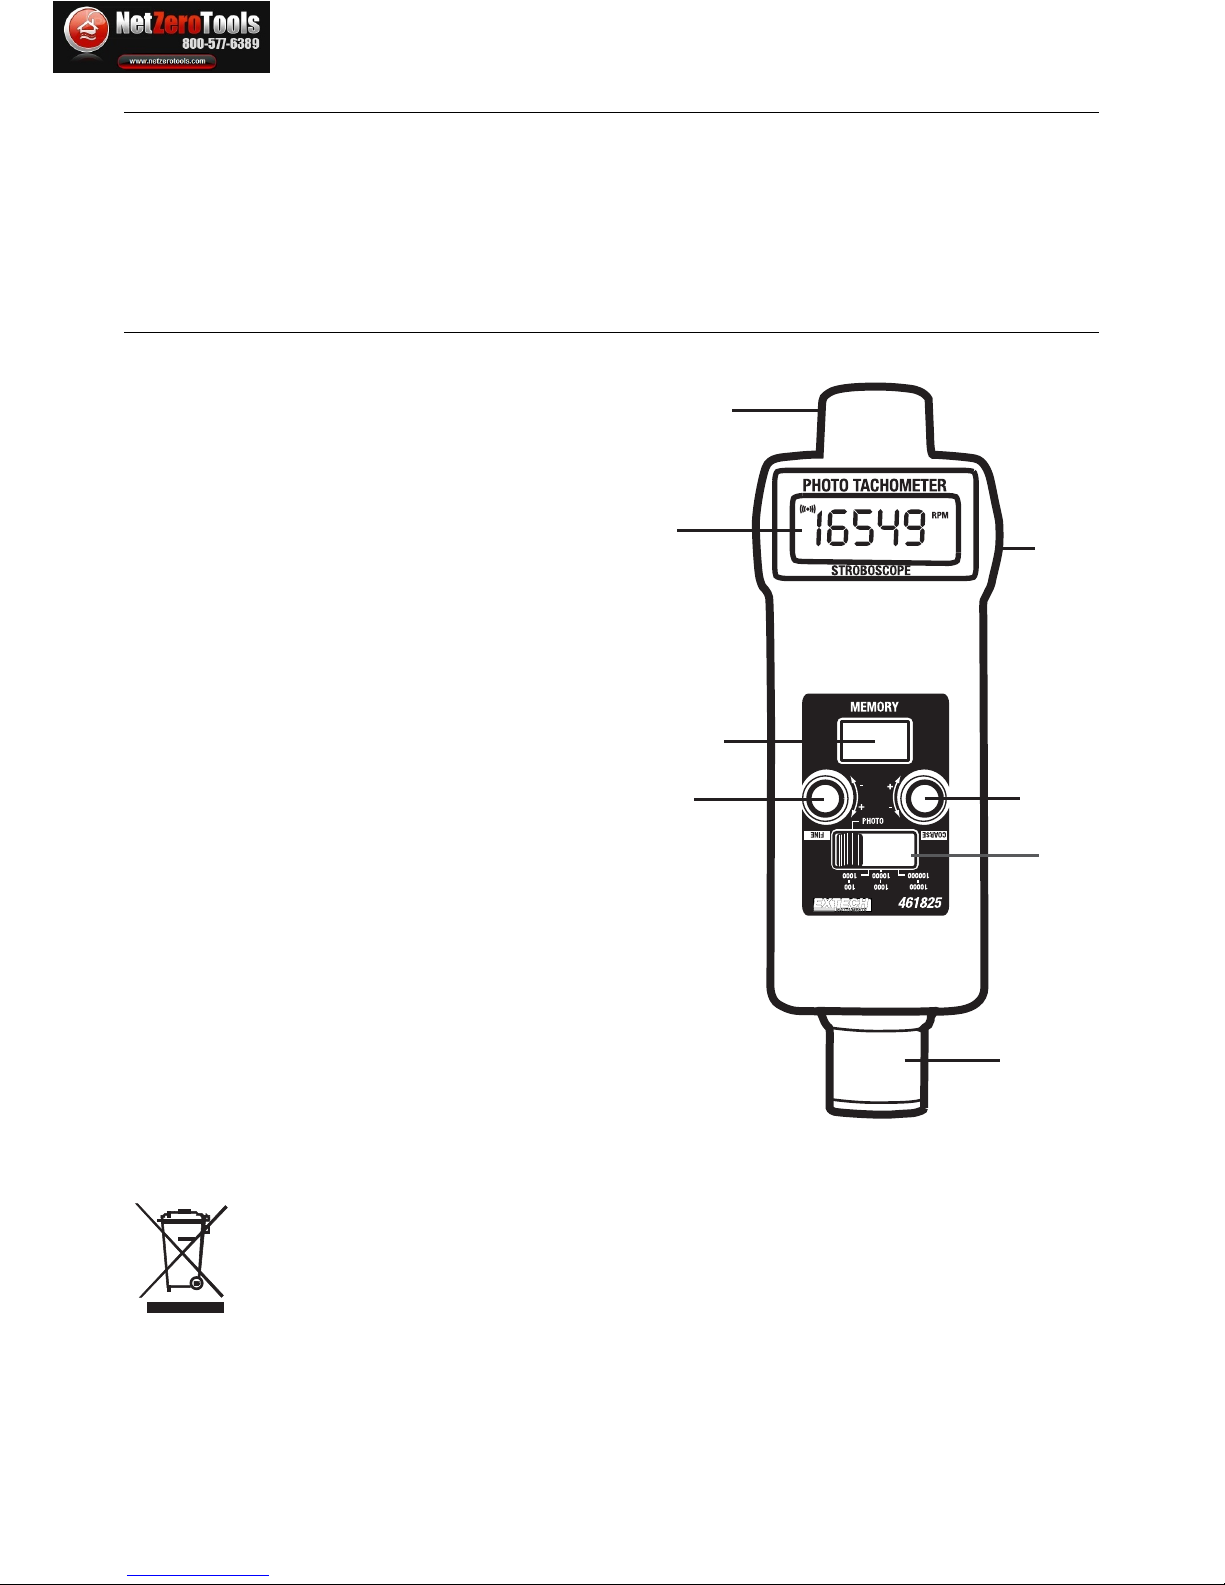
Meter Description
1. Tachometer Light Source
2. LCD Display
3. Measure trigger button
4. Memory Recall button
5. FINE adjust knob
6. COARSE
adjust
knob
7.
Range/Function select switch
8.
Stroboscope flash tube
Note: Battery compartment is on rear of meter
You, as the end user, are legally bound (EU Battery ordinance) to return all used
batteries, disposal in the household garbage is prohibited! You can hand over your
used batteries / accumulators at collection points in your community or wherever batteries
/ accumulators are sold!
Disposal: Follow the valid legal stipulations in respect of the disposal of the device at the
end of its lifecycle
1
2
4
3
5
6
8
7
netzerotools.com
netzerotools.com
Page 3

3 461825-EU-EN v1.6 10/13
Operation
STROBOSCOPE MEASUREMENT PROCEDURE
Select the Stroboscope Function and Range using the Range/Function Select Switch. The s
witch
has four positions, three of which are stroboscope-dedicated with white range numbers. The fourth
position is Photo-Tachometer dedicated and is labeled as such.
Speed Measurements
.
1. Remove power to the moving object under test and affix a target mark on the area to be
measured.
2. Apply power to the moving object and press the stroboscope's Measure Trigger Button.
3. Aim the Stroboscope light beam toward the marked area on the object under test.
4. Use the FINE and COARSE adjust knobs to synchronize or "stop" the motion of the object's
mark. A single st
ationary image of the mark provides actual speed measurement da
ta.
NOTE: Care must be taken to ensure that the mark is providing a 1:1 measurement. This is done
b
y checking that
there is only one mark and not two, four, or more stationary marks on the object
under test. Two or more stopped marks indicate "harmonic" measurements (2:1, 3:1, 4;1 etc.)
which provide a doubling, tripling, or quadrupling of the actual speed. A useful method of avoiding
harmonic measurements is to adjust the FINE/COARSE knobs until two images (marks) appear
and then lower the flash rate (via COARSE/FINE knobs) until a single, stationary image appears.
This is the actual speed.
Inspecting a moving object
Measure the speed of a moving object as described above and move the FINE adjust knob
alternately higher and lower to visually inspect all areas of the device.
PHOTO-TACHOMETER MEASUREMENT PROCEDURE
1. Select the Photo-
Tachometer function b
y moving the Range/Function select switch to the
PHOTO position.
2.
Affix a small piece (approx. 0.5") of supplied reflective tape to the object under test.
3. Press the meter's Measurement Trigger button and align the Photo-Tachometer light
source with the reflective tape mark on the moving object.
4. Wait until the Monitor Indicator appears in the upper left hand corner of the LCD
indicating that synchronization has occurred.
5.
Release the Measure Trigger button only after the reading has stabilized (approx. 2
seconds).
NOTE: To obtain better accuracy for low RPM measurements (less than 50 RPM) use more than
one piece of reflective tape. Divide the meter reading by the number of reflective tape pieces for
accurate measurement data.
netzerotools.com
netzerotools.com
Page 4

MEMORY RECORD AN
D RECALL
The 461825 can record Maximum, Minimum, and Last Reading for the period of time during which
the Measure Trigger button is held. These stored values can then be read directly on the meter's
display. The memory will automatically erase after approximately 10 seconds of meter inactivity.
Access the memory data immediately after the measurements.
1. Follow the instructions for normal operation.
2. Release the Measurement Trigger button.
3. Immediately press the Memory Recall button once to display the Last Reading taken
during the measurement period. 'LA' will alternately display with the data reading to
indicate 'Last Reading".
4. Release and press the Memory Recall button again to display the Maximum reading
taken during the measurement period. 'UP' will alternately appear with the data reading to
indicate Max. reading.
5.
Release and press the Memory Recall button again to display the Minimum reading taken
during the 30 second test period. 'dn' will alternately appear with the data reading to
indicate Min. reading.
Specifications
General Specifications
Circuit Custom LSI microprocessor based design
Display Reversible, 10mm (0.4") 5-digit (99999 count) LCD display
Measurement units RPM (revolutions or rotations per minute)
Memory Recall Records/Recalls Max/Min/Last readings with memory push-button
Operating
Temperature
0 to 50oC (32 to 122oF)
Operating Humidity < 80% RH
Power Supply Four 1.5V 'AA" batteries (UM-3 or equivalent)
Weight 216g (0.48 lbs.) meter only
Dimensions 207 x 72 x 48mm (8.2 x 2.8 x 1.9")
Accessories Reflective tape and carrying case
Electrical Specifications
Measurement R
ange 5 to 99,999 RPM for the Tachometer
100 to 100,000 FPM/RPM for the Stroboscope
Resolution 0.1 RPM (<1000 RPM) and 1 RPM (> 1000 RPM)
Accuracy ± (0.1% + 2 digits)
Sampling Time 1 second (> 60 RPM)
Photo Tachometer detection
distance
50 to 150mm (2 to 6") typical
Note: Detection distances up to 300mm (12") are
possible depending upon ambient light
Stroboscopic Flash rate 100 to 100,000 FPM (flashes per minute)
Stroboscopic Flash adjust range Range A: 100 to 1,000 FPM
Range B: 1000 to 10,000 FPM
Range C: 10,000 to 100,000 FPM
Stroboscopic Flash tube type High efficiency LED lamp
Stroboscopic Flash duration 60 to 1000 microseconds (approx. 16% of period)
Stroboscopic Flash Color Orange
netzerotools.com
netzerotools.com
 Loading...