

Page 1
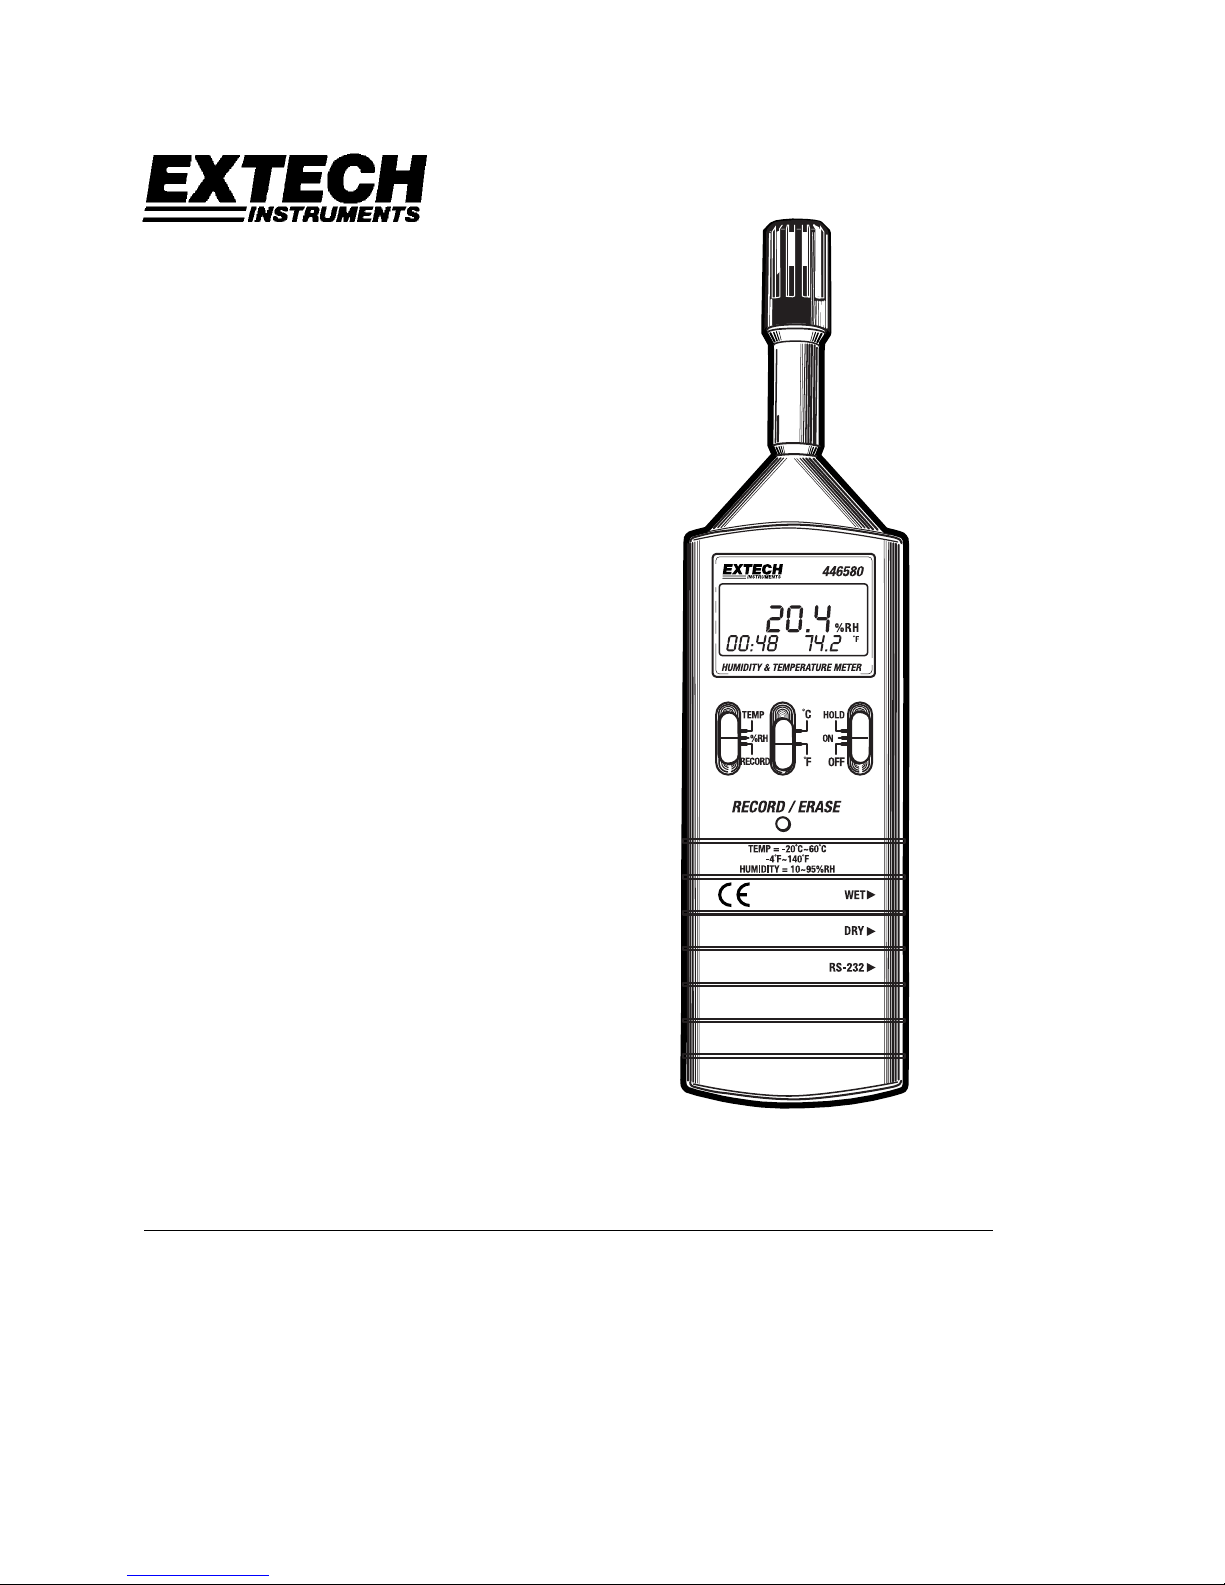
User's Guide
Hygro-Thermometers
Models 4465CF and
446580
Introduction
Congratulations on your purchase of the Extech 4465CF or 446580 Hygro-Thermo meter.
The Extech Hygro-Thermometers measure and display temperature and relative
humidity. The 446580 has a PC interface and built-in datalogging capabilities. Careful
use of these meters will provide years of reliable service.
Page 2
Model 446580 Version 2.0 June 2004
2
Warranty
EXTECH INSTRUMENTS CORPORATION warrants this instrument to be free of defects in parts and
workmanship for one year from date of shipment (a six month limited warranty applies to sensors and cables).
If it should become necessary to return the instrument for service during or beyond the warranty period,
contact the Customer Service Department at (781) 890-7440 ext. 210 for authorization or visit our website
www.extech.com for contact information. A Return Authorization (RA) number must be issued before any
product is returned to Extech. The sender is responsible for shipping charges, freight, insurance and proper
packaging to prevent damage in transit. This warranty does not apply to defects resulting from action of the
user such as misuse, improper wiring, operation outside of specification, improper maintenance or repair, or
unauthorized modification. Extech specifically disclaims any implied warranties or merchantability or fitness for
a specific purpose and will not be liable for any direct, indirect, incidental or consequential damages. Extech's
total liability is limited to repair or replacement of the product. The warranty set forth above is inclusive and no
other warranty, whether written or oral, is expressed or implied.
Specifications
General Specifications
Display Multi-function 3 ½ digit (2000 count) LCD display
Measurement
Relative Humidity% (RH) and Temperature (°C & °F)
Data Hold Freezes Display
Datalogger (446580) Records approx. 7000 readings
Data Output 446580: RS 232 PC serial interface
4465CF: Analog 10mvDC per °C/F or %RH
Response Time
Humidity
45% to 95%: ≤ 3 minutes
95% to 45%: ≤ 5 minutes
Measurement rate 4465CF: 2.5 readings per second
446580: 1 reading per second
Operating Temperature
4465CF: 32 to 122°F (0 to 50 °C)
446580: 32 to 104 °F (0 to 40 °C)
Operating Humidity
< 80% RH
Storage Temperature
14 to 140°F (-10 to 60°C)
Storage Humidity
< 70% RH
Power Supply 9V battery
Battery life 4465CF: 400 hours; 446580: 50 hours (approx.)
Weight 4465CF: 7.0 oz. (198 g); 446580: 7.1 oz. (200 g)
Size 10.6 x 2.7 x1.0" (180 x 72 x 32mm)
Measurement Specifications
Range Resolution Accuracy (Full Scale)
% Relative
Humidity
10% to 95% RH 0.1% RH 30 to 95% RH: ±3% RH
10 to 30% RH: ±7% RH
Temperature
4 οF to 140 οF
(20
ο
C to 60
ο
C)
0.1
ο
F/C ±1.5
ο
F (±0.8
ο
C)
Page 3

Model 446580 Version 2.0 June 2004
3
1
2
3
4
7
8
9
5
6
Meter Description
1. Temperature-Humidity Sensor
2. LCD Display
3. ON/OFF/HOLD switch
4. Temperature units switch ( °C & °F )
5. Temperature/Humidity/Record switch
(RECORD position only on the 446580)
6. RECORD / ERASE button (Model 446580 only)
7. Wet bulb calibration adjustment (for factory use only)
8. Dry bulb calibration adjustment (for factory use only)
9. PC Interface jack (Model 446580) or
Analog output jack (Model 4465CF)
The battery compartment and the tripod mount are located
on the rear of the instrument.
Operation
Getting Started
1. Set the TEMP-%RH switch to the TEMP or %RH position.
2. Move the
oC-o
F switch to the desired temperature unit of measure.
3. Move the ON-OFF-HOLD switch to the ON position. If the display does not switch on
please check that the 9V battery is installed and is fresh.
4. The Humidity and Temperature sensors are contained in the tip of the meter. Mount or
hold the meter in the area to be tested. For convenience, a standard tripod mount is
located at the rear of the meter.
5. Humidity changes take time (3 to 5 minutes) to stabilize. Please allow time for the
display to settle.
6. When the low battery icon flashes on the LCD, replace the 9V battery.
Displayed Readings
The Model 4465CF displays humidity or temperature readings in the center of the LCD
depending upon the position of the TEMP-%RH switch.
The Model 446580
, displays both parameters simultaneously with the primary
measurement in the center of the LCD (large digits) and the secondary measure ment in
the lower right hand side of the LCD (smaller digits). The 446580 also momentarily
displays the Date on power-up (in MM:DD format) on the lo wer left of the LCD. The date
display becomes the clock display (24-hour clock format) after several seconds.
Battery Replacement
The Battery Compartment is located on the lower back of the instrument housing. Slide the
compartment cover off in the direction of the arrow. Replace the 9V battery and secure the
compartment cover.
Data Hold
Set the ON-OFF-HOLD switch to the HOLD position to freeze a displayed reading. The H
icon will switch on. Move the switch to the ON position to continue normal operation (the H
icon will switch off).
Page 4

Model 446580 Version 2.0 June 2004
4
Analog Output - Model 4465CF
The Model 4465CF has an analog output whereby the user can connect a datalogging
device such as a chart recorder to capture temperature and humidity readings. The analog
output jack located on the right side of the Model 4465CF accepts a TIP-RING-SLEEVE
3.5mm phono plug (detailed below).
The analog output signal is 10mVDC per Temperature degree (with TEMP selected on
front panel switch) or 10mVDC per Relative Humidity percentage unit (with %RH selected
via front panel switch). For example, for a temperature of 65
o
F the analog output signal
would be 650mVDC. For a humidity of 50% the analog output sign al would be 500mVDC.
The output impedance of the analog circuit is 50 ohms.
PC Interface – Model 446580
Data Acquisition and Datalogger modes
The Model 446580 can perform DATALOGGING and DATA ACQUISITION functions.
These two modes of operation, distinctly different, are explained separately.
In the Datalogger mode, the meter records data remotely then, at a later time, the meter is
connected to the PC and the readings are transferred.
In the Data Acquisition mode, the meter takes readings while connected to the PC. The
readings are taken, displayed, and stored all at the same time.
These two modes are discussed in the subsequent sections:
Datalogging Mode
The meter can log up to 7000 readings that can later be transferred to a PC. The benefit is
that the meter can record remotely without having to be connected to a PC. The s upplied
Windows
TM
software allows the user to transfer data from the meter to a PC at any time.
Before Datalogging, the user must first set the sampling rate and the real time clock
.
Please reading the remaining sections of this manual for instructions on these and other
functions including datalogging, downloading data from the meter to a PC, and the Data
Acquisition mode of operation.
Connecting the Model 446580 to a PC
The Model 446580 has an RS-232 PC Interface jack on its right side. The supplied miniplug to DB9 cable (see diagram) is used to connect the meter to a PC. The phono plug end
of the cable is inserted in the meter’s PC interface jack and the DB9 (9-pin) side is inserted
into an available serial port on the PC. Do not run the supplied software until the meter is
properly connected to the PC.
SLEEVE RING (both Ground)
TIP (DC Voltage)
3.5mm phono plug
SLEEVE: Ground to PIN5 of DB9
TIP: Transmit (Tx) to PIN3
RING: Receive (Rx) to PIN2 of DB9
DB9 connector
3.5mm phono plug
Page 5

Model 446580 Version 2.0 June 2004
5
Running the supplied Datalogging software
1. Place the supplied software CD in the PC CD-ROM drive and follow the on-screen
instructions for installation.
2. Launch the program by double clicking the program file in the location where it was
saved during installation.
3. Remember not to run the supplied software until the meter is properly connected to the
PC as described earlier.
4. Select COM1 or COM2 when prompted. The PANEL software window will open (see
PANEL window diagram).
Note that the PC Interface communication settings are as follows:
Baud rate: 9600; Parity: none; Data bits: 8; Stop bits: 1
PANEL Software Window Description
When the supplied software is launched the first
software screen that appears is the PANEL window
(see diagram). Refer to this diagram for the
remainder of the manual since other described
functions will use the PANEL window.
1. Menu heading
2. Display facsimile
3. Meter buttons (only TEMP-RH can be selected
remotely)
4. REC (click to put meter in continuous
datalogging mode)
5. rec (click to log one reading in the meter)
6. Sampling rate (for data acquisition, not
datalogger)
7. Current data filename and location for data
acquisition
8. PC COM port status (COM1 or COM2 will
appear if communication is active, NO COM will
appear if communication is not active)
Setting the Meter’s Real Time Clock
1. Click OPTION in the PANEL software window and select SYSTEM TIME SET.
2. The current PC system time and date will now be transferred to the meter.
3. When data is logged, the time and date information is saved alongside each data point.
ID CODE
This field is reserved for future use. At present, a 5-digit code can be entered for reference.
Setting the Datalogger Recording (Sampling) Interval
In the Continuous recording mode (described earlier) the meter stores readings at a certain
interval of time. This interval of time, known as the sampling rate, is user-programmable.
Set the rate as follows:
1. Select MEMORY from the OPTION menu in the PANEL software window. The
LOGGER window will open (see the LOGGER window diagram).
2. Type the desired sampling rate in the SAMPLING field in the LOGGER window. The
rate can be set from 1 second to 65 seconds. This means that readings can be stored
every second up to every 65 seconds.
3. Important ! Click on the word SAMPLING after the time interval has been typed. This
will activate the new sampling rate. Confirm the change by closing and re-opening the
LOGGER software window.
1
2
3
4
5
6
7
8
PANEL Software
Page 6

Model 446580 Version 2.0 June 2004
6
Datalogging One Reading (Manual Logging) with the Model 446580
1. Set the TEMP-%RH-RECORD switch to the RECORD position
2. Press the RECORD-ERASE button once. The RECORD display icon will flash briefly
on the LCD.
3. One reading is now placed in the internal memory of the meter.
Datalogging Continuously (Automatic Logging)
1. Set the TEMP-%RH-RECORD switch to the RECORD position
2. Press and hold the RECORD-ERASE button for 3 seconds. The RECORD display icon
will flash periodically as readings are stored at the programmed sampling interval. To
change the sampling interval, refer to SETTING THE DATALOGGER RECORDING
INTERVAL section later in this manual.
3. To stop recording, momentarily press the RECORD-ERASE button. Note that when
recording is started again, the new data points will be stored in a new ‘set’. Data sets
are discussed in the remaining sections.
Erase Stored Data using the meter’s RECORD-ERASE button
1. With the meter turned off, press and hold the RECORD-ERASE b utton while turning
the meter on.
2. When the DEL display icon flashes on the LCD, release the RECORD-ERASE button.
All data is now cleared.
3. Note that data can also be erased via software as explained later in this manual.
Download data from the Model 446580
1. With the meter connected to the PC and with the supplied software running, select
MEMORY from the OPTION menu in the PANEL software window. The LOGGER
window will open (see LOGGER window description).
2. To initiate the data transfer, click on the TIME OF RECORDING button.
3. The data will appear in groups or ‘sets’. Each set represents a separate recording
session.
4. To view the data in a particular set, click on the set number and then click on the
SHOW DATA button. The REC LIST software will open and the individual data points
within the selected set will appear.
Logger Software Window Description
1. Total and remaining memory fields –
Total memory is 32K
2. Current Date (YY:MM:DD) and Time
(HH:MM:SS)
3. Number of data sets currently in the
meter
4. Number of data points in the currently
selected data set
5. Press to show the data points
contained in the currently selected
data set
6. User selectable 5-digit reference
number
7. Current sampling rate for the
Datalogging function not the Data
Acquisition function
8. Press TIME OF RECORDING to download the data sets contained in the meter to the
PC
9. List of downloaded data sets
10. Data Set numbers (click on a number to select a set)
1
2
3
4
5
6
7
8
9
10
Page 7

Model 446580 Version 2.0 June 2004
7
Graph the Downloaded Data
1. After downloading data as previously described, select TEMPERATURE or HUMIDITY
from the GRAPH menu heading in the REC LIST
software window.
2. An x-y graph will appear that plots Temperature or
Humidity over Time.
3. The graph can b e printed by selecting PRINT from the
menu heading in the graph window.
4. To limit the number of points on the graph, select the
LIMIT menu heading. The RANGE window opens and
is used to narrow the number of data points. Select a
particular temperature/humidity range or select data
points by number (see the RANGE window diagram).
Print the Downloaded Data
1. After downloading data as previously described, select PRINT from the FILE men u in
the PANEL software window.
2. A list will print that includes the data number, date, time, measurement, unit of
measure, and the 9V battery status.
Save the Downloaded Data
1. Download data as previously described and select SAVE from the FILE menu heading
in the PANEL software window.
2. A ‘SAVE AS’ window will open prompting for a filename and a storage location.
3. For convenience, the saved text file (filename.dat) can be opened in spreadsheet
programs such as EXCEL
TM
(see instructions later in this manual).
Erasing stored data via software
With the meter connected to the PC, clear the entire contents of the meter’s internal
memory by selecting ERASE from the OPTION menu in the PANEL software window.
Data Acquisition Mode
1. With the meter connected to the PC and the sup plied software up and running, select
SAVE AS from the FILE menu in the PANEL software window.
2. A window will appear prompting for a filename and location. Select a filename and a
storage location.
3. Select START RECORDING from the FILE menu. The PC will now store readings in
the file at the current sampling rate.
4. To change the sampling rate, go to the OP TION menu heading in the PANEL window
and select SAMPLE RATE. Type in the desired sample rate from 1 to 65 seconds.
5. While acquiring data, the PANEL window will show the sampling rate, the filename and
location of the data file, the PC communication status, temperature/humidity
measurement, Time & Date (see the PANEL software window diagram earlier in this
manual).
6. Select LIST or GRAPH from the DISPLAY menu in the PANEL window to choose the
way the data is displayed. In the GRAPH mode the data is presented in an x-y plot.
The user can select LIMIT (to thin the data) and PRINT from the menu headings. In the
LIST mode the data is presented line by line; the user can select CONTINUE, PAUSE,
and PRINT from the menu headings.
7. Select STOP RECORDING from the FILE menu in the PANEL window to end the
recording session.
Select the
Temperature
or Humidity
Range to view
Select the
record numbers
to view
Page 8

Model 446580 Version 2.0 June 2004
8
Support line (781) 890-7440
Technical support: Extension 200; E-mail: support@extech.com
Repair & Returns: Extension 210; E-mail: repair@extech.com
Product specifications subject to change without notice
For the latest version of this User’s Guide, Software updates, and other
up-to-the-minute product information, visit our website: www.extech.com
Dew Point Display
While working in the Data Acquisition mode, the Dew Point
temperature can be viewed by selecting DEW POINT from
the OPTION menu in the PANEL window (see Dew Point
software window diagram).
Opening a data file in ExcelTM
1. Open the spreadsheet program ExcelTM
2. In Excel
TM
click on the FILE menu and select OPEN - the OPEN dialog box will appear.
3. In the OPEN box, change FILES OF TYPE to ALL FILES.
4. Locate and open the previously saved data file. The Text Import Wizard will open.
5. Step 1 of 3 in the Wizard: Choose
DELIMITED.
6. Click NEXT.
7. Step 2 of 3 (see diagram): Under
DELIMITERS check the TAB box,
type a quotation mark in the
OTHER box, and select NONE
in the TEXT QUALIFIER field.
8. Click NEXT.
9. Step 3 of 3: Click FINISH. The
data file will now open. You may
wish to save the file as an Excel
TM
file rather than a data file when
finished.
Calibration and Repair Services
Extech offers repair and calibration services for the products we sell. Extech also
provides NIST certification for most products. Call the Customer Service Department for
information on calibration services available for this product. Extech recommends that
annual calibrations be performed to verify meter performance and accuracy.
Copyright © 2004 Extech Instruments Corporation
All rights reserved including the right of reproduction in whole or in part in any form.
Relative Humidity
Temperature
Dew Point Temperature
Type quotation mark
Select none
Select TAB
 Loading...