

Page 1
User's Guide
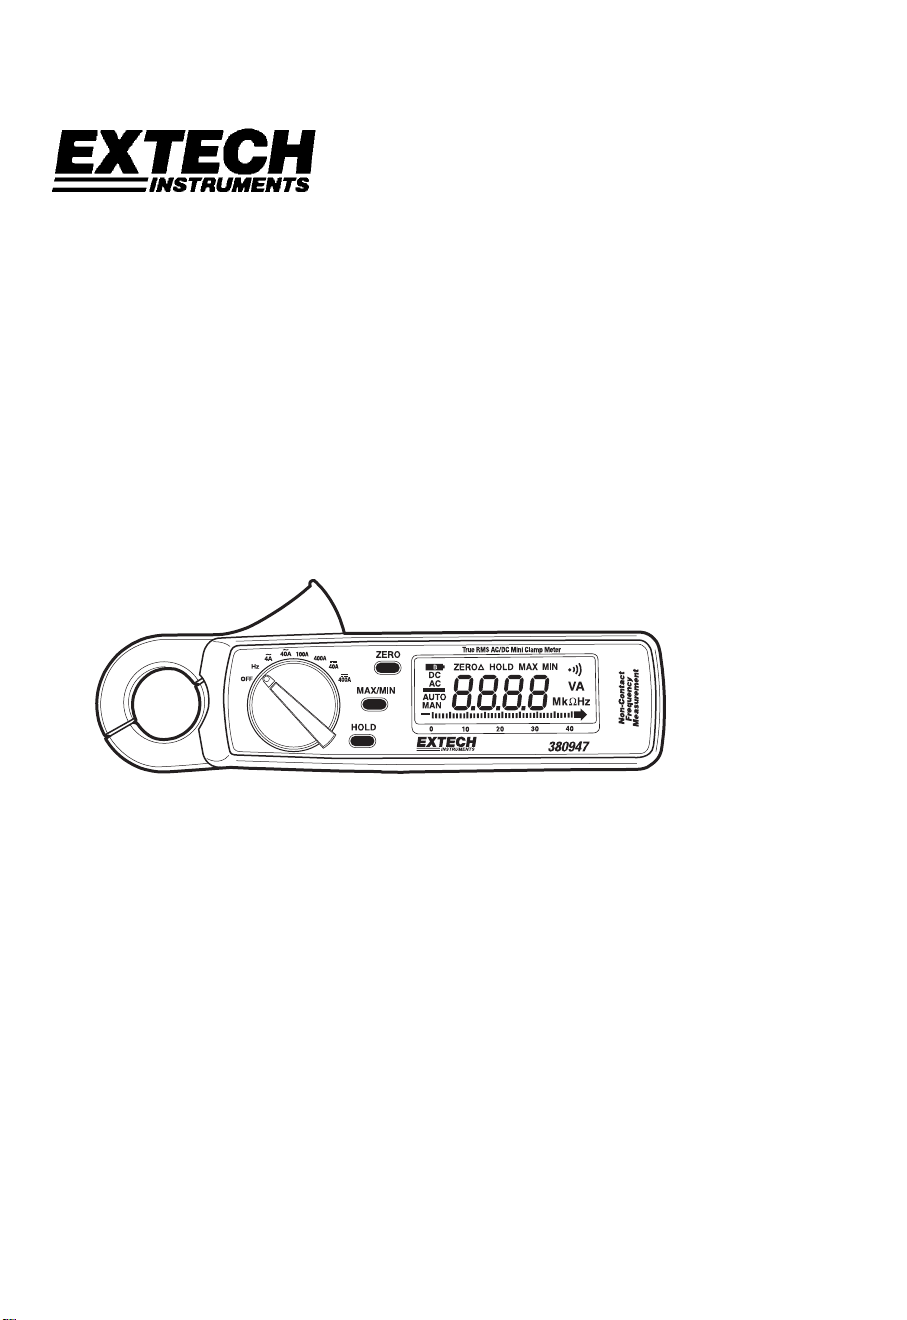
True RMS AC/DC Mini Clamp Meter
Model 380947
Page 2
Warranty
EXTECH INSTRUMENTS CORPORATION warrants this instrument to be free of defects
in parts and workmanship for one year from date of shipment (a six month limited warranty
applies on sensors and cables). If it should become necessary to return the instrument for
service during or beyond the warranty period, contact the Customer Service Department at
(781) 890-7440 ext. 210 for authorization or visit our website at www.extech.com
contact information. A Return Authorization (RA) number must be issued before any
product is returned to Extech. The sender is responsible for shipping charges, freight,
insurance and proper packaging to prevent damage in transit. This warranty does not
apply to defects resulting from action of the user such as misuse, improper wiring,
operation outside of specification, improper maintenance or repair, or unauthorized
modification. Extech specifically disclaims any implied warranties or merchantability or
fitness for a specific purpose and will not be liable for any direct, indirect, incidental or
consequential damages. Extech's total liability is limited to repair or replacement of the
product. The warranty set forth above is inclusive and no other warranty, whether written or
oral, is expressed or implied.
Introduction
Congratulations on your purchase of the Extech 380947 True RMS Clamp Meter. This
Clamp meter measures current up to 400A DC/AC and measures Frequency up to 100
kHz. Careful use of this meter will provide years of reliable service.
Safety
1. NEVER exceed the specified voltage/current maximum
2. USE EXTREME CAUTION when working with high voltages.
3. NEVER operate the meter unless the back cover and the battery/fuse door are in place
and fastened securely.
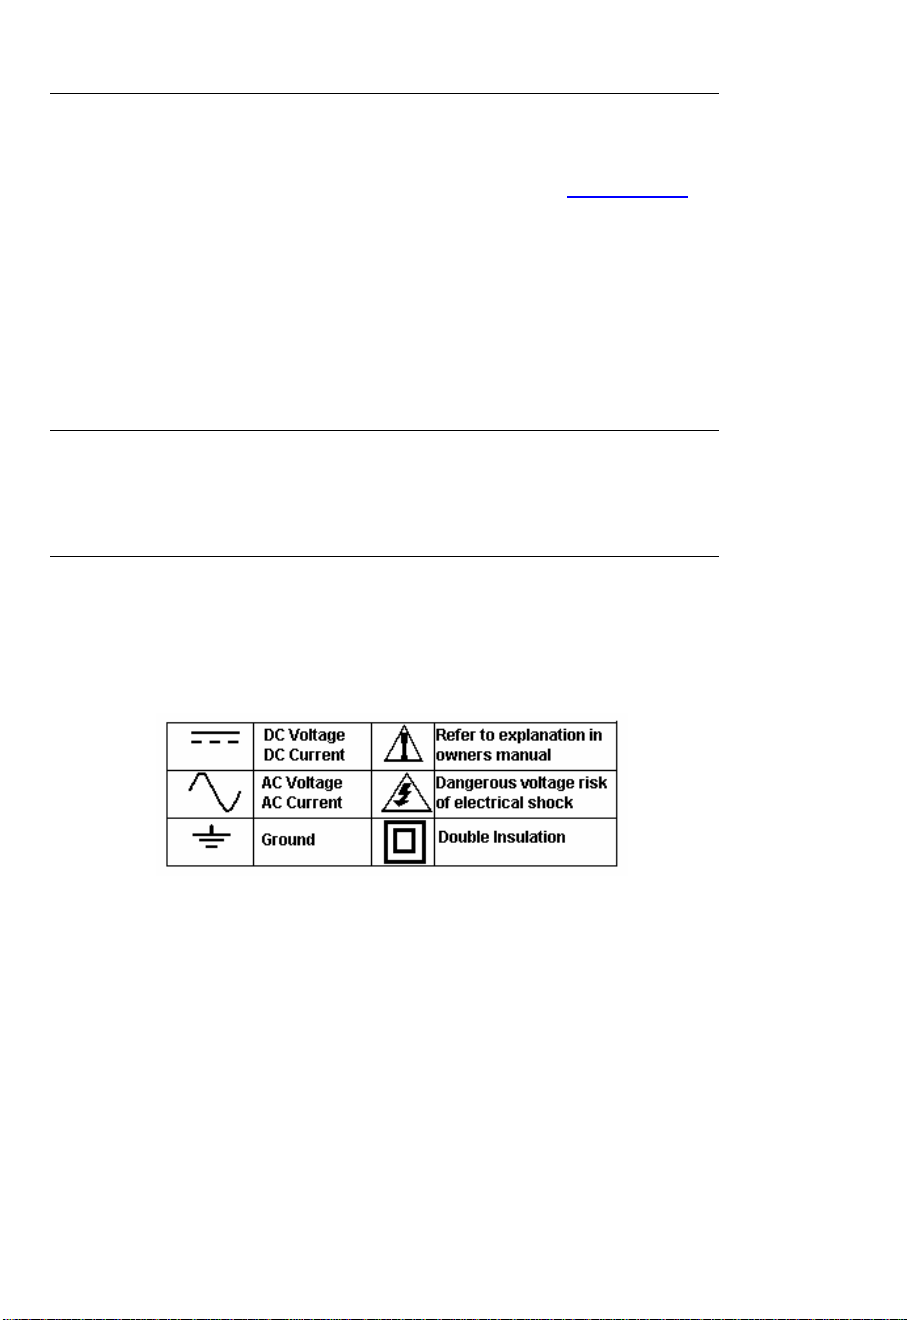
International Safety Symbols
for
2
380947 V3.0V 10/06
Page 3
Specifications
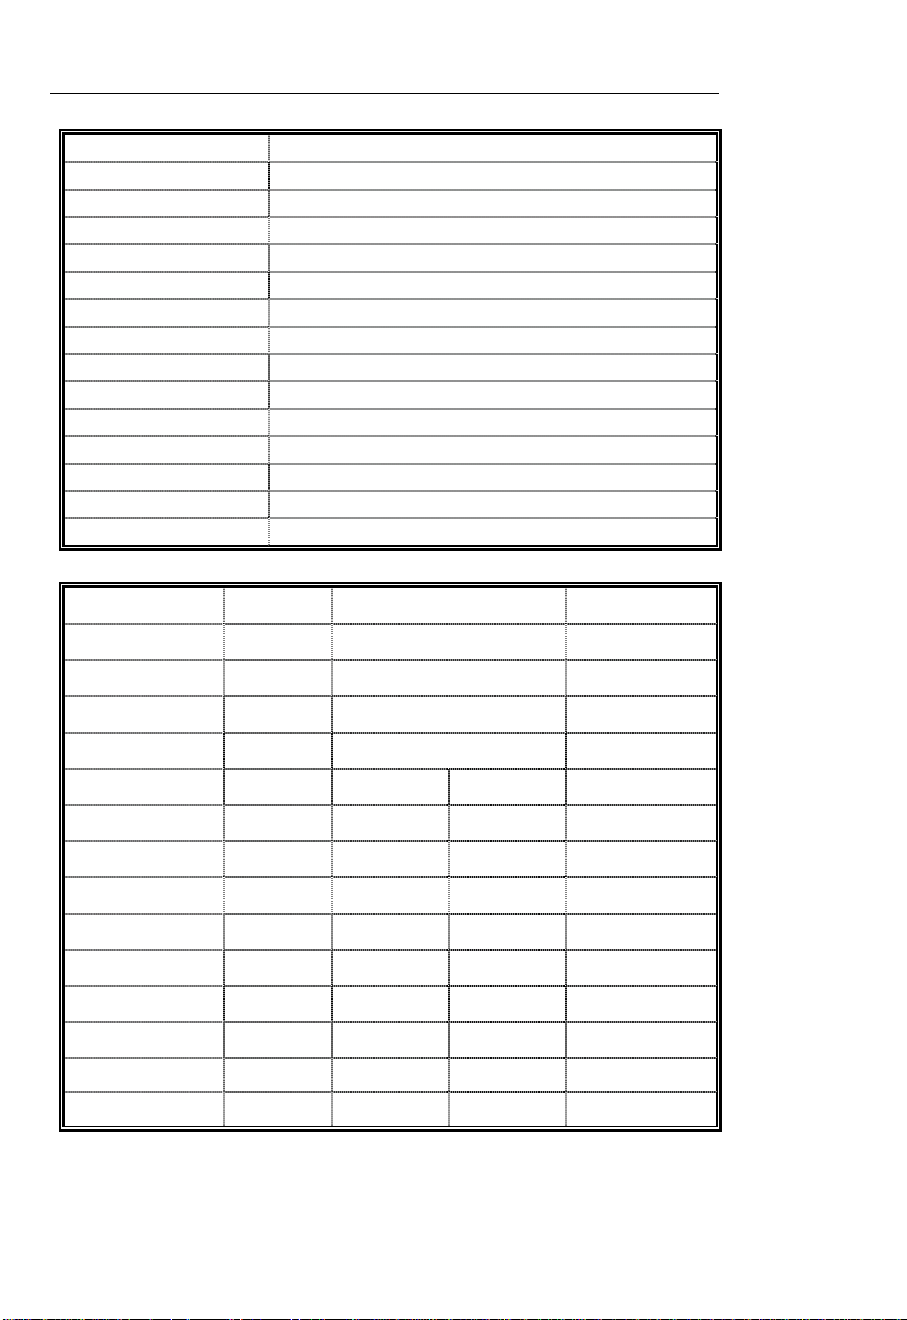
General Specifications
Display 3-3/4 Digit LCD with 40 segment bargraph
Functions Current (ACA, DCA) and Frequency (Hz)
Polarity “-“ indicates negative polarity (positive polarity assumed)
Current sensor Hall effect
Overload Display indicates “1___” or “-1___”
DCA zero adjust One-touch zero key (also used as a Relative function)
Display rate 2 readings/second (20 readings/second for bargraph)
Battery Two 1.5V AA batteries
Operating temperature 40F to 1220F (-100C to 500C)
Operating Humidity < 85% RH
Power consumption 10mA DC approx.
Weight 6.2 oz. (190g) including battery
Dimensions 7.2 x 2.5 x 1.4” (183 x 63.6 x 35.6mm) (H x W x D)
Jaw opening 0.9” (23mm)
Standards IEC 1010 Category III 300V, Category II 600V
Range Specifications
DC Current Resolution Accuracy (of rdg + digits) Overload Protect
40A 10mA ±(1.0% + 2d) 400A DC
400A (0 to 150A) 100mA ±(1.0% + 2d) 400A DC
400A (150 to 200A) 100mA ±(2.2% + 2d) 400A DC
400A (200 to 400A) 100mA ±(4.0% + 2d) 400A DC
AC Current Resolution 50/60Hz 40Hz - 1kHz Overload Protect
4A (0 to 500mA) 1mA ±(1.5% + 7d) ±(2.0% + 7d) 400A AC
4A (500mA to 4A) 1mA ±(1.5% + 3d) ±(2.0% + 4d) 400A AC
40A 10mA ±(1.5% + 3d) ±(2.0% + 4d) 400A AC
100A (0 to 100A) 100mA ±(1.5% + 3d) ±(2.0% + 4d) 500A AC
400A (100 to 200A) 100mA ±(2.2% + 3d) ±(2.5% + 4d) 500A AC
400A (200 to 400A) 100mA ±(4.0% + 3d) ±(5.0% + 4d) 500A AC
Frequency (Hz) Resolution Accuracy Sensitivity Overload Protect
40Hz to 250Hz 0.01 to 0.1Hz ±(0.5% + 2d) 3.0A 500A AC
250Hz to 10kHz 0.1 to 1Hz ±(0.5% + 2d) 0.3A 500A AC
3
380947 V3.0V 10/06
Page 4

Meter Description
1. Conductor under test
2. Clamp Jaws
3. Jaw trigger – Opens the meter jaws
4. ZERO / Relative button – Zeroes the DCA reading
5. Function select switch
6. HOLD button to freeze displayed reading
7. MAX/MIN button – Press to track and view highest and lowest readings
8. LCD Display with function indicators, units of measure, and bargraph
4
380947 V3.0V 10/06
Page 5

Display icons
Low battery
DC Direct current
AC Alternating current
Minus sign
AUTO Automatic range (frequency only)
MAN Manual range
ZERO Zero function
HOLD HOLD function
MAX Highest reading
MIN Lowest reading
A Current unit of measure
M Prefix MEGA (millions of units)
k Prefix KILO (thousands of units)
Hz Hertz (unit of measure for frequency)
Bargraph display
The 40 segment bargraph display shown below is a graphical interpretation of the
measurement. It is displayed under the display digits on the LCD.
The bars in the bargraph indicate a presence of an electronic signal. The more bars
showing, the higher the signal. The digits below the graph help the user see how many
bars are showing. If 40 segments are showing, the bars will reach the ‘40’ mark, if 20 bars
are showing the bars will reach the ‘20’ mark.
The bargraph is to be interpreted based on the range the meter is in while the
measurement is being made. If the bargraph shows 40 segments lit, then the signal is at
the highest end of the meter’s present range.
5
380947 V3.0V 10/06
Page 6

Operation
AC Current Measurements
WARNING: To avoid electric shock, disconnect the test leads from the meter before
making current measurements.
1. Set the Function switch to the 4, 40, 100, or 400A AC range.
2. Press the Trigger to open the clamp jaw.
3. Clamp onto a single conductor (fully enclosing it). Do not allow a gap between the two
halves of the jaw.
4. Read the ACA value on the LCD.
DC Current Measurements
WARNING: To avoid electric shock, disconnect the test leads from the meter before
making current measurements.
1. Set the Function switch to the 40 or 400A DC range.
2. Press the DCA zero key to null the meter display.
3. Press the Trigger to open the current sense Jaw.
4. Fully enclose a single conductor to be measured. Do not allow a gap between the two
halves of the jaw.
5. Read the DCA value on the LCD.
Frequency Measurements
1. Ensure that at least 0.1A AC is detectable before measuring Frequency.
2. Set the Function switch to the Hz position.
3. Press the Trigger to open the jaw and fully enclose one conductor.
4. Read the Frequency measurement on the LCD in Hz.
MIN, MAX Function
Press the MIN/MAX key to display ONLY the highest (MAX) and the lowest (MIN)
readings. Press the MIN/MAX key once to view the minimum reading, press it again to
view the maximum reading. Note that the displayed readings will only change when a
measurement is taken higher than the previous MAX or lower than the previous MIN
readings. The HOLD display icon (along with the MIN or MAX icon) will appear on the LCD
in MIN/MAX mode. Pressing the MIN/MAX key a 3
operation.
Data Hold
To freeze the displayed reading on the LCD, press the Data Hold key (the HOLD icon will
appear on the display). To release the Data Hold function and return the meter to normal
operation, press the Data Hold key again (the HOLD icon will switch off).
Zero button for Relative Measurements
1. Press the ZERO key and the present measurement will zero.
2. All subsequent measurements are displayed with respect to the zeroed reading. For
example, if a 20A reading is zeroed and a 30A reading is subsequently measured, the
LCD will display 10A.
3. To return to normal operation, press and hold the ZERO key for 2 seconds.
4. Note that Relative mode is not available if the MIN/MAX mode is enabled.
rd
time returns the meter to normal
6
380947 V3.0V 10/06
Page 7

Battery Replacement
1. When the low battery symbol appears on the LCD, the batteries must be replaced.
2. Turn the meter off and remove the rear battery compartment screw.
3. Lift off the battery compartment cover and replace the two 1.5V AA cells.
4. Replace the compartment cover and secure the screw.
Cleaning
Use only a dry cloth to clean the plastic case.
Calibration and Repair Services
Extech offers repair and calibration services for the products we sell. Extech also provides
NIST certification for most products. Call the Customer Service Department for information
on calibration services available for this product. Extech recommends that annual
calibrations be performed to verify meter performance and accuracy.
All rights reserved including the right of reproduction in whole or in part in any form.
Support Hotline (781) 890-7440
Tech support: Ext. 200; Email: support@extech.com
Repair/Returns: Ext. 210; Email: repair@extech.com
Website: www.extech.com
Copyright © 2006 Extech Instruments Corporation
7
380947 V3.0V 10/06
 Loading...