

Page 1
Instruction Manual
MODELS 160310 and 160330
Electronic Counting Scales
1. INTRODUCTION
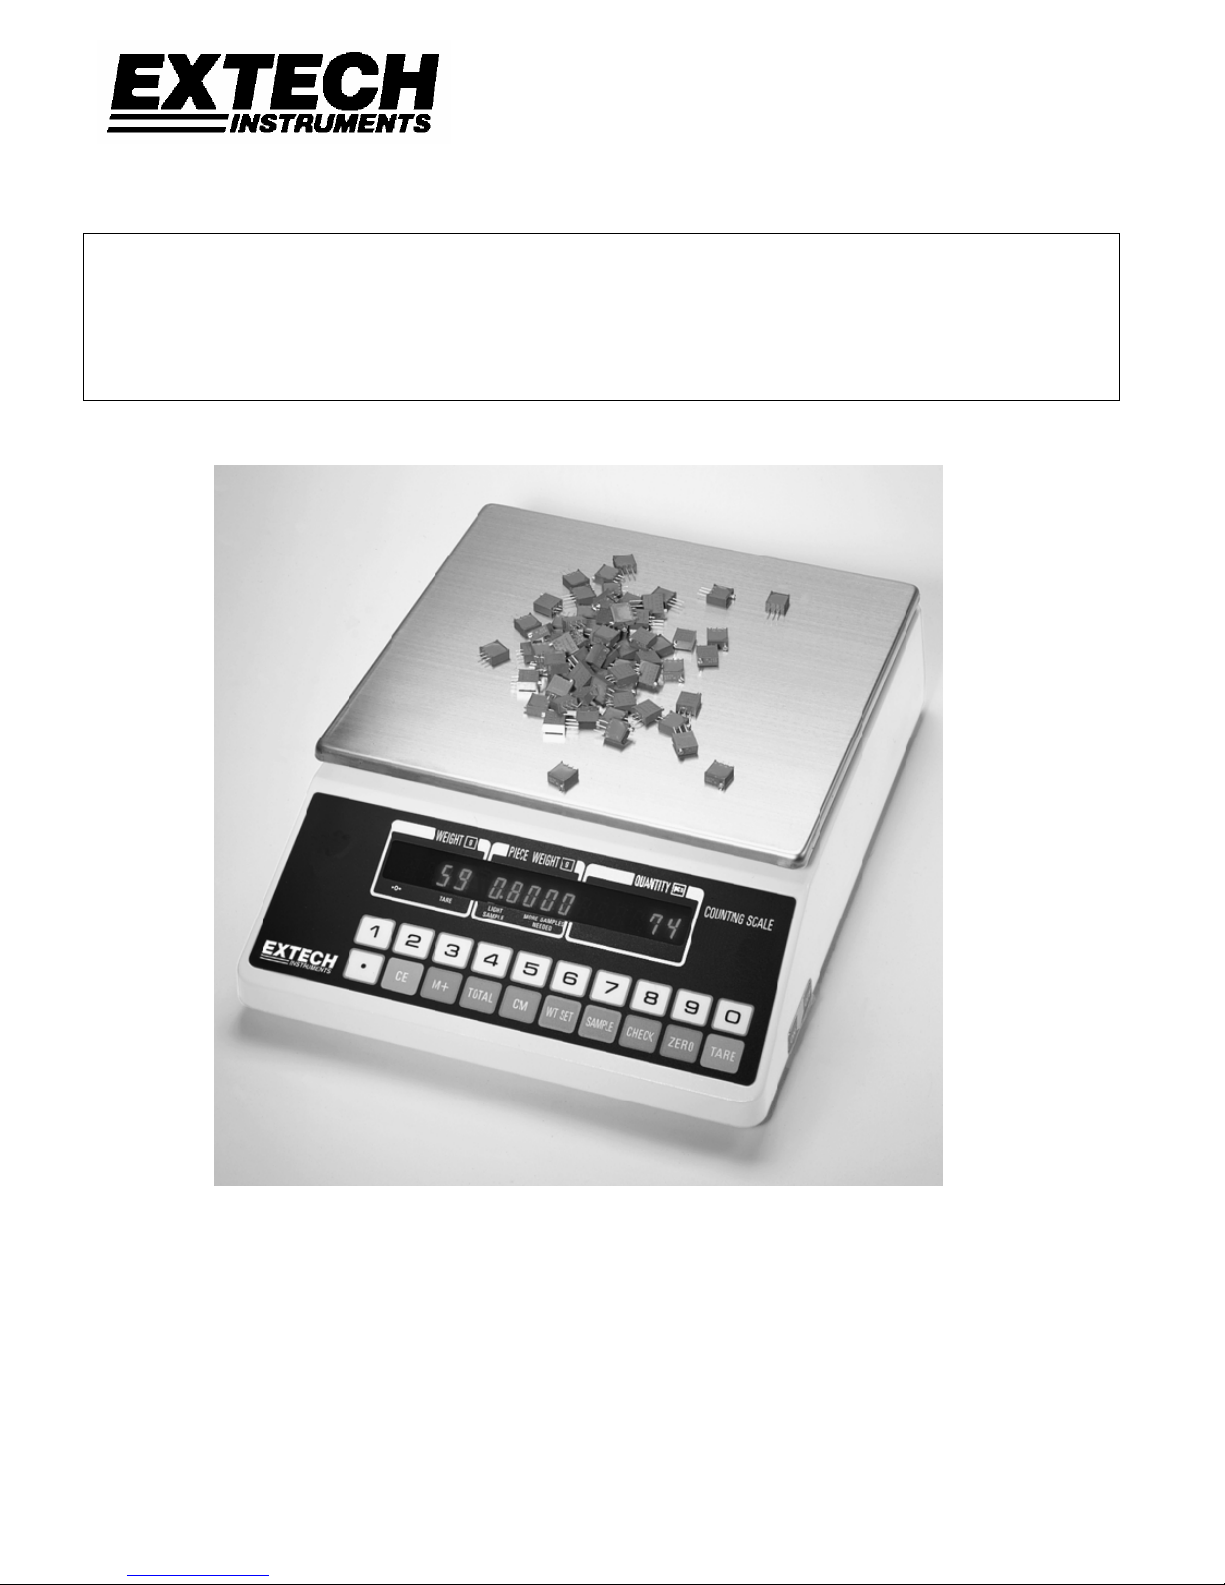
Congratulations on your purchase of the Extech Model 160310 or 160330 Counting Scale, these are
easy to use, high resolution counting scales featuring keyboard tare and unit weight entry, as well as a
memory accumulator and check function. Housed in a durable ivory-colored plastic enclosure, the
unit displays its bright numerals on a 16-digit VFD type display. A 20-key membrane panel contains all
of the scale’s functions and allows entry of numerical data. A removable 8” x 9” stainless steel platform
allows for easy cleaning.
Page 2
1.1 Getting Started
After unpacking the scale, a small amount of assembly is required: Locate the sub-platform, four
(4) Hex screws, and enclosed Allen wrench. Place the sub-platform onto the scale’s load point
with all rubber parts facing up. Install and tighten the four Hex screws. Please place the scale on
a firm and stable floor or table and plug the line cord into an AC outlet. Leave the scale on for at
least 30 minutes before using. You will find the ON/OFF switch at the bottom of the scale on the
right, towards the front. You may leave the scale on at all times, if you wish. Press the ZERO
key before operating the scale.
1.2 Important Startup Precautions:
• DO NOT Share an AC outlet with other noise producing products (devices with electrical
motors or relays).
• DO NOT turn the scale ON with an object already on the platform. You will not be able to
Zero the scale.
• DO NOT operate the Scale in an area with changing ambient temperature, direct sunlight,
high humidity, wind, or vibration.
2. SPECIFICATIONS
Measurement system Strain gauge load cell
Display 7 segment, 16 digit vacuum fluorescent display
Capacity (resolution)
Accuracy ± 0.02% full scale
Overload display Displays indicates dashes ' - - - - - ' to 103% of capacity
Overload limit 300% of capacity maximum static overload
Zero adjust Automatic zero via keypress
Digital Tare Known sample quantity or unit weight entered via keypad
Count Accumulation 999,999 pieces maximum. 99,999 separate count operations
Measurement modes COUNT, TOTAL, UNIT WEIGHT, and WEIGHT
Power Supply 117VAC ±10%, 50/60Hz (Fuse: 5 x 20mm, 0.5A QuickBlow)
Power consumption Approx. 10 Watts
Weight Approx. 10.2 lbs. (4.6 kg)
Dimensions 9x12.3x3" (240x315x85mm); Pan: 8.25x9" (210x238mm)
160310 = [12 lbs. (0.002lbs)] : 160330 = [30 lbs. (0.005 lbs.)]
3. BASICS OF OPERATION
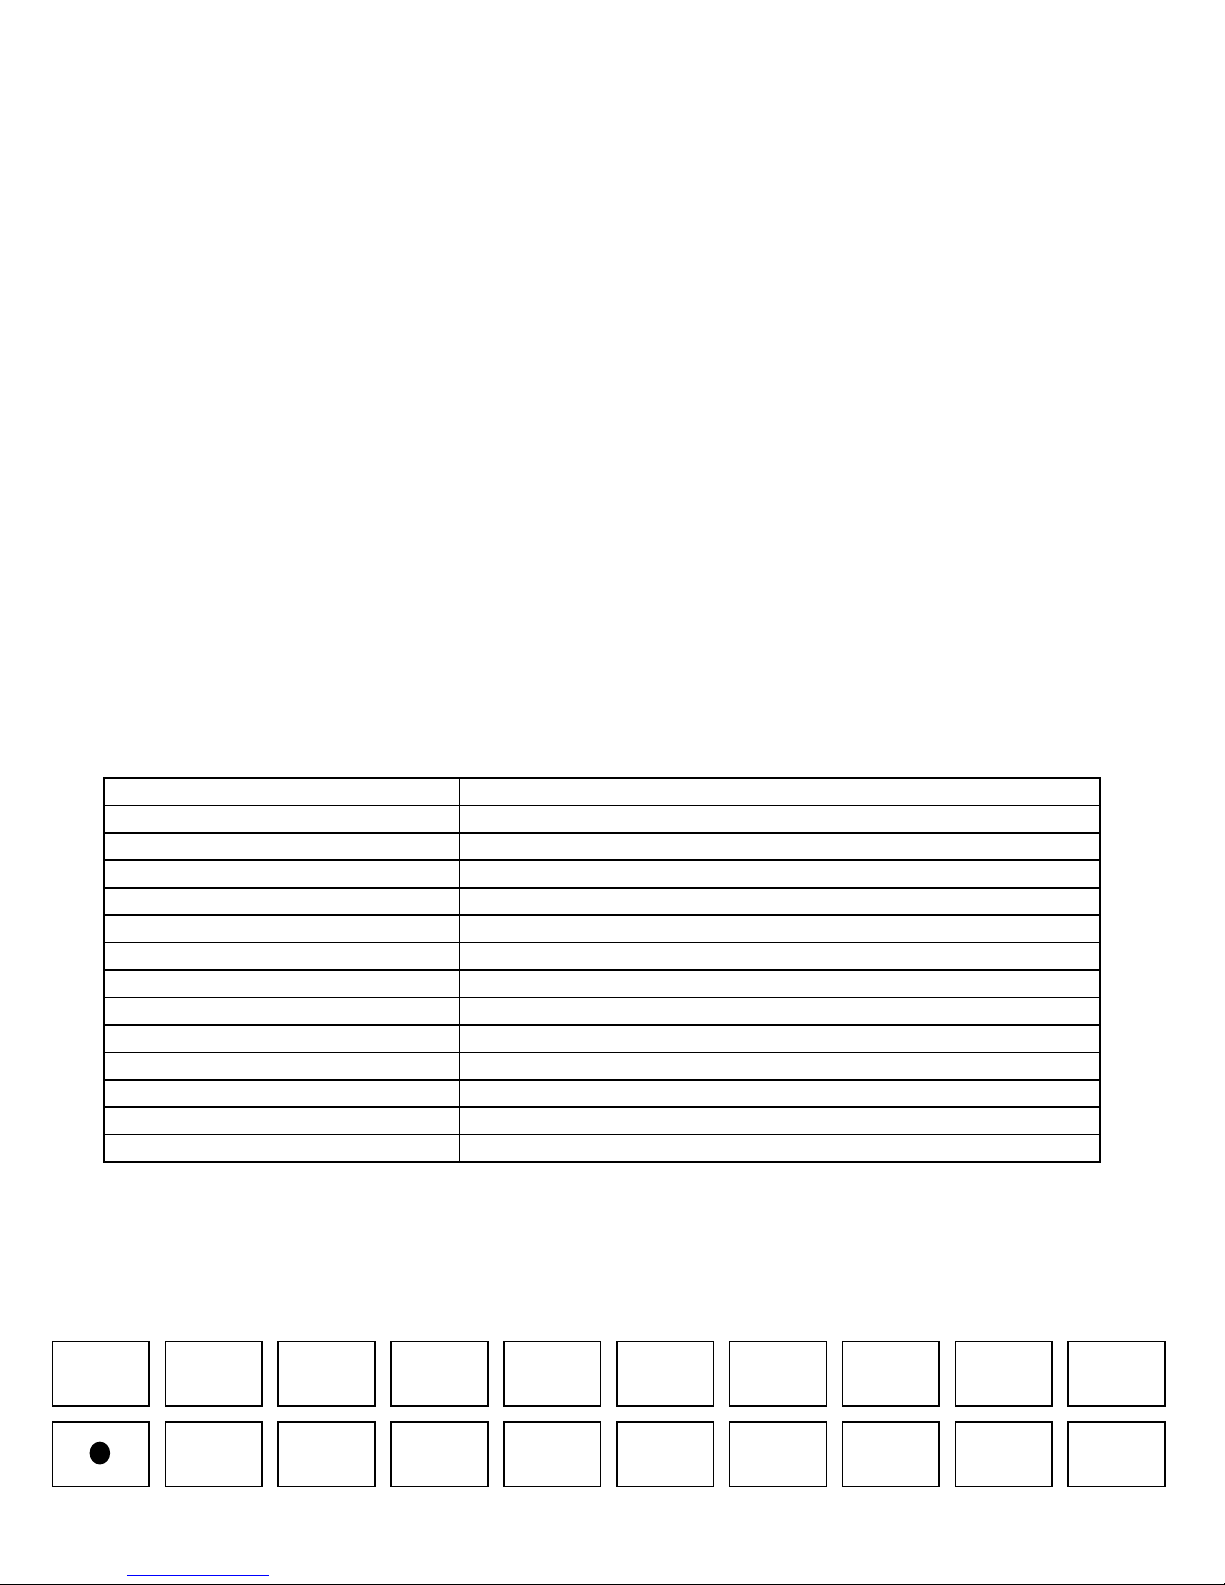
3.1 Keypad Overview
1 2 3 4 5 6 7 8 0 9
CE M+ MR CM
WT SET SAMPLE
Check
TareZero
Page 3

3.1.1 Keypad Function Explanation
KEY FUNCTION
ZERO Sets the scale in the correct zero position for accurate operation.
TARE Establishes either the weight currently on the platform or the current keyed-
in value as the tare weight.
Numeric Keys (0-9) Allows entry of numeric data.
. Allows entry of decimal point position when entering numeric data.
WT. SET Establishes the current keyed-in value as the piece count of items currently
on the platform.
SAMPL Establishes the current keyed-in value as the piece count of items currently
on platform
CE Clears the current keyed-in value or the unit weight.
CHECK Toggles between present indication and the check limit setting.
Also allows programming of check limit.
M+ Ads the current number displayed in the PIECES window to the accumulator.
(Memory +)
MR Toggles the scale between current indication and the contents of the
accumulator. (Memory Recall)
CM Clears the contents of the accumulator. (Memory Clear)
3.2 Display Modes
In the COUNTING mode, the 16 digit display simultaneously indicates WEIGHT, PIECE
WEIGHT, and QUANTITY. In the TOTALS mode, the display simultaneously indicates the
number of counting operations totaled and the accumulated total quantity.
• ZERO Indicator: Indicates that the scale is within 1/4 of a graduation
• WEIGHT Display: Indicates the gross or net (when Tare is activated) presently on the
platform.
• PIECE WEIGHT Display: Indicates the averaged or user-programmed sample piece
weight.
• QUANTITY Display: Indicates the accumulated total number of pieces weighed
3.3 Indicators and Warnings
The scale's keypad incorporates 'tactile feedback' meaning that when a key is pressed an
audible tone is heard to confirm that a keypad command has been accepted. In addition, the
following status indicators advise the operator:
• ZERO Indicator: Indicates that the scale is within 1/4 of a graduation of zero.
• TARE Indicator: Warns that a Tare value has been stored in memory.
• ‘Light Sample’: Indicates that the unit piece weight is too light for accurate counting. This
warning permits counting operations to continue however.
• ‘More Samples Needed’: The total number of the samples on the platform is below the
limit necessary for accurate counting.
3.4 Tare Operation
In order to subtract the weight of the container or vessel from the scale’s reading, it is
necessary to enter that weight as the tare weight. This value can be entered into the 160310
Page 4

Counting Scale by either the push button tare method or the keyboard tare method. A tare
weight may be entered up to and including the scale’s full capacity, however the maximum
negative weight that the scale can show is –9.9999 lbs. It is recommended that the push
button tare method be used.
3.4.1 To use the push button tare method (Recommended for better accuracy):
1. Place the empty container on the platform.
2. Press the TARE key. The TARE indicator comes on and the WEIGHT display window
shows zero.
3.4.2 To use the keyboard method:
1. Enter the known tare weight in pounds into the scale using the numeric and decimal
point keys. NOTE: You must enter all three decimal places if the tare weight is not in
whole pounds, i.e. enter 1.2 lbs. as 1.2000 lbs. This value will be blinking in the UNIT
WEIGHT display window.
2. Press the TARE key. The TARE indicator comes on and the WEIGHT display window
shows the keyed-in weight as a negative value
3.4.3 To clear the tare weight from the scale:
Remove all weight from the platform and press the TARE key. The TARE indicator goes
off and the WEIGHT display window again shows zero.
3.4.4 Possible Tare Operation Errors:
You cannot enter a tare weight that is greater than the scale’s full capacity. For example,
for the 12 lbs., you cannot enter, say, 13.000 lbs. Also, you cannot key in a decimal point
value higher than the resolution if the scale. For example, for the 12 lbs., you cannot
enter 0.001 lbs., since the resolution is 0.002 lbs. In both cases, the scale will
automatically reset itself after three seconds, or you can press the CE key to key in a
new value.
3.5 Piece Counting Operation
There are two ways to use the piece counting operation. A unit weight value can be
keyed into the Counting Scale by using the keyboard entry method. Alternatively, the
sampling method may be used. For greater accuracy, the sampling method should be
used. The accuracy of the operation depends upon part consistency and sample weight.
When using the sampling method, always count the parts in your hand and place them on
the platform all at once. Both the sample weight and the unit weigh have limits to assure
accuracy. The limits for these are found at the bottom of the page.
3.5.1 To use the sampling method:
1. Place a pre-determined number of pieces on the platform. The WEIGHT display window
shows the total weight.
Page 5

in the UNIT WEIGHT display window.
3. Press the SAMPLE key. The UNIT WEIGHT display window now shows the calculated
unit weight, while the PIECES display window shows the actual number of pieces on the
platform.
3.5.2 To use the keyboard entry method:
1. Key in the pre-determined unit weight in thousandths of a pound; i.e. enter 0.010 lbs. as
10. This value will be blinking in the UNIT WEIGHT display window.
2. Press the SET key. The UNIT WEIGHT display window now shows the keyed-in unit
weight value.
3.5.3 To clear the unit weight from the scale:
1. Press the CE key. The UNIT WEIGHT display window now zero.
3.6 Accumulator Function Operation
The 160310 Counting Scale comes equipped with a handy accumulator function which works
in conjunction with the piece counting operation. The accumulator uses a memory to store
piece counts. Much like a pocket calculator, this memory can be added to, displayed, and
cleared at any time.
3.6.1 To use the accumulator function:
1. Enter the Unit Weight of the objects you wish to count by one of the methods listed
under “Piece Counting Operation.”
2. Press the CM key to clear the accumulator memory.
3. Place the objects to count on the platform. The number of pieces will be shown in the
PIECES display window.
4. Press the M+ key to add this value to the accumulator.
5. Repeat steps 3 & 4 until all pieces are counted.
6. Press the MR to view the contents of the accumulator. The display shows the
information in the following format. The WEIGHT display window shows the number of
times the M+ key was pressed.
The PIECES display window shows the accumulator total.
7. To return to piece count mode, press the MR key again.
3.7 Check Limit Function Operation
The Counting Scale comes equipped with a handy check limit function which works in
conjunction with the piece counting operation. The check limit uses a memory to store a piece
count limit, which is entered using the numeric keys. Once set, the scale sounds an alarm
when the current piece count is equal to or greater than the stored limit. This function was
designed for packing and filling applications.
Page 6

3.7.1 To set the check limit value:
1. Press the CHECK key.
2. Key in the number of pieces you wish to set as the check limit value. This value will be
blinking in the UNIT WEIGHT display window.
3. Press the SET key. The display now shows the information in the following format:
The UNIT WEIGHT display window shows the number entered for check limit.
4. Press the CHECK key again to return to previous operation.
3.7.2 To use the check limit function:
1. Enter the Unit Weight of the objects you wish to count by one of the methods listed
under “Piece Counting Operation.”
2. Add pieces to the container until the scale “beeps” repeatedly and the value in the
PIECES display window blinks on and off.
3.7.3 To clear the check limit value:
1. Press the CHECK key.
2. Press the CE key. The value in the UNIT WEIGHT display window becomes zero.
3. Press the SET key to clear the value from memory.
4. Press the CHECK key to return to previous operation.
4. Repair and Calibration Services
Extech offers complete repair and calibration services for all of the products we sell. For periodic
calibration, NIST certification or repair of any Extech product, call customer service for details on
services available. Extech recommends that calibration be performed on an annual basis to
insure calibration integrity.
5. Warranty
EXTECH INSTRUMENTS CORPORATION warrants this instrument to be free of defects in parts and workmanship for
one year from date of shipment (a six month limited warranty applies on sensors and cables). If it should become
necessary to return the instrument for service during or beyond the warranty period, contact the Customer Service
Department at (781) 890-7440 for authorization. A Return Authorization (RA) number must be issued before any
product is returned to Extech. The sender is responsible for shipping charges, freight, insurance and proper packaging
to prevent damage in transit.
This warranty does not apply to defects resulting from action of the user such as misuse, improper wiring, operation
outside of specification, improper maintenance or repair, or unauthorized modification. Extech specifically disclaims any
implied warranties or merchantability or fitness for a specific purpose and will not be liable for any direct, indirect,
incidental or consequential damages. Extech's total liability is limited to repair or replacement of the product.
The warranty set forth above is inclusive and no other warranty, whether written or oral, is expressed or implied.
Copyright © 1999 Extech Instruments Corporation. All rights reserved including the right of
reproduction in whole or in part in any form.
 Loading...