

EXTBIKE Eagle EYE 1600LM User Manual
Thank you for purchasing!
Welcome to the world of
LED lighting
,
comprised of the highest quality materials
and craftsmanship, designed to provide
long reliable service.
To insure maximum experience and safety, familiarize yourself with
ALL aspects of your new light and battery system. Follow battery
charging instructions before use as systems are shipped with partially
charged batteries.

To insure maximum experience and safety, familiarize yourself with
ALL aspects of your new light and battery system.
1. Installation
2. Battery Usage and Charging
3. Light System and Operation
4. Warranty, Support, Customer Service
Caution:
1. Always unplug the light from the battery when not in use.
2. Use only the supplied charger with the battery.
Failure to follow these cautions will void the warranty and can cause
damage to the system.
A lighting system can make riding safer and you more visible,but
lights are no substitute for common sense. Ride within your
capability with consideration for the riding environment.
Installation:
The bike light comes with mounts for both handlebar and helmet.
There are two different sizes of rings to accommodate various sizes of
handlebars. When mounting the battery, locate a place that will keep
it and the wires protected from kinking or being pinched in the event
of a crash or in any other situation.The light is front weighted..
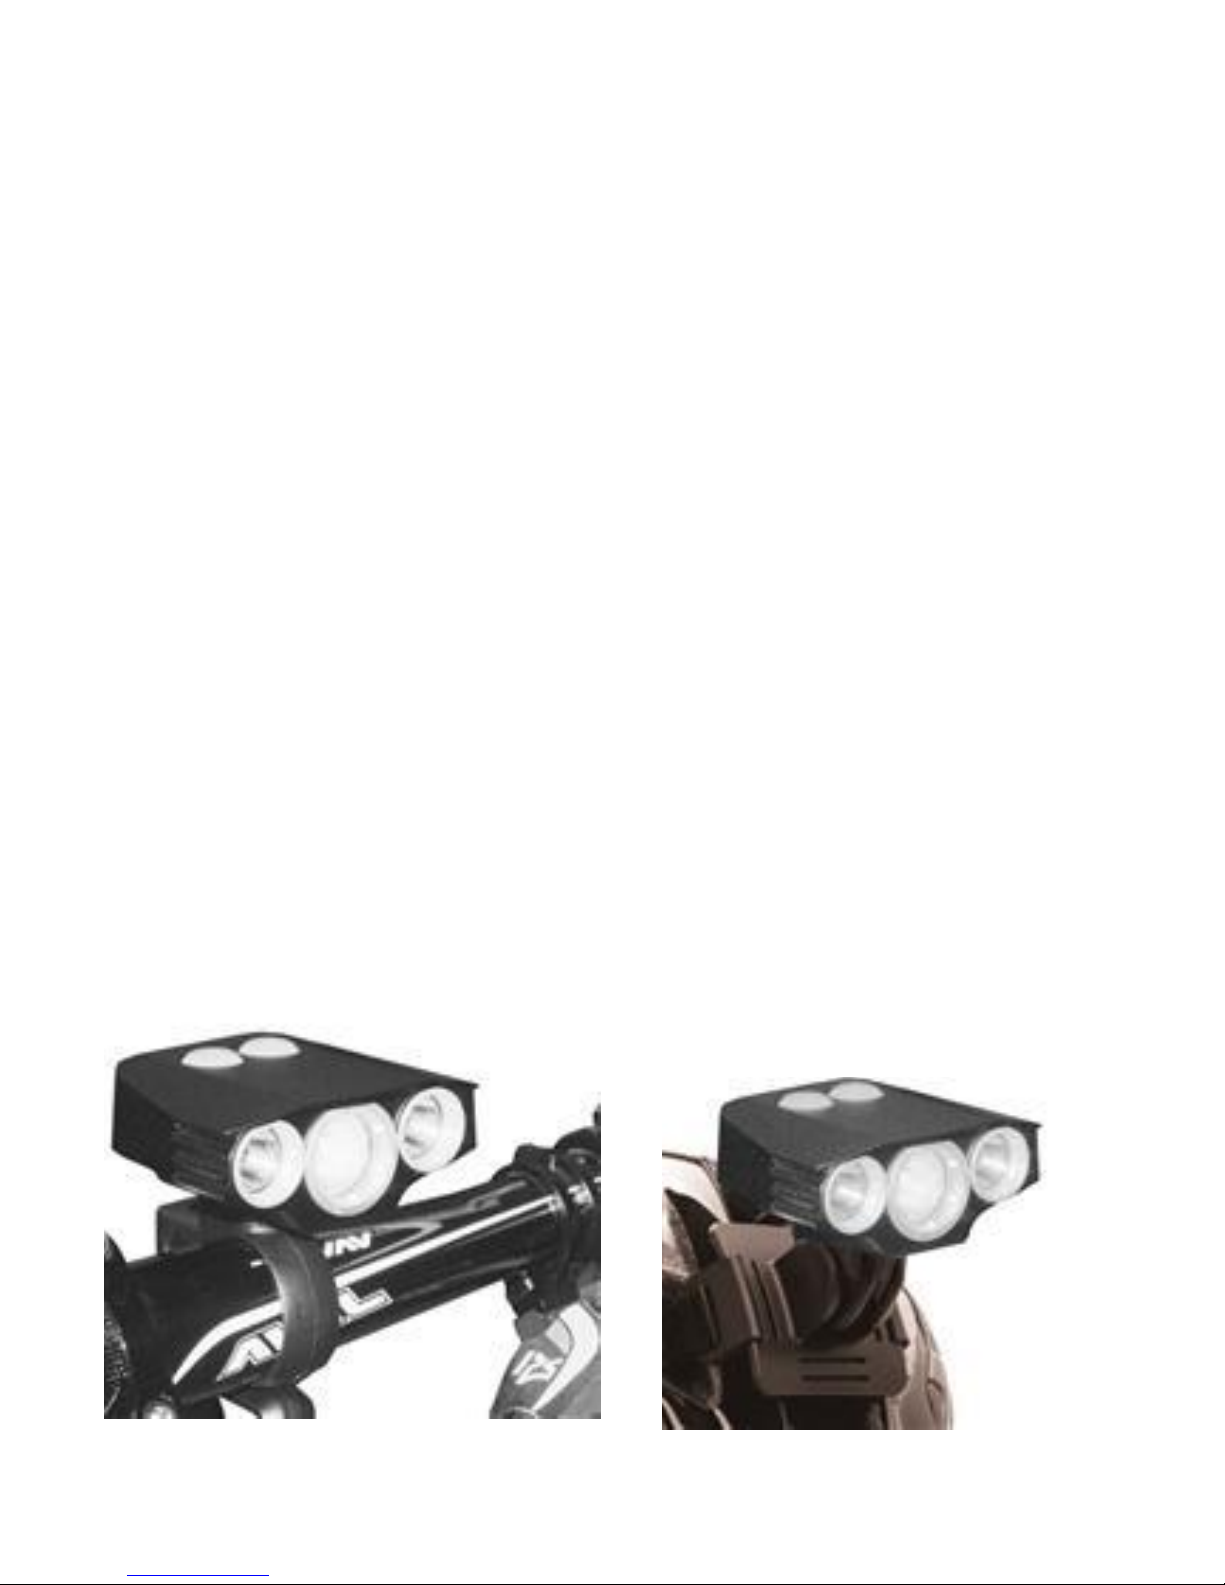
The light system is designed to be mounted on a handlebar or on the
enclosed helmet mount.Both mounts will use one of the rubber rings.
The battery may also be mounted using the attached Velcro strap.
When mounting the battery, insure adequate length of cable between
the battery and cable so that full freedom of movement of the mount
and does not pull on the battery, light or their connection or cause
the wire to become pinched or stressed. When mounting the
light,run the wire first over then handlebar and provide and extra half
wrap of cable in the even the light is twisted around the handlebar.
Excess wire maybe be wrapped around the handlebar or secured
within the battery Velcro strap.
When using the helmet mount for the light, the battery is designed to
be carried in a jacket pocket or a pack that you are wearing.
CAUTION: Do not connect a helmet mounted light to a bike
mounted battery.
Helmet mount: The helmet lamp mount may be used for a variety of
mounts with the included long Velcro straps. It is designed in such a
way that the light is easily removed using the rubber ring similar to
mounting on the handlebar.
You may find it advantageous to use both a handlebar mounted light
and a helmet mounted light. The head mount provides the additional
safety and flexibility to point the light quickly in any direction your
head points.
Aiming the light: When using any mounted light, insure that the
mounting does not project the beam directly into the eyes of
oncoming motorists or cyclists.
A temperature protection circuit will stop the light from overheating,
by stepping the output down if the light is left on full with no airflow
around it.
Handlebar Mount Helmet Mount
 Loading...