

Page 1

high delity engineering since 1974
TM
Instruction Manual
PRE-AMPLIFIER
FA-310108-MCX-Pre-Instruction.indd 1 1/31/2008 4:42:12 PM
Page 2

FA-310108-MCX-Pre-Instruction.indd 2 1/31/2008 4:42:15 PM
Page 3
PACKAGED CONTENTS
a) MCX Pre Amplier
b) MCX Remote Control Unit
(with batteries) - one unit for per MCX system
c) Mains Cable
d) MCX ‘EXLINK’ Cable
Exposure recommends a professional installation of this MCX
component or system by an authorised Exposure dealer.
Pre Amplifier
FA-310108-MCX-Pre-Instruction.indd 3 1/31/2008 4:42:19 PM
Page 4
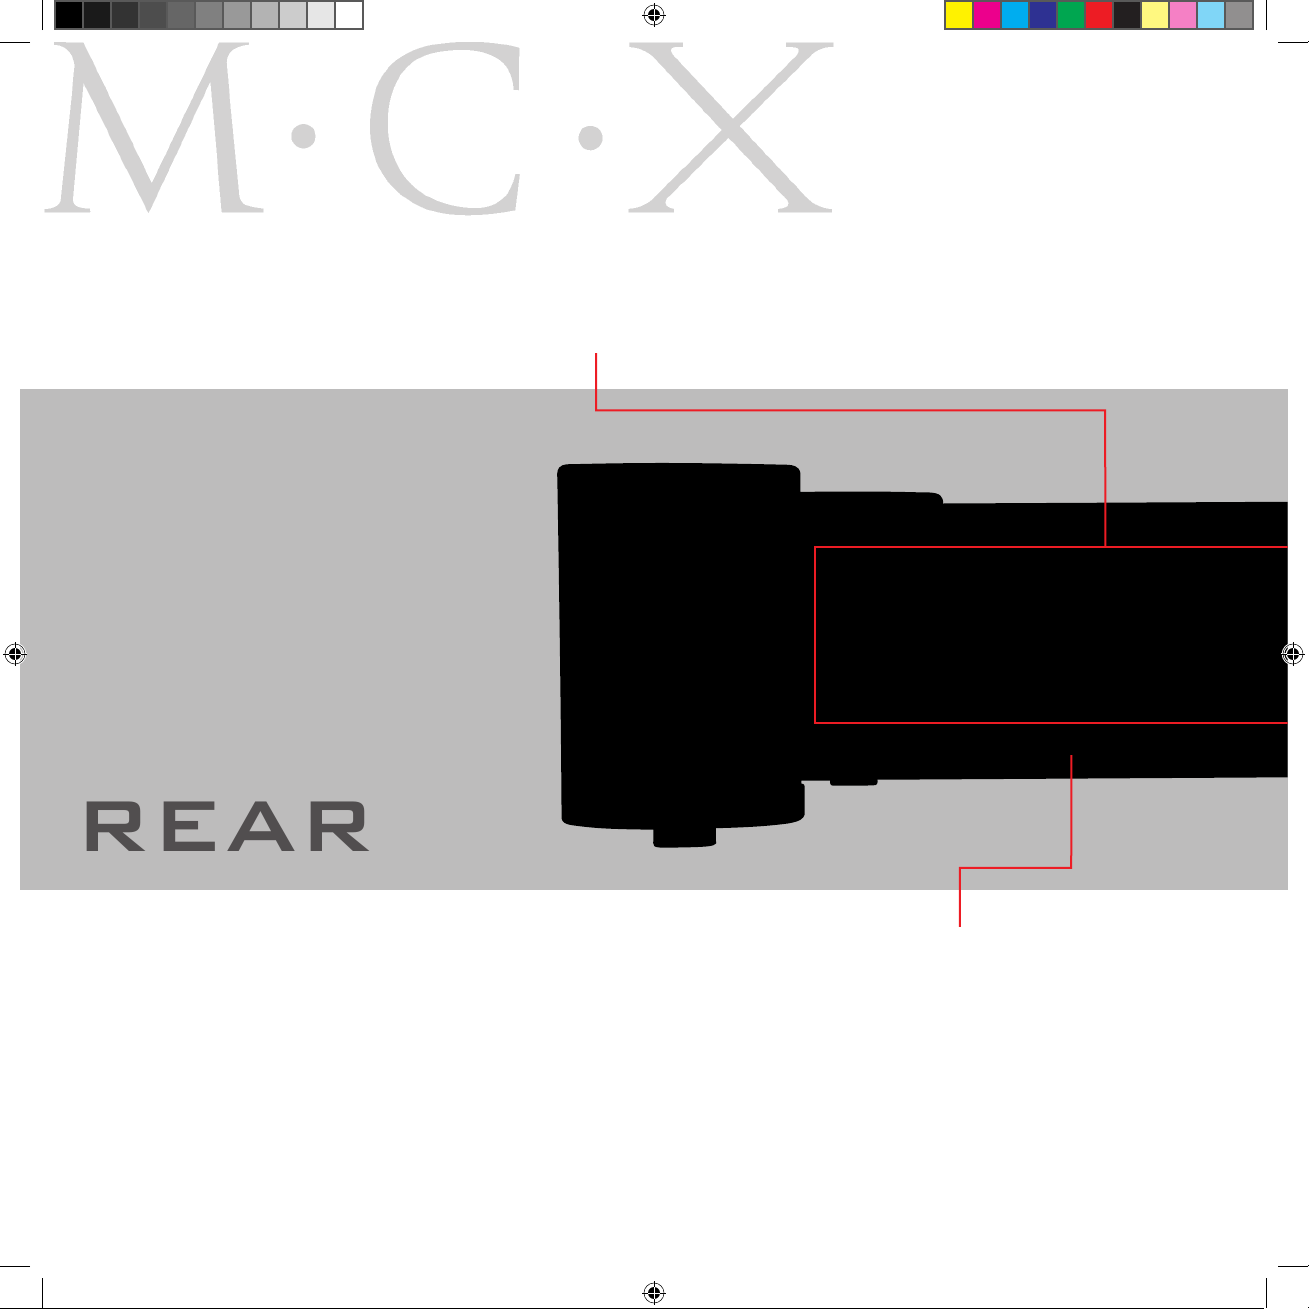
panel
GROUND TERMINAL
For connection to a turntable arm
ground wire or line level ground
wire only. WARNING - THIS IS
NOT A SAFETY GROUND.
REAR
INPUT SOCKETS
• AUX1/PHONO
This input serves as either a balanced line
level input or an unbalanced phono input
when a phono card is tted internally.
• CD
Balanced - for connection to the MCX CD
player or another balanced line level source.
• AUX 2 (line level input - unbalanced)
• AUX 3 (line level input - unbalanced)
• AUX 4 (line level input - unbalanced)
• AV
For use within an audio visual (AV) system - gain is xed at X1,
meaning the input and output levels are the same at all times.
WARNING: Do not use with any other source or damage may occur
to equipment.
• TAPE IN
Tape playback or other line level input
• TAPE REC
Provides a signal to a recorder when this function is selected in the
menu on the front panel. Can be set permanently ‘on’ or ‘off’ - this
output does not function when ‘TAPE IN’ is selected.
FA-310108-MCX-Pre-Instruction.indd 4 1/31/2008 4:42:20 PM
Page 5
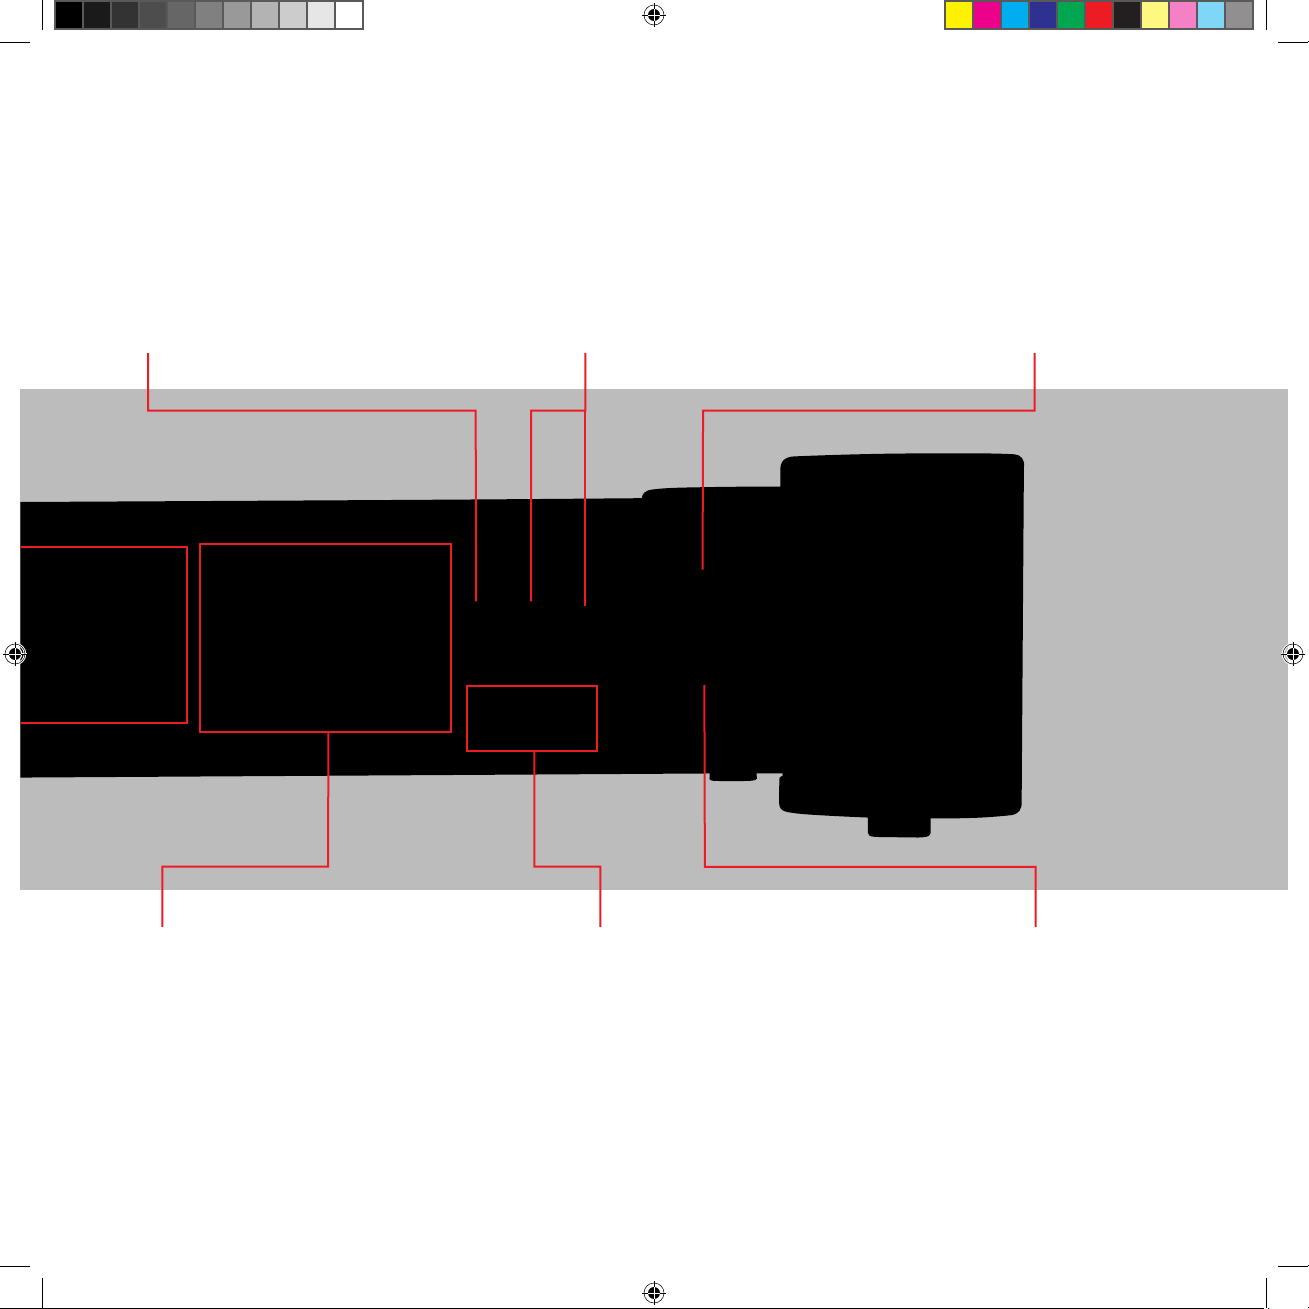
Pre Amplifier
PRE-OUTS
Two XLR balanced outputs are
provided along with an unbalanced
output. All three can be used at
the same time for bi-amping or
tri-amping.
When in balanced mode to the
power amplier, use the balanced
input XLR connector only to connect
to the pre amplier balanced output.
When in unbalanced mode, use the
unbalanced input.
12V SWITCHING SOCKET
When connecting to another system with the
facility for 12V switching, connect the 12V input
of the MCX Pre Amplier to that system in order
to power ‘on’ or ‘off’ the entire MCX system.
Or, you can connect the 12V out of the MCX Pre
Amplier to power ‘on’ or ‘off’ the other system.
MAIN POWER SWITCH
Press this MAINS ROCKER SWITCH to
switch the unit completely ‘on’ or ‘off’.
When the green segment is shown,
the unit is in standby mode - the display
will show ‘PWR DOWN’ and then go out
leaving just the LED on.
POWER CABLE SOCKET
Connect the mains lead provided to this
IEC socket. Insert the mains plug to the
power socket on your wall. Please push
both of the plugs in properly before
switching the power on.
REMOTE
Plug a matching remote receiver
into this jack to extended the
range of the remote control.
IN-EXLINK-OUT (RJ45)
For use with EXLINK cable provided to link to other
MCX components. EXLINK facilitates synchronised
control of the ‘Power On / Off’, ‘Display On / Off’
and ‘Mode’ functions of the entire MCX system.
FA-310108-MCX-Pre-Instruction.indd 5 1/31/2008 4:42:21 PM
Page 6
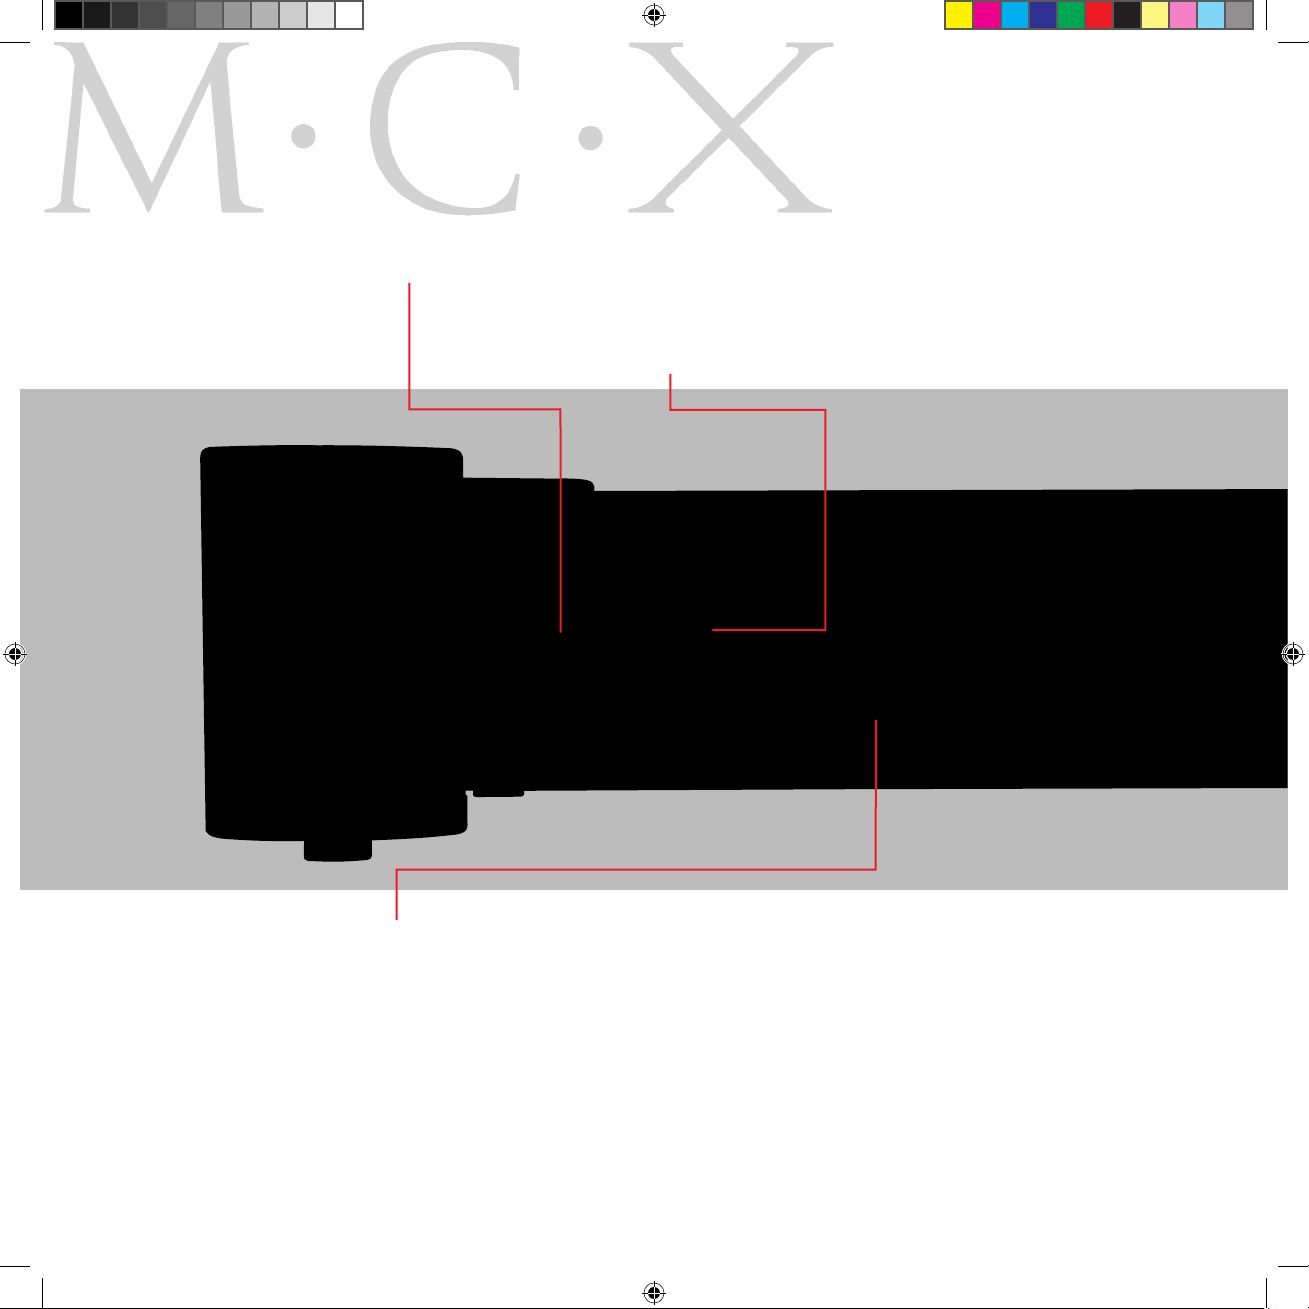
SELECTOR
Turn this input selector
clockwise or anti-clockwise
to select the desired input.
MENU
Press the ‘MENU’ button to enter the menu system. Use the SELECTOR knob to
select which entry you would like to change as below:
• RECORD ON / OFF - Press the ‘Display’ button to select the desired setting.
• VOLUME - This selects a preset volume level after mains power on.
Press the ‘Display’ button until the desired setting is reached.
• INPUT - This selects which input is used after mains power on.
Press the ‘Display’ button until the desired setting is reached.
• VERSION - Displays the current software version.
• Press ‘MENU’ again to exit.
POWER
Use this button on the
front panel to switch the
unit from standby to ‘on’
or ‘off’.
FA-310108-MCX-Pre-Instruction.indd 6 1/31/2008 4:42:22 PM
Page 7
FRONT
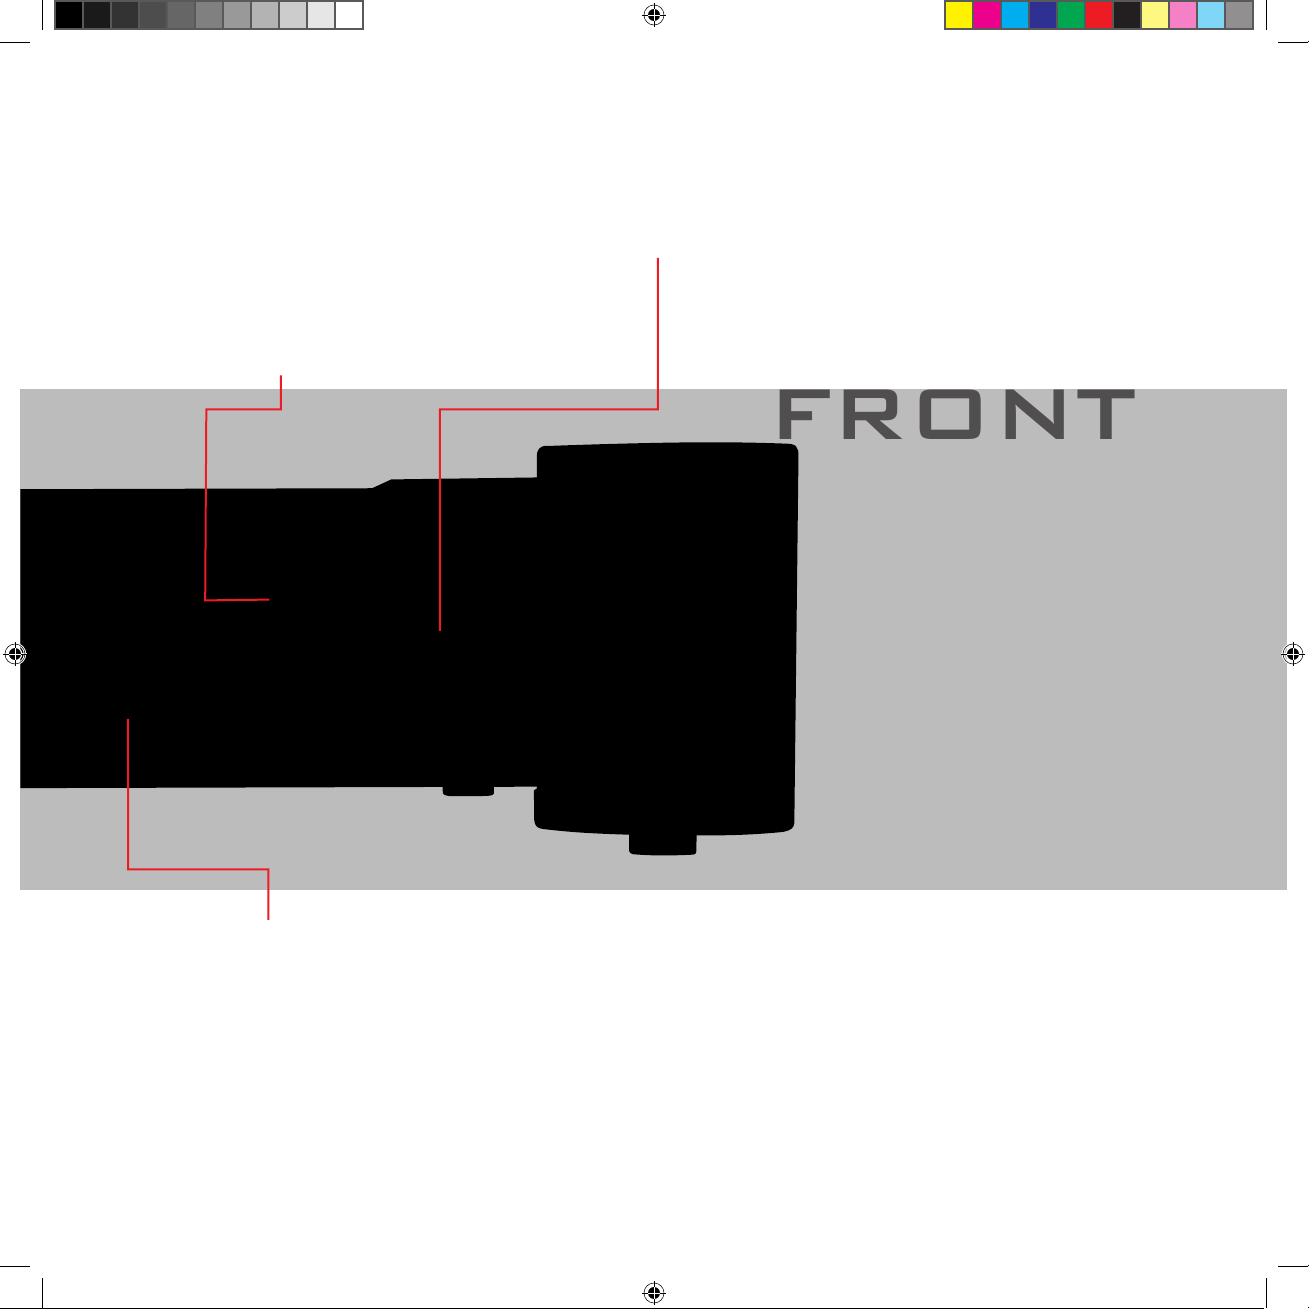
VOLUME
Turn the volume knob clockwise to
increase the volume or anti-clockwise to decrease the volume. In
mute mode, turning the volume will
de-mute the audio output.
MUTE
Press to ‘mute’ or ‘de-mute’
audio output.
DISPLAY
Turns the display ‘on’
or ‘off’. Also used in MENU
mode.
panel
Pre Amplifier
FA-310108-MCX-Pre-Instruction.indd 7 1/31/2008 4:42:23 PM
Page 8

FA-310108-MCX-Pre-Instruction.indd 8 1/31/2008 4:42:27 PM
Page 9
MCX REMOTE
CONTROL HANDSET
• BUTTONS 1-9 and +10 : direct entry of track numbers
into the CD player. For track numbers of 10 or above, press
the +10 button rst, followed by the desired track number.
• MUTE : ‘mutes’ or ‘de-mutes’ the audio output.
• PRE SEL - and PRE SEL + : use these buttons to step
through the inputs on the MCX Pre Amplier.
• CD SEL - and CD SEL + : steps through the inputs on the
MCX CD player.
• VOL - and VOL + : decreases or increases the volume
level of the MCX Pre Amplier.
• PROG : puts the MCX CD player into program mode to
allow playing tracks in a programmed order.
• RDM : puts the MCX CD player into random play mode.
• DISPLAY : turns the display of the MCX CD player or MCX
Pre Amplier ‘on’ or ‘off’.
• PREV and NEXT : selects the previous or next track when
playing a CD.
• RPT : press once to repeat the whole CD or twice to play
the same track continuously.
• << and >> : searches rewind (<<) or forward (>>).
• TIME : selects the time display on the CD Player to display
remaining time of the current track, remaining time of the
cd or the current played time of the track.
• PLAY : plays CD
• STOP : stops CD playback
• PAUSE : pauses / resumes playback
• STANDBY : switches the MCX CD player or MCX Pre
Amplier ‘on’ or into ‘standby’ mode.
Specications for the Remote Handset:
Batteries : AAA
Size : 66 x 34 x 218mm (w x d x h)
Weight : 500g (without batteries)
* To replace the batteries on the remote handset, please remove the
case screws on the top and bottom panels of the unit. You can then
slide off the back panel to access the battery compartment.
FA-310108-MCX-Pre-Instruction.indd 9 1/31/2008 4:42:28 PM
Page 10

SAFETY
IT IS HIGHLY RECOMMENDED FOR YOUR MCX SYSTEM TO BE PROFESSIONALLY INSTALLED BY YOUR DEALER.
Incorrect installation or inappropriate use of the Exposure MCX Pre Amplier may result in injury due to electric shock.
• Ensure that the voltage rating on the rear panel of MCX Pre Amplier matches that of your local mains supply.*
• Ensure that the mains cable and plug supplied with this unit is also correct (Contact your dealer immediately if this is not the case).
• This unit is protected by a mains fuse which is accessible as part of the IEC socket on the rear panel.
• Fuse replacement specications:
220/240V units T2.5A fuse
110/120V units T5A fuse
• The MCX Pre Amplier MUST be earthed.
• Protect the MCX Pre Amplier against all forms of liquid. Never expose the unit to dripping or splashing, or place objects lled with
water, such as vases, on the unit.
• Unplug this unit from mains when not in use for prolonged periods.
• Do not open this unit - there are NO user serviceable parts inside (installation or substitution of a phono card should be carried out
by an authorised Exposure dealer).
• Reduce the volume control to minimum before turning this unit ‘on’ or ‘off’.
• Ensure that this unit is switched ‘off when connecting or disconnecting interconnect cables.
*Contact Exposure Electronics for advice on moving your equipment to another country or territory.
CAUTION
For a long and trouble-free life of your Exposure MCX Pre Amplier, please ensure the following:
• Do not remove the cover or dismantle the case (phono cards should be professionally installed by an authorised Exposure dealer).
• Do not operate this amplier in damp environment or allow liquids to enter the unit.
• Do not attempt to bypass the mains fuse or replace the fuse with one of a different specication.
• Do not place the amplier in a position that restricts cooling airow around its case.
• Do not use abrasive or solvent-based cleaning uids on the case.
FAILURE TO OBSERVE THESE PRECAUTIONARY MEASURES MAY VOID YOUR WARRANTY.
FA-310108-MCX-Pre-Instruction.indd 10 1/31/2008 4:42:28 PM
Page 11

WARRANTY
1 The Exposure warranty entitles you to FREE repair of this unit for the rst three (3) years from the date of purchase.
2 This warranty is valid only if the unit is purchased from an authorised Exposure dealer, registered with the authorised agent
in your country of residence and issued with a recognised warranty card.
3 The agent accepts no responsibility for defects arising from accident, misuse, abuse, wear and tear, neglect or through
unauthorised adjustment and/or repair or replacement of any components, nor will they accept responsibility for damage or
loss occurring during transit to or from the person making a claim under the warranty.
4 The Exposure warranty covers:
Parts and labour costs for three (3) years from the date of purchase. Please retain your original receipt as proof of purchase
and purchase date. The guarantee is extended only to the original purchaser and is not transferable.
When making claims under this warranty:
1 The equipment should be suitably packed and returned to the dealer from whom it was purchased, or directly to the local
distributor, together with proof of purchase or a copy of the dated sales receipt.
2 If necessary the unit should be sent carriage pre-paid by a reputable carrier - NOT by post.
3 No responsibility is accepted for the unit whilst in transit to the dealer or agent, and customers are advised to insure the unit
against loss or damage whilst in transit.
4 The warranty card MUST be produced when making claims against this guarantee.
5 Any tampering or alteration made to the warranty card or to the serial number on the equipment will invalidate the warranty.
6 The dealer or the agent shall notify the customer when the repairs have been completed. The customer must claim the
goods within fourteen (14) days from the date of notice, failing which; the Company reserves the right to impose storage
charges.
7 The Company reserves the right to dispose of the equipment after ninety (90) days from the date of notice in a manner that
it sees t and without compensation to the customer.
FA-310108-MCX-Pre-Instruction.indd 11 1/31/2008 4:42:29 PM
Page 12

SPECIFICATIONS
Inputs : 5 line level unbalanced inputs
1 CD input, XLR balanced connector
1 XLR balanced input when Phono option is not tted
Input sensitivity : 250mV
Frequency response, 0.15Hz to greater than 45KHz,
-3dB points, maximum volume
Optional Phono MC by plug-in board, XLR or RCA input sockets
MC Sensitivity - 250uV
Frequency response: 20Hz - 20KHz, - 0.5dB
S/N : 64dB, ref 250mV output at tape record socket
Outputs : 2 XLR, pre out, gain 18dB, nominal
1 RCA, pre out, gain, 12dB, nominal
1 RCA, tape output, at same level as input
Communication : External remote control receiver input
‘EXLINK’ input - RJ45
‘EXLINK’ output - RJ45
12V trigger input, continuous 12V level required to keep unit ‘on’
12V trigger output, continuous 12V level is present at the output
Power Supply Input : Internally adjustable for 110 - 120V, 220V - 240V, 50-60Hz
Power Consumption : 35W, Maximum, power on. 20W on ‘standby’
Size : 490 x 414 x 104mm (W x D x H)
Weight : 23kg nett
28kg gross
Exposure Electronics Ltd:
The Works 59 North Street, Portslade, East Sussex BN41 1DH, England.
Tel: +44 1273 423877 Fax: +44 1273 430619
Prototype images only. Exposure Electronics Ltd reserves the right to re-design/re-engineer the casing/facades of manufactured units.
WWW.EXPOSUREHIFI.COM
high delity engineering since 1974
TM
Product disposal instructions
The symbol shown here and on the product means that the product is classed as electrical or electronic waste and should not be disposed of with other
household waste at the end of its working life.
The Waste of Electrical and Electronic Equipment (WEEE) Directive (2002/96/EC) has been put in place to recycle products using the best available recovery and
recycling techniques to minimise the impact on the environment, treat any hazardous substances and avoid increasing landll.
When you have no further use for this product, please remove any batteries from the remote control handset and dispose of them and the product as per your local
authority’s recycling process. For more information please contact your local authority or the retailer where the product was purchased.
FA-310108-MCX-Pre-Instruction.indd 12 1/31/2008 4:42:30 PM
 Loading...