

Page 1
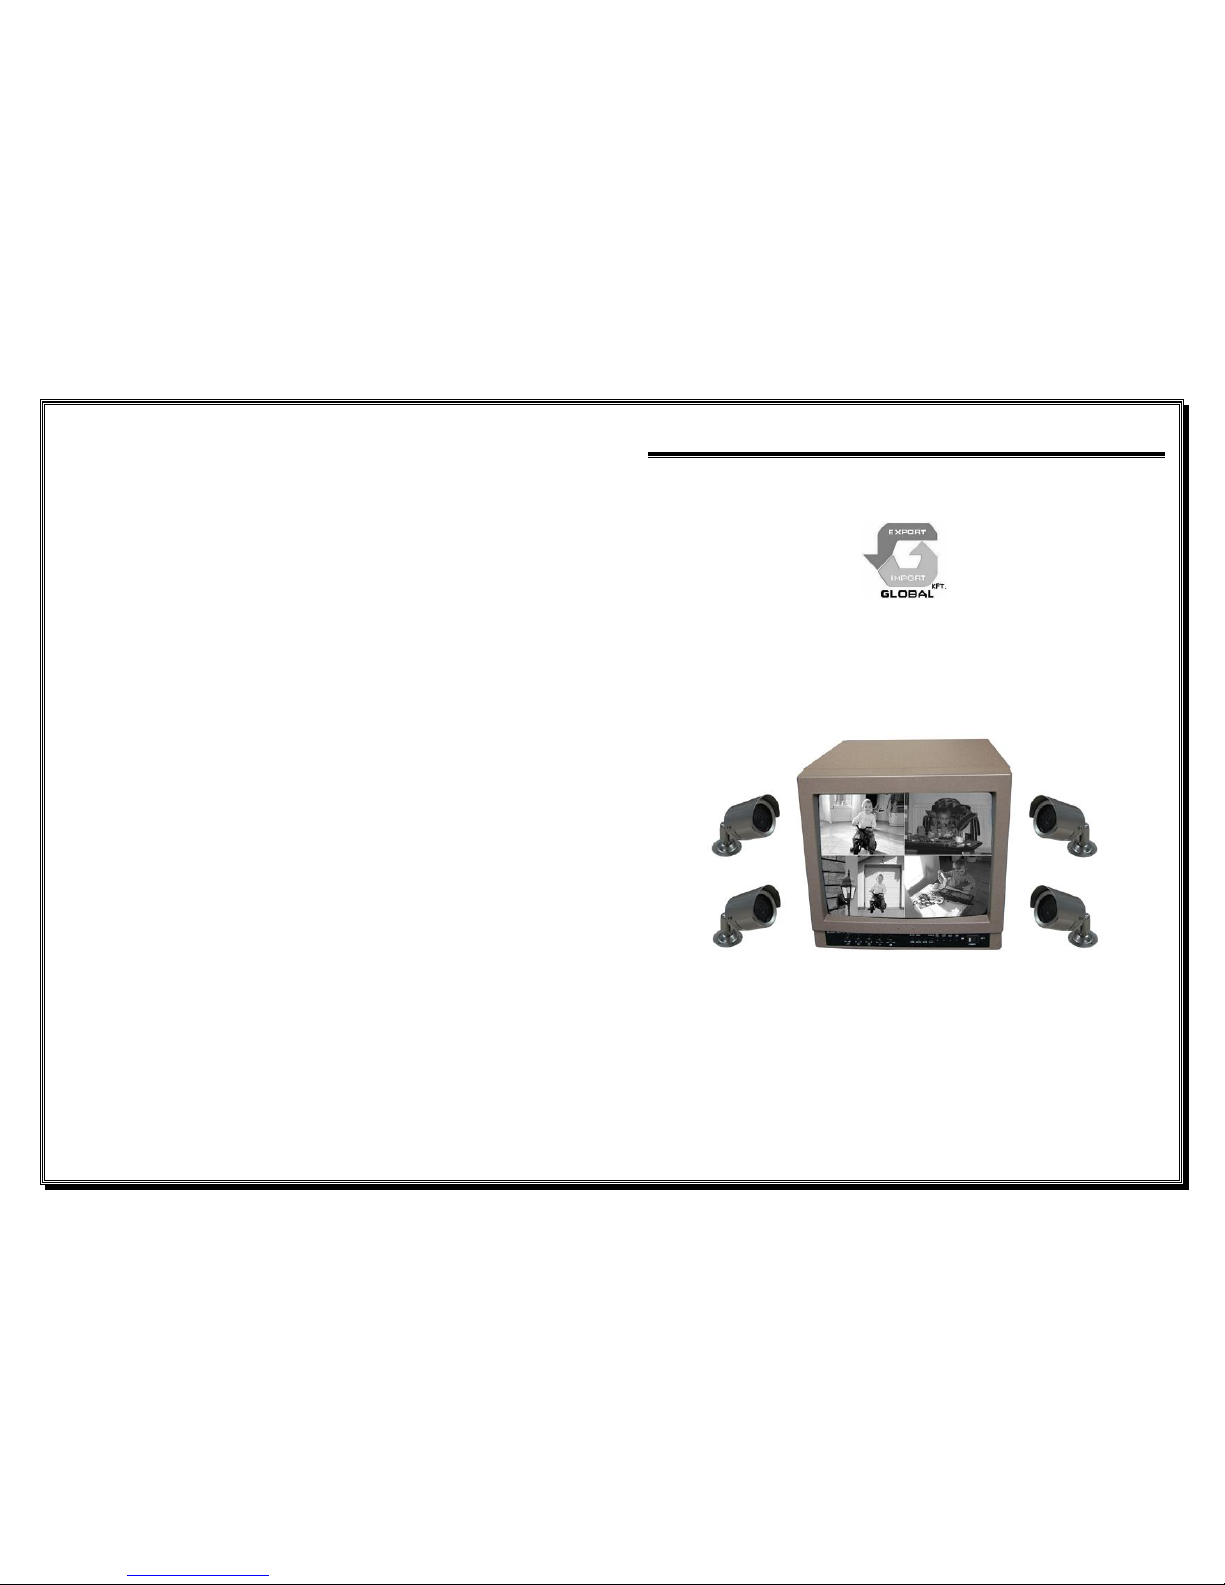
BMQ14-31H USER’S MANUAL
CM-14BQ+921B4
UUSSEER
R
'
'
SS M
MAANNUUAALL
Page 2

VVI
I
、
、
CCAAUUTTIIOONNS
S
1. Please employ the professional staff to install avoiding mistakes of
installation and unnecessary loss.
2. Please do not open the cover when it was damaged to avoid
electronic shock. There is no component for consumer to use in the
box.
3. Please go to the warrant assigning point for maintenance.
4. This product has a one-year guarantee while man-made damage or
natural disaster is out of the guarantee range.
Page 3

MENU 5、DISPLAY MODE
Press Up, Down, Left, Right key to adjust the display mode.
DATE/TIME:ON display DATE, TIME characters
OFF close DATE, TIME characters
CHANNEL NAME:ON display camera shooting label characters
OFF close camera shooting label characters
BOCNDARY:ON display division line
OFF close division line
ALARM SOUND:ON open buzzer alarm sound
OFF close
INPUT SYSTEM:CCIR PAL mode
EIA NTSC mode
MENU 6、AUTO ADJUST
AUTO DWBLL TIME:( 01) SES
AUTO MODIFY SWITCH TIME(1-60)SECOND
CH1 ON/OFF
CH2 ON/OFF
CH3 ON/OFF
CH4 ON/OFF
QUAD ON/OFF
Open or close one of lines auto switch function
MENU 7、ALARM HISTORY
Press Up, Down key to look over the alarm record of loss-image.
MENU 8、EXIT(exit the menu operation)
CONTENTS
SP-BWQM14 INTRODUCTION ···················· 1
I. FEATURES ······································· 2
II. SPECIFICATION ······························· 2
III. OPERATING CONTROL ····················· 2
IV. CONNECTION DIAGRAM ·················· 4
V. FUNCTION OPERATING ···················· 5
VI. CAUTIONS ······································· 8
8
7
Page 4
IInnttrroodduuccee
This product is the most up-to-date multifunctional B/W quad
multiplexer monitor designed by our company, which realized a machine
with multifunction. It is adopted the newest digital compressed chip-set
for image division to obtain real-time monitoring, clear picture. High
performance, practical and reliable, easy installation. It is an ideal choice
for modern security and safety.
Please read through this manual before you operate this machine,
you can know the connect way how to install and operate. For further
reference, please pay attention to preserve this manual.
the other 3 pictures), the modification of the main-picture is the
same as above.
Press key again it will return to quad image.
8、 Press AUTO key to auto switch.
9、 Press FREEZE key, the image will freeze, and press the key again
to release.
10、 Pressing FREEZE key for 2 seconds it will display the input image of
VCR OUT, and operate the second step to make electronic amplify.
11、 Press keys to select 1,2,3,4 cameras respectively.
12、 Press ZOOM key for 2 seconds it will display menu, press Up,
Down keys to select the menu, and then press ZOOM key to
confirm.
MENU 1、CAMERA TITLE
Press Up, Down, Left, Right key to modify the camera title, and
press ZOOM key to confirm after modification.
MENU 2、TIME/DATE
Press Up, Down, Left, Right key to modify the TIME/DATE, and
press ZOOM key to confirm after modification.
MENU 3、CONTRAST ADJUST
Press Up, Down, Left, Right key to adjust the contrast rate of 1, 2,
3, 4 image respectively, and press ZOOM key to confirm after
adjustment.
MENU 4、BRIGHTNESS ADJUST
Press keys to adjust the brightness of 1, 2, 3, 4
channel image respectively, and press ZOOM key to confirm after
adjustment.
6
1
Page 5
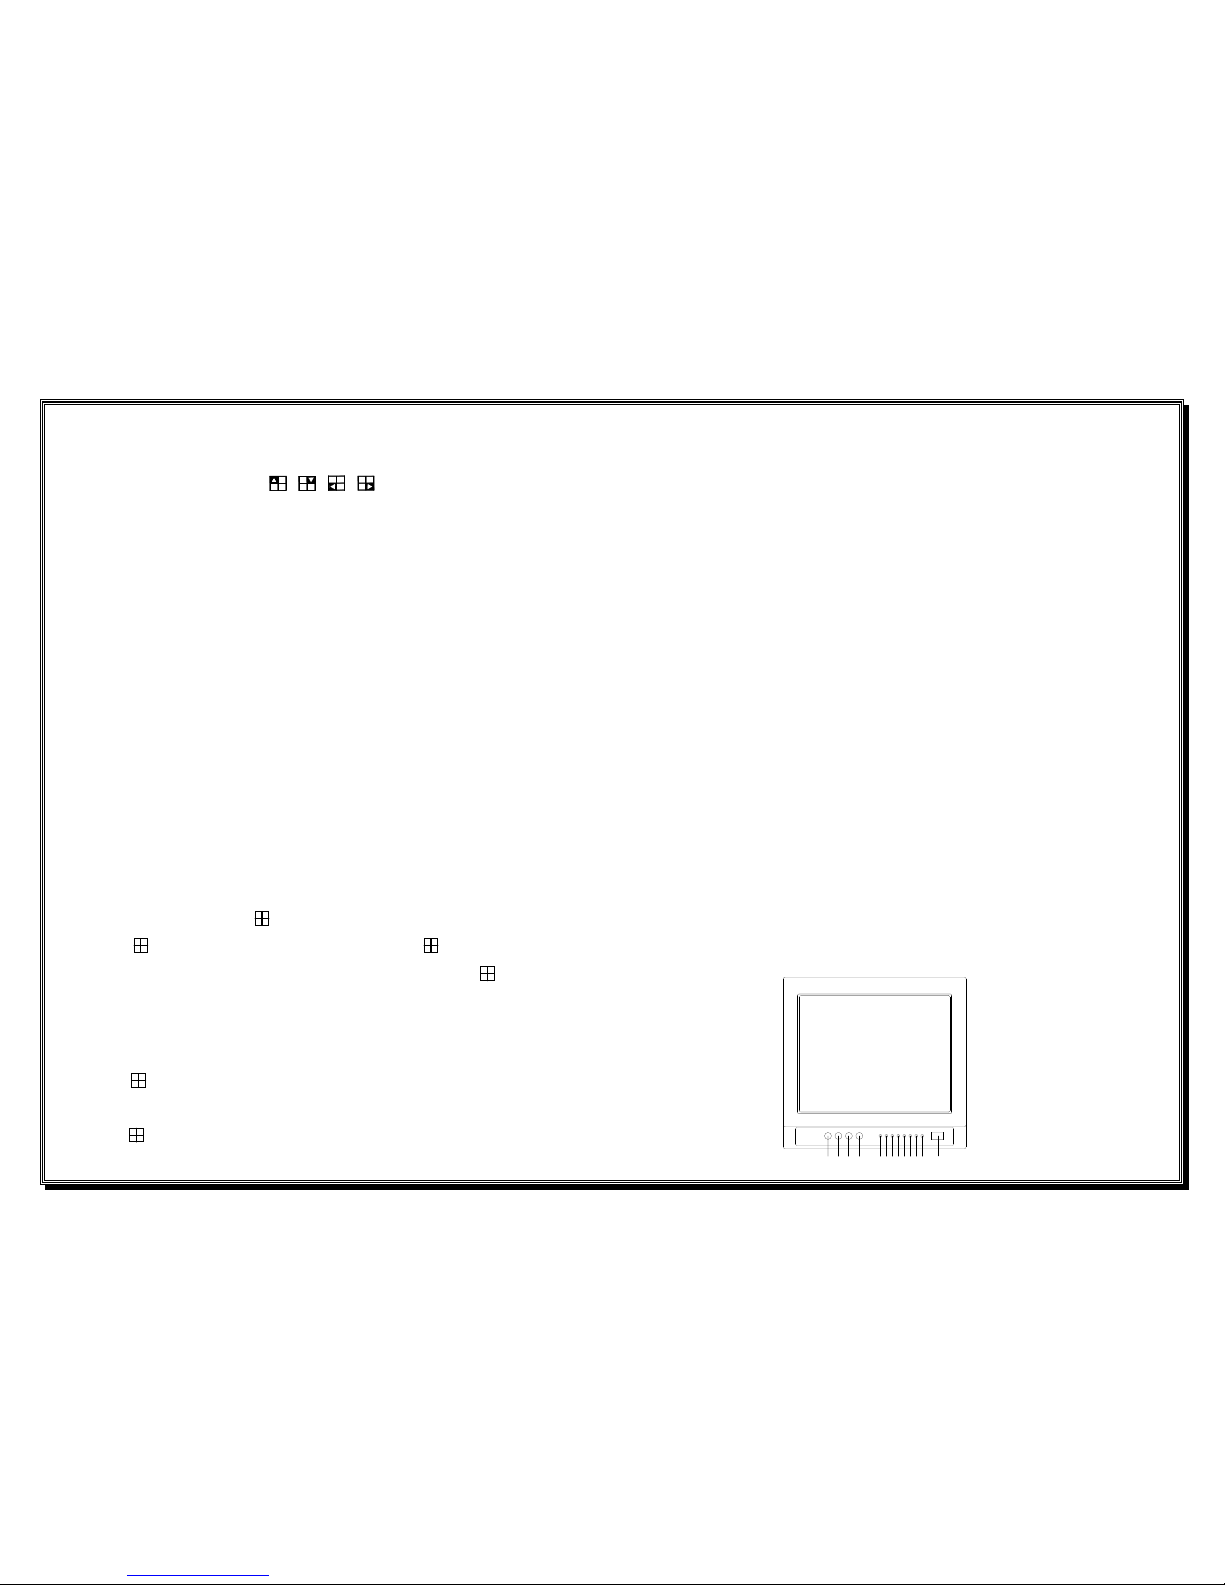
111213 8 96 753210 4
1
ⅤⅤ、
、
FFuunnccttiioonn OOppeerraattiinngg:
:
The flowing four keys respectively stand for Up,
Down, Left, Right keys.
1. Connect the machine as the diagram above, press POWER SWITCH
key and the indicator will light.
2. Contrast rate control: provide proper contrast rate between black part
and white part.
3. Brightness control: decide image brightness and can connect with
contrast rate control to adjust.
4. Vertical remain control: when the images are rolling up and down on
the screen, adjust this vertical remain control until appear a stable
single image.
5. Horizontal Remain Control: When image is leaning horizontal
waves, revolve this Horizontal Remain Control from two directions
until obtain a stable fixed image.
6. Press ZOOM key it will display electronic amplified frame, press
Up, Down, Left, Right keys to select the location that you want to
amplify, and then press key to amplify the selected location.
7. Press key it will display quad, and press key again it will
display PIP (1 main-picture, 1 PIP), when pressing key for 2
seconds the title characters of the main-picture will flash, press Up
and Down key to modify the image of the main picture, press Right
and Left key to modify the image of PIP.
Press key again it will display PIP 2 (1 main-picture, 2 PIP) the
modification of image of the main-picture and PIP is the same as above.
Press key again it will display PIP 3 (1 main-picture, 1 PIP is switching
I
I
、
、
FFeeaattuurreess
It is used for CCTV monitor or video check.
Return circuit pass through connection.
Electronic line provides safety protection of interference-free,
noise-free and changeable signal intensity to obtain high
resolution and stable image.
Image division real-time monitoring, multifunction.
III
I
、
、
SSppeecciiffiiccaattiioonn
1.Image Tube: 14" opposite angle 90°angle.
2.Horizontal Resolution: more than 800 TV lines.
3.Frequency Feature: 50Hz~10MHz
4.Video Input: 0.5~2Vp-p,BNC socket
5.Input Impedance: 75Ω
6.Video Output: 1Vp-p,75Ω Negative sync. BNC socket.
7.Image System: PAL /NTSC System.
8.Output Impedance: more than 10KΩ
9.Operating Temp. : 10~+50℃;
10. Dimension: 315×375×305mm;
11. Casing: bright grey color
12. Weight: 11kg
13. Power Supply: AC 220V/50Hz
14. Power Consumption: 35W
IIIII
I
、
、
OOppeerraattiinngg ccoonnttrrooll
2
Page 6
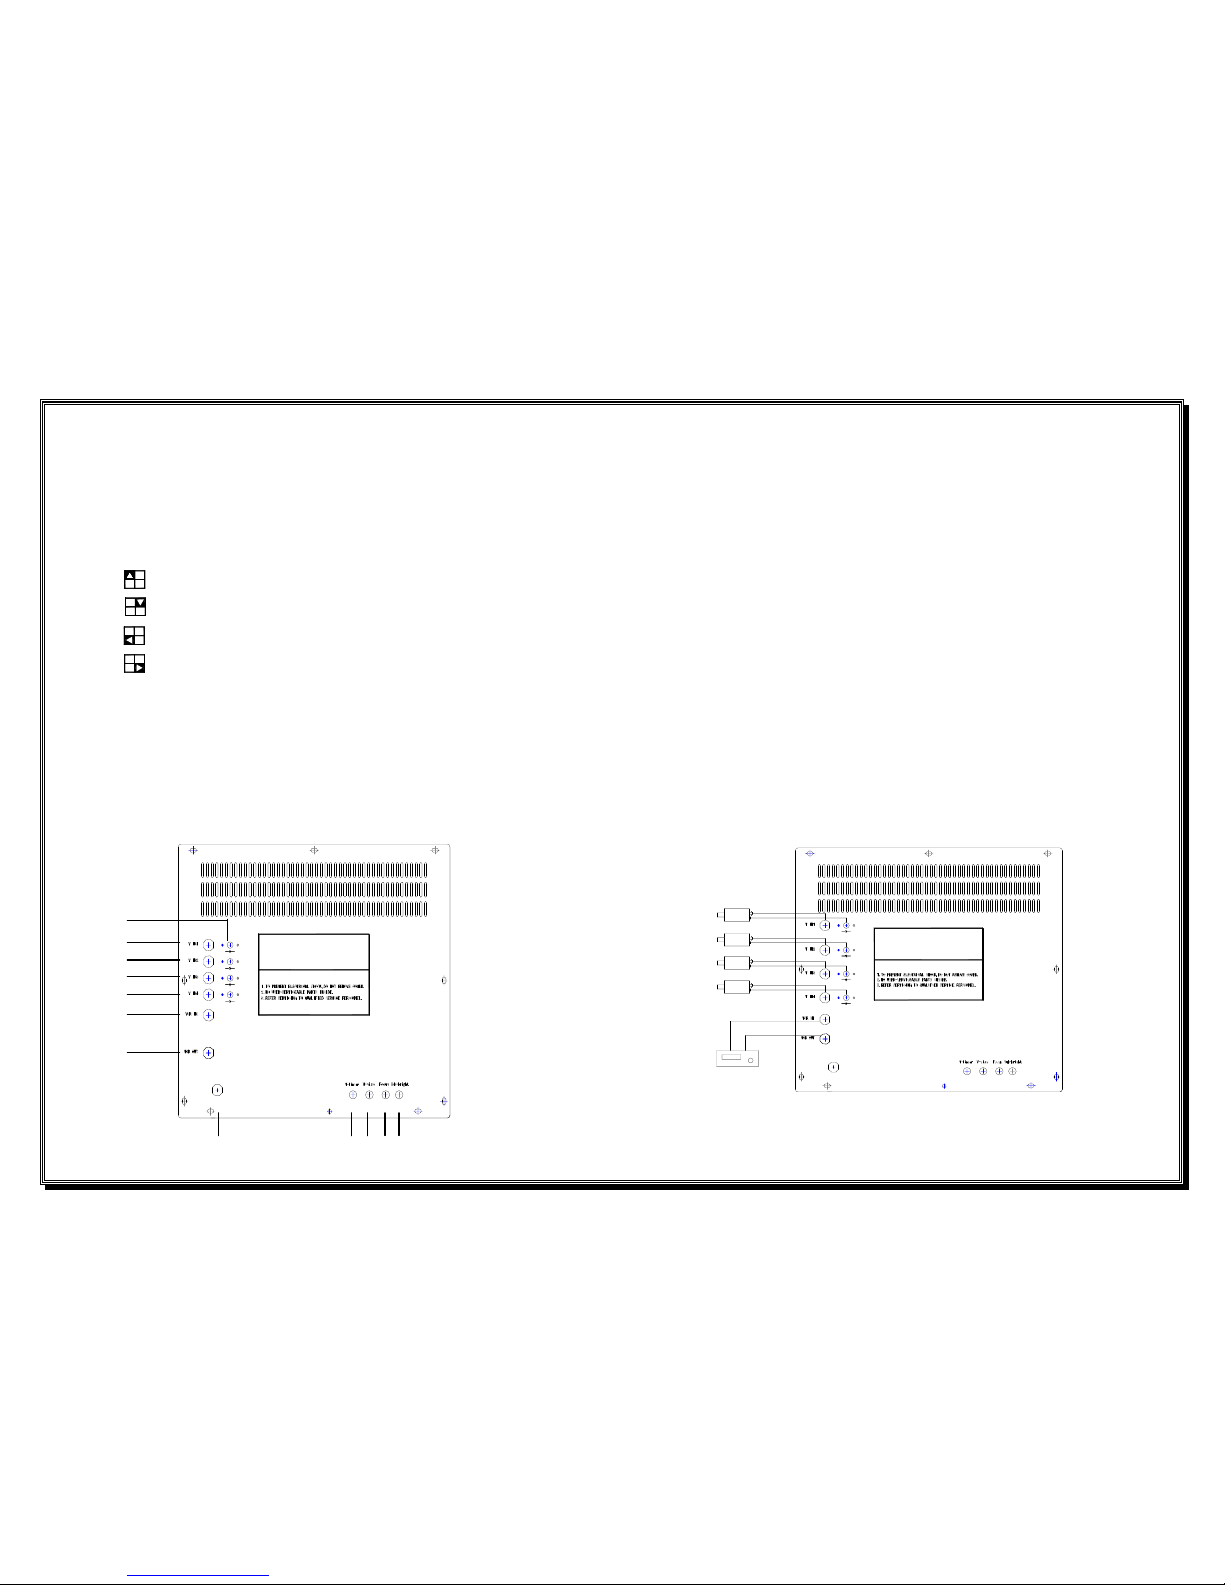
1. Power switch
2. ZOOM—Electronic amplify
3. ENTER —Quad image
4. AUTO—Auto switch
5. FREEZE—Freezing image
6. —Selection 1
7. —Selection 2
8. —Selection 3
9. —Selection 4
10.CONTRAST —Contrast ratio control
11.BRIGHT —Brightness control
12.V-HOLD —Vertical remain control
13.H-HOLD —Horizontal remain control
Rear Panel
AC 110V
- +
DC 12V 200mA
DC 12V 200mA
- +
DC 12V 200mA
- +
- +
DC 12V 200mA
SV-MQ147000B
AC110V 60Hz 35W
WARNING:
Sub-bright — Sub-bright adjustment
1. Focus — Focus adjustment
2. V-size — V-size adjustment
3. V-linear —V-linear adjustment
4. AC110V— Input AC110V/60Hz
5. VCR OUT— Connect VCR input
6. VCR IN— Connect VCR output
7. VIN4— Video 4 input
8. VIN3— Video 3 input
9. VIN2— Video 2 input
10. VIN1— Video 1 input
11. 12V(200mA) CAMERA POWER
ⅣⅣ、
、
CCoonnnneeccttiioonn DDiiaaggrraamm
AC 110V
- +
DC 12V 200mA
DC 12V 200mA
- +
DC 12V 200mA
- +
- +
DC 12V 200mA
SV-MQ147000B
AC110V 60Hz 35W
WARNING:
Camera
VCR
VCR IN
VCR OUT
VIDEO
DC12V
VIDEO
DC12V
Camera
Camera
VIDEO
DC12V
VIDEO
DC12V
Camera
4
3
AC110V 60Hz
AC110V
AC110V
11
10 9 8
7
6
5 4 3 2 1
12
AC230V 50Hz AC110V 60Hz
Page 7
SPECIFICATIONS:
Manual for B/W CAMERA
1.Monitor which has the standard video input
Impedance level of 75Ω,If in any case your
Monitor is set to high impedance mode,
2.Please switch the monitor standard imped-
Ance position.If the monitor has not the imPedance adjust switch,please ask us for a
Camera suitable for your monitor
3.Do not attempt to disassemble the camera .
There are no user serviceable parts inside.
Refer servicing to qualified service person.
4.Do not expose the camera to rain or
Moisture.or do not try to operate the camera
In wet area.Moisutre can damage the camera
Can creat the danger of electric shock
hhttttpp::////wwwwww..gglloobbaall--eexxppoorrtt--iimmppoorrtt..eeuu
B/W CMOS CAMERA
Video system
NTSC / PAL
Number of pixel:
510x492(250k)
Scanning system:
2:1 interlace
Resolution
(TV lines)
380 TV Line
S/N ratio:
More than 48dB
Min.Illumination:
0.5Lux at F2.0
Electronic shuter
1/80-1/10000sec
Video output:
1Vp-p75Ω
Audio output
325mV/22KΩ
Lens focus and
View angle:
f=3.6MM
92’
Storage
Temperature:
-10 to 60°C
Working
Temperature
-10 to 45°C
Power source
DC 8-12V
Power current
Max.160mA
 Loading...