

Page 1
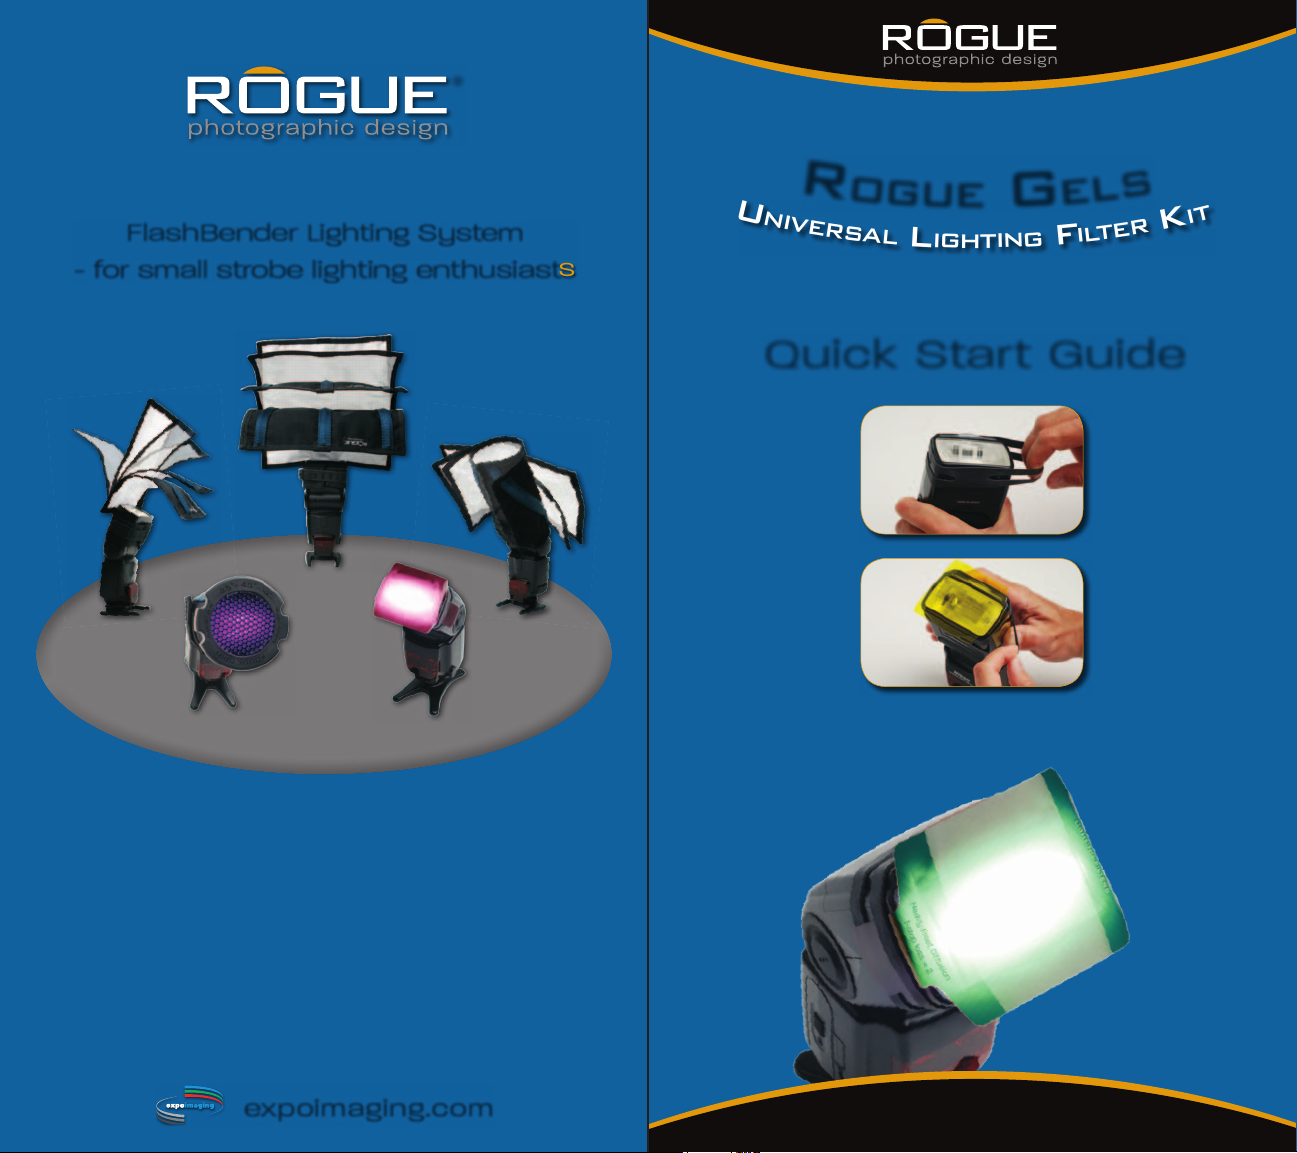
®
®
FlashBender Lighting System
- for small strobe lighting enthusiasts
large
positionable
bendable
bounce card /
flag
grid lighting
grid &
filters
universal
lighting
filters
reflector
small
positionable
reflector
r
o
U
n
g
U
e
i
v
e
r
s
a
l
l
i
g
h
t
g
g
n
i
e
F
i
Quick Start Guide
l
l
t
s
r
e
K
t
i
“Rogue FlashBenders are some of the most innovative
tools for improving flash photos I’ve ever seen.”
Dave Johnson, PC World Oct 18, 2010.
expoimaging.com
Tabbed Filters
Page 2
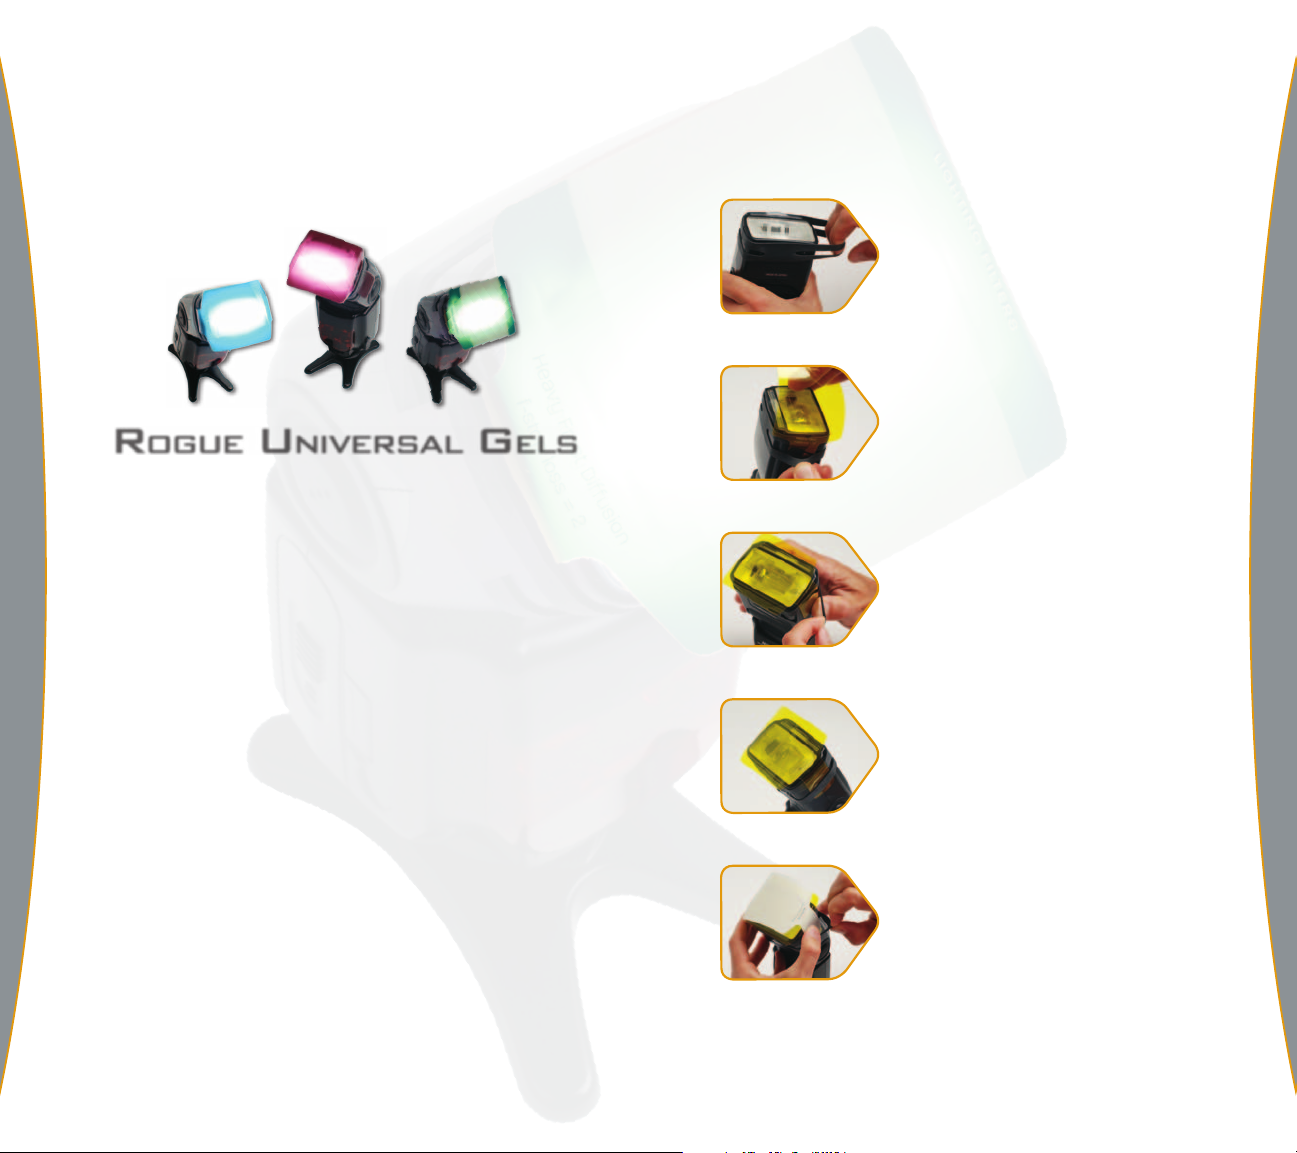
rogUe Universal gels
Rogue Universal Gels were designed to work with
all standard shoe mount flash. If desired, they can
be folded, or cut to minimize any excess material
protruding beyond the edges of the flash head.
The f/stop loss values printed on our Rogue Gels were
measured using a Sekonic light meter in a controlled
test. These values compare the metered exposure
of the bare flash with the metered exposure using
the Rogue Gels placed over the flash head.
Tip: Your flash will automatically compensate for any
f/stop loss when shooting with the flash set to TTL
mode.
Filter Attachment
Instructions
1. Attach Gel-Band
Pull the gel-band around your
flash head. Position it so the
two bands are on the sides of
the flash head.
2. Insert First End
Pull one end of the Rogue Gel
through the lower band on the
flash head.
3. Insert Second End
Pull the other end of the
Rogue Gel through the lower
band on the opposite side of
the flash head.
4. Ready To Use
The Rogue Gel is now securely
attached to your flash head
and ready to use.
Rogue Gels are processed with paper between each
gel to help protect them during the manufacturing
process. The paper can be removed after purchase.
5. Stack Gels
Rogue Gels can also be stacked
to combine effects. Simply
attach a second gel over the
top of the first gel.
More information can be found online at expoimaging.com
© ExpoImaging, Inc., 2011
 Loading...