

Page 1
Universal Installation Manual
for
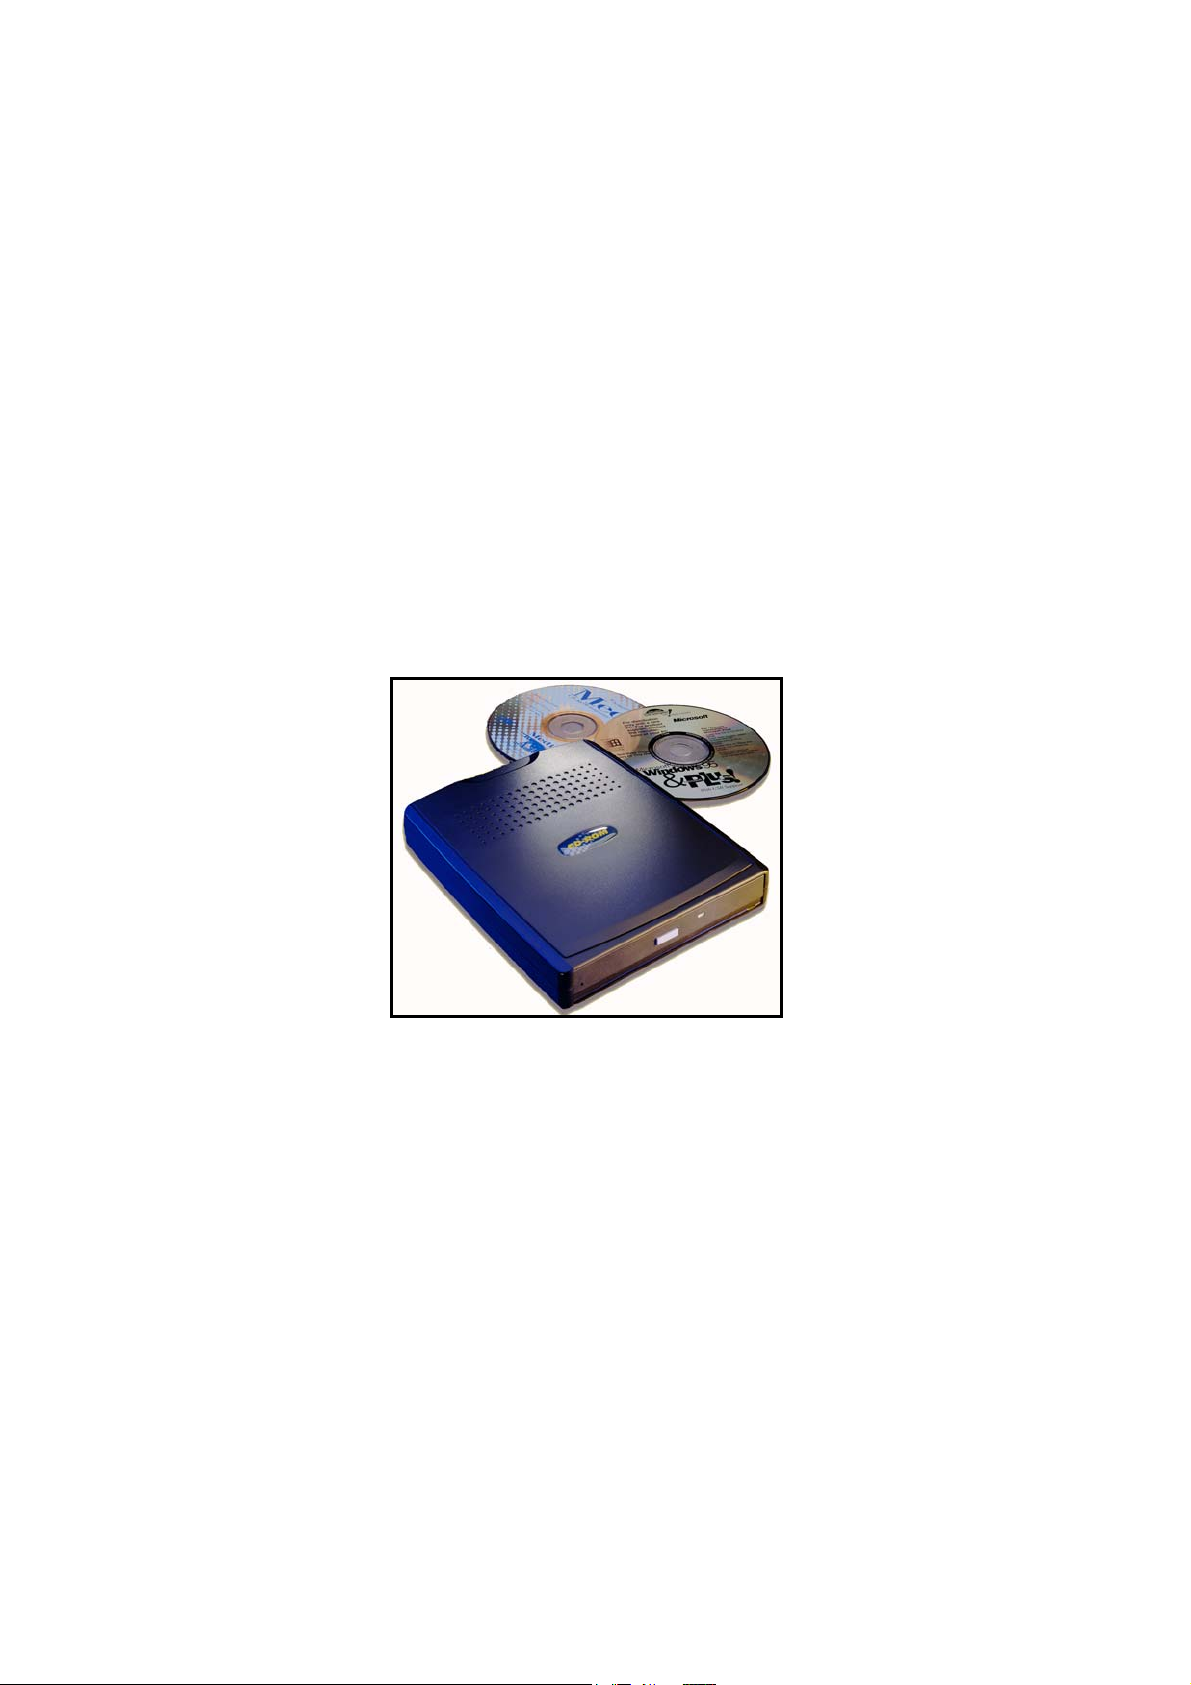
Slim Portable CD/CDRW/DVD-ROM
(for PCMCIA, USB, Firewire & Parallel Models)
Page 2

CONTENTS
-Precautions-
Pg.5
-Part Names & Functions-
Front Panel
Pg.7
Rear Panel
Pg.7
-Power Source-
USB Model
Pg.8
PCMCIA Model
Pg.8
Firewire Model
Pg.8
Parallel Model
Pg.8
-System Requirements-
USB Model
Pg.8
PCMCIA Model
Pg.8
Firewire Model
Pg.9
Parallel Model
Pg.9
2
Page 3

-Hardware Installation-
USB Model
Pg.9
PCMCIA Model
Pg.9
Parallel Model
Pg.9
-Software Installation for USB-
Windows 98
Pg.10
Windows 2000/XP
Pg.12
-Software Installation for PCMCIA-
Windows 98
Pg.16
Windows 95B
Pg.17
Windows 95
Pg.18
Windows NT
Pg.18
Windows 2000/XP
Pg.20
-Software Installation for Parallel-
Windows 95/98
Pg.21
Windows 2000/XP
Pg.23
3
Page 4

-Software Installation for DOS-
PCMCIA Model
Pg. 25
Parallel Model
Pg. 27
-Where to Buy-
Pg. 29
Addition Upgrades
Pg. 29
-Tech Support-
Pg. 29
4
Page 5
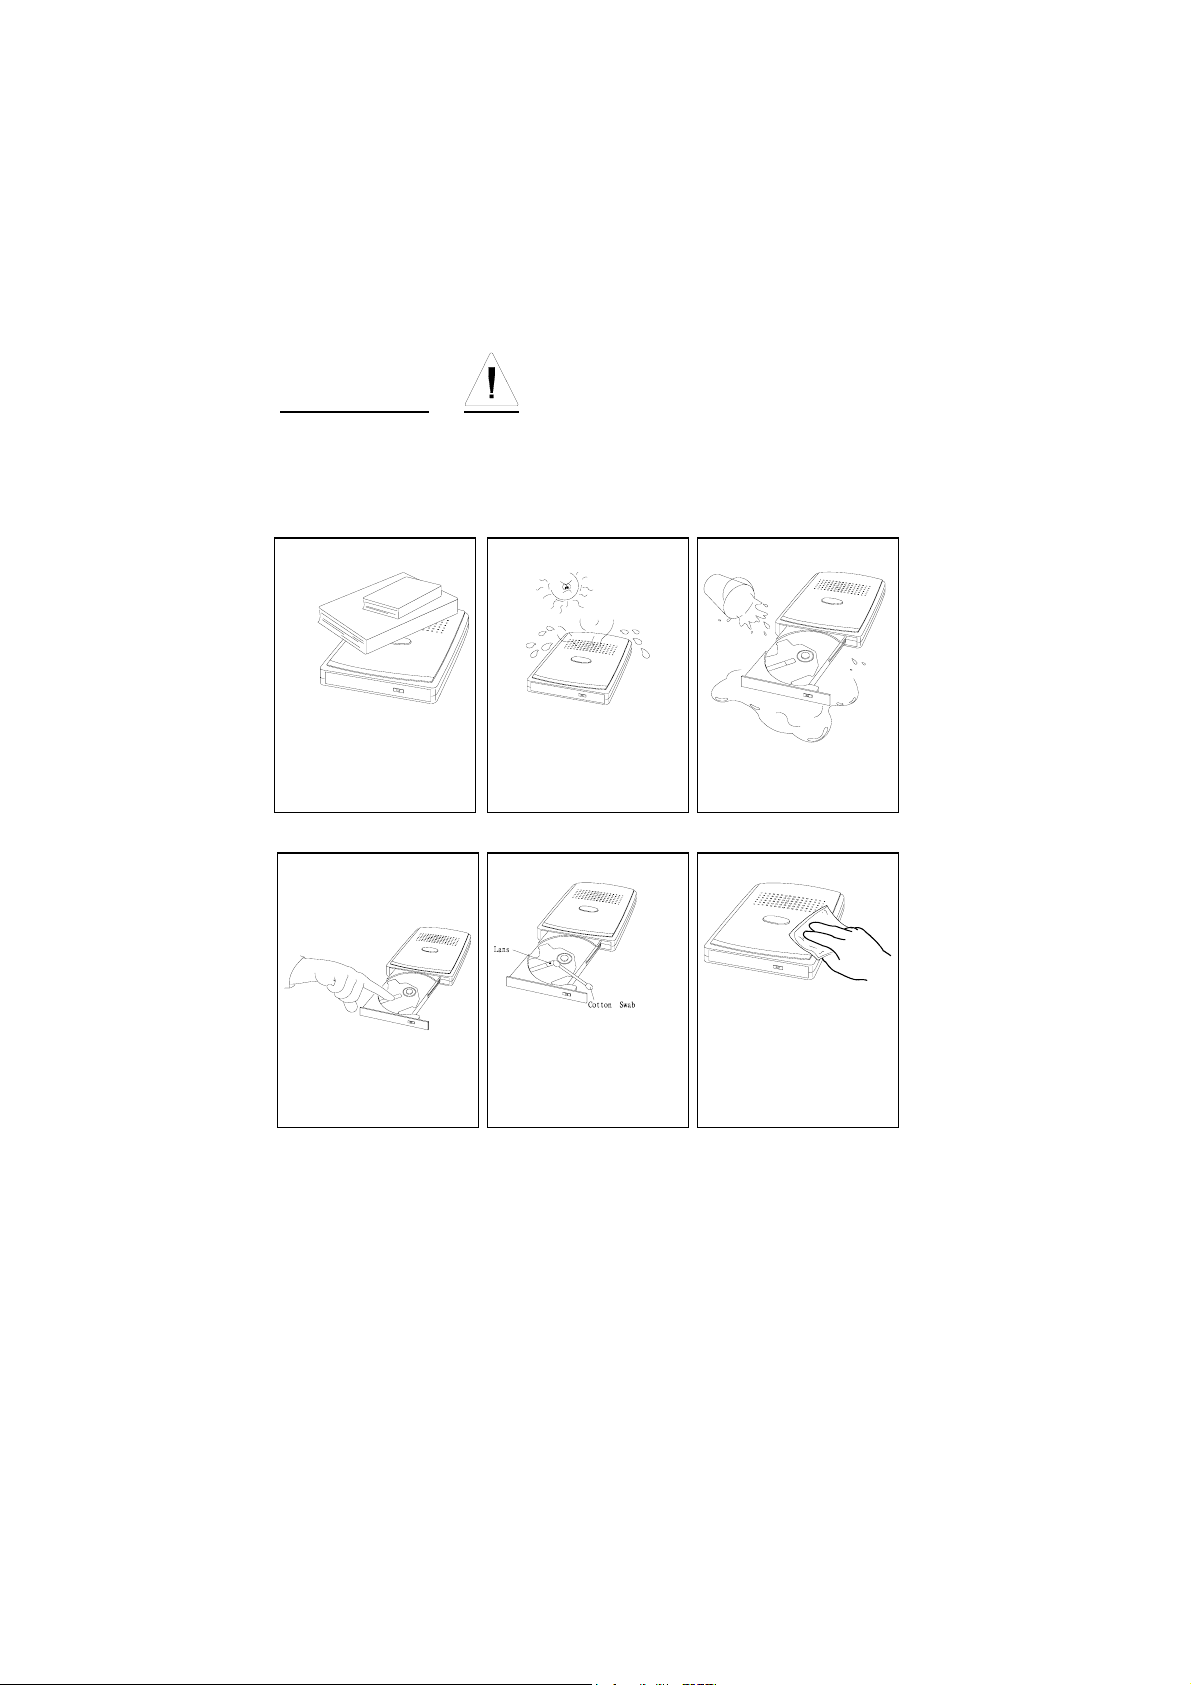
Precautions
Read this section carefully before starting to use the Slim Portable
CD/CDRW/DVD-ROM.
y Do not place heavy
objects on the drive.
y Do not touch the lens.
:
y Do not expose the drive
to direct sunlight or heat.
Do not leave it in a hot
automobile.
:
y Clean the lens with a dry
cotton swab or
compressed air.
to protect it from dust.
:
y Do not spill liquid on
the unit.
;
:
;
Clean the outside of the
y
player with a soft, dry
cloth.
5
Page 6

:
Do not shake or subject
y
to intense vibration.
Do not put the drive in
y
a place subject to weight
and pressure.
:
y Do not bend the disc.
Condensation can form on the lens if the CD/CDRW/DVD-ROM drive is
moved from a cold temperature to a warmer environment. This can
result in the lens inability to properly read the disc. If this occurs,
remove the disc and leave the power on. After one hour, reinsert the
disc and try again.
Do not expose the disc to the direct sunlight. Do not store the disc in a
room with high temperature or high humidity.
To avoid dust, scratches, bending, etc., always store the disc in its case.
Use a soft and dry cloth in a circular motion to wipe the disc. Do not
use benzine, record cleaner, static electricity prevention fluid, or any
other liquid as it may damage the disc.
y Handle the disc by the
edges as much as
possible.
:
Keep the drive away
y
from the edge of the
desk or table
:
:
Do not touch the signal
y
side of the disc. Do not
attach labels to the disc.
6
Page 7

Part Names & Functions
The front and rear panels of your CD/CDRW/DVD drive may look slightly
different from the figures below. However, The important parts and
functions are the same regardless of their locations.
FRONT PANEL
1. Eject button:
Press this button to eject the tray.
2. Access LED:
This LED will blink when the drive is accessing the disc.
3. Emergency Hole:
Insert a pin shaped item to manually eject the tray when the drive is
powered off.
4. Power LED:
This LED will light when power is on.
REAR PANEL
1. Power Button:
Press the button to manually power on/off the drive when it is powered
by an AC adapter.
2. DC in Jack:
This jack connects to the AC adapter.
3. Power Source Switch:
This switch is used to select the power source. When the switch is set to
“PC”, then USB or PCMCIA power direct is selected. When it is set to
“DC”, an AC adapter is required to power the CD/DVD-ROM.
4. Interface Connector:
Connect the SLIM drive to the USB, PCMCIA, Firewire or Parallel
interface.
7
Page 8

5. Audio Line-Out Jack:
Send audio signal to an external amplifier.
Power Source
USB
The USB Slim drive model can be powered by USB* or AC Adapter**.
Firewire Interface:
The Firewire Slim drive model can be powered by Firewire* or AC
Adapter**.
PCMCIA Interface:
The PCMCIA Slim drive model can be powered by either the AC Adapter**
or directly from the computer via the PCMCIA* slot.
Parallel Cable Interface:
This Slim drive model can be powered by the AC adapter** only.
*Make sure the Power Source Switch, located on the rear panel, is set to PC.
**Make sure the Power Source Switch, located on the rear panel, is set to
DC.
Only use the AC adapter provided with this unit. Using an incorrect
AC adapter may cause permanent and unpredictable damage to the
Portable CD-ROM drive.
System Requirements
USB Model:
• A computer with an enabled USB 1.1 port
Windows 98, ME, XP or 2000
•
PCMCIA Model:
• A computer with a Type II or Type III Card slot
DOS, Windows 95, 98, 2000, XP or NT
•
Firewire Model:
8
Page 9

A computer with a Firewire port
•
Windows 98,SE, ME, XP or 2000
•
Parallel Cable Model:
• A computer with a Parallel Port
DOS, Windows 95, 98 or NT
•
Hardware Installation
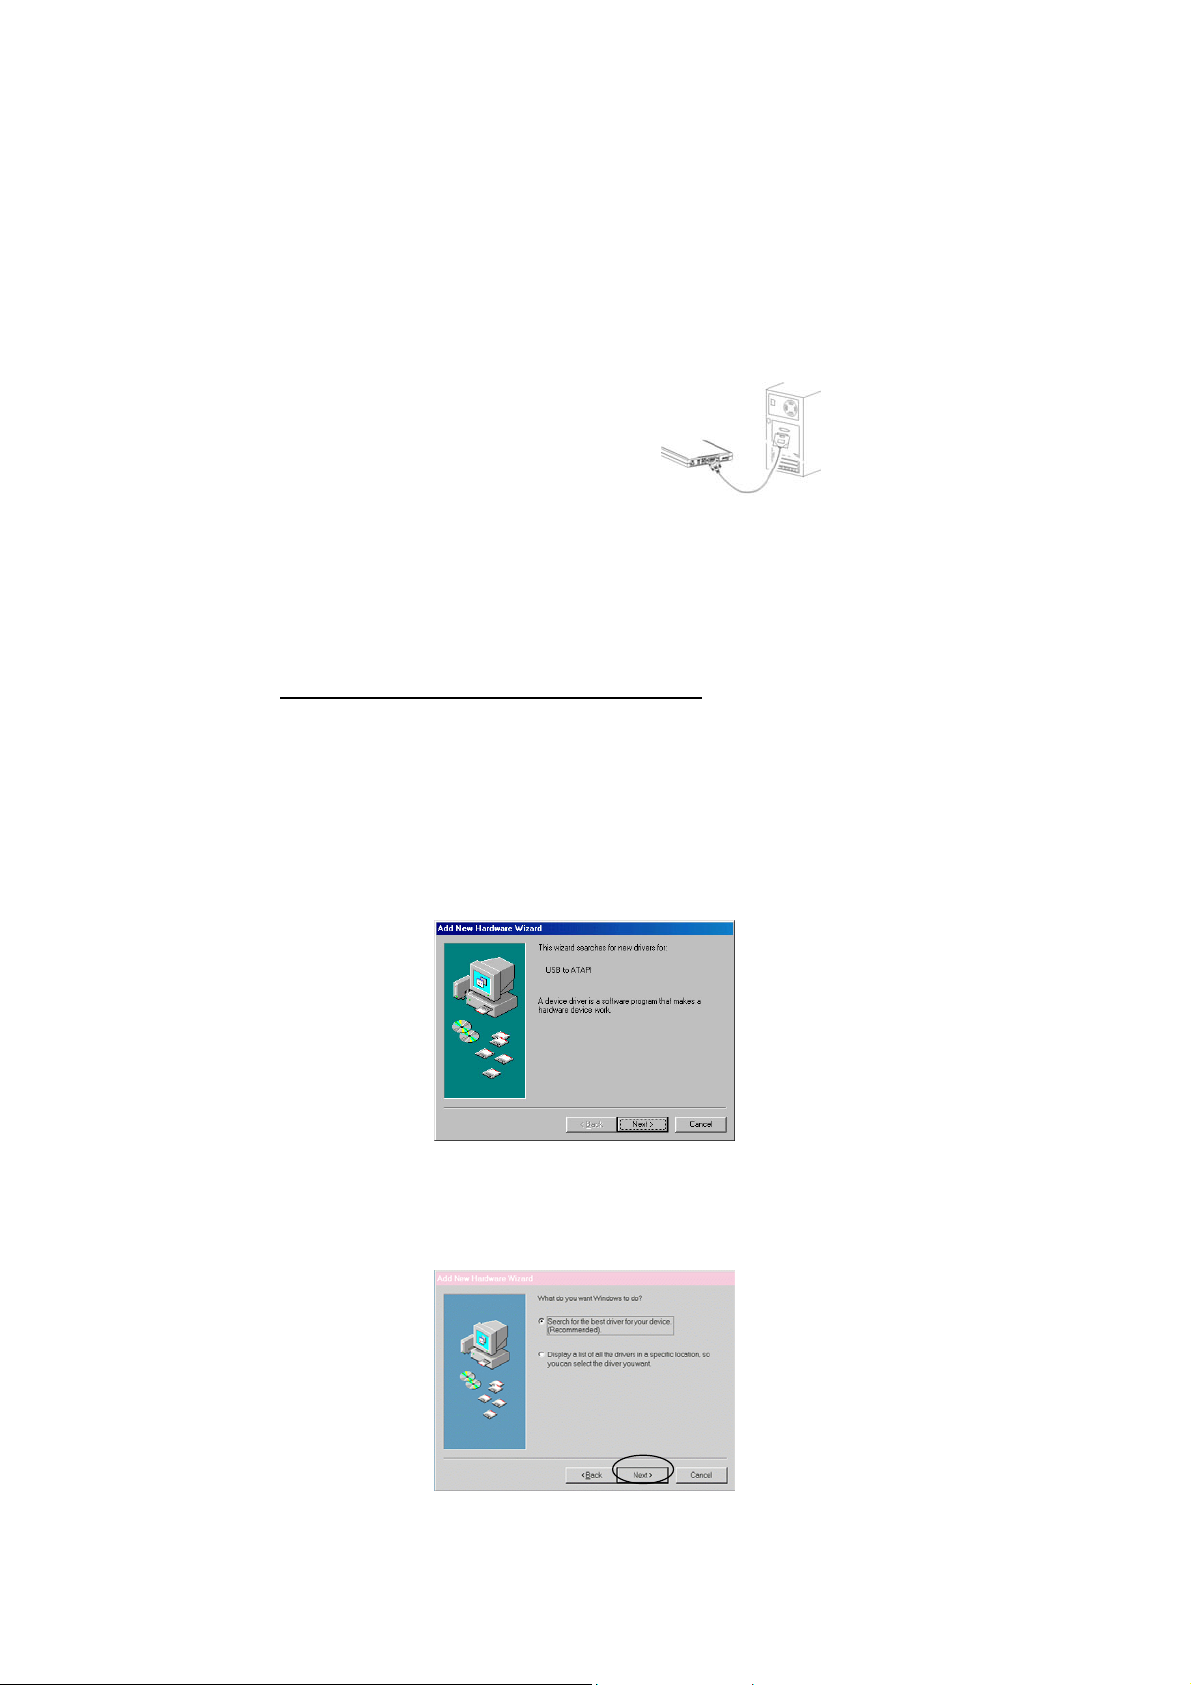
USB/Firewire Model:
1. Connect the 36-pin connector to the
drive until it is seated firlmly.
2. Connect the AC adapter into the DC
IN jack an the rear panel.
3. Plug the AC adapter into a working
outlet.
4. Continue with the Software Installation.
PCMCIA Model:
1. Before you begin power off your PC system
2. Connect the 36-pin connector to the Slim drive until it is firmly
seated, then tighten the screws.
3. Locate the PCMCIA slot on your computer and insert the PC card
into it. (Note: The PC card is keyed for proper instertion—the arrow
should be pointing toward the computer,
facing upward.
4. Power on your PC and the Slim drive by
either the AC adapter or your
notebook’s batteries.
5. Continue with the Software Installation.
Parallel Cable Model:
1. Before you begin power OFF your PC system.
9
Page 10
2. Connect the 36-pin connector to
the Slim drive and connect the
other end to your computer’s
Parallel port.
3. Plug in the AC adapter and power
on your system and the Slim
drive.
4. Continue with the Software Installation.
Software Installation for USB Model
Windows 98/ME
1. Power on your PC and make sure the USB port device driver is
installed and available in Windows 98/ME.
2. Plug the USB cable into the USB port on your PC.
3. If this is the first time you are connecting the Slim drive to the
USB port of your PC, the Add New Hardware Wizard dialog box
will appear as below.
4. Click on Next, check the Search for the best driver for you
device and click Next.
10
Page 11

5. Check the Floppy desk drives, insert the device driver floppy
diskette into your drive and click Next.
6. You should now see the screen below. Click Next.
11
Page 12
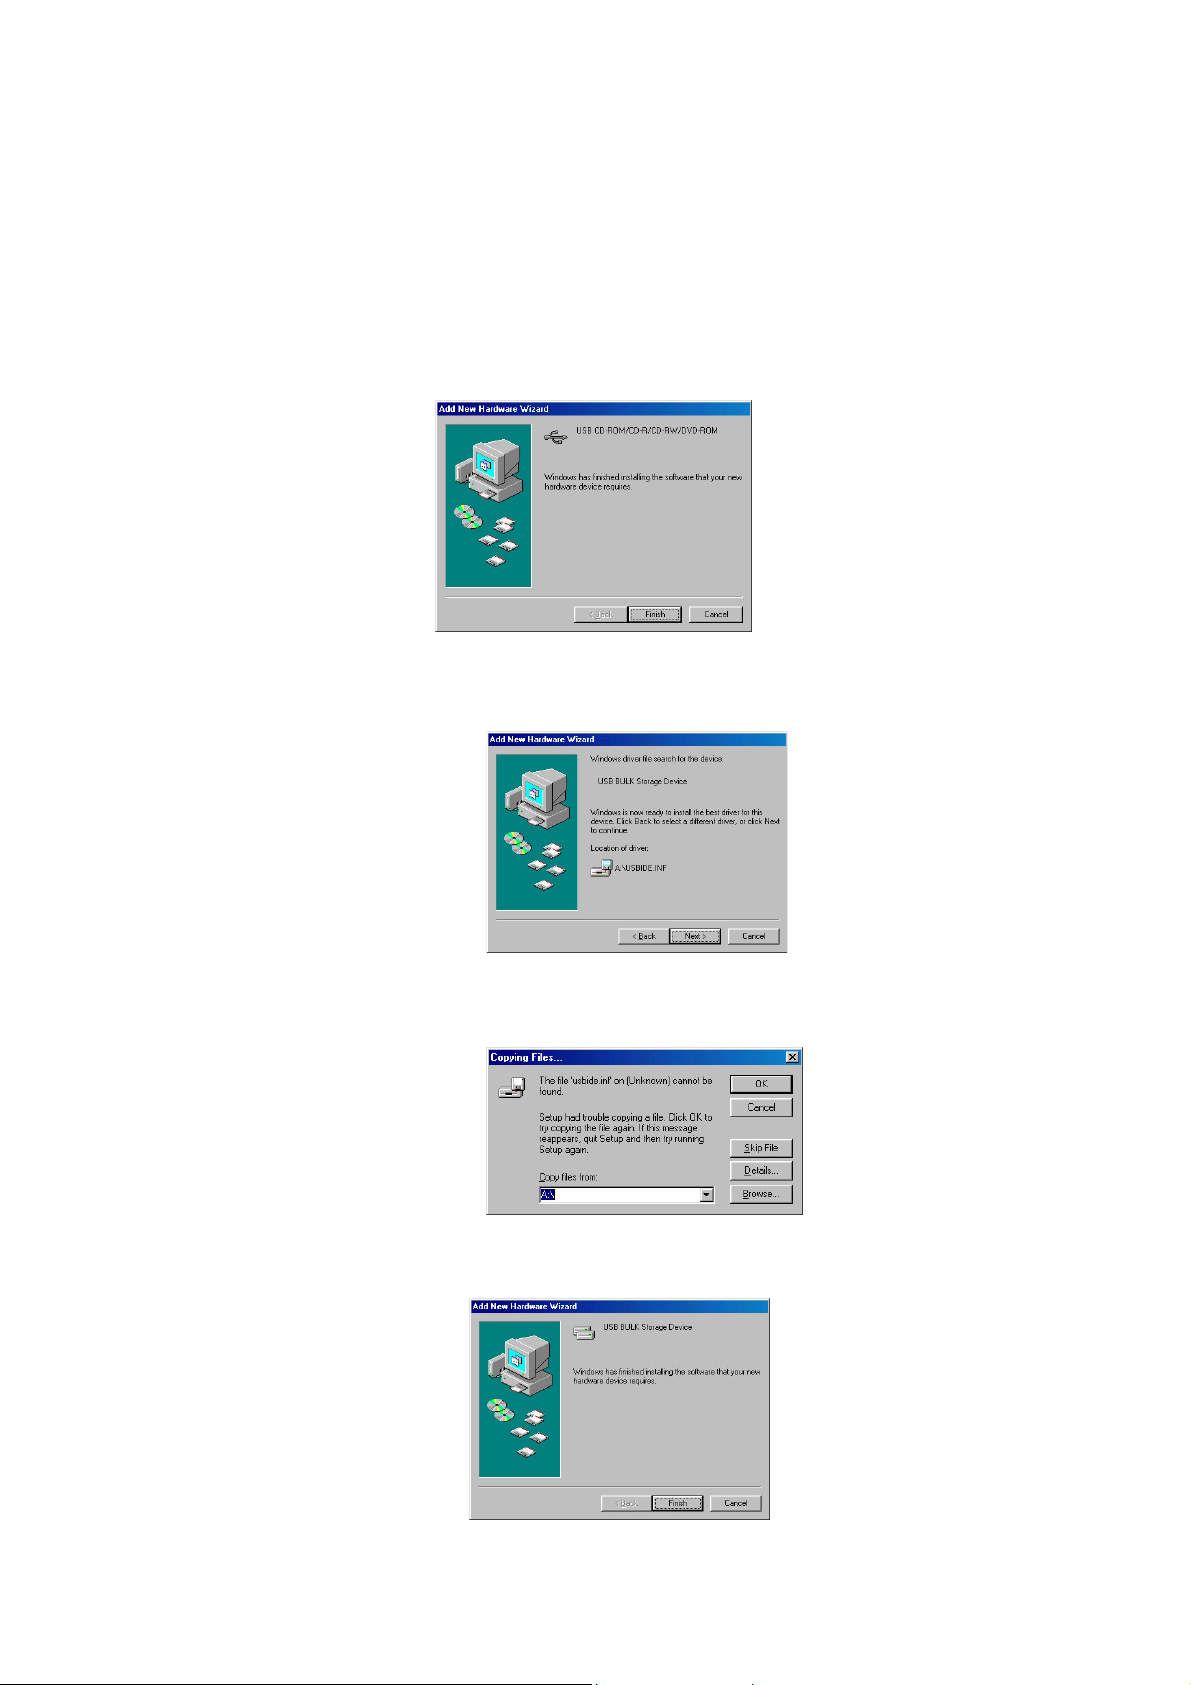
7. Click Finish to complete the installation process.
8. When the Unknown Device box pops up, keep the driver diskette in
the floppy drive and click Next three times. You should now see the
screen below.
9. The Wizard will ask you to specify a path to copy the needed file to
the hard disk. Type A:\ in the Copy files from box, then click OK.
10. After the files have copies onto the hard disk, you should see the
screen below. Click Finish to complete the installation.
12
Page 13
11. In My Computer (located on your desktop) you should see another
CD-ROM drive.
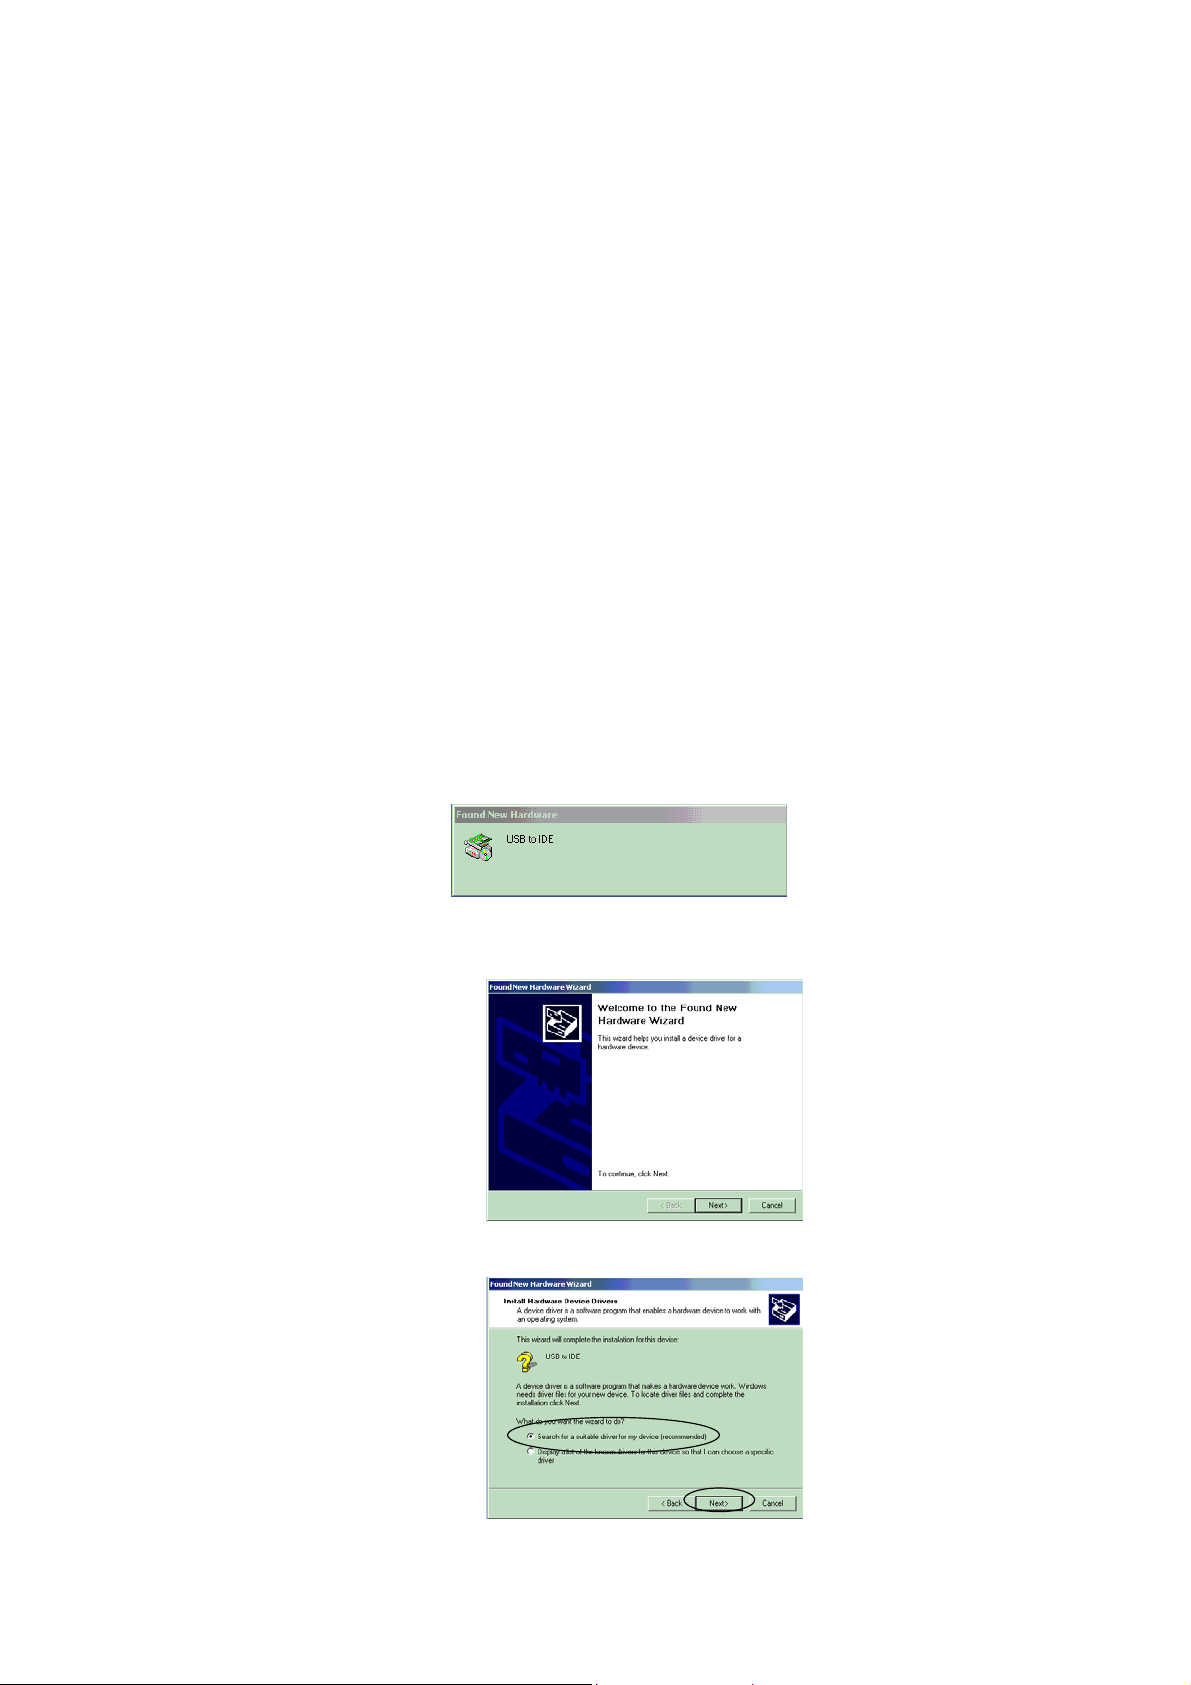
Windows 2000/XP
1. Start your computer, make sure the USB port device driver is
installed and available in Windows 2000/XP.
2. Plug the USB cable into the USB port of your PC.
3. If this is the first time you are connecting the Slim drive into your
PC, the Found New Hardware Wizard dialog box will appear as
below.
4. Once this Found New Hardware Wizard dialog box appears, click
Next to continue.
5. Select Search for a suitable driver… and click Next.
13
Page 14

6. Insert the device driver diskette into your floppy drive. Make sure
Specify Location is selected and then click Next.
7. The Found New Hardware Wizard will search for the information
files in the hard disk, then the floppy drive. Type A:\win2000
(A:\WinXP) or click Browse to select the A:\win2000 folder. Click
OK.
14
Page 15

8. Click Next to continue.
9. Click Finish to complete the installation process.
10. The Found New Hardware Wizard in now installing the Slim drive.
15
Page 16

11. In My Computer (located on your desktop) you should see another
SLIM drive.
Software Installation for PCMCIA Model
Windows 98/ME
1. After you have plugged the PC card into your notebook, power on
your PC. The Add New Hardware Wizard will be displayed.
2. Click Next in the next two screens to get to the screen shown
below.
3. Insert the device driver diskette into your floppy drive.
4. Check Floppy disk drive and Specify a location. Make sure
A:\win95 is displayed as below.
16
Page 17

5. Click Next and then Finish to complete the installation process.
Windows 95 (VersionB)
1. After you plugged in the PC card into your PC, and the screen below
appears, your Windows 95 is version 4.0.95B (ie. OSR 2). If you do
not see the screen below, skip to the next Windows 95 section.
2. Insert the device driver diskette into your floppy drive.
3. Click Next.
4. Click Finish to complete the installation procedure.
17
Page 18

Note:
It is not necessary to connect the PC card every time you reboot your
PC; connect it only when you need to use it.
Windows 95
1. After you’ve plugged the PC card into your PC, power on your PC.
The below screen will appear. (For Windows 95 version 4.00.950 or
4.00.95a.)
2. Select Driver from disk… and click OK.
3. Insert the device driver diskette into your floppy drive.
4. Specify the directory as A:\ or A:\win95 and click OK.
5. All other remaining installations will then proceed automatically.
18
Page 19

Windows NT
Before you begin:
Power on your PC
•
• Make sure that Windows NT is version 3.51 or higher and installed.
Since Windows NT does not support the Hot Insert/Remove
•
feature, the Slim drive should be connected to your PC prior to
starting Windows NT. Likewise, don’t remove the Slim drive before
shutting down Windows NT.
In Windows NT, the I/O and IRQ settings of the Slim drive can not
•
be changed. Therefore, if the setting conflict with other devices
you are using, change the I/O and IRQ settings of the other
devices to avoid conflicts.
Windows NT (con’t.)
1. Pull up the Start menu, select Settings and then Control Panel.
Double-click the SCSI Adapter icon.
2. Click the Drivers tab.
3. Click Add, and then Have Disk.
19
Page 20

4. Insert the device driver diskette into your floppy drive.
5. Specify the directory as A:\WINNT or B:\WINNT (whichever
contains the diskette). Select OK.
6. When the following screen appears, select the PCMCIA CD-
ROM/CD-R/CD-RW/DVD-ROM item. Click OK.
7. Follow the on screen instructions to complete the installation
procedure.
20
Page 21

Windows 2000/XP
1. After you’ve plugged the PC card into your PC, power on your
system. The Found New Hardware box should appear as below.
2. The Found New Hardware will now install the default PCMCIA
IDE/ATAPI Controller driver.
3. The Slim drive is now installing.
4. Once the installation is complete go to your desktop. Double-click on
My Computer, you should now see another CD-ROM drive displayed.
Software Installation for the Parallel Model
Windows 95/98
1. Once you have connected the Parallel cable to your PC and the Slim
drive, power ON your PC.
2. Go to your desktop and double-click on the My Computer icon. Now
double-click the Control Panel icon, and then the Add New
Hardware icon. Click Next to begin the installation.
21
Page 22

3. In the Add New Hardware Wizard screen, select NO and click
Next.
4. Select SCSI controllers and click Next.
5. Insert the driver diskette into your floppy drive and click OK. (If
you’re installing from a directory containing downloaded installation
files, specify the full path of the directory and click OK.)
6. You should now see the screen below. Select PHT Parallel-Port-
Series Win95 Driver and Click Have Disk.
7. Click Finish to complete the installation procedure.
22
Page 23

Windows NT
1. Once you have connected the Parallel cable to your PC and the Slim
drive, power ON your PC.
2. Pull up the Start menu, select Settings, then click Control Panel.
3. Double-click the SCSI Adapter icon.
4. Click the Drivers tab. Make sure IDE CD-ROM ATAPI…is selected
and click Add, as shown below.
5. Once in the Install Driver window, click Have Disk as shown below.
6. Insert the device driver diskette into your floppy drive. Specify the
directory as A:\WINNT or B:\WINNT, whichever contains the
diskette. ClickOK.
7. Click OK.
23
Page 24

8. Follow the onscreen instructions to complete the installation
procedure.
Additional Upgrades
Optional
Kits
EXP P/N CDE-CARD CBL-USB-
Where to Buy:
Please visit www.expnet.com
Tech Support:
PCMCIA USB USB 2.0 Firewire
CBL-USB2 CBL-1394
HD
to see our list of resellers
909-595-2046
M-F 8:00am-5:30pm PST
or
send questions to:
support@expcomputer.com
24
 Loading...