

Instruction Manual
Model: ETF 45RI

2

TABLE OF CONTENTS
1. TOWER FAN PARTS PAGE 6
2. ASSEMBLY INSTRUCTIONS PAGE 7
3. OPERATING INSTRUCTIONS PAGE 8
4. FND DISPLAY INSTRUCTIONS PAGE 9
5. REMOTE GUIDLINES PAGE 9
6. BATTERY GUIDELINES PAGE 10
7. SPECIFICATIONS PAGE 10
8. CLEANING INSTRUCTIONS PAGE 11
9. STORAGE PAGE 12
10. CARE & MAINTENANCE PAGE 13
11. WARRANTY PAGE 13
3

Read all these instructions before attempting to operate this
product and save these instructions.
Check the voltage indicated on the rating plate. This tool is designed
for a 220-240V/50Hz electric supply.
Do not use electrical extension cord with this fan.
Do not place your fingers through the front case. Do not let children
put any foreign objects into the front case.
Do not let hair, net curtains, tablecloth, clothes or curtains next to the
openings of the fan. They could be drawn into the fan, causing
damage or injuries.
Do not use fan if the cord or plug are damaged, or if the fan is
dropped or have been damaged in any way.
Periodically check the electric cable of this fan. If the electric cable is
damaged, it must be replaced by the manufacturer, its after-sales
service or by a similar qualified person in order to avoid a danger.
Do not use this fan outside.
Do not use this fan in a damp area such as bathroom.
Do not use this fan on a window.
Do not use this fan with any semi-conductors speed control.
The fan should not be operate without a base nor used laying on its
side.
4

Do not place the electrical cord under a cover. Do not overlay the cord
but place the cord in an area where there are no risks to stumble over.
The fan must always be unplugged when not operating. To unplug the
fan, all the switches must be on the position ”OFF”, and then the plug
could be disconnected.
Do not operate the fan in an area where gasoline is used or stocked,
painting or such flammable liquids.
Use this fan only as described in this manual.
No part of this fan must be replaced by the user.If you need
maintenance take the fan back to your place of purchase.
If the supply cord is damaged, it must be replaced by the
manufacturer or its service agent or a similarly qualified person in
order to avoid a hazard.
The fan MUST NOT be earthed.
Keep electrical appliances out of reach from Children. Do not let
them use the appliances without supervision.
NOTE: There are no serviceable parts in this unit. Do not attempt to
disassemble. WARNING: Never use this fan with any solid-state speed
control device. Doing so will create fire and/or shock hazards.
5

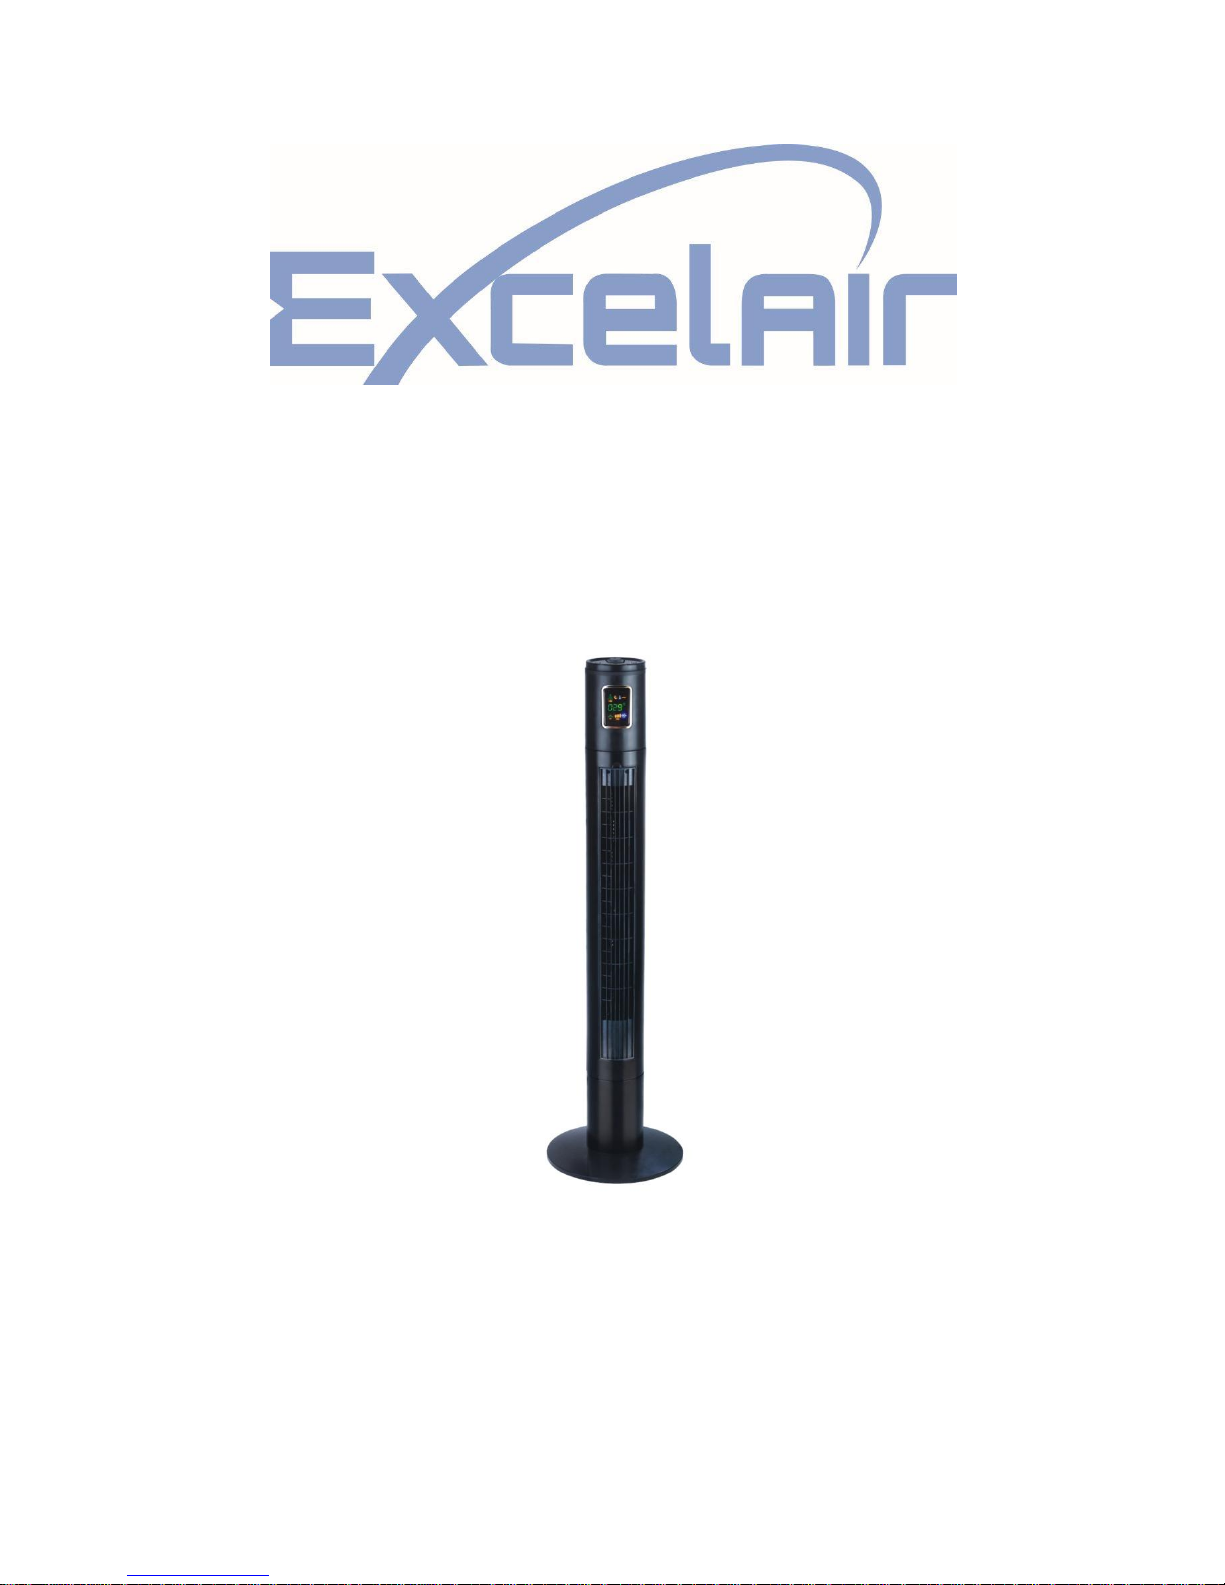
1. Top control panel
2. FND Display
3. Front cover
4. Back cover
5. Grille
6. Column
7. Base
8. Remote control
1. TOWER FAN PARTS
CAUTION: THIS FAN MUST OPERATE IN THE UPRIGHT POSITION
ONLY. DO NOT LAY FAN ON ITS SIDE OR IN ANY OTHER POSITION.
DOING SO MAY CAUSE DAMAGE TO THE FAN AND/OR PERSONAL
PROPERTY. DO NOT USE THIS FAN WITHOUT ITS BASE.
6

2. ASSEMBLY INSTRUCTIONS
1. Remove all items of packing from the tower fan.
2. Pass the power cord through the middle of the two base pieces
3: Position base piece onto the support posts of the other base piece to
create the base assembly.
4: Turn the tower body upside down, position the base assembly onto
the pedestal tube. Ensure that the pedestal tube is sitting flush in
the base assembly.
5: Screw the base assembly onto the pedestal tube with the supplied
screws.
6: Position the power cord into the provided cord track in the rear base.
7: Turn the tower fan back to upright position. It is now ready for use
7

3. OPERATING INSTRUCTIONS
1: Use in a dry place, free of excessive humidity and water.
2: This unit can be operated by the control panel on the fan or by
remote control in the same manner.
TOP CONTROL PANEL
On/Off:
Press this button to turn the fan on or off.
Press it, product will start at low speed. Press again, the product will stop.
Osc: Press the oscillation button to activate the oscillation function for widespread
breeze distribution. Press again to turn the oscillation function off.
Timer: Press this button to activate the timer – off function. Each time the button is
pressed the timer will be increased by 1 hour up to a maximum of 12 hours.
Speed: Choose from 3 comfort settings (HIGH, MED, LOW) by pressing this button
until the speed you want is indicated on the FND display.
Mode: Choose from 3 different breeze patterns (Sleep, Nature, Normal) by pressing
this button until the type of breeze desired is indicated on the FND display.
Ion: Press this button, product will clear and fresh the air. Press again to stop Ion
function
8

2 1 3
4
5
6
4. FND DISPLAY
1: Ion
2: Sleep wind
3: Natural wind
4: Room Temperature
and Timer Display
5: Oscillation
6: Speed
5. GUIDELINES FOR USING THE REMOTE CONTROL
The remote control must be pointed towards the receiver on the fan
in order to work.
Do not block the line of sight between remote control and the
receiver.
Handle the remote control with care. Do not drop the remote control.
9

6. GUIDELINES FOR USE OF BATTERIES
If the remote control is not used for a long period of time, remove the
batteries from the battery compartment.
The remote control uses two AAA batteries, both of which should be
new and replaced at the same time when they run out.
Clean battery contacts and also those of the device prior to battery
installation
Ensure the batteries are installed correctly with regard to polarity,
matching +/- sides of the battery to corresponding indications on the
remote control.
Remove used and dead/discharged batteries promptly.
7. SPECIFICATIONS
Model Number: ETF-45RI
Voltage: 220-240V / 50Hz
Wattage: 45 W
CAUTION: TO PREVENT ELECTRICAL SHOCK, MATCH WIDE
BLADE OF PLUG TO WIDE SLOT, FULLY INSERT.
10

8. CLEANING INSTRUCTIONS
1. Always disconnect the cord from the electrical outlet before cleaning
your fan.
2. Dust may be removed by using a vacuum cleaner along the back of
the fan where the plastic grille covers the air intake.
3. Wipe the exterior surfaces of the fan occasionally with a damp cloth
(not dripping wet) and dry thoroughly with a soft dry cloth before
operating the fan.
4. Do not use harsh cleaners or
materials to clean this unit, doing
so will cause damage.
5: Unscrew the screw in front of fan
grille, open the grille to clean the
fan wheel softly. Please see
below picture.
11

CAUTION:
DO NOT ALLOW WATER TO RUN INTO THE INTERIOR OF THE FAN
AS THIS COULD CREATE A FIRE OR ELECTRIC SHOCK HAZARD.
THE FAN MOTOR IS FACTORY LUBRICATED FOR LIFE AND WILL
REQUIRE NO FURTHER LUBRICATION. NO OTHER USER
MAINTENANCE IS REQUIRED OR RECOMMENDED. IF SERVICE IS
REQUIRED, PLEASE CONTACT HONEYAIR AUSTRALIA.
9. STORAGE
1. Follow cleaning instructions 1-4 above.
2. Retain the original packaging to store your fan.
3. Always store in a dry place.
4. Never store while still plugged in.
5. Never wrap cord tightly around the fan or put any stress on the cord
where it enters the fan as it could cause the cord to fray or break.
12

10. CARE AND MAINTENANCE
1: Always disconnect the cord from the electrical outlet when cleaning
your fan.
2: Light accumulated dust may be removed from the fan with a soft
cloth or vacuum cleaner using the dusting brush attachment.
3: Wipe the exterior surfaces of the fan occasionally with a cloth
moistened (Not dripping wet) with a mild soap solution. Dry the
case thoroughly with a soft dry cloth before operating the fan.
4: Avoid the use of gasoline, benzene, thinner etc as they may result in
damage to the fan.
5: Store the fan in a clean dry place when not in use.
11. WARRANTY
The Excelair ETF45RI Tower Fan is under warranty for a period of 12
months from date of purchase. If unit is deemed to be faulty, please
return to place of purchase and it will be replaced during the 12 month
warranty period. Distributed in Australia by:
GBI Sales Pty Ltd.
78 Mallard Way, Cannington WA 6107
Phone 1300 710 860 Fax 1300 710 890 Email: info@gbi.com.au
13
 Loading...