

Page 1
Page 2
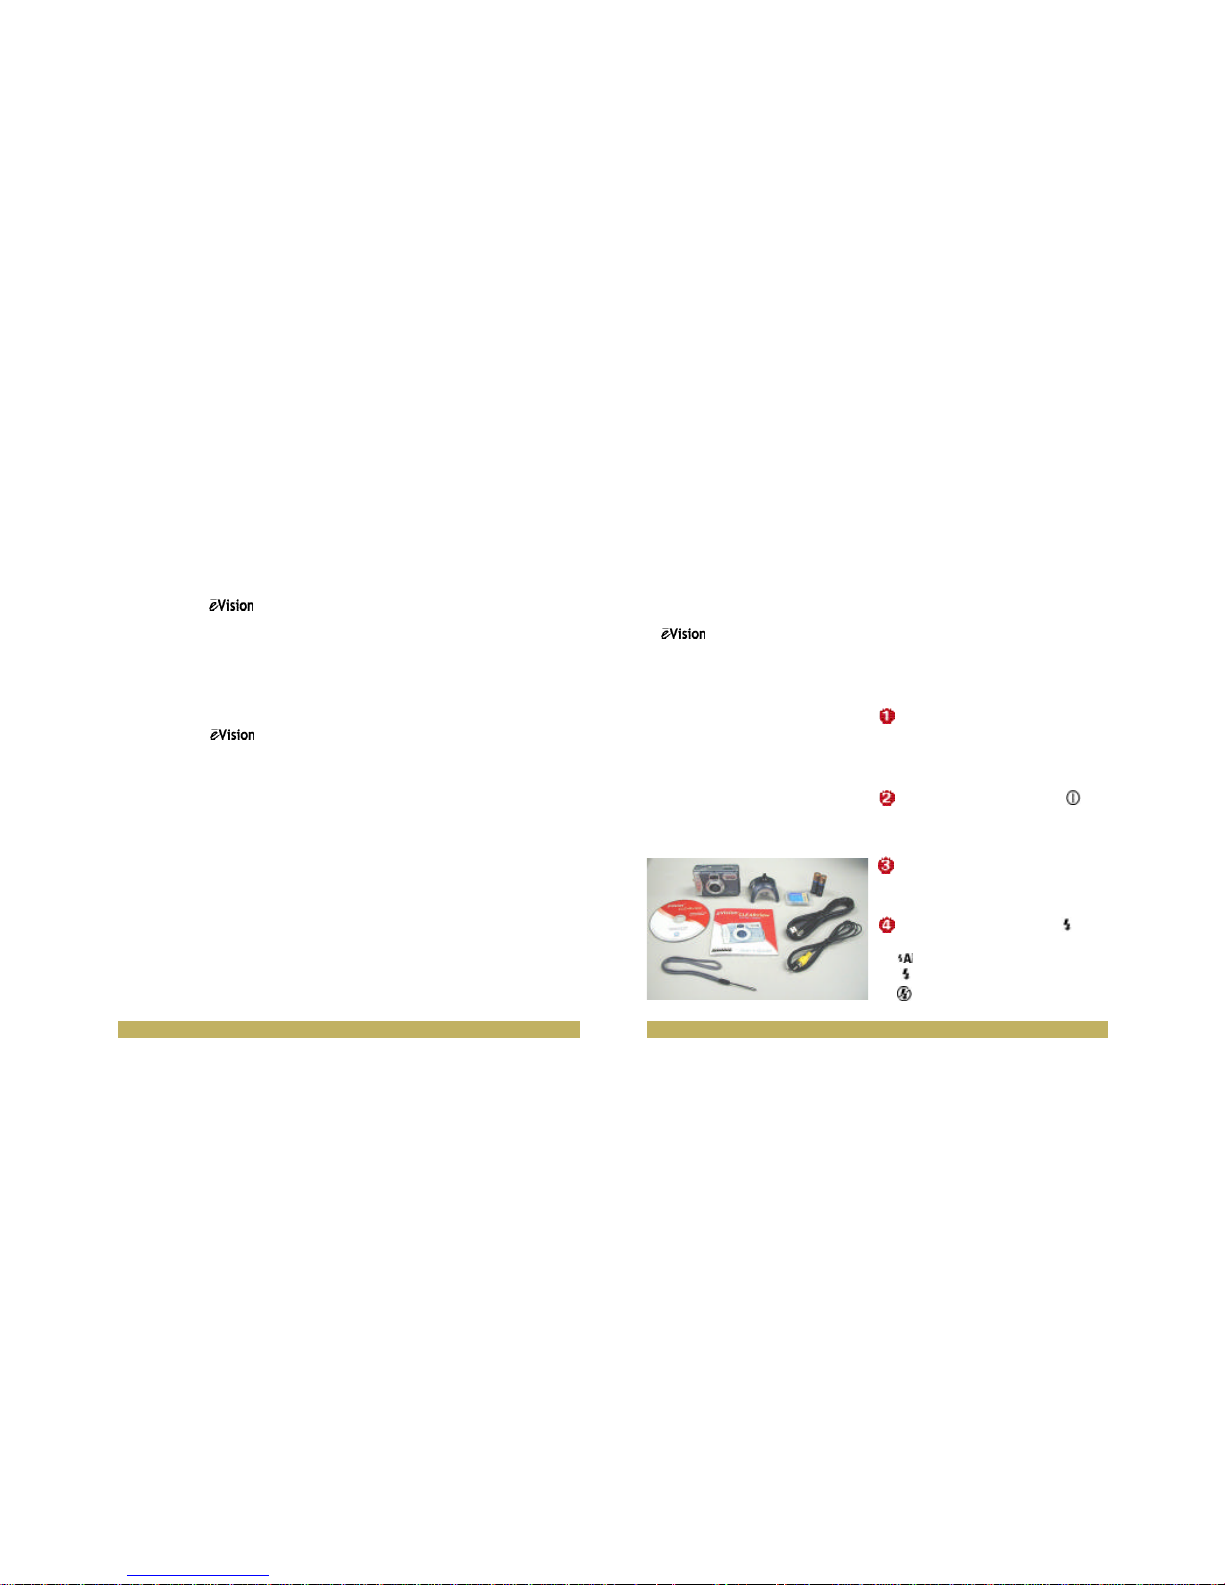
CLEARview Kit Contents
The CLEARview Digital CameraKit
includes:
• CLEARview Digital Camera
• CLEARview Camera Software &
Driver – MGI PhotoSuite III SE, MGI
VideoWave III SE, QuickTime, Microsoft
NetMeeting, and My Camera
• 8MB External Compact Flash memory
card for storing up to 120 photos
• Easy Step-by-Step User’s Guide
• PC USB Cable
• PC Camera Stand
• Video Out Cable for connection to
TV/VCR
• Camera Wrist Strap
• 2 AA Duracell Batteries
Get To Know Your Camera
Before going into creating fun
projects, take a minute to familiarize
yourself with the CLEARview
controls, features, and functions.
Top of Camera
Status Display – The Status
Display shows the battery power
level and the settings used for
taking pictures.
Power – Press the Power
button to turn the digital
camera on and off.
Shutter Release – Press the
Shutter Release button to take
the picture.
Flash – The Flash button
gives you the option of choosing:
Auto Flash,
Full Flash, and
No Flash.
Welcome
Welcome to the CLEARview
digital camera, a compact, highquality, yet affordable digital camera that allows you to create, edit,
share, and send photos to friends
and family.
Designed for AOL members and
Internet users, is a line of
digital products that will enhance
your online and offline computing
experience.
So, whether you want to send photos or short video clips with your email, create exciting photo projects,
produce digital movies, or see and
hear friends over the Internet,
CLEARview gives you all the tools
that you will need.
CLEARview is:
• Easy to use – just point, click,
connect, and send.
• Perfect for beginners and
advanced users.
• Connected to the computer by a
USB cable and powered by 2 AA
Duracell batteries.
• View photos instantly with the 1.3
megapixel LCD display.
• A time and money saver – you
will never need to pay for film
and developing costs.
Index
Welcome 2
CLEARview Kit Contents 3
Get To Know Your Camera 3
Let’s Get Started 7
Taking Photos 10
Viewing Photos 12
Deleting Photos 12
Installing the Camera Software & Driver 13
Get Connected 16
Accessing CLEARview 18
Fun Things To Do with PhotoSuite 19
Using the Camera as a Web Cam 31
Using MyCamera 32
Using VideoImpression 33
Using Windows NetMeeting 35
System Requirements 36
Technical Specifications 37
Frequently Asked Questions 37
Next Steps 39
3 •• 2
• 2
Page 3
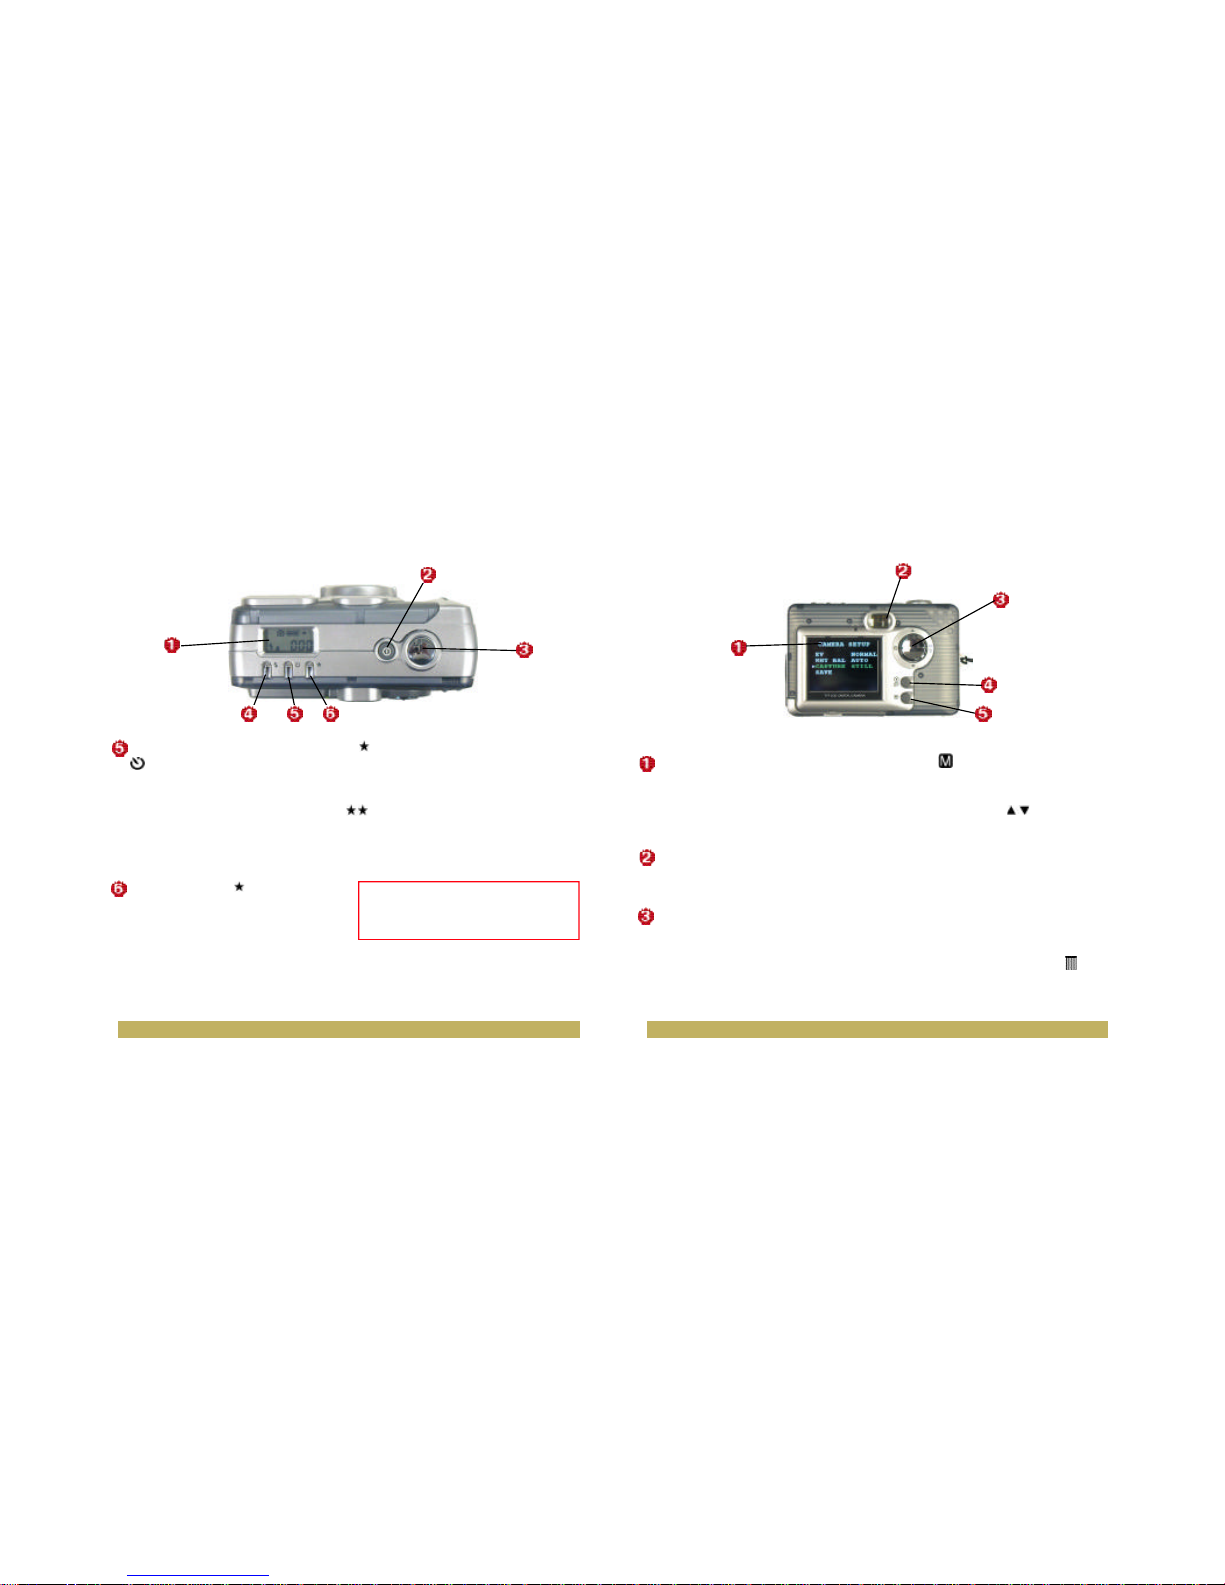
Back of Camera
LCD Display – The LCD Display
(Liquid Crystal Display) is one
way used to view the photos you
have taken, and access the menu
options.
Viewfinder – Look through the
Viewfinder to view the real life
subject you want to photograph.
Controller - Use the 4-way
Controller button to display the
camera menu and change option
settings.
Option settings include:
Press to view the camera
menu on the LCD Display.
Press the arrows to move up
or down through the camera
menu.
OK - Press OK to select a
menu option or setting. Also,
press OK when you are replying
to screen messages.
Erase – when in Play Mode,
pressing the Erase button
allows you to remove an
individual picture from the
Compact Flash card.
Self-Timer - Use the Self-Timer
button when you need to take
photos of yourself. After you
press the Shutter Release
button, the Status LCD begins a
10-second countdown, allowing
you time to position yourself in
front of the camera.
Photo Quality - The 8MB
Compact Flash memory card
included with your camera can
hold about 120 pictures at
Normal Quality and 80 pictures
at Fine quality.
Normal quality photos will be
compressed, so more photos can
be stored in the camera.
Fine quality photos will appear
clearer and sharper, but fewer
can be stored in the camera.
5 •• 4
Note: It is recommended that you use Auto
Flash when shooting photos. This will allow
the camera to automatically choose the
appropriate type of lighting.
Page 4
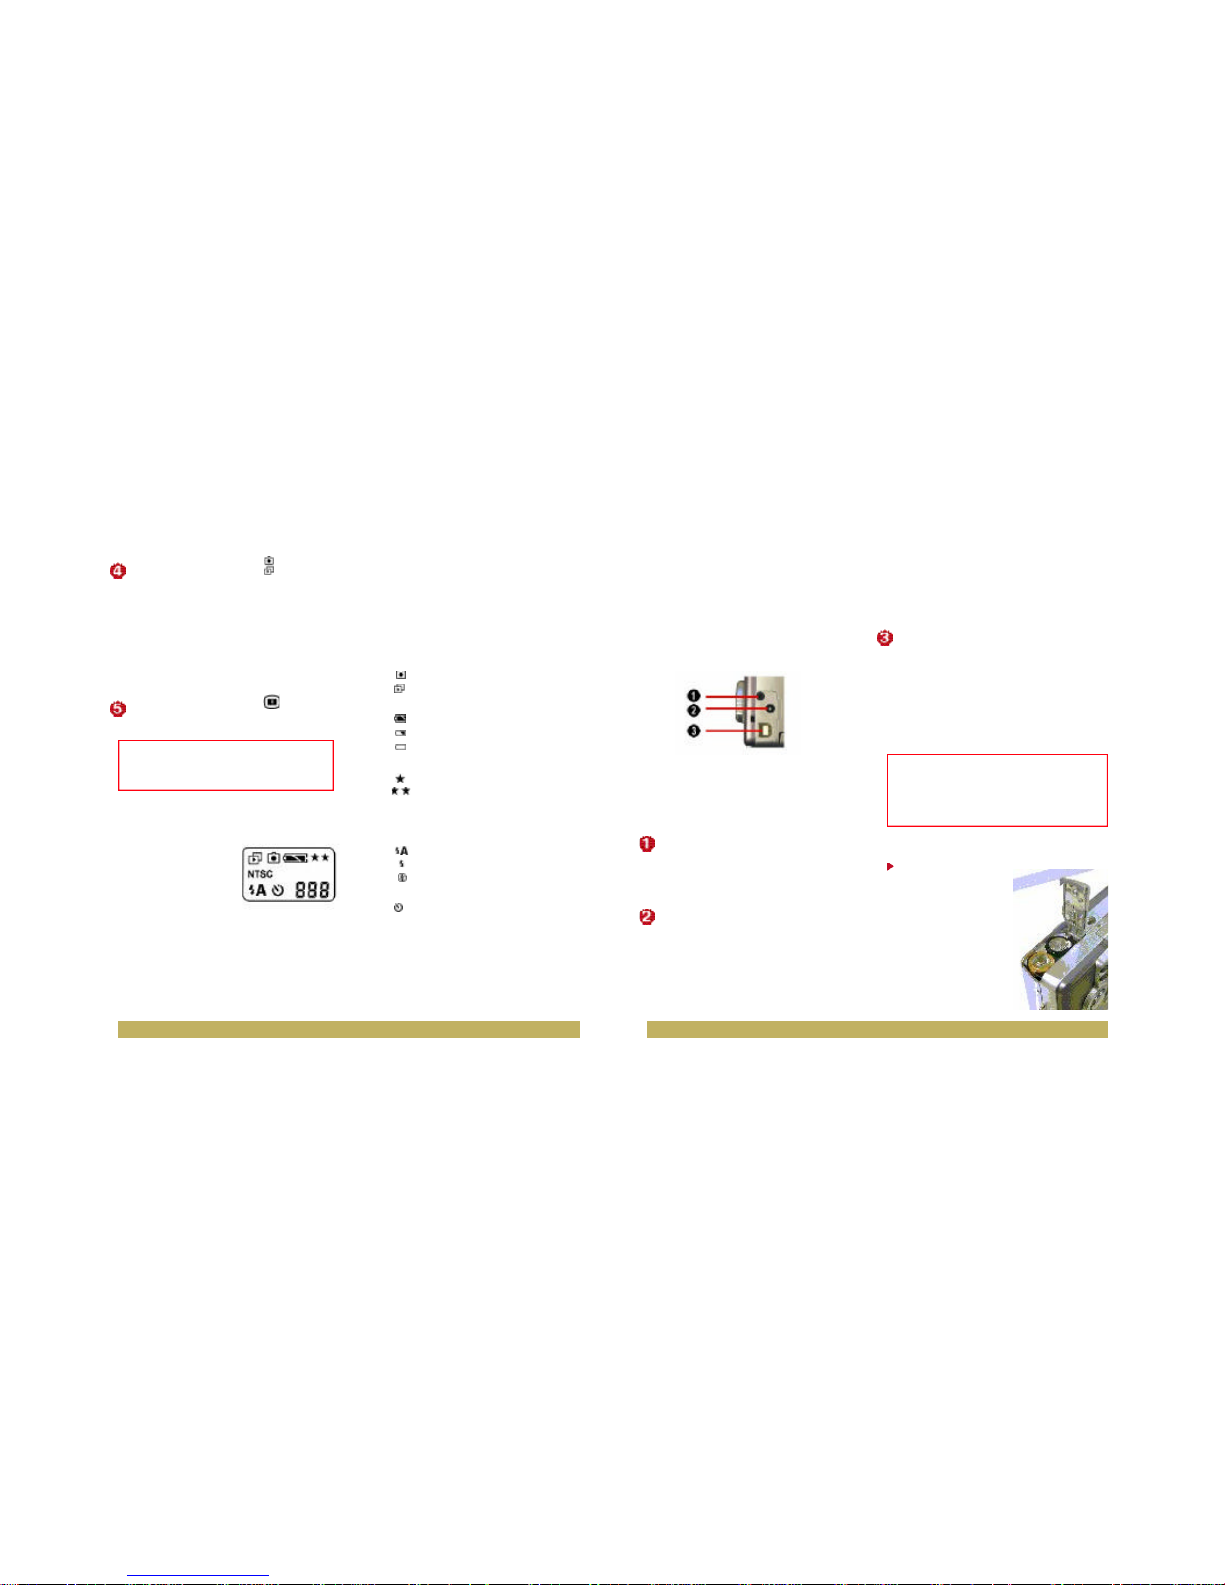
Digital Interface Compartment
Located on the left side of the camera are the three ports for attaching the following cables: Video
Output, AC Power Adapter (not
included), and USB.
These ports will enable you to
attach the appropriate cables from
the camera to your computer,
TV/VCR, and AC power.
Video Output – used to connect
your camera to a TV/VCR for
viewing images taken with your
camera.
AC Power Port – An optional AC
adapter is available seperately.
The AC adapter is best used
during dowloading images to your
PC, video conferencing and when
the camera is connected to your
TV/VCR. Refer to Page 39 for
information on purchasing
additional accessories.
USB Port – used to connect
your camera to the computer through
the USB port. You can then transfer
photos and videos from the
camera to your computer, or use the
CLEARview as a PC camera.
Let’s Get Started
Step 1 Insert the
two AA batteries
into the battery
compartment
located on the
bottom of your
digital camera.
Close the cover
by sliding it in
place.
Record/Play - Press to switch
between Recordand Play modes.
Record mode allows you to take
photos as well as record video
with the camera. Play mode lets
you view the photos you have
taken on the LCD Display and
erase unwanted photos.
LCD Display - Press to turn
the LCD display On/Off.
The Status Display
The Status Display
on the top of the
camera indicates
the battery power
level and the current mode of the digital camera.
It also displays the record settings
used for taking pictures. When the
camera is in Record mode, the status display shows the number of
pictures remaining that can be
taken. When in Play mode, it displays the number of photos stored
in the memory card.
The Status Display options include:
Current mode of camera
Record mode
Play mode
Battery power level
Full battery power
Medium battery power
Low battery power
Photo quality
Normal quality
Fine quality
TV/VCR output
NTSC NTSC video (PAL not supported)
Flash setting
Auto Flash
Full Flash
No Flash
Self-timer
Self-timer On
Picture Counter
Shows the number of remaining shots in
record mode or the number of stored pictures
in play mode.
7 •• 6
Note: As a power-saving feature, the LCD
automatically turns off the camera if left
idle for over 30 seconds.
Note: The USB connection alone can power
your camera. You cannot turn off the camera while you have the USB connected to
the computer. Simply disconnect the camera when no longer in use.
Page 5
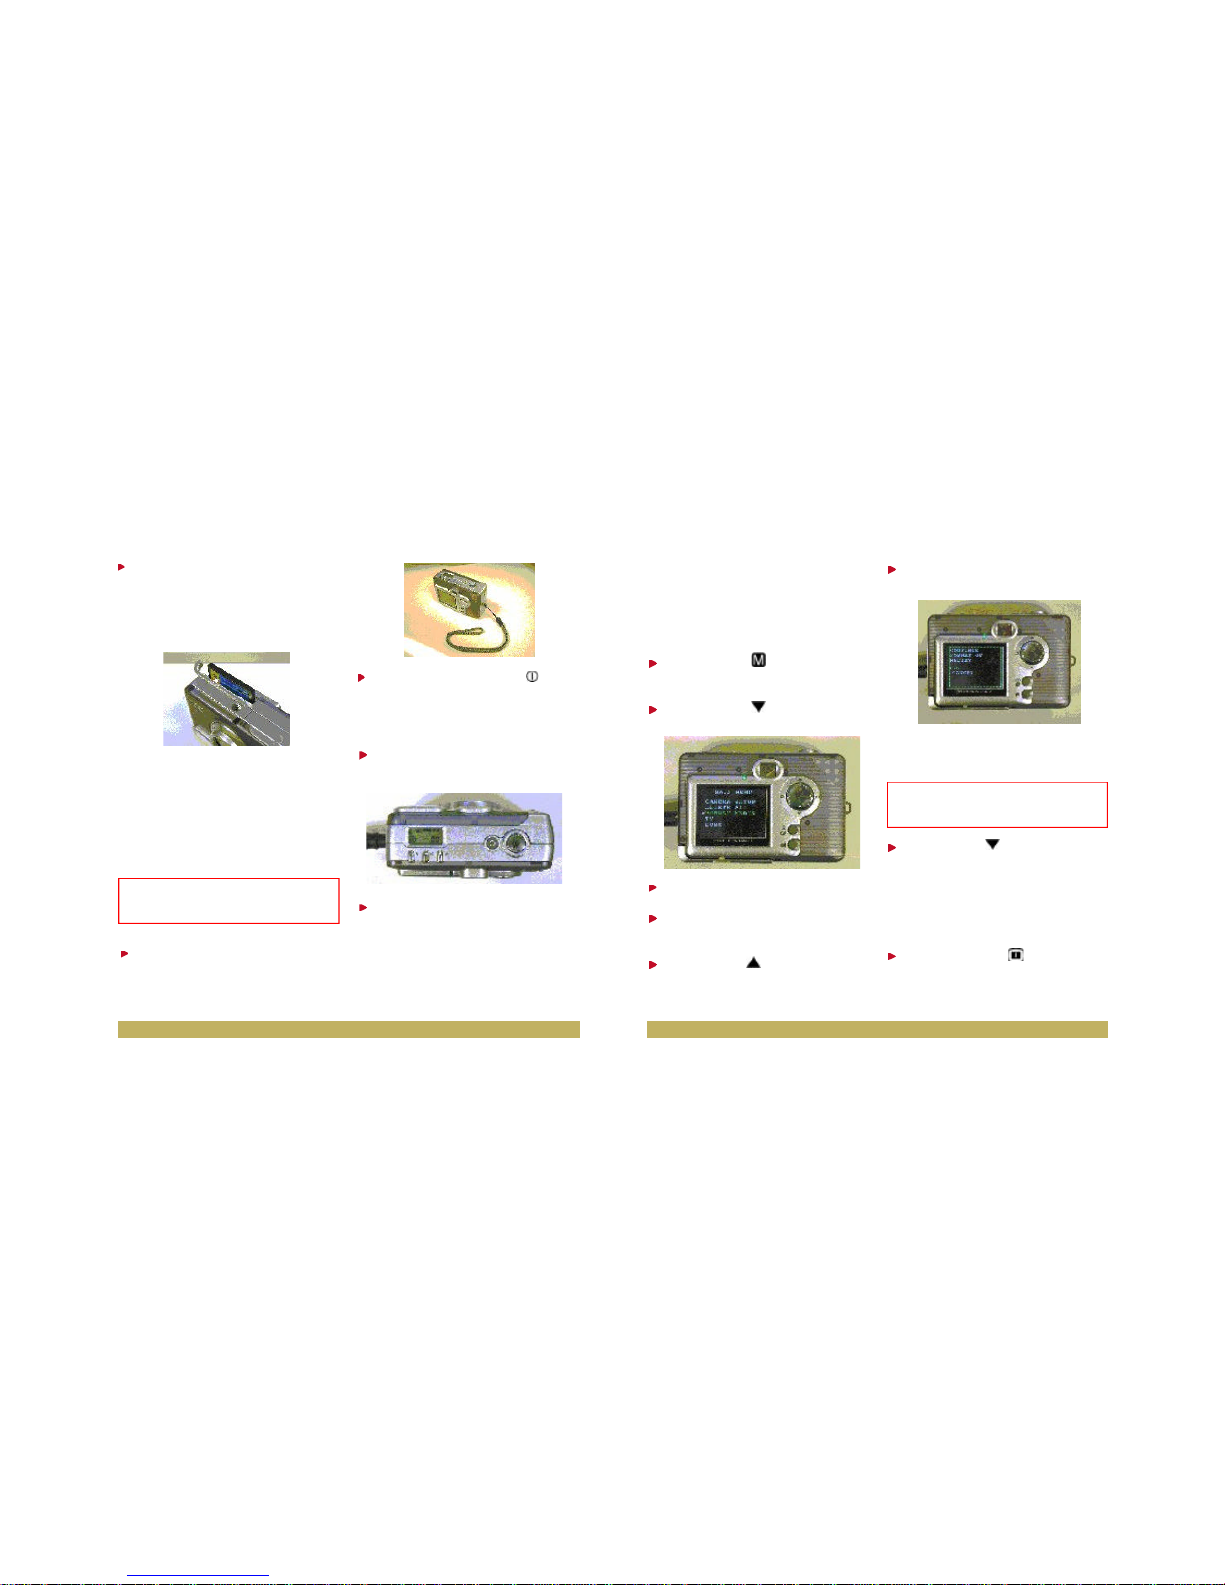
Formatting the Memory Card
It is recommended that you format
your Compact Flash memory card
before using it to store pictures.
Step 1 Press to bring up the
camera menu.
Step 2 Press to move down
to the Format Media option.
Step 3 Press OK.
Step 4 The Continue Format
of Media?, message appears.
Step 5 Press to select OK on
the screen.
Step 6 Press the OK button on
the controller.
The camera will begin to format the
memory card.
Step 7 Press to select
Done. Then, press OK on the
controller to exit the menu.
After formatting the memory card,
the LCD will turn off.
Step 8 Press the to turn the
LCD back on, so you can begin
taking photos.
Step 2 Open the memory
compartment cover located at the
bottom of your camera and insert
the Compact Flash memory card.
When inserting, hold the card so
that you can see the color sticker
from the front of the camera.
Push the memory card all the
way into the compartment and
close the cover.
Step 3 Attach the wrist strap to
the strap holder on the side of
the camera.
Step 4 Press the Power
button to turn on the camera.
A green light next to the
Viewfinder will appear.
Step 5 Press the LCD button to
turn on the LCD.
Step 6 Look at the Status
Display to see if the settings for
taking pictures meet your needs.
If not, refer to the Change
Camera Settings section on page 10.
9 •• 8
Note: To remove the Compact Flash card,
push the Ejectbutton inside the memory
compartment.
Note: If you do not want to continue with formatting the memory card, select Cancel on
the screen and then press the OK button.
Page 6
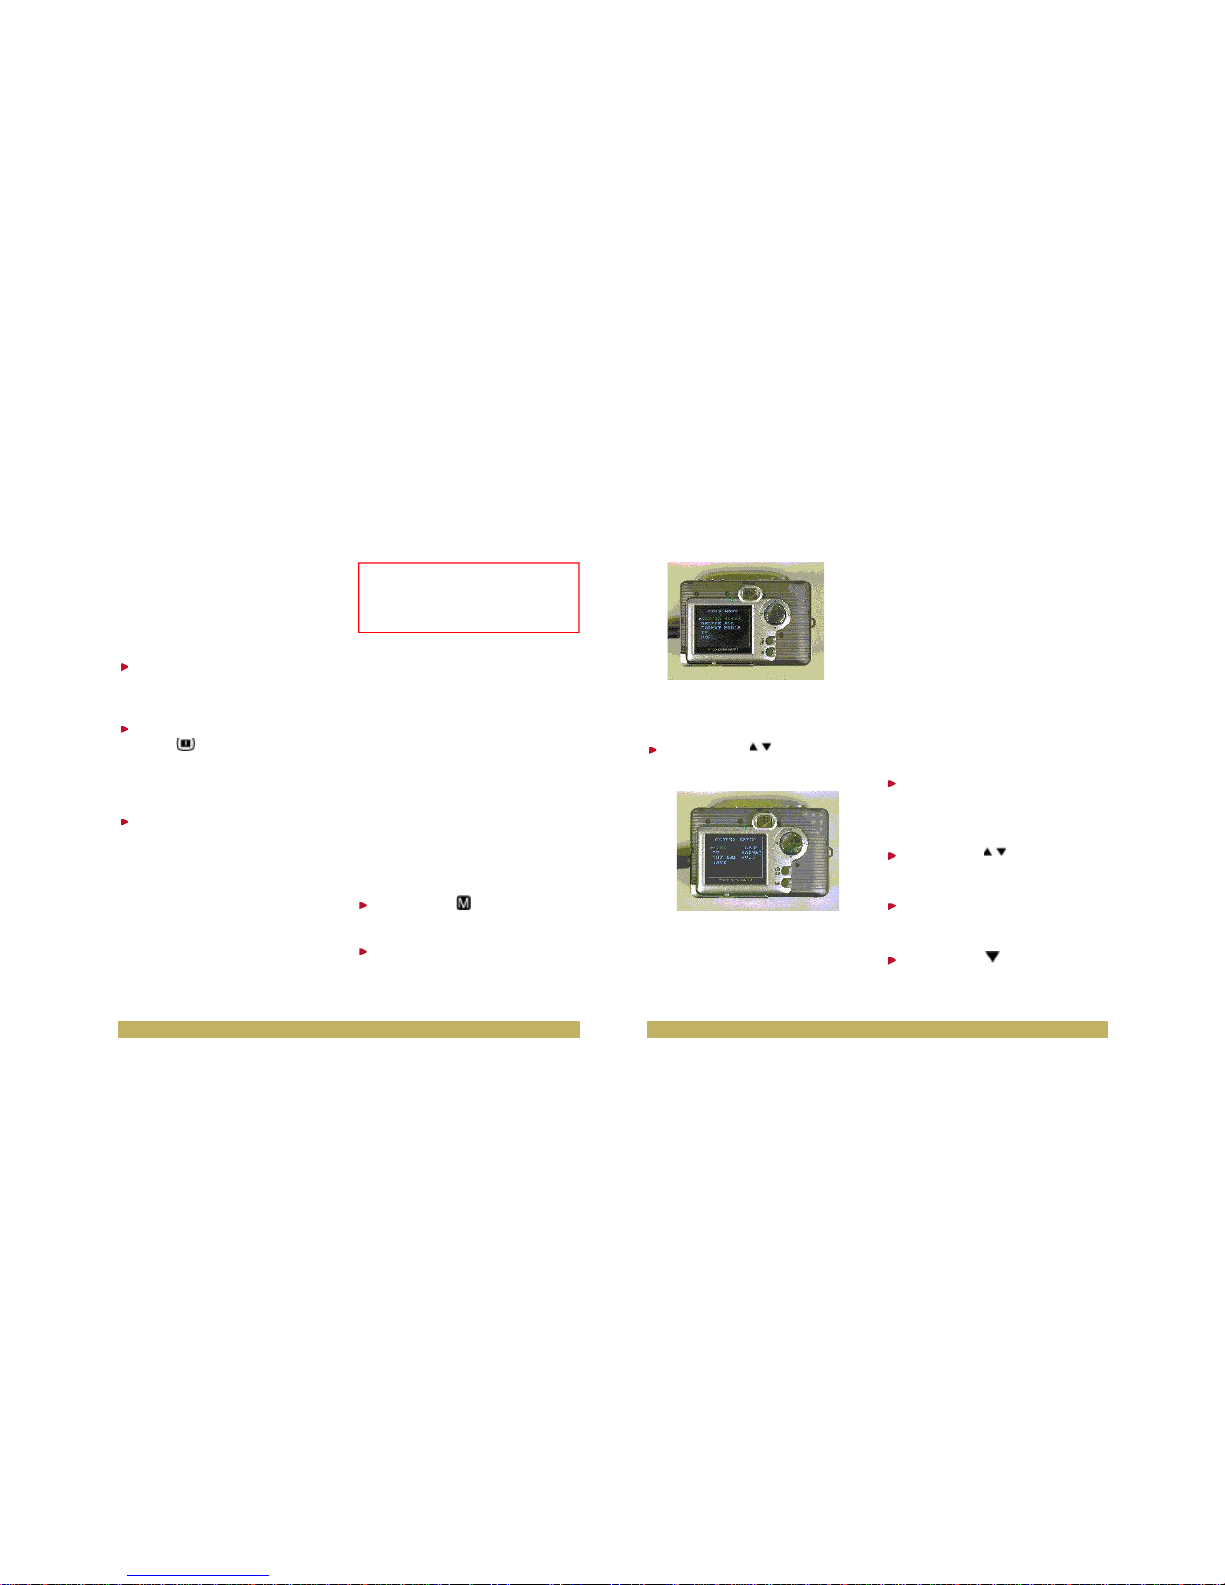
The Camera Setup menu will
appear on the LCD display.
Step 3 Press to move
up or down in the Camera Setup
menu.
The Camera Setup menu lists the
following options:
• EV Compensation – Sets the
exposure setting to control the
brightness of photos. Choose a
positive value to have brighter
photos, or a negative value to
have darker photos.
• White Balance – Allows the
camera to adjust to light conditions using preset selections
(auto, sun, shade, tungsten, fluo
rescent, off).
• Capture – Sets the camera to
take STILL pictures or record
VIDEO.
Step 4 Press OK to select a
menu option. The selected option
will turn to a green highlight.
Step 5 Press to cycle
through the available settings.
Step 6 Press OK to choose a
setting.
Step 7 Press to move
down to the Save option.
Then, press OK on the controller
to save the new camera settings.
Taking Photos
Taking photos with your digital
camera is a snap. Just point and
shoot!
Step 1 Make sure that the cam era is turned on and a Compact
Flash memory card is installed.
Step 2 Press the LCD Power
button to view the LCD,
or you can use the Viewfinder to
frame the subject you want to
photograph.
Step 3 Press the Shutter
Release button to take the
picture.
The picture will remain on the LCD
until it is stored in the memory
card.
Once the picture is stored, the
green indicator light will stop blinking, signaling that camera is ready
to take the next picture.
Camera Settings
Sometimes when using the default
camera settings, the picture quality
may not come out the way you want.
Different lighting environments usually produce different results. To
have more control over the quality
of your pictures, adjust the camera
settings to suit your needs.
Changing Camera Settings
Access the Camera Setup menu to
change camera settings.
Step 1 Press to bring up
the menu screen.
Step 2 Press OK on the Camera
Setup option.
11 •• 10
Reminder: Wait for the green indicator light
to stop blinking before you take your next
picture. This may take several seconds and
varies depending on the camera settings
and flash mode.
Page 7
Step 6 Press the OK button to
erase the current picture. If you
change your mind and do not
want to erase the current picture,
press to select the Cancel
option and then press OK on the
controller.
To delete another picture, follow
the steps above. To continue taking
pictures, press the Record/Play
button to switch the camera to
Record mode.
Deleting All Photos
You may also choose to delete all
of the photos if the memory card is
full and you want to free up the
space to take more photos. But
before you remove all photos,
remember to download them first
to your computer. Refer to page 20
for details on how to download
photos.
Step 1 Press to bring up
the camera menu.
Step 2 Press to move
down to the Delete All option.
Step 3 Press OK on the controller.
Step 4 When you see the
Continue Delete Of All
Images? message, press the OK
button to erase all of the pictures.
Step 5 The camera menu
appears again. Press to
select Done. Then, press OK on
the controller to close the main
menu.
Installing the Camera
Software & Driver
Step 1 Place the CLEARview
CD-ROM into the appropriate
drive. The CLEARview main
menu screen should automatically appear.
Step 8 Press to move
down the menu screen and
choose Done. Then, press OK
on the controller to exit the menu
screen.
Now that you have taken a few
photos, let’s view them.
Viewing Photos
Step 1 Press the LCD button
to view the LCD.
Step 2 Press the Record/Play
button to switch the camera to
Play mode. The icon should
appear on the Status Display.
Step 3 View the pictures one at a
time on the LCD Display. Press
to move backward and
forward through the pictures.
Deleting Photos
You can choose to delete a single
photo or all the photos previously
taken with the digital camera.
Deleting a Single Photo
If you are not satisfied with some
pictures, you may delete them from
the memory card.
Step 1 Press the LCD
button to use the LCD.
Step 2 Press the Record/Play
button to switch the camera to
Play mode. The icon should
appear on the Status Display.
Step 3 Press to move
backward and forward through
the pictures.
Step 4 When you see a picture
that you want to delete, press the
Erase button on the controller.
Step 5 A menu will appear, with
the Delete option highlighted.
13 •• 12
Note: Eraseand OK share the same button
on the controller.
Note: If you change your mind and do not
want to continue deleting all the pictures,
press to select the Cancel option, and
then press OK to keep all of the pictures.
Page 8
users, go to Page 37.
Step 9 After reading the software
license agreement screen,
click Yes. If you click No,
NetMeeting will not be installed
on your computer.
Step 10 Click OK on the
Advanced INF Install screen.
Step 11 Click Next on the
QuickTime 5.0 welcome screen.
Step 12 Click Next on the
QuickTime Setup program
screen.
Step 13 After reading the soft
ware license agreement screen,
click Agree. If you click
Disagree, QuickTime will not
be installed on your computer.
Step 14 Click Next on the
choose destination location
screen.
Step 15 Click Next on the select
program folder.
Step 16 Click Next on the
QuickTime plug-in option screen.
Step 17 Click Next on the
QuickTime introduction screen.
Step 18 Click Next on the
browser plug-in screen.
Step 19 Click Finish on the file
type association screen.
Step 20 Click Close on the
finished screen.
Step 21 Click Next on the MGI
PhotoSuite III SE welcome screen.
Step 22 After reading the software license agreement screen,
click Yes. If you click No,
PhotoSuite will not be installed
on your computer.
Step 23 Click Next on the setup
type screen. The default setup
type is Full, which requires
105MB of free hard drive space.
If the main menu screen does not
appear, follow the directions below.
• Double-click on the My
Computer icon on your desktop.
• Double-click on the CLEARview
CD-ROM icon.
• Double-click on the autorun.exe
icon.
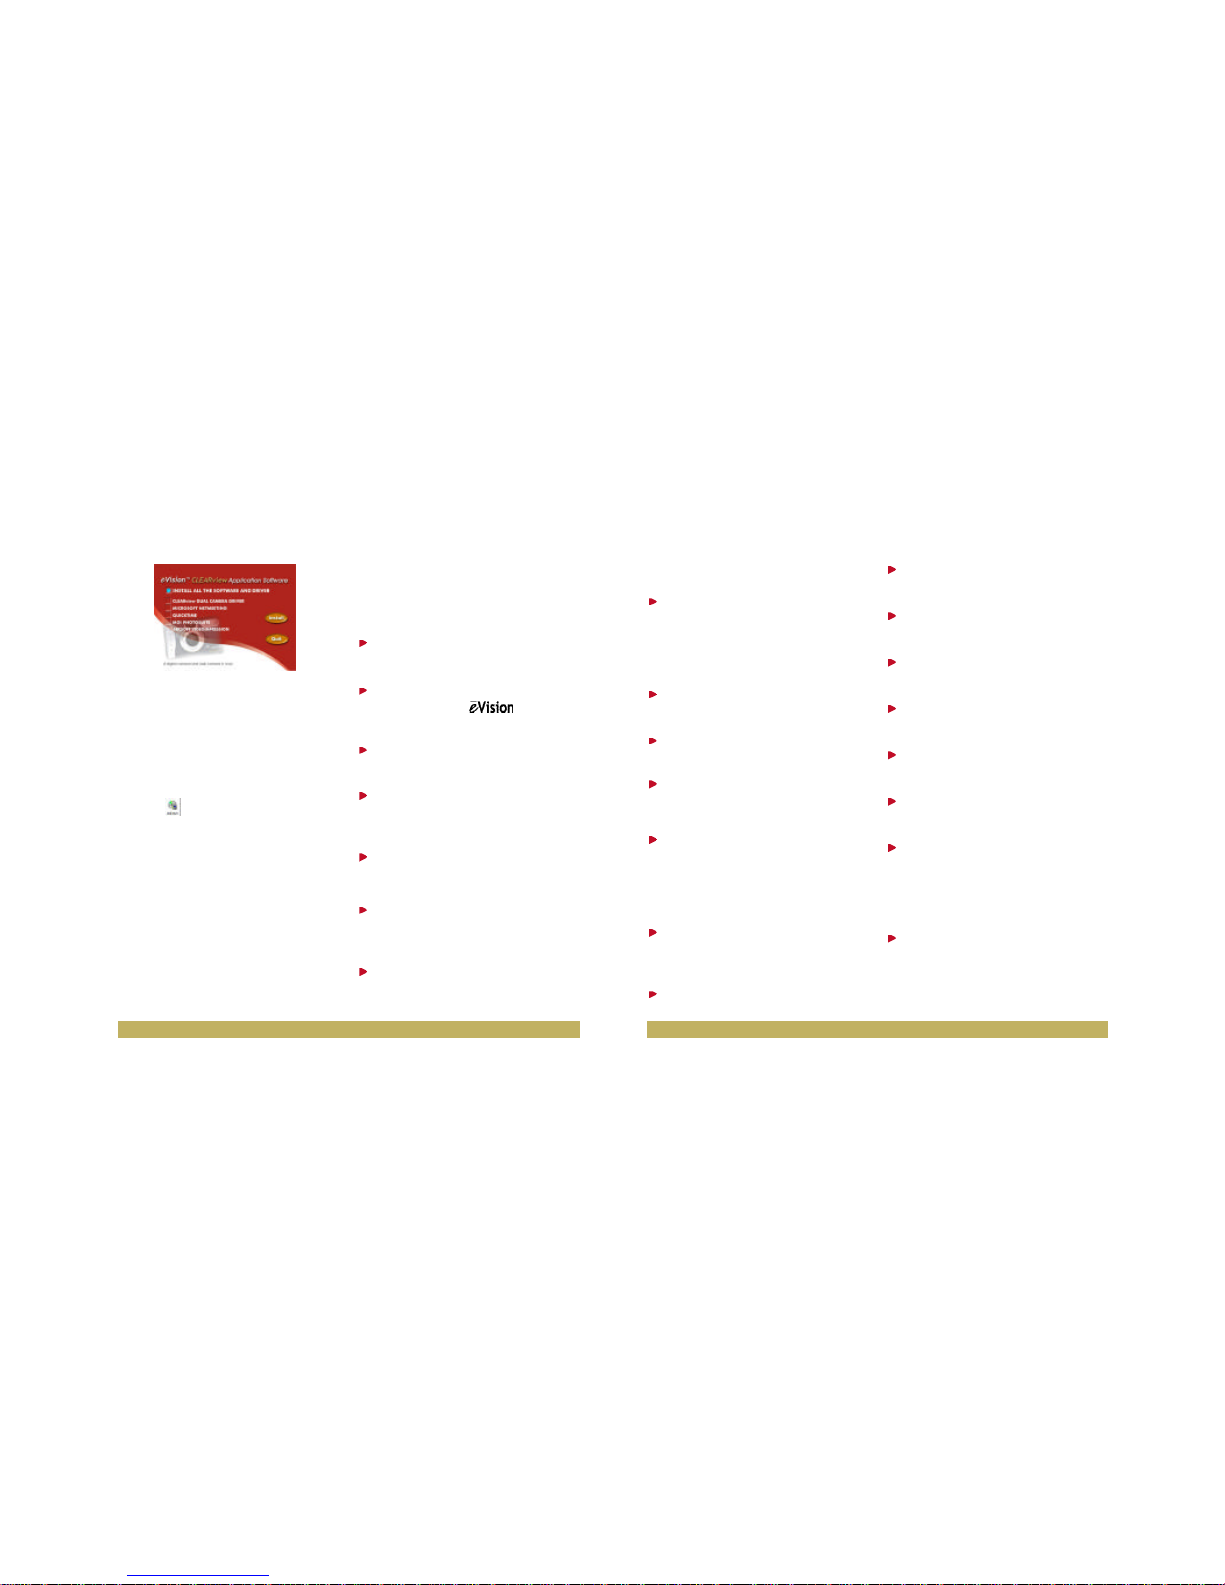
The CLEARview main menu
screen will appear. On this screen,
you have two options:
Install – which installs the camera
software and driver.
Quit – which exits the CLEARview
CD-ROM and returns you to your
desktop.
The CLEARview Digital Camera
CD includes all the necessary software for downloading photos to the
computer, touching up photos, editing video, and video-conferencing.
Step 2 Click Install to start the
installation process.
Step 3 Click Next on the
Welcome to the Control
Panel Setup program screen.
Step 4 Click Finish on the setup
complete screen.
Step 5 Click Next on the
CLEARview TWAIN driver
welcome screen.
Step 6 Click Next on the choose
destination location screen.
Step 7 Click Finish on the
TWAIN driver setup complete
screen.
Step 8 Click Yes on the
Windows NetMeeting 3.01
screen to install. Windows 2000
15 •• 14
Page 9
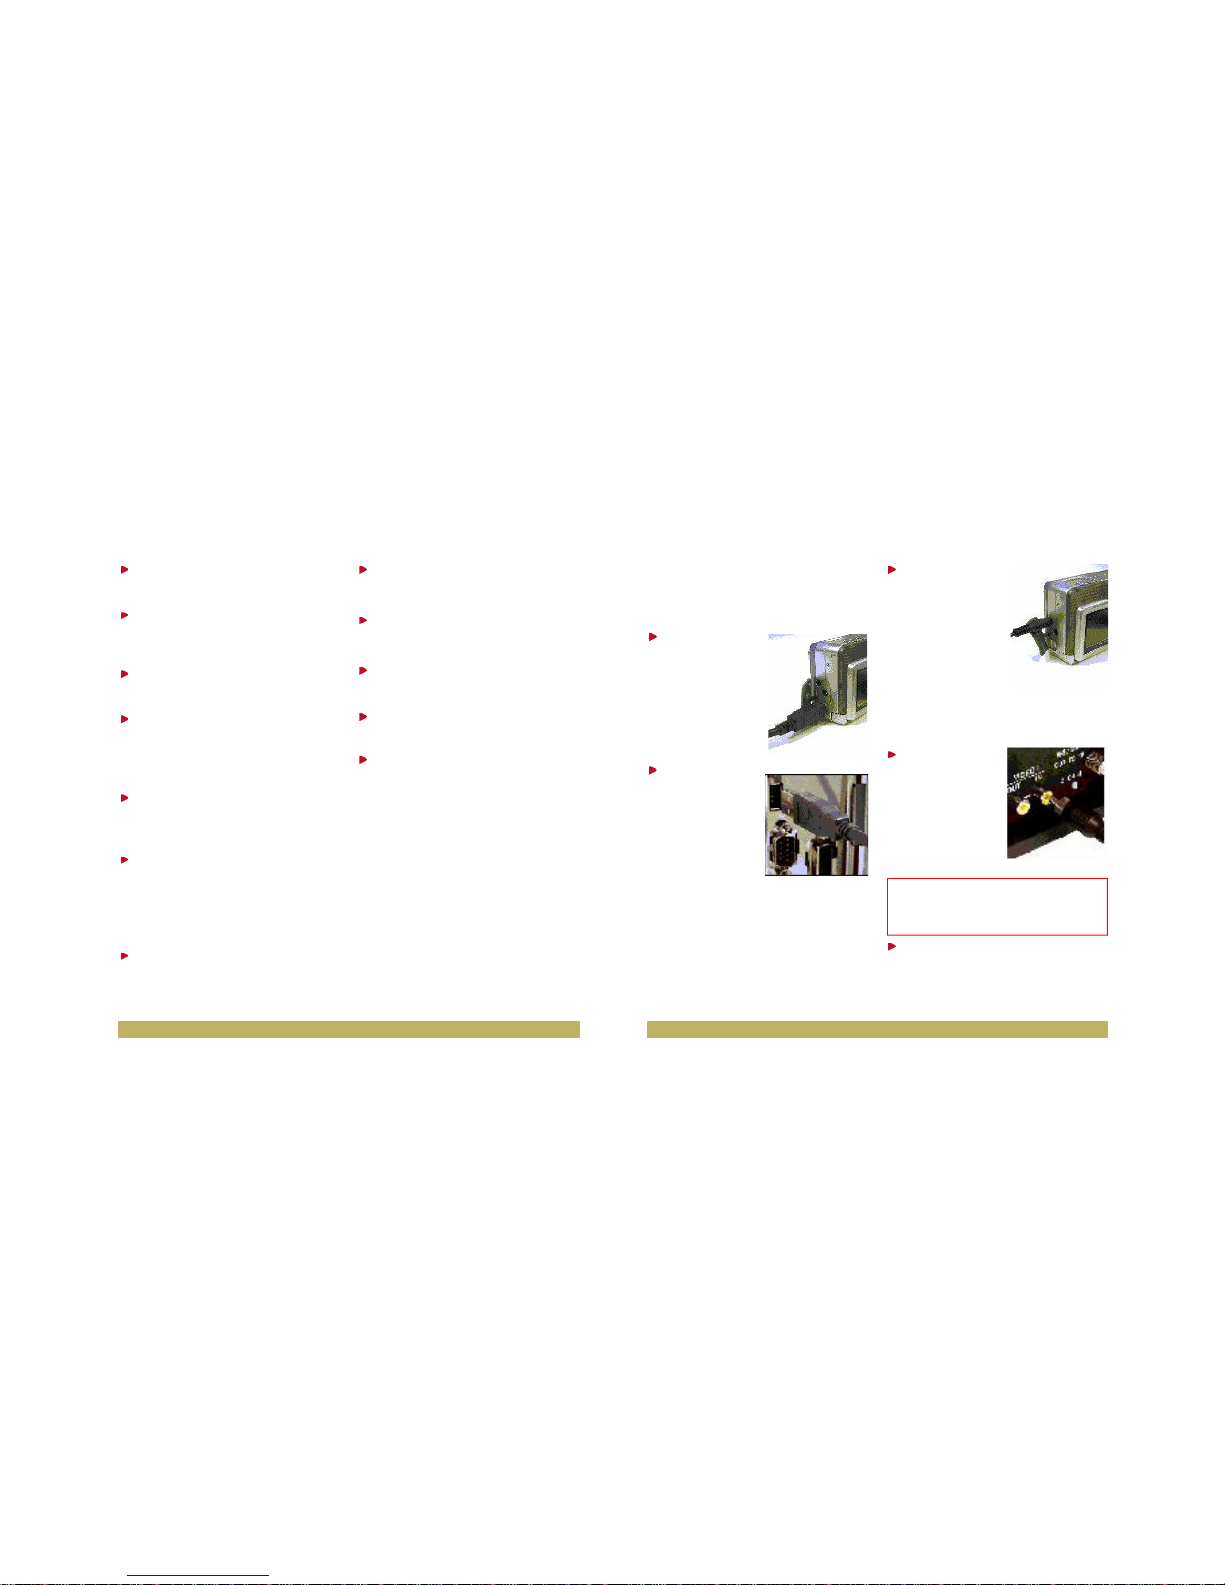
The USB Port is located in the
Digital Interface Compartment on
the left side of the camera.
Step 1 Connect
the smaller end
of the USB
cable into the
USB port of
your digital
camera.
Step 2 Connect
the other end of
the USB cable
to the USB port
located on the
back of your
computer.
You can also connect your camera
to your TV/VCR if you want to have
a larger view of your photos.
To view stored images on your
television set.
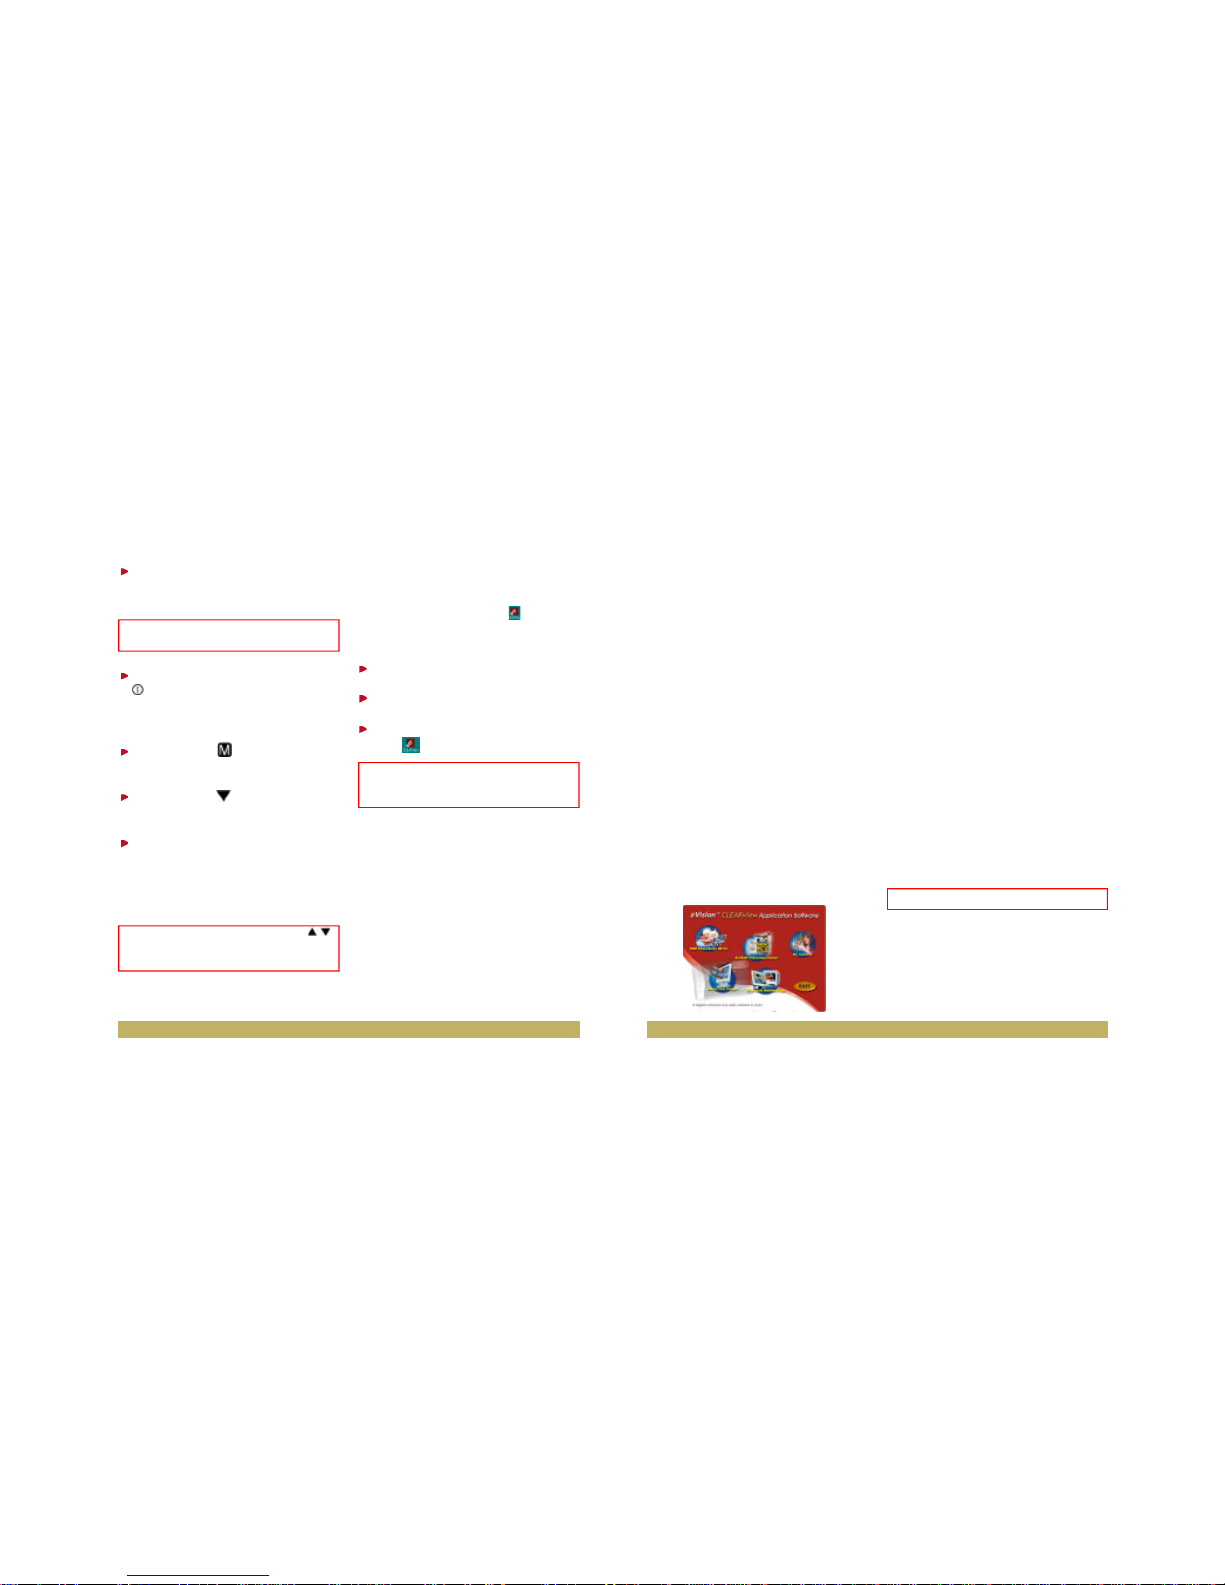
Step 1 Connect
one end of the
video output
cable (the black
plug) into the
video out port
located in the
Digital Interface
Compartment on the left side of
the camera.
Step 2 Connect
the other end of
the video output
cable (the yellow
plug) to the
video in plug on
your TV/VCR.
Step 3 Turn on your TV and
VCR.
Step 24 Click Next on the start
copying files screen.
Step 25 Click Register Now or
Register Later on the MGI
registration screen.
Step 26 Click Finish on the
setup is complete screen.
Step 27 Select a language from
the pull-down arrow. English is
the default, then click OK on the
choose setup language screen.
Step 28 Click Next on the
ArcSoft VideoImpression
welcome screen.
Step 29 After reading the
software license agreement
screen, click Yes. If you click
No, VideoImpression will not be
installed on your computer.
Step 30 Click Next on the
choose destination location
screen.
Step 31 Click Next on the select
components screen.
Step 32 Click Next on the select
program folder screen.
Step 33 Click Finish on the
setup is complete screen.
Step 34 Click Next on the My
Camera welcome screen.
Step 35 Click Finish on the
setup complete screen.
This will restart your computer so
that all of the CLEARview software
components can take effect.
Get Connected
This section will walk you through
the steps to connect the camera to
your computer. You will need to
connect the camera to your computer’s USB port to download
photos into your computer.
17 •• 16
Note: TV/VCR manufactures vary. Locate
the audio/video ports on your individual
TV/VCR and insert the video output connector into the Video port.
Page 10
Step 4 On your television, select
the channel for auxiliary video
input (not Ch 3 or 4).
Step 5 Press the Powerbutton
to turn your camera on. Wait
for the indicator light to signal
that the camera is ready.
Step 6 Press to bring up
the camera’s menu screen.
Step 7 Press to select the
TV option.
Step 8 Press OK to view your
photos on TV. To change back
and display photos on the LCD
display of the camera, press OK
on the controller.
Accessing CLEARview
To access CLEARview, you can
double-click on the icon located
on the desktop, or follow the directions below.
Step 1 Click on the Start button.
Step 2 Select Programs.
Step 3 Click on the CLEARview
icon.
The various software that you can
use with CLEARview include:
MGI PhotoSuite III SE – This software
allows you to download photos from
the camera into your computer. It is a
photo editing software which you can
use to edit and enhance your photos.
ArcSoft VideoImpression– This software allows you to capture live
video directly into your computer
so that you can edit the video.
My Camera – Selecting this software
opens a file browser, displaying the photos and recorded video clips stored in
your camera’s CompactFlash memory
card.
QuickTime – This software is a video
player that allows you to play back video
clips on your computer.
Microsoft NetMeeting – This software
allows you to join videoconferencing
sessions on the Internet.
The CLEARview menu screen
appears. You are now ready to
experience DualCam technology.
Next, you will have the opportunity
to work with CLEARview to create
cool projects that you can put to
use at home, work or school.
Fun Things To Do With
PhotoSuite
You can do the following fun things
now with CLEARview and MGI
PhotoSuite III SE:
• Download photos to your
computer.
• Edit or enhance your photos.
• E-mail photos to friends and
family.
• Upload your photos to the
“You’ve Got Pictures” service on
AOL to create an album, and
share the album with family and
friends.
• Create photo layouts, cards and
tags or other fun stuff.
Downloading Photos
You can download photos to your
computer or directly to PhotoSuite
III SE. Make sure the CLEARview
camera is connected to your
19 •• 18
Note: Channels may vary by manufacturer;
refer to your VCR’s operating manual.
Hint : As you view photos on TV, press
to move backward and forward through your
photos.
Shortcut: To begin using the CLEARview
digital camera, double-click on the icon
located on your desktop.
Reminder: Did you take your pictures?
Page 11
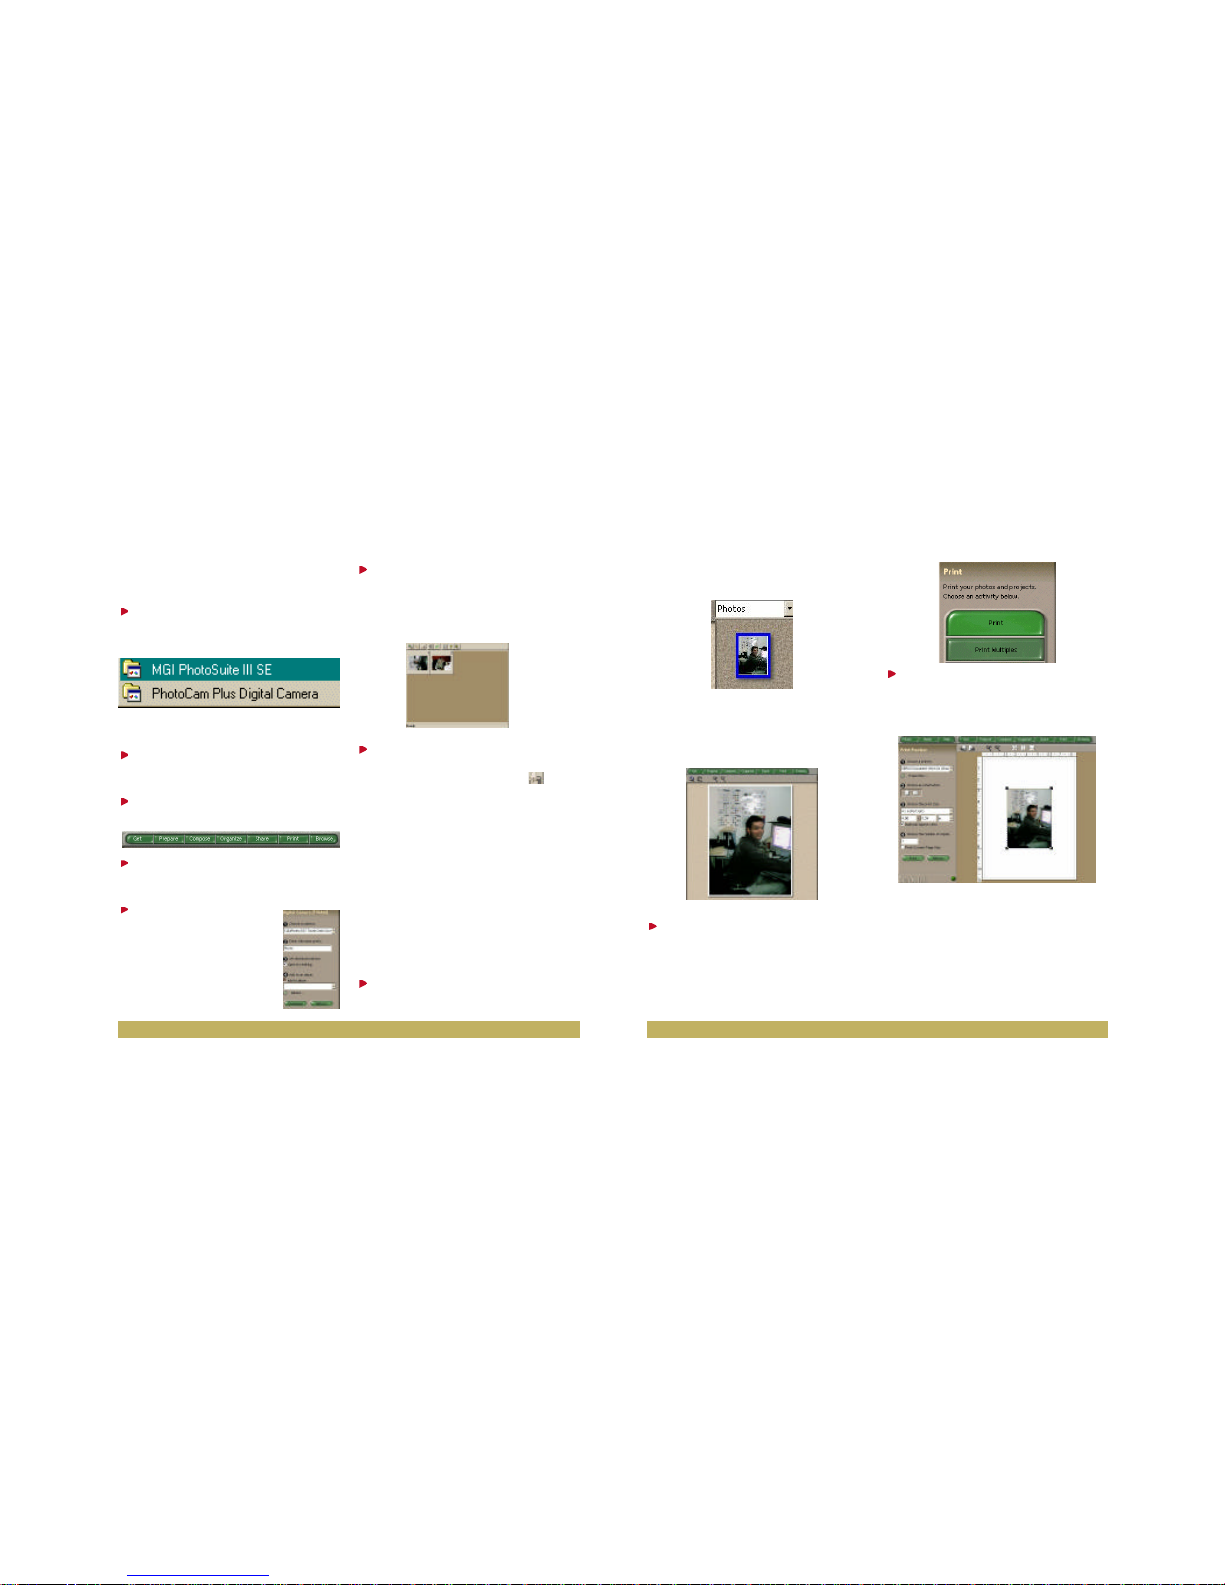
located on the right side of the
PhotoSuite III SE screen.
Notice how your picture is displayed in the center of the screen.
Step 2 Click on the Print button
from the navigation bar.
The print options appear to the left
of the picture.
Step 3 Click on Printin the activity
panel.
This opens the print preview window.
You can modify the picture size by dragging the handles on each corner of the
picture. You can also select a predefined print size.
It is recommended that you choose
a picture print size of 4” x 6” or
computer and you have PhotoSuite
III SE open.
Step 1 Click on the MGI
PhotoSuite III SE option from
the menu.
At the PhotoSuite main screen:
Step 2 Press the Power button
to turn on the CLEARview.
Step 3 Click on Get from the
navigation bar.
Step 4 Click onDigital Camera
TWAIN on the activity panel.
Step 5 Using the pull-
down arrow choose the
camera CLEARview
DSC Twain Data
Source option.
Step 6 Click on the Download
button.
Your photos will begin to appear on
screen in thumbnail view.
Step 7 Double-click on a picture
to download from the thumbnails
or click on the Select All icon
to download all of the photos.
Select Photos from the drop-down
list at the upper right corner of your
PhotoSuite III SE main screen and
your picture(s) will appear below.
Printing your Photos
Once you have downloaded your
photos to PhotoSuite III SE:
Step 1 Double-click on a picture
in the photos album which is
21 •• 20
Page 12
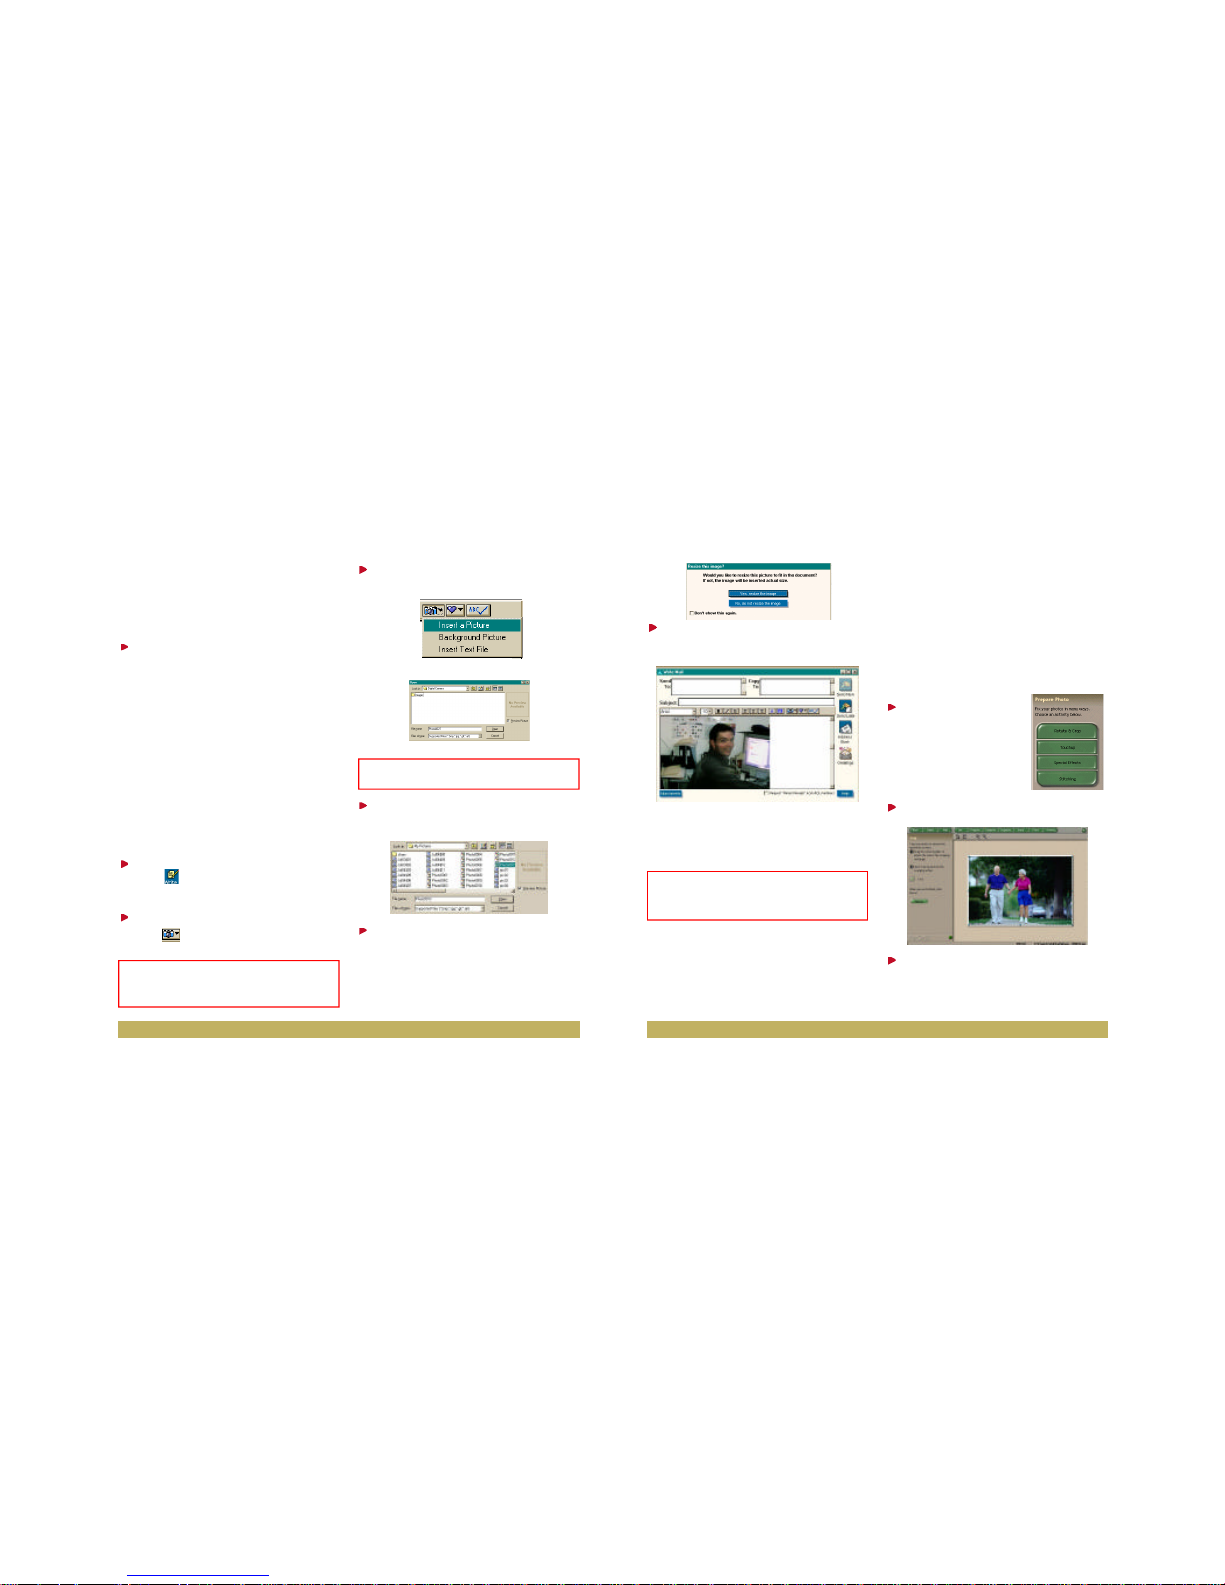
Step 6 Click on Yes, resize this
image.
Now you are ready to add a note,
insert a subject and the recipient
names.
The next section walks you through
fun activities that you can create
using the photos that you have
downloaded from the CLEARview.
Are you ready to work magic on your photos?
Preparing the Photo
Once you get a photo you are
automatically taken to the Prepare
Photo section. Let’s start by cropping our photo.
Step 1 Click on the
Rotate & Crop but-
ton from the Prepare
Photo the activity
panel.
Step 2 Click on the Crop button.
Step 3 Crop the photo to remove
any unwanted areas by dragging
the resize handles to adjust the
cropping rectangle. A dotted line
smaller for the highest quality printing. Anything larger than 4” x 6”,
and the chance for image quality
reduction is increased.
Step 4 Click on the Print button
located below Step 4 on the
activity panel.
Follow your printers’ procedures to continue printing.
AOL E-mail Photos to Family
and Friends
Before moving onto the projects
section, let’s e-mail our picture to
family and friends.
Step 1 Click on the AOL Write
icon.
Step 2 Click on the Insert a Picture
icon.
Step 3 Click on Insert a Picture
from the drop-down list.
The Open screen appears.
Step 4 Double-click on the
My Pictures folder
Step 5 Double-click on the
desired photo.
The Resize this image?screen
appears.
23 •• 22
Reminder: This example uses the AOL
service and you must be signed on to the
service to continue.
Reminder: The photos were downloaded to
C:\My Pictures.
Reminder: If sending to a non-AOL member, you must send the photo as an attachment to the e-mail message.
Page 13
bitmap (BMP). JPEG images give
a good balance between image
quality and file size and are ideal
for online use.
Step 4 Click on the Save button.
If you have multiple photos of one
topic such as Grandparents, you
can create an album.
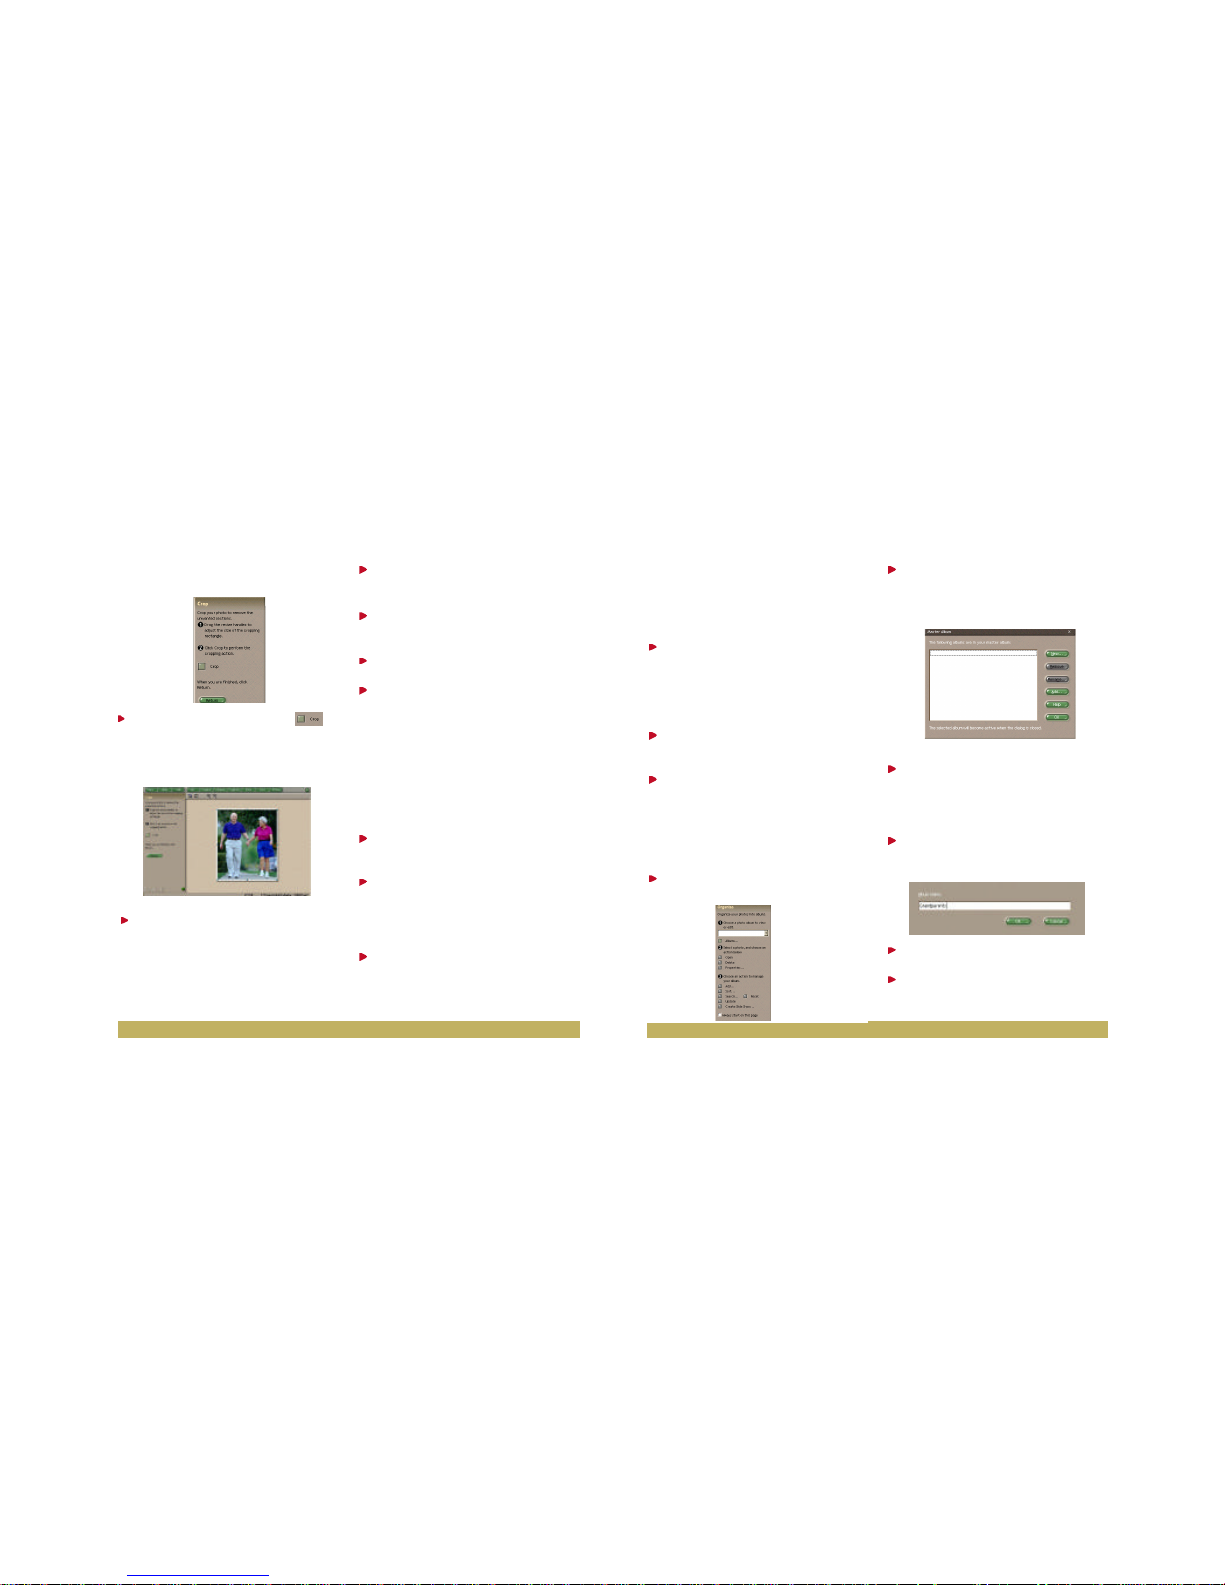
Step 5 Click on File from the
menubar.
Step 6 Click on Close All from
the drop-down menu.
Creating a Photo Album
To create an album:
Step 1 Click on the Organize
button on the navigation bar.
Step 2 Click on the Albums
button on the activty panel.
The Master Album screen appears.
Step 3 Click on New to create an
album.
The New Album screen appears.
Step 4 Type in a name for the
album such as “Grandparents.”
Step 5 Click on OK.
Step 6 Click OK to close the
Master Album screen.
shows the new area to be
cropped.
Step 4 Click on the Crop
button.
The newly cropped photo appears.
Step 5 Click on the Return button.
Since we have cropped the photo,
let’s prepare to touchup.
Step 1 Click Touchup on the
activity panel.
Step 2 Click on the Enhance
button.
Step 3 Click on the Apply button.
Step 4 Click on the Return
button.
Now that the photo has been
cropped and enhanced, let’s prepare to save the photo with a new
name.
Saving Photos
Step 1 Click on Share from the
navigation bar.
Step 2 Click on Save As from
the Activity panel.
The Save Photo dialog box appears.
Step 3 Type in the new name for
the photo (strolling.jpg). The
file will save as a JPEG file.
JPEG is an image file type like
25 •• 24
Page 14
Step 13 Click on Return when
you have finished adding photos
to the album.
Once back at the Organize activity
panel, you can turn that album into
a slide show.
Step 14 Click on the Create
Slide Show button.
The Create Slide Show activity
panel appears.
The Grandparents album is visible.
Step 15 Click on the Select All
button.
Step 16 Click on the pull-down
arrow to choose a transition.
Let’s choose Mosaic.
Step 17 Click on the Create button.
The New Slide Show screen
appears.
Step 18 Type in the name for
your slide show such as
“Grandparents on the move”.
Notice how the album
name appears in the
activity panel on the
left side of the screen.
That wasn’t too difficult.
Now that you have an
album, let’s add the photos.
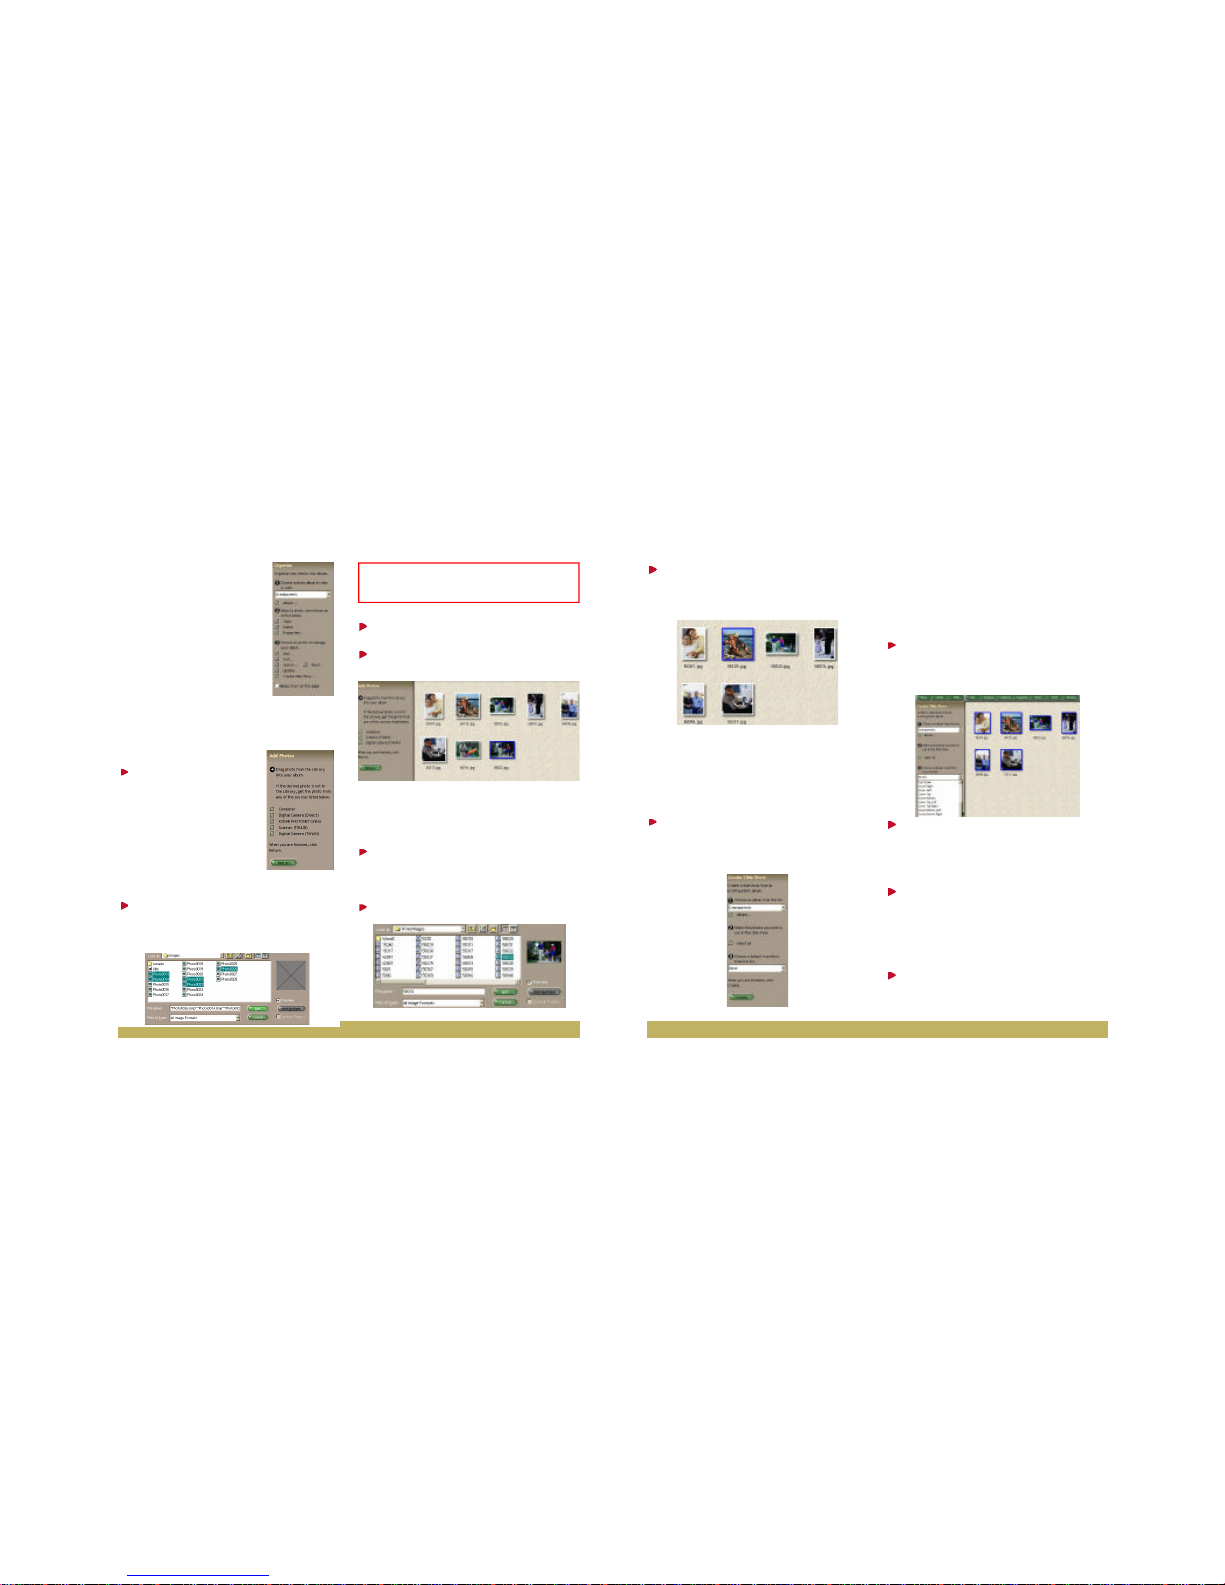
To add photos:
Step 7 Click on the
Add button located
under option 3 on
the Organize activity
panel. The Add
Photos activity panel
appears.
Step 8 Click on Computer. The
Add Photo to Album screen
appears.
Step 9 Click on on a file.
Step 10 Click on Add.
If you want to add more than one
photo at a time to the album.
Step 11 Click on the photos
while pressing the Ctrl key on
the keyboard.
Step 12 Click Add.
27 •
• 26
Reminder: The photos were downloaded to
C:\My Files\My Documents\My Pictures.
Page 15
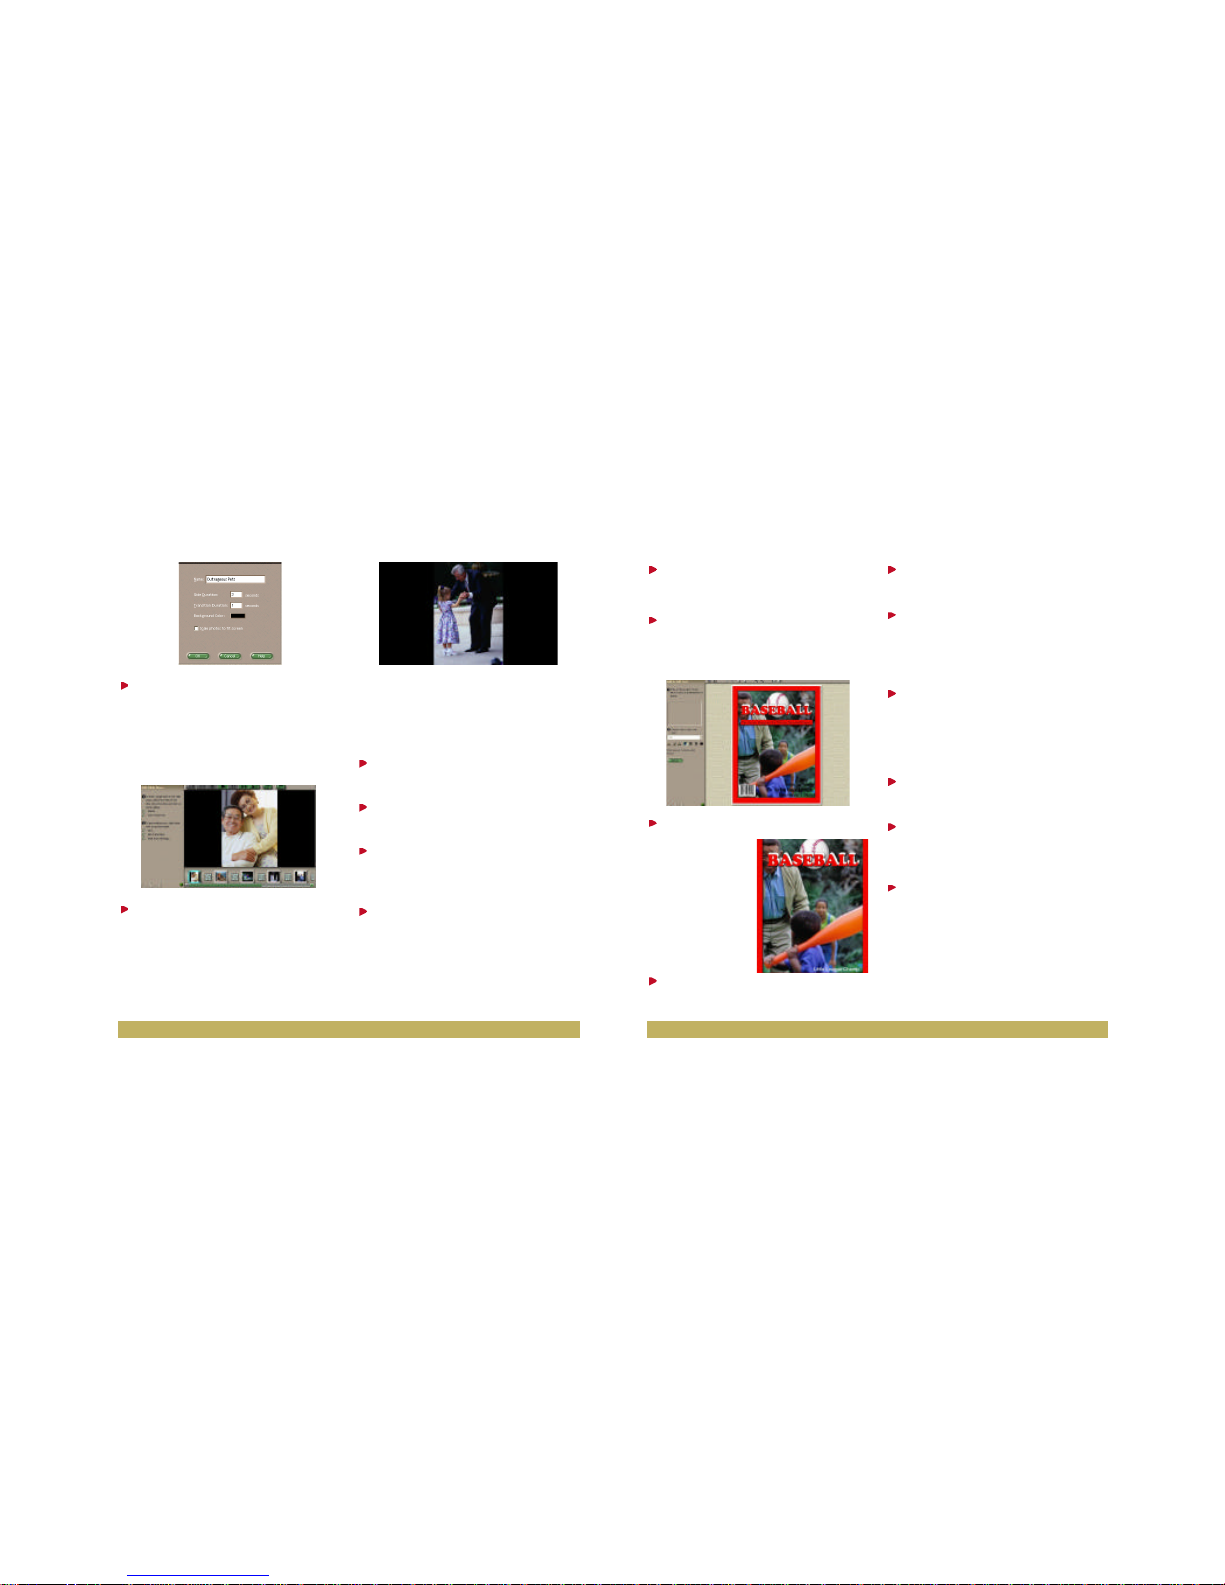
Step 5 Click and drag a photo
from the library to the shape.
Step 6 Click on Add/Edit Text.
The add/edit text activity panel
appears.
Step 7 Click on the picture.
Notice that the
text appears on
the photo.
Step 8 Type a note such as
“Little League Champ”.
Step 9 Change the font, style
and color.
Step 10 Notice how the text has
a blinking box around it, click and
drag the text to the desired
location on the photo.
Step 11 Click Return.
Let’s go ahead and save our photo.
Step 12 Click on Share from the
menubar.
Step 13 Click on Save As.
The Save As screen appears.
Step 14 Type in a file name such
as “littleleague.jpg”. Save the
file as a JPEG, so you can email
the photo to family and friends or
upload it to the “You’ve Got
Pictures” service.
Step 19 Adjust the slide duration,
transition duration and back
ground, then click OK.
The Edit Slide Show screen appears
where you can edit a slide or modify a
transition.
Step 20 Click Play icon to view
the slide show.
Whew! What a cool program. We’re
not finished yet. Let’s take a closer look
at the Compose feature and add a
frame and text to our photo.
Step 1 Click on Fun Stuff on
the Compose activity panel.
Step 2 Click on Magazine
Covers.
Step 3 Click on the pull-down
arrow to choose Sports and
Leisure.
Step 4 Click on the Next button.
The Compose activity panel
appears so that you can add text,
props, photos or objects.
29 •• 28
Page 16
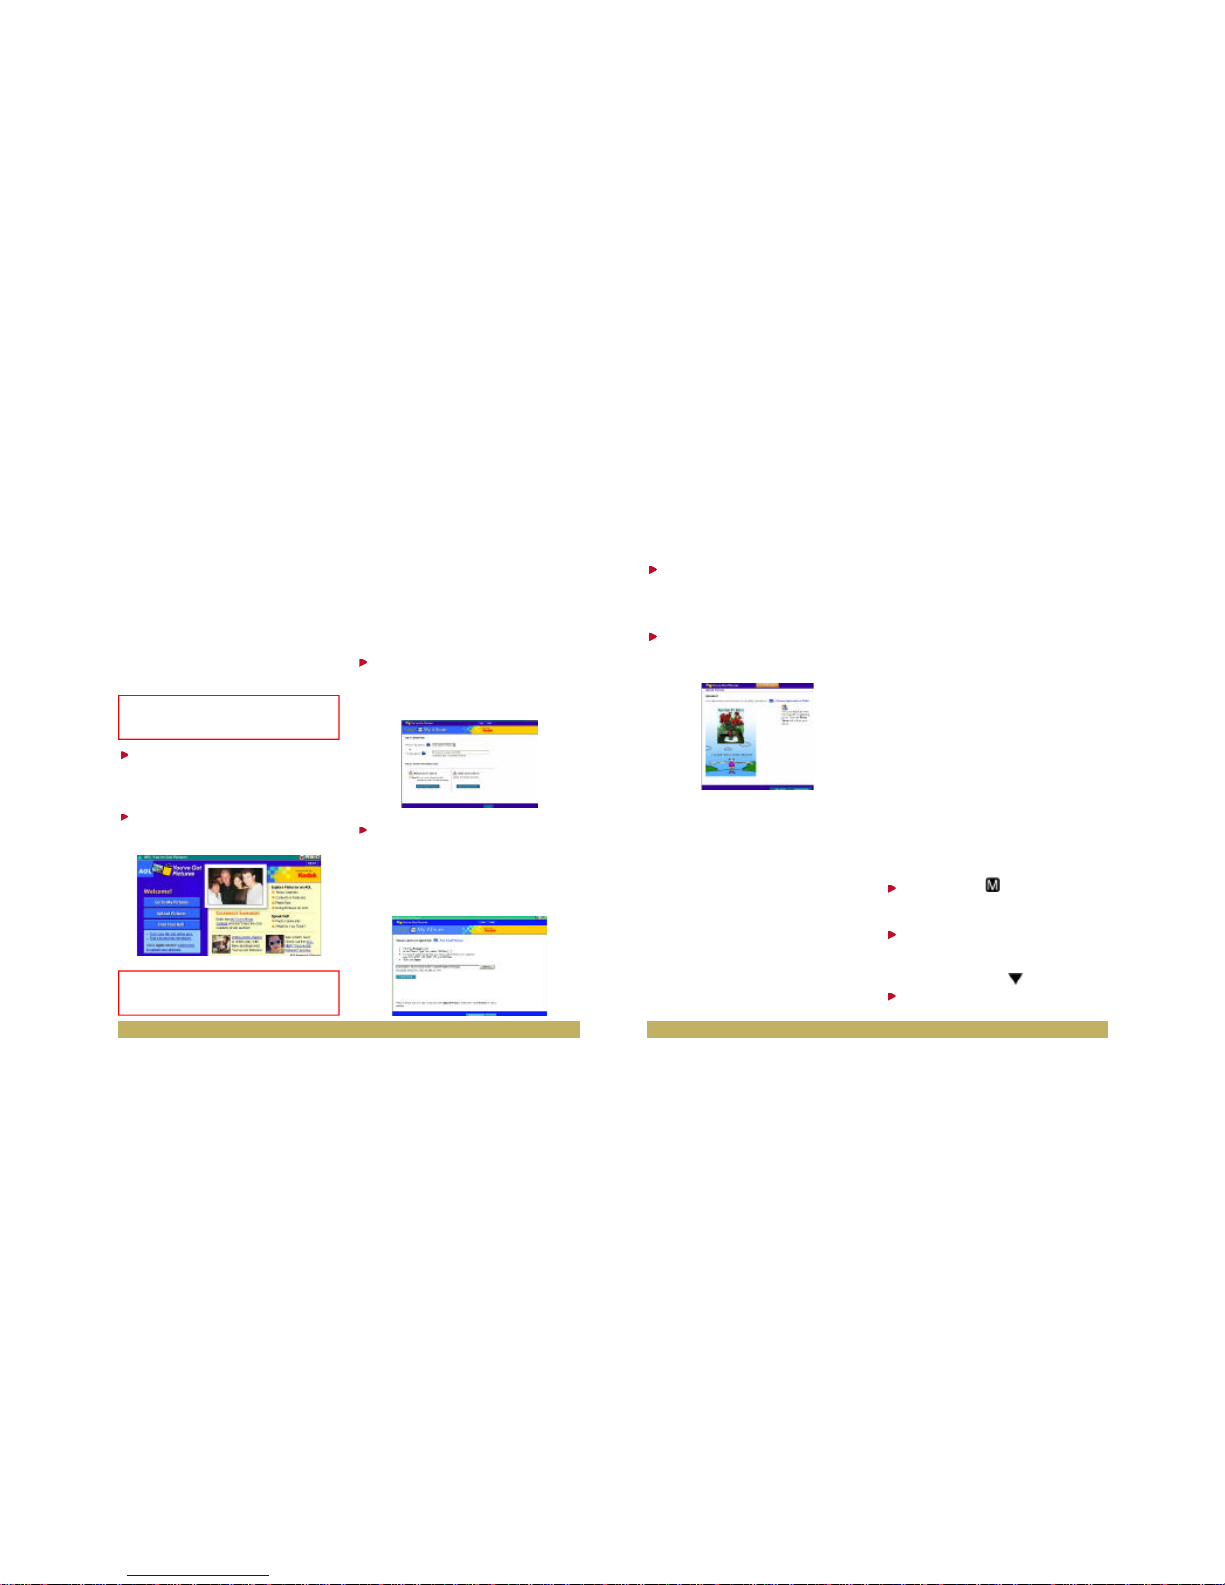
Step 5 Click on the Browsebut
ton to view thumbnails of your
images and locate your photo.
Step 6 Click on the Upload
Picture(s) button. Your photo is
now stored online.
You can customize your photo
album by adding a title, captioning
your photos, and choosing a background, color, and layout.
Using the CLEARview
as a WebCam
Aside from taking photos, the digital camera can also function as a
PC camera.
You can use your camera to set up
or join video-conferencing sessions
on the Internet. When functioning
as a PC camera, your camera also
lets you capture video so you can
edit or enhance your video clips
through the VideoImpression software.
Recording Video
You can use the CLEARview as a
digital camcorder to record video
wherever you go. This camera will
store the video files as movies
playable in the QuickTime player.
To begin recording, place the camera in video record mode.
Step 1 Press to bring up the
main menu.
Step 2 With the camera setup
option selected on the menu,
press OK on the controller.
Step 3 Press the to the
Capture option, then press OK.
“You’ve Got Pictures” on AOL
Did you know that you could
upload photos to the “You’ve Got
Pictures” service? “You’ve Got
Pictures” provides an easy, convenient solution to store and share
your pictures online.
Step 1 Click on the “You’ve Got
Pictures” logo from the AOL
Welcome screen.
Step 2 Click on the Upload
Pictures button.
AOL members get free storage space
for their photos. You can upload photos
to your free storage slots so they won’t
take up valuable room on your hard
drive.
Step 3 Type in a name for your
album. You can upload to an
existing album or create a new
one.
Step 4 Click on the upload tool.
You can upload multiple pictures
at once, or a single picture at a
time. For this exercise, click on
the Upload Single Picture button.
31 •• 30
Reminder: You must be signed on to the
AOL service to continue with this part of the
exercise.
Note: If you already have photos in “You’ve
Got Pictures”, click on the Go To My
Pictures button.
Page 17
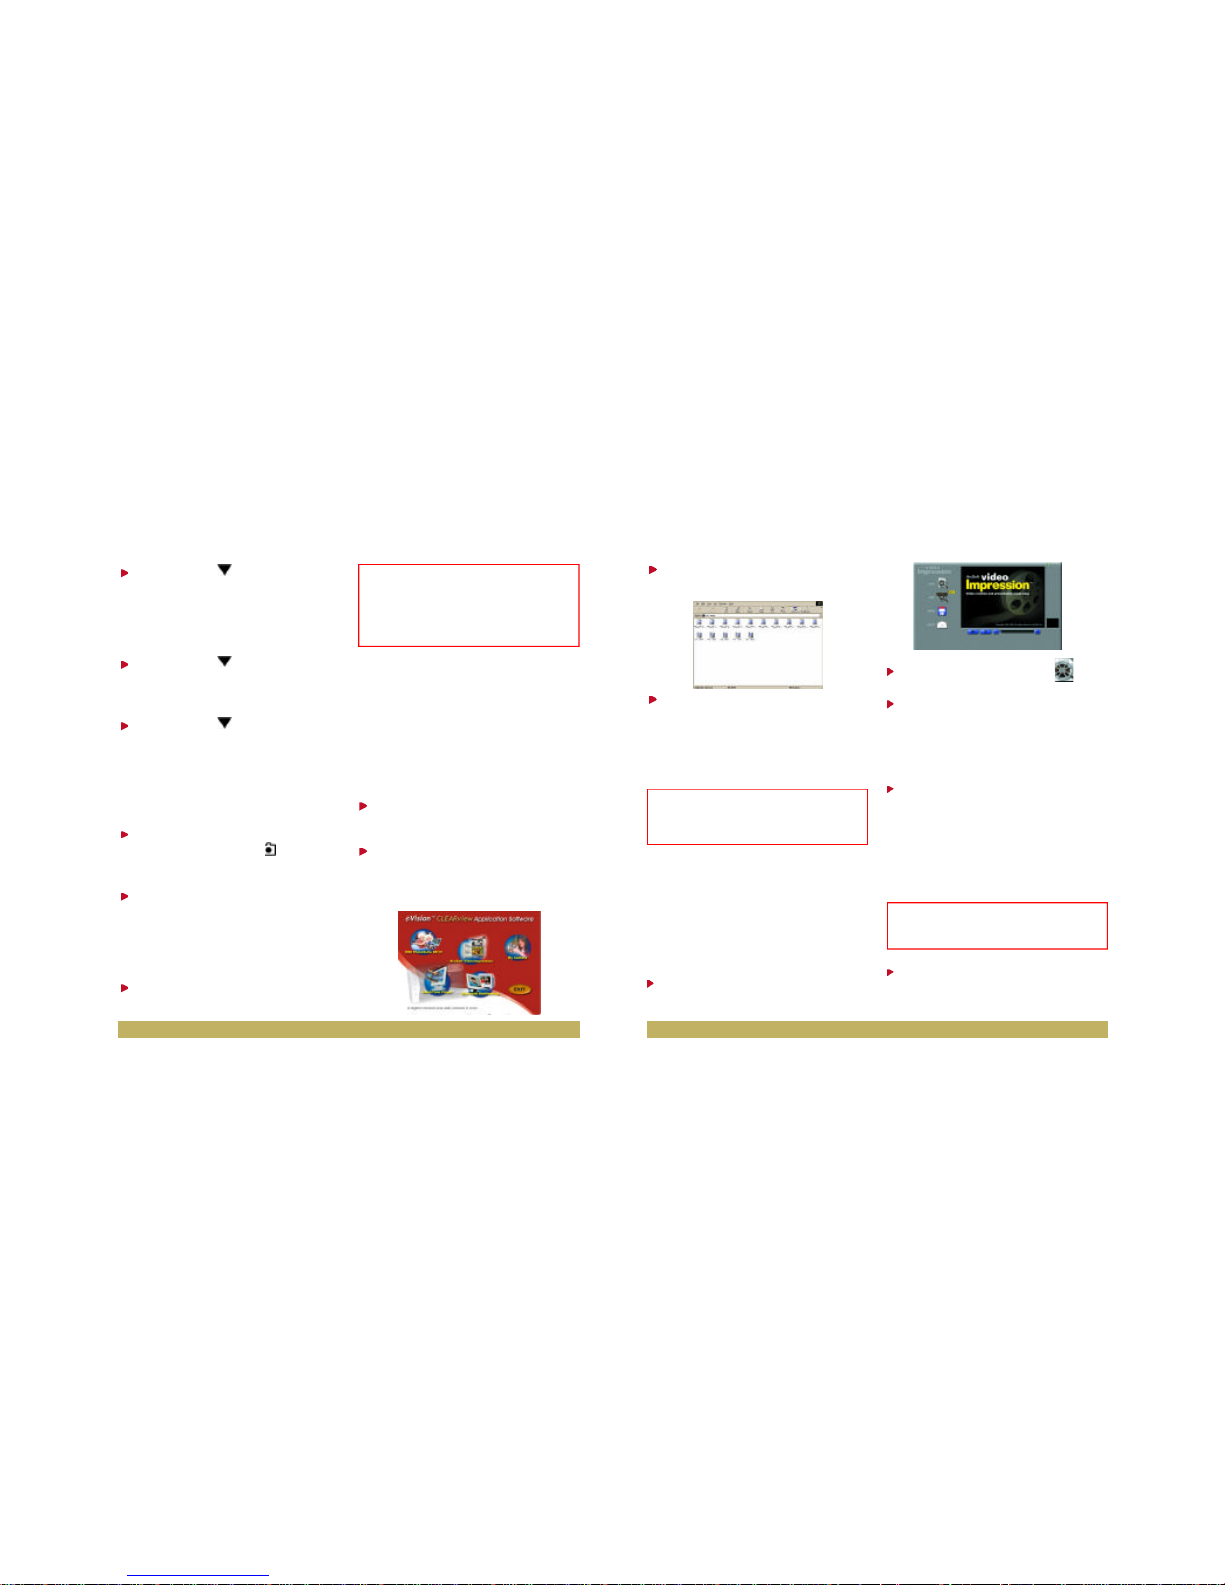
Step 3 Click on My Camera. The
My Camera window appears.
Step 4 To transfer the video
clips, select a clip(s) and
copy them to a folder on your
hard drive. To begin playing a
video clip, double-click on the file
name.
The next section will explain how to
edit your clips in ArcSoft
VideoImpression.
Using ArcSoft Video
Impression
Step 1 Click on ArcSoft Video
Impression from the menu.
Step 2 Click on the New icon.
Step 3 Click on the Capture
icon.
The video capture window appears.
Step 4 Click on the Record
button. Smile, look into the
camera and begin speaking.
For example, “ Hi kids, check out
your dad. “
Step 5 Click on the Pause
button.
Step 4 Press to change
the setting to the Video option,
then press OK. A “video”
icon will appear on the LCD
Display.
Step 5 Press to the Save
option, then press OK to return
to the Main menu.
Step 6 Press to the Done
option, then press OK to close
the menu screen.
Now you can start recording short
video clips with the camera.
Step 7 If the camera is not in
Record mode, press
to switch modes.
Step 8 Press and hold down the
Shutter Release button as you
record video. You will see a live
view of the subject or scenes in
the LCD Display.
Step 9 To stop recording, release
the Shutter Release button.
Using My Camera to
Transfer Video Clips
Now that you have a short video, you
can transfer it to your computer. You can
use the My Camera software to
transfer the video clips to your
computer.
Step 1 Connect the camera to
the USB port on your computer.
Step 2 Double-click on the
CLEARview icon located on the
desktop. The software menu
appears.
33 •• 32
Note:The camera can keep recording until
about 90% of the space on your Compact
Flash card is full. Each minute of video is
approximately 1.3MB in size. Remember to
hold down the Shutter Release button to
take longer clips.
Note: My Camera also displays the photos
stored in the memory card. You can select
photos in the My Camera window and copy
them to your hard disk.
Tip: If sending a video through e-mail, it is
recommended to keep the file size smaller
than 3 MB.
Page 18
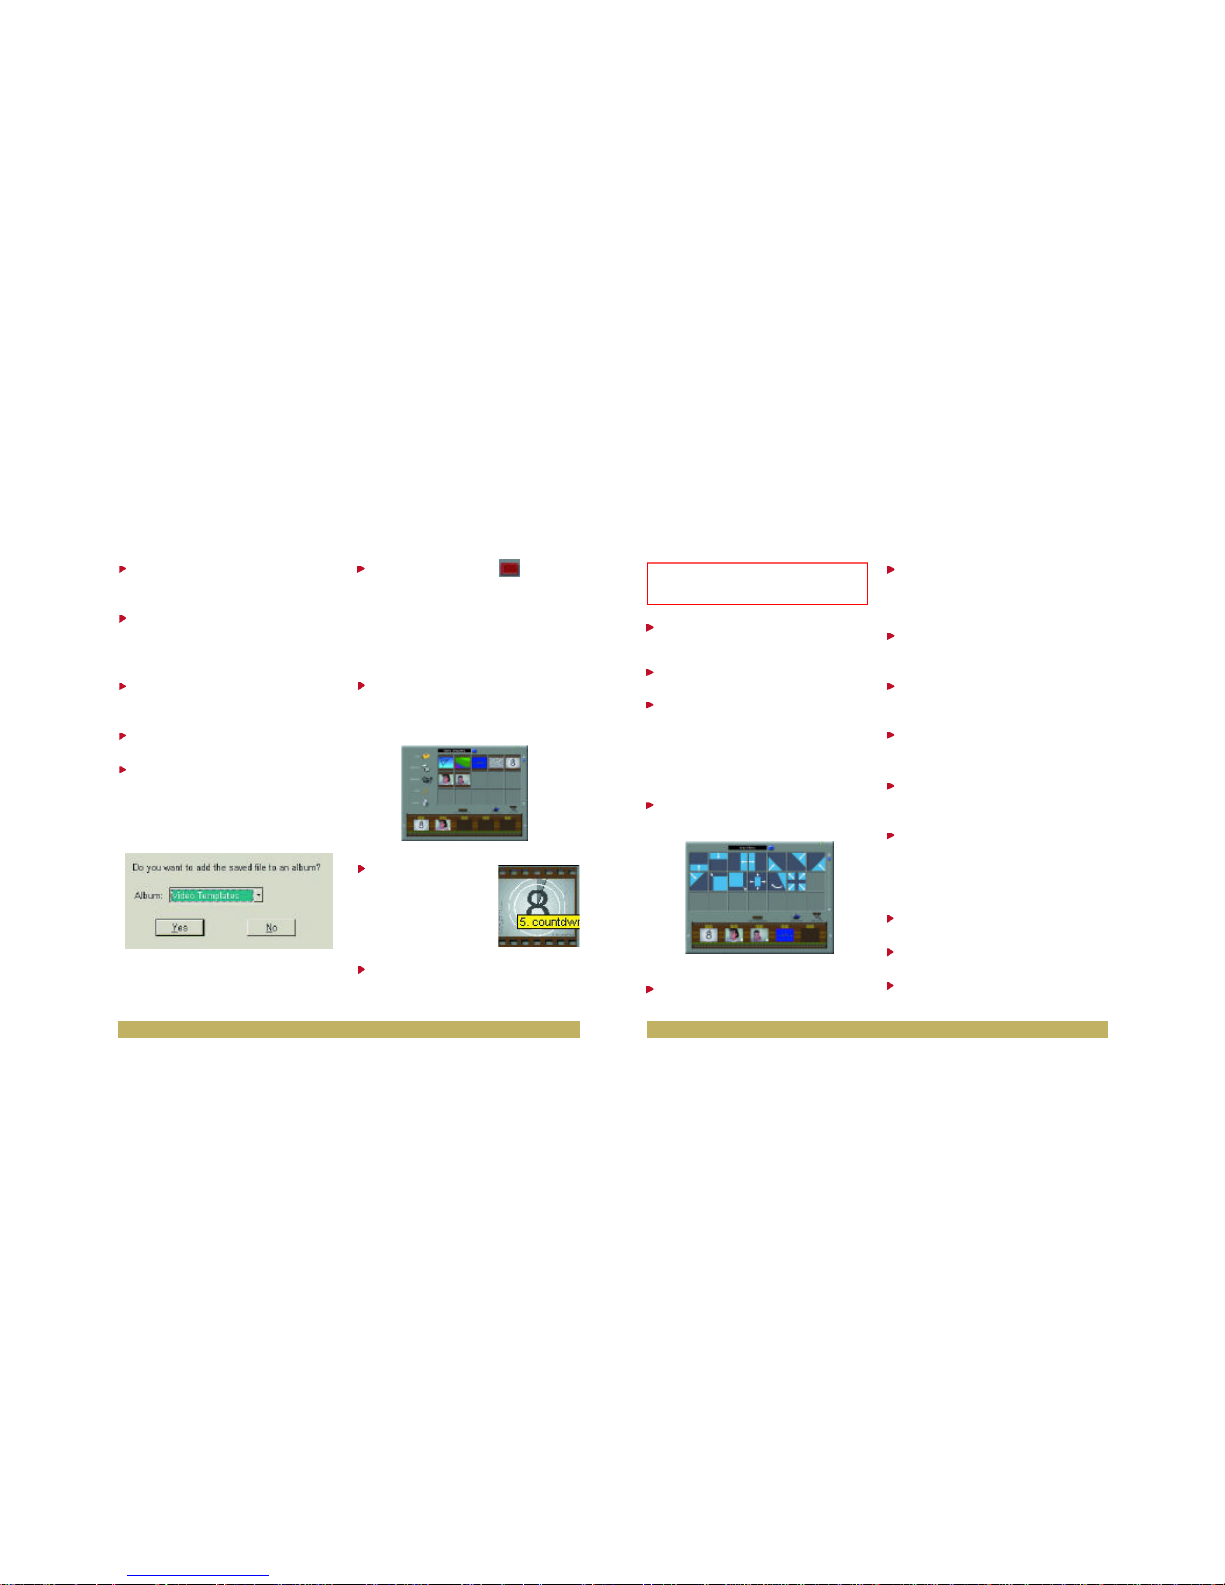
Step 15 Click on the Play movie
icon.
Step 16 Click on the Play button.
Step 17 Click on the Edit icon.
You can add transitional effects
between video clips, text, titles and
modify durations.
Step 18 Click on the Transitions
icon.
Step 19 Click on Fancy Effects
from the drop-down list.
Step 20 Click on a transition
such as the third one in from the
left, “Curtain Down.”
Step 21 Click on the Add to
Storyboard icon.
Step 22 Click on the Play
Movie icon.
Step 23 Click on the Play button
to preview the movie.
Step 24 Click on the Save
button once your video is complete.
Step 25 Type in a name for the
video file.
Loading Recorded Video Clips
Step 1 Click on the New icon.
Step 2 Click on the Get icon.
Step 3 Choose a location on the
hard drive and select clip.
Step 6 Click on the Play button
to preview your video.
Step 7 Click on the Saveicon.
The Save As screen appears.
Step 8 Type in a name for your
video such as, “Dad.avi.”
Step 9 Click on Save.
Step 10 Change the Album to
Video Templates and click Yes
on the Add to Album screen.
This will add your video to the
video template album.
You can now email this video file to
your family.
Step 11 Click on the Album
icon.
You will see your video displayed
as a small thumbnail image on the
video template screen.
Step 12 Click on the down
arrow to the right of Still Image
Templates and select Video
Templates.
Step 13 Click and
drag the video tem plate countdown.avi
to the storyboard.
Step 14 Click and drag your video
from the template to the storyboard.
35 •• 34
Hint: Click on the video in the template and
then click on the Add to Storyboardicon.
Page 19

For additional information on
Microsoft NetMeeting, please refer
to the NetMeeting Help file. The
NetMeeting Help file can be
accessed by clicking on Help then
Help Topics.
System Requirements
• Pentium 166 MHz or faster PC
compatible computer
• Microsoft Windows 98/Me/XP
• 32 MB RAM
• 300 MB Hard drive space
• Available USB port
• CD-ROM drive
Technical Specifications
• 1.3 megapixel Interpolated
Resolution (1280 x 960) with true
optical resolution of 640 x 480
• 8MB External Compact Flash
memory card
• 1.8” Color LCD for instant viewing
of photos
• TopLEDscreen for camerasettings
• Built-in Flash – Auto Exposure
• Video Out to TV/VCR
• PC USB cable and connection for
easy uploading and video to your PC
• Easy to use Photo Editing and PC
Camera Software
Frequently Asked
Questions
Q: Why does the installation pro-
gram tell me I can't install
NetMeeting?
A: Windows 2000 users require a
special version of NetMeeting,
which should already be installed.
Q: Why does MGI PhotoSuite III
SE tell me I can't install the
program because my display
settings are wrong?
37 •
Step 4 Click on the Openicon.
Step 5 Double-click on an image
in the Video Template.
Using Windows
NetMeeting
Did you know that the CLEARview
is capable of being used as a web
camera for videoconferencing? To
use this feature, you will need to
access Microsoft NetMeeting.
When using the CLEARview along
with a video conferencing software
such as Microsoft NetMeeting, you
can communicate with others over
the Internet or local Intranet.
Step 1 Make sure the CLEARview
software is closed, then click on
the Start button.
Step 2 Select Programs.
Step 3 Click on the NetMeeting
icon.
When you want to initiate a video
conference call with another person,
type in the email address or phone
number of the individual you are calling.
Both parties must have NetMeeting
and MSN Messenger or another
compatible software, in addition to
a web camera.
Step 1 Type in the address.
Step 2 Click on the Place a
Call icon.
• 36
Please follow the NetMeeting instructions
closely for correct usage. For assistance on
NetMeeting, please use the NetMeeting help
button or go to http://support.microsoft.com.
Reminder: During installation of the Camera
Software Suite, Microsoft NetMeeting was installed
onto your computer.
Reminder: The clip must be copied to your
hard drive from My Camera. Refer to Using
My Camera to Transfer Video Clips section
on page 32.
Page 20

also a dial. While looking at the
back of the camera, if you turn
the dial all the way clockwise for
close-up shots and all the way
counter-clockwise for normal to
distant shots. Using a tripod to
steady the camera may also
help.
Q: What are the best and longest-
lasting batteries I can get commercially for digital cameras?
A: Nickel Metal Hydride (NiMH)
batteries have been tested to
give the best performance in
digital cameras and other high
energy drain electronics. These
batteries are rechargeable and
require a special charger.
Q: How do I find out more about
the various software programs
I’m using?
A: Please refer to the Help files in
each programs.
Next Steps
Now that you are familiar with the
CLEARview capabilities, visit other
AOL Keywords for more ways to
enhance your online and offline
photo experience.
AOL Shop Direct – for your
digital imaging peripherals,
software and more.
AOL Hometown – to create your
own personal web page to share
with family and friends.
Groups@AOL - to create your own
personal area where you can post
photo collections, private messages, and share calendar of
events.
Pictures – to upload and share
your photos using the “You’ve Got
Pictures” service.
39 •
A: If your monitors resoltion is too
low, you will need to change it
by going to the Windows Start
button > Settings > Control
Panel >Display > Settings tab
> and change the first screen
size to at least 800X600resolu-
tion. Next, change the colors to
at least High Color (16 bit),
more for richer color.
Q: I want to be able to take more
pictures or store really long
video clips, what kind of
CompactFlash card should I
upgrade to?
A: The CLEARview supports up to
a 32 MB CompactFlash card,
which will give you close to 500
pictures and over 20 minutes of
video. AOL Shop Direct carries
a selection of cards approved
for the CLEARview camera.
Q: Does the quality setting affect
video?
A:Yes.
Q: I accidentally removed some of
the software from my computer,
do I have to install everything
again?
A:No, the CLEARview install
screen allows you to choose
and install the individual programs. Simply deselect the
default install all option and
select just the one you need.
Q: When I use the flash close-up, I
get a lot of glare in my pictures.
A: The CLEARview's flash is best
used within its optimal range,
between 1 and 2.5 meters.
Q: Why does my picture look blurry
or out of focus?
A: Make sure the focus is set prop-
erly. You may have noticed the
rim around the camera lens is
• 38
Page 21

41 •
With the CLEARview Digital Camera, you
can upload, create, edit, share and send photos
online to friends and family.
For additional accessories for the CLEARview Digital
Camera on AOL go to AOL Keyword: Camera Shop,
click on CLEARview Camera Support and you will see
additonal accessories available such as:
• CLEARview AC Power Adapter
• 8MB, 16MB, and 32MB capacity CompactFlash
memory cards for increasing photo storage capability
• Camera Cases
• Batteries and more
You may also go to AOL Keyword: Shop Direct, for additional
digital cameras, storage, memory and accessories.
• 40
We want you to receive the most from the
CLEARview digital camera and we have created an
online site to assist you with more information.
Need Help?
For technical assistance or tips on AOL, go to AOL Keyword:
Camera Shop
For software assistance on MGI PhotoSuite III SE,
call 1-888-644-7638.
For software assistance on ArcSoft VideoImpression, call
510-440-9901 or email [email protected].
For phone assistance on the Clearview digital camera,
call 1-888-935-0353 Monday through Friday from
9:00AM - 5:00PM Pacific Time.
© 2001 America Online. All rights reserved. eVision and the eVision logo are trademarks of America Online.
All other product names are trademarks or registered trademarks of their respective trademark holders.
Page 22

43 •• 42
Notes Notes
Page 23
 Loading...