

EverFocus EQ610s, Polestar III User Manual
EQ610s
Indoor Box Camera
700TVL, True Day/Night, Super Low-Light, D-WDR
User’s Manual V2.1
* Lens not included.
Copyright © EverFocus Electronics Corp,
Release Date: January, 2013

i
CAUTIONS
1. Do not install the camera near electric or magnetic fields.
2. Never disassemble the camera beyond the recommendations in this manual
nor introduce materials other than those recommended herein.
3. Try to avoid facing the camera toward the sun.
4. Keep the power cable away from water and other liquids and never touch
the power cord with wet hands.
5. Never install the camera in areas exposed to oil, gas or solvents.
6. Do not operate the camera beyond the specified temperature or humidity.
Use the camera at temperatures within -10°C~50°C (14°F~122°F) and
humidity between 20%~ 80%; this device is not rated as submersible.
7. The input power source is 12 VDC / 24 VAC~ or 90-260 VAC~.

EQ610s
1
1. INTRODUCTION
The EverFocus Polestar III-series EQ610s box camera features an incredible
700TVL resolution in full color with a low-light sensitivity of 0.03 lux. Delivered
by Sony EXview HAD CCD II 960H sensor, the camera also features the added
benefits of advanced Effio-S DSP technology to enhance image quality. This
camera also utilizes technologies like 3DNR (to reduce recording file sizes and
thus conserve DVR HDD space), Digital Slow Shutter (to display images in very
low-light by enabling super high-light sensitivity of up to 0.00006 lux), Digital
Wide Dynamic Range, Day/Night mode switching, Digital Image Stabilizer,
Privacy Masking, Motion Detection, 256x Digital Zoom, Mirroring, and etc.
1.1 FEATURES
• 700TVL image quality with Sony 1/3” EXview HAD CCD II 960H sensor
• Starlight super-high sensitivity of 0.00006Lux/F=1.2 is achieved by Digital
Slow Shutter (Sens-Up 512x)
• The Sony Effio-S platform performs advanced camera functions and delivers
excellent picture quality
• True Day/Night function with ICR module
• Supports 3D & 2D Noise Reduction
• High sensitivity, low smear, high anti-blooming and high S/N ratio for
high-performance video
• Easy-to-use OSD setup menu
• D-WDR functions enabled by Sony Extended ATR technology
• Supports Back Light Compensation (BLC), High Light Compensation (HLC),
Auto Electronic Shutter (AES), Auto Gain Control (AGC), Auto White Balance
(AWB), Digital Image Stabilization, Digital Zoom, Motion Detection and
Privacy Mask functions
• Provide control interfaces: RS-485, D/N In, D/N Out and Motion Alarm Out
1.2 PACKAGE CONTENTS
•
1 x Camera Unit
•
1 x Mounting Bracket
•
1 x User’s Manual
•
1 x C-mount Adaptor
•
1 x Accessory Pack with Screws
•
1 x Power Cable Pigtail (only for
12 VDC / 24 VAC~ model)
EQ610s
2
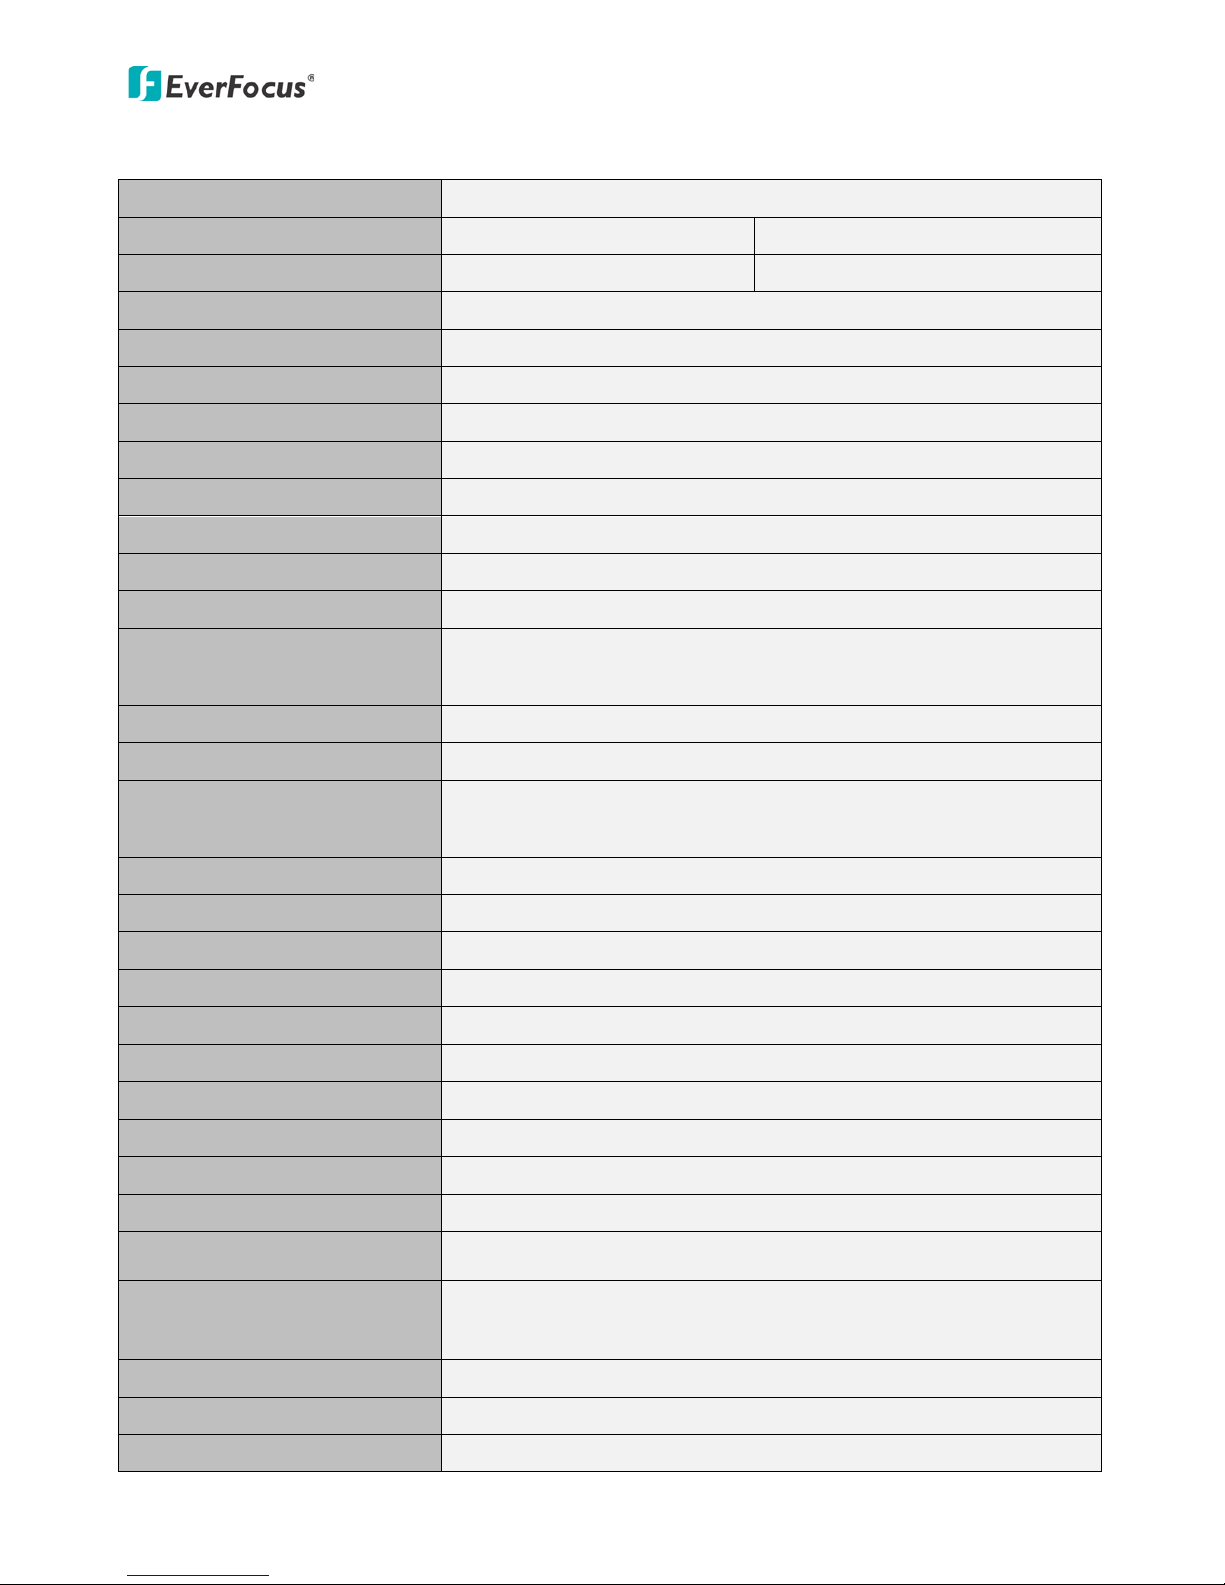
1.3 SPECIFICATIONS
Pickup Device
1/3" Sony 960H EXview HAD CCD II
Video Format
NTSC
PAL
Picture Elements (H x V)
1020 x 508
1020 x 596
Horizontal Resolution
700TVL
Sensitivity
0.03 Lux / F1.2; 0.00006 Lux / Sens-up 512x
S/N Ratio
Over 52dB (AGC off)
Video Output
1.0Vp-p Composite, 75Ω ; BNC
Gamma Correction
0.45
Lens Type
C/CS Mount (Lens sold separately)
High Light
ON / OFF / AUTO
Auto Electronic Shutter
1/60(50) ~ 1/100,000 sec.
Auto Gain Control
0~200 Levels adjustable
Auto White Balance
ATW / AWB / 3200K / 6300K / ANTI CR / PUSH LOCK
/ MANUAL
Sync. Mode
Internal
Day & Night Mode
External / Auto / DN IN / Color / B&W
OSD Menu
OSD Control (English / Simplified Chinese /
Traditional Chinese)
DNR
3DNR: OFF / ON / MIDLOW / MID / MIDHIGH / HIGH
D-WDR (Extended ATR)
OFF / BLC / WDR
Digital Slow Shutter
Sens-Up ~512x
Digital Image
Yes
Digital Zoom
Yes
RS-485 Control
Yes
Digital I/O Control D/N In ; D/N Out ; Motion Alarm Out
Mirror
Normal / Vertical / Mirror / Rotate
Motion Detection
On / Off for 24 x16 Detection Zone Blocks
Privacy Mask
On / Off for 8 Zones Programmable, Mosaic
Power Source Two types: 90-260 VAC~ or 12 VDC / 24 VAC~
Power Consumption
12 VDC / 24 VAC~: 2.4W max.
90-260 VAC~: 4W max .
Operating Temperature
-10˚C~50˚C / 14˚F~122˚F (20%~ 80% humidity)
Dimensions (W x D x H)
68x56x120mm / 2.6”x2.2”x4.7”
Weight
300g / 0.66lbs
EQ610s
3
2. CAMERA OVERVIEW
2.1 NAMES AND FUNCTIONS OF PARTS
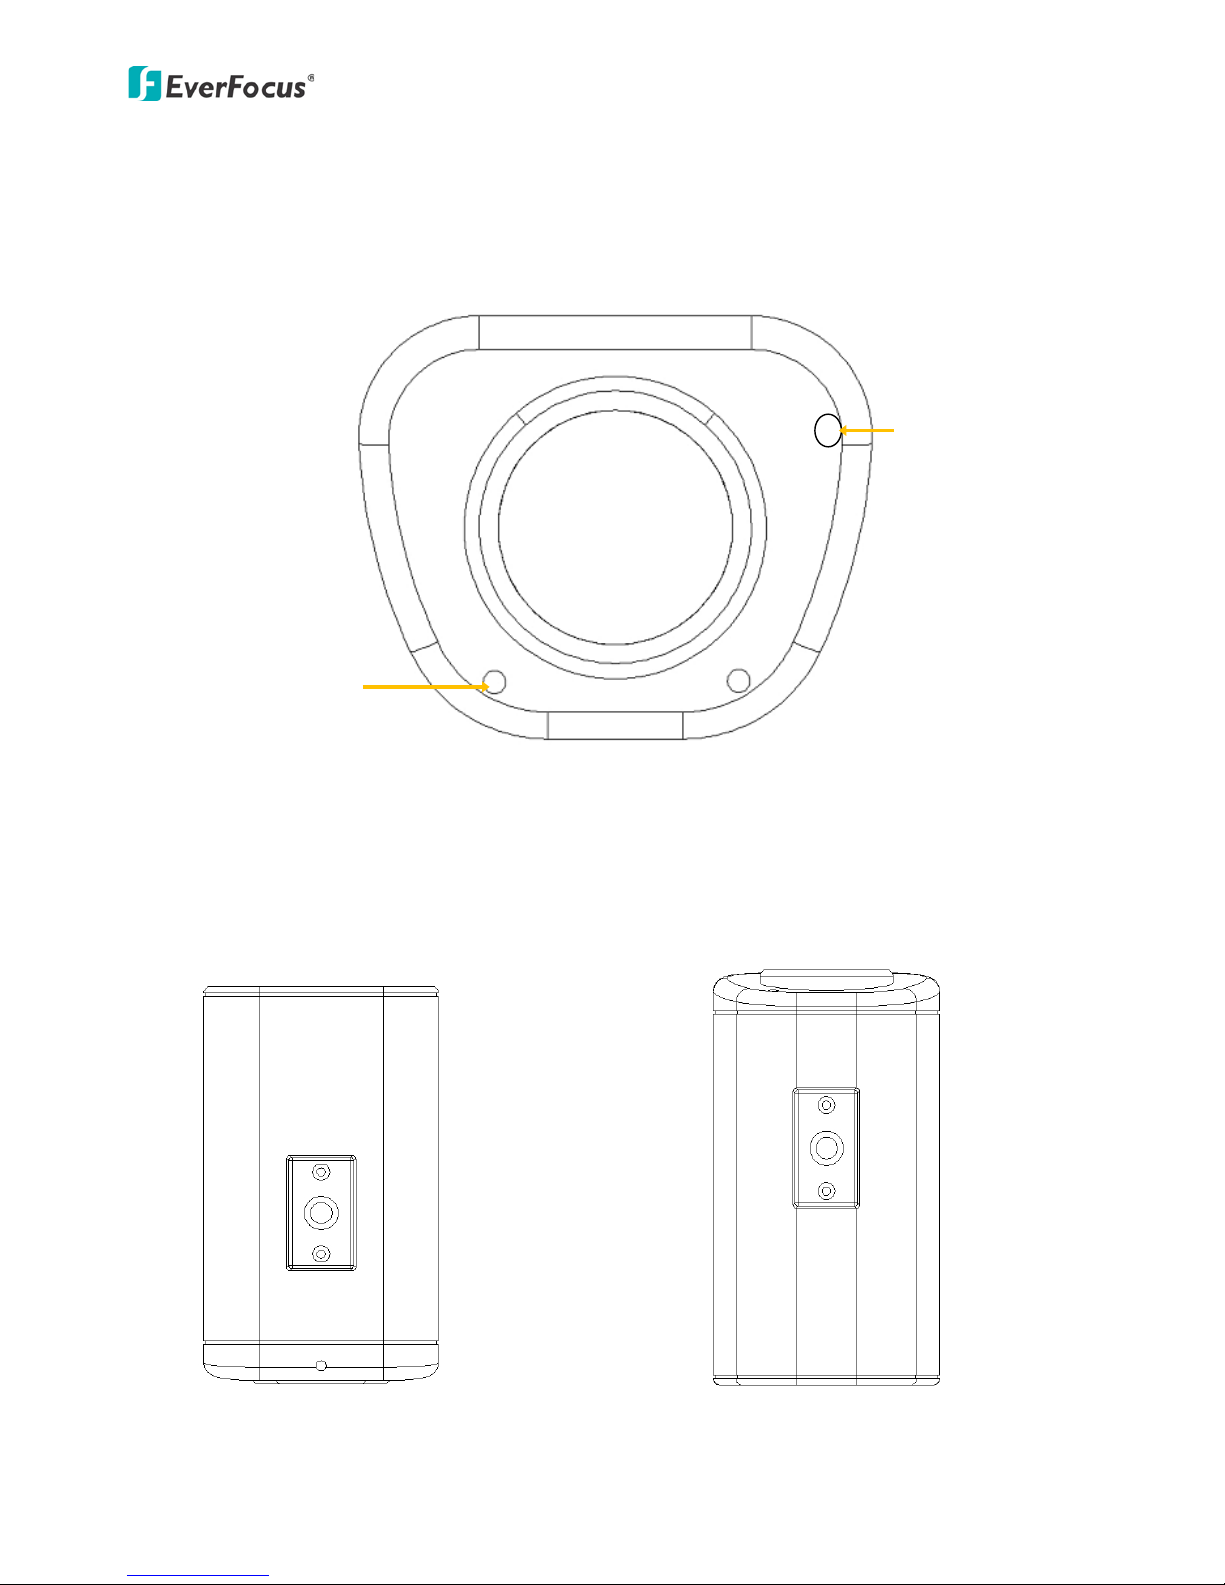
2.1.1 FRONT PANEL
2.1.2 BRACKET POSITIONS
The bracket in the package can be fitted to the screw holes on the top or
bottom of the camera for either suspending the camera or supporting it.
Light Sensor
Microphone
(Reserved for
Audio-supporting
models)
Top bracket position Bottom bracket position
EQ610s
4
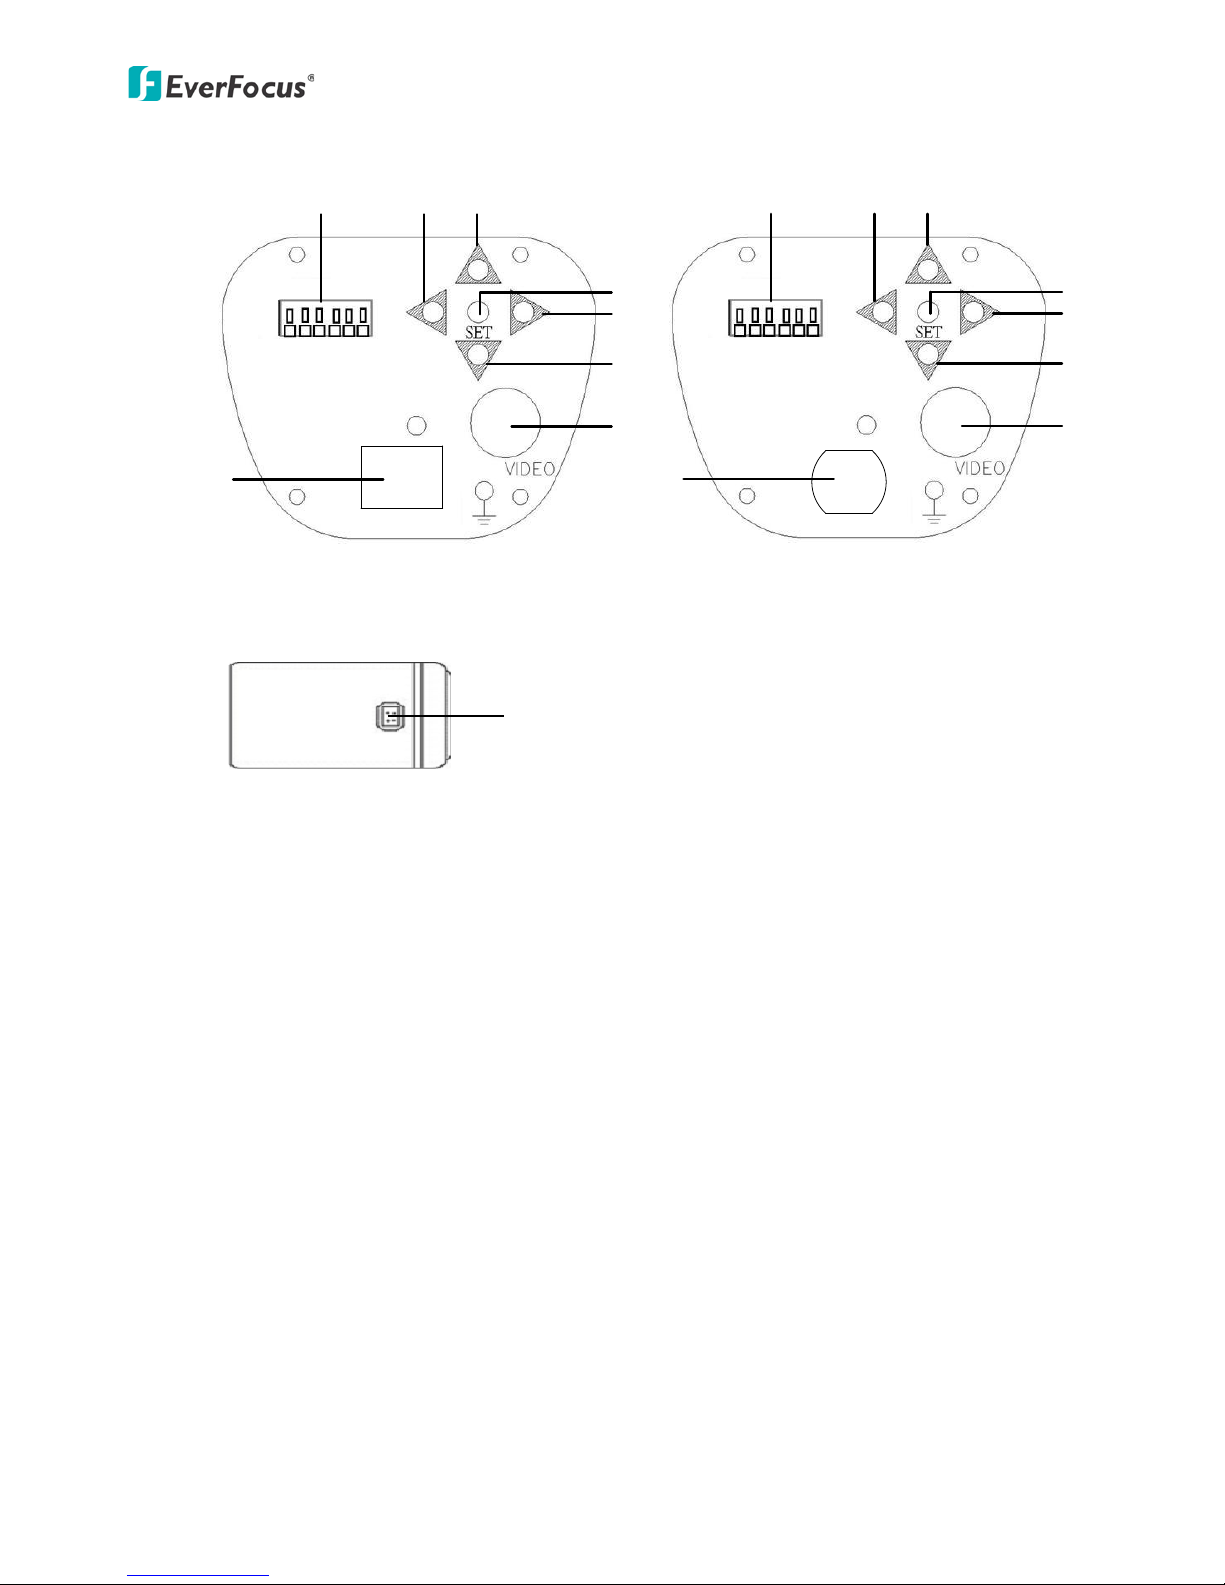
2.1.3 BACK PANEL
GND
D/N Out
D/N In
Motion
RS485-
RS485+
2
3
4
5
6
7
8
LINE IN
1
GND
D/N Out
D/N In
Motion
RS485-
RS485+
2
3
4
5
6
7
8
AC 24V /
DC 12V
1
+ -
12 VDC / 24 VAC~ Model 90-260 VAC~ Model
Side Panel:
1) Terminal Block
-GND: Ground pin
-D/N Out (Day/Night control output): When the camera is in Day mode,
it will send out a low-level signal of 0V to the external device. When the
camera is in Night mode, it will send out a high-level signal of 3.3V to
the external device.
-D/N In (Day/Night control input): Please set the D/N limit switch to
OFF, so that the camera can receive an external Day/Night signal (for
example, from a device on the housing) and synchronize the external
device’s Day/Night mode with that of the camera.
-Motion: Alarm output for in case motion is detected.
If the alarm output is connected and a motion is detected, the message
“MOTION DETECTED” will appear on the screen and the camera will
also send out a high-level signal of 3.3V to the alarm output. As long as
no motion is detected, a default low-level signal of 0V will be
maintained to the alarm output.
-RS485-/RS485+: Connect to an RS485 cable for keyboard control.
2) Left-scroll button
3) Up-scroll button
4) Set button (push to activate OSD)
5) Right-scroll button
9
EQ610s
5
6) Down-scroll button
7) Video Output Connector
BNC connector that connects to a 75 Ohm coaxial cable to feed the
video output of the camera to a color monitor or other video devices.
8) Power Input Terminal
Connects to the appropriate power source (12 VDC / 24 VAC~ or
90-260 VAC~).
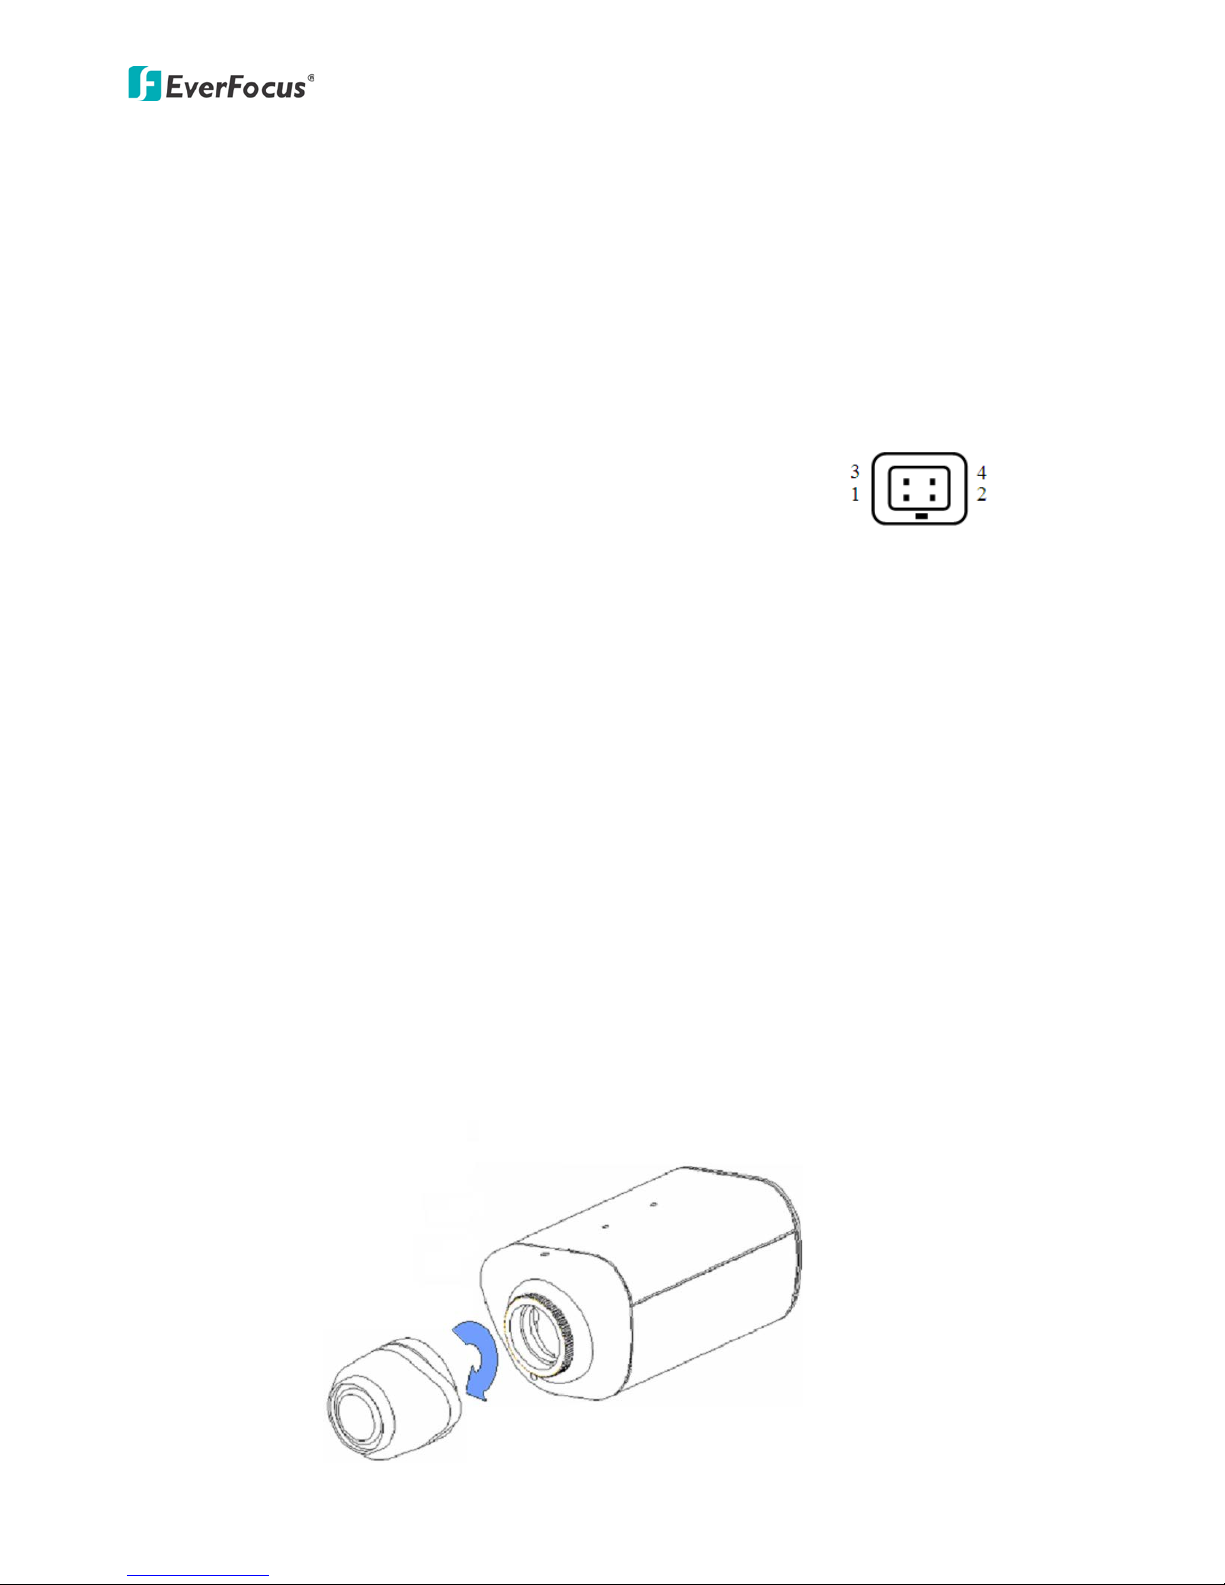
9) Auto Iris Lens Connector
This connector is used to connect to an auto iris lens via a 4-pin male
connector.
Direct Drive
Pin1
Pin2
Pin3
Pin4
Cnt-
Cnt+
Drv+
Drv-
3 INSTALLATION
1. Unscrew the protection cap from the mouth of the lens
mounting.
2. If a C-mount lens is to be used, please screw the C-mount
adaptor ring (the 5mm-thick ring in the accessory pack) on to
the mouth of the lens mounting.
3. Mount the lens by turning it clockwise on the lens mounting of
the camera.
4. If you use an Auto Iris lens, connect the lens’s cable to the
Auto Iris lens connector on the side of the camera.
5. Place an ND filter in front of the lens, adjust the lens focus
until the best image is obtained.
6. Lock the lens’s focus position by tightening the swivel screw,
and then remove the ND filter.
Mount the lens
EQ610s
6
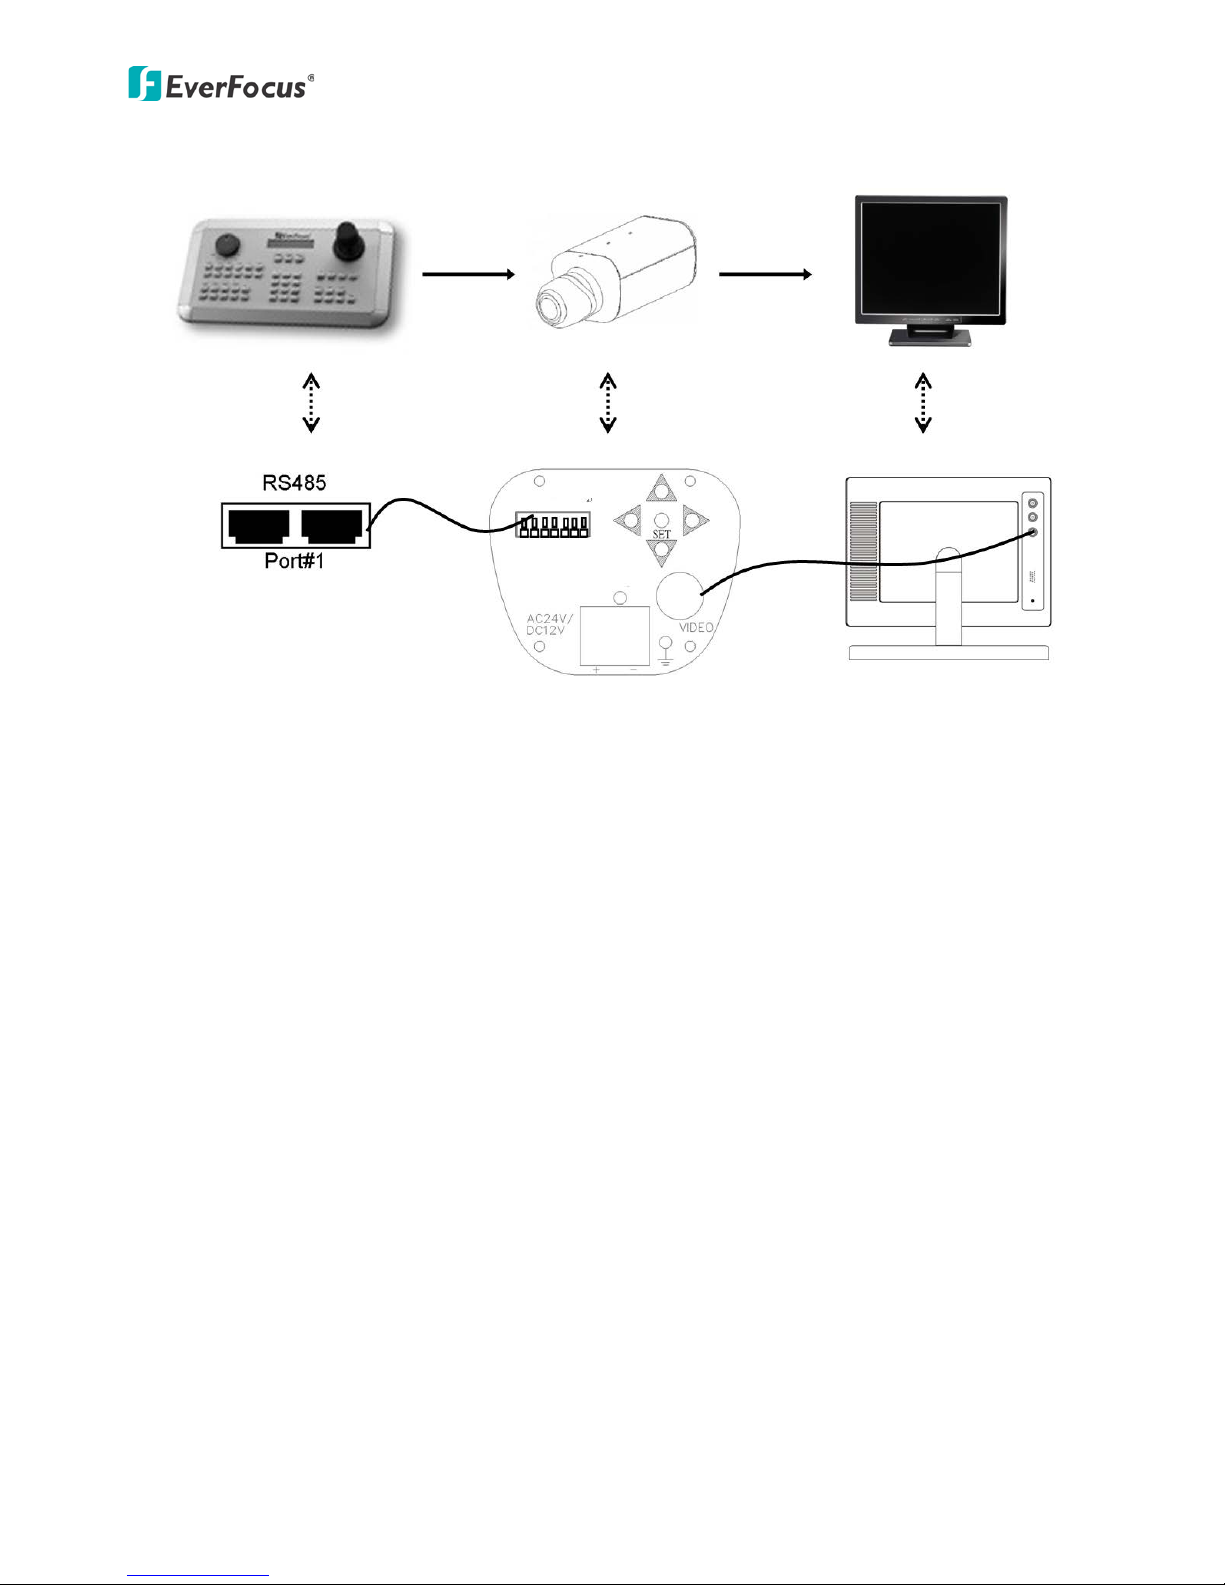
4. CONNECTIONS
1. Connect the cable from the keyboard’s RS485 port to the camera’s two
corresponding RS485 terminal block connectors.
2. Connect the cable from the video output jack of the camera to a
monitor’s input jack.
3. The RS485 ID has to be the same as the CAM ID of the keyboard. (Please
refer to the “6.9 System” section.)
4. The Baud rate has to be the same as the keyboard’s Baud rate. (Please
refer to the “6.9 System” section.)
 Loading...