

Everest EBD1 Installation Manual
www.EVEREST .ref
com
Owner’s Manual for models:
Direct Draw Keg Refrigerators
24" Deep Direct Draw Keg Refrigerators
Back Bar & Direct Draw Keg Refrigerators
24" Deep Back Bar & Direct Draw Keg Refrigerators
Club Top Direct Draw Keg Refrigerators
A Step Above the Standard
EBD1, EBD2, EBD3, EBD4
EBDS2-24, EBD2-24, EBD3-24, EBD4-24
EBD2-BB, EBD2-BBG, EBD3-BB, EBD3-BBG
EBDS2-BB-24, EBD2-BB-24, EBD3-BB-24
EBDS2-BBG-24, EBD2-BBG-24, EBD3-BBG-24
EBD2-CT, EBD3-CT, EBD4-CT
Thank you for choosing EVEREST
R
US
C
L
I
D
S
T
E
ISO-9001
Safety Notices
Safety Notices
WARNING - When using your appliance, always follow basic precautions, including
the following :
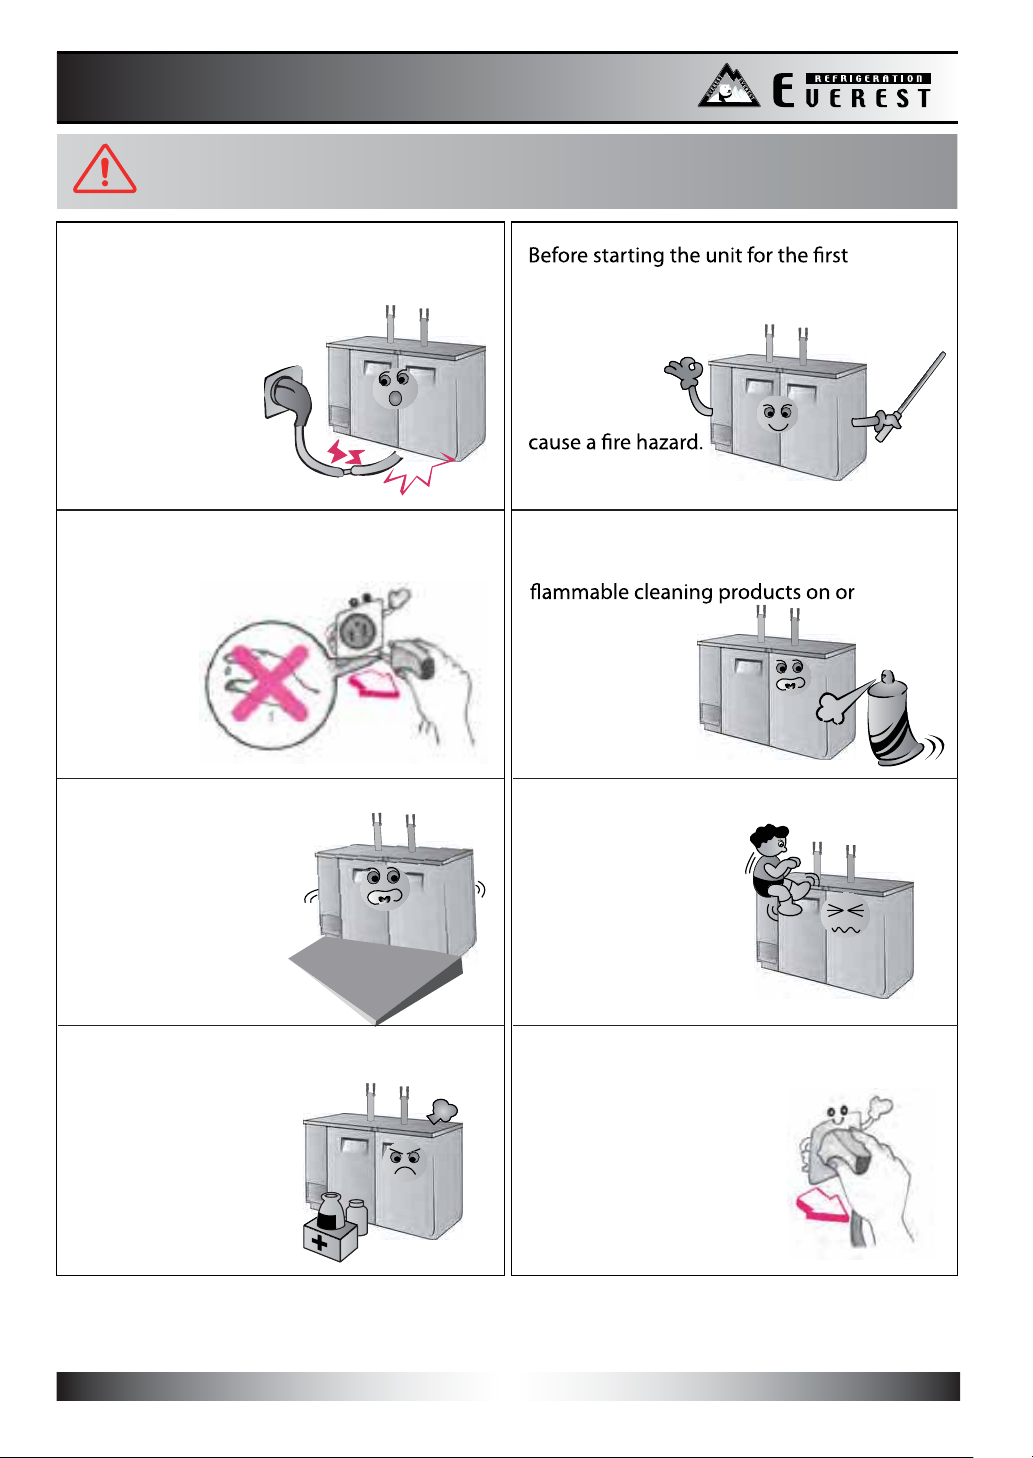
When installing the unit, be careful that the
electrical cord is not under the unit or
pressed against the wall.
This could cause a damage
to the cord.
REFRIGERATION
time, make sure the unit
is free from all packaging.
Packaging left
on the unit
during
operation may
To prevent electrical shock, please do
not plug or unplug the cord
with wet hands.
Install the unit on a hard
and level surface.
Please do not store temperature
sensitive items in the unit,
such as medical or
science research
related materials.
Before cleaning or maintaining the unit,
please unplug it. Do not use any
around the unit.
Please do not hang or climb
on the unit as this may
cause the unit to fall.
If you suspect a refrigerant leak,
unplug the unit and
immediately contact an
authorized service
technician.
1

Safety Notices
Safety Notices
REFRIGERATION
WARNING - Read and follow all safety notices in this installation guide.
information. Failure to do so may lead to serious injury and /
or damage to the unit.
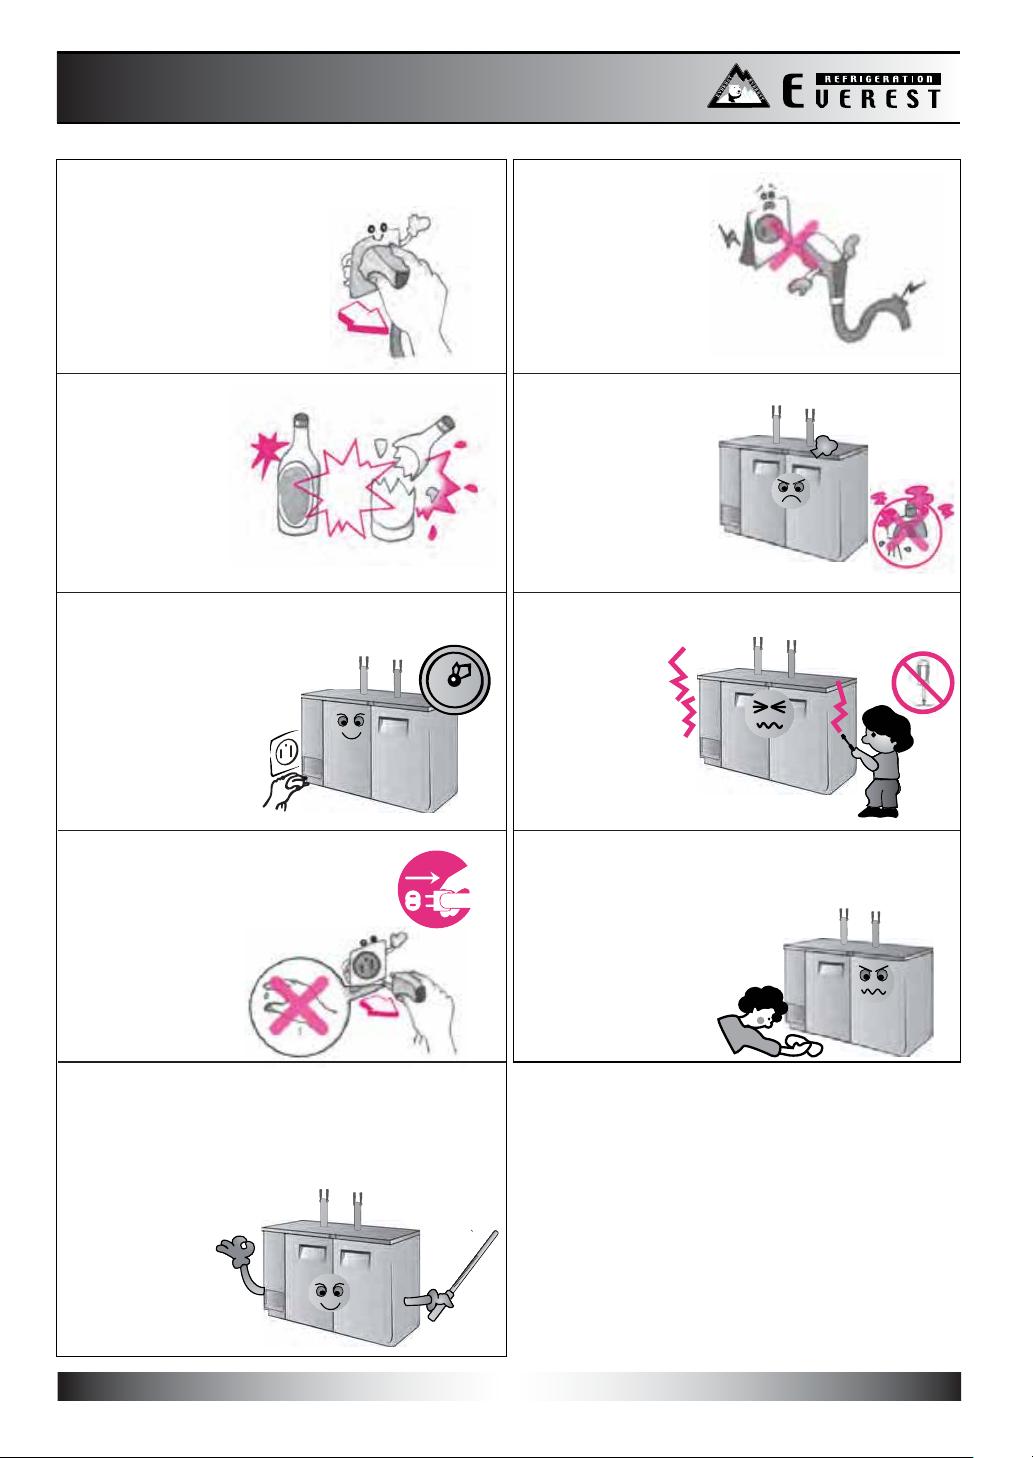
To minimize shock and re hazards, be sure
not to overload the outlet into which the
unit is plugged into. A dedicated circuit of
sucient amperage is required.
To prevent electrical shock and
malfunction, do not spray the
unit with water.
To prevent damage to the electrical
components, have the unit plugged in directly
to its own circuit. EVEREST is not responsible
for any damage caused by improper electrical
connections resulting from electrical power
failure, use of extension cords &
surge protectors, and any
voltage drops to the unit.
Clean the pronges of the electrical plug
with a soft cloth or brush before plugging
it into an electrical receptacle to prevent a
When it is time to salvage the unit,
make sure to remove the rubber gaskets
from the doors to prevent the risk of
children or animals getting
trapped inside the unit.
2
Caution!
Caution!
REFRIGERATION
To prevent electrical shock and damage to
the electrical cord, please hold
the plug head
when plugging
and unplugging
the unit.
To avoid personal injuries
from broken glass,
please do not
place glass items
in the freezer.
After unplugging the unit, please wait at
least 6 minutes
before re-plugging
it in. Failure to do
so could cause
extensive damage
to the compressor.
Do not use the
electrical cord
or plug if they
are damaged
in any way.
Avoid installing the
unit where it could
be exposed to
water or
moisture.
Please do not attempt to
remove or
repair any
components
unless you are
an authorized
service technician.
If the unit will
not be used for an
extended period of
time, please unplug
it from the outlet.
The refrigerator compartment temperature
should be set at 32°F~41°F (See page 9).
Setting the temperature out of the recommended ranges will void the unit’s warranty.
Do not put your hands under the unit when
moving it. You could be injured by sharp
edges, protruding parts,
crushing, etc.
3
Installation Guide
Installation Guide
REFRIGERATION
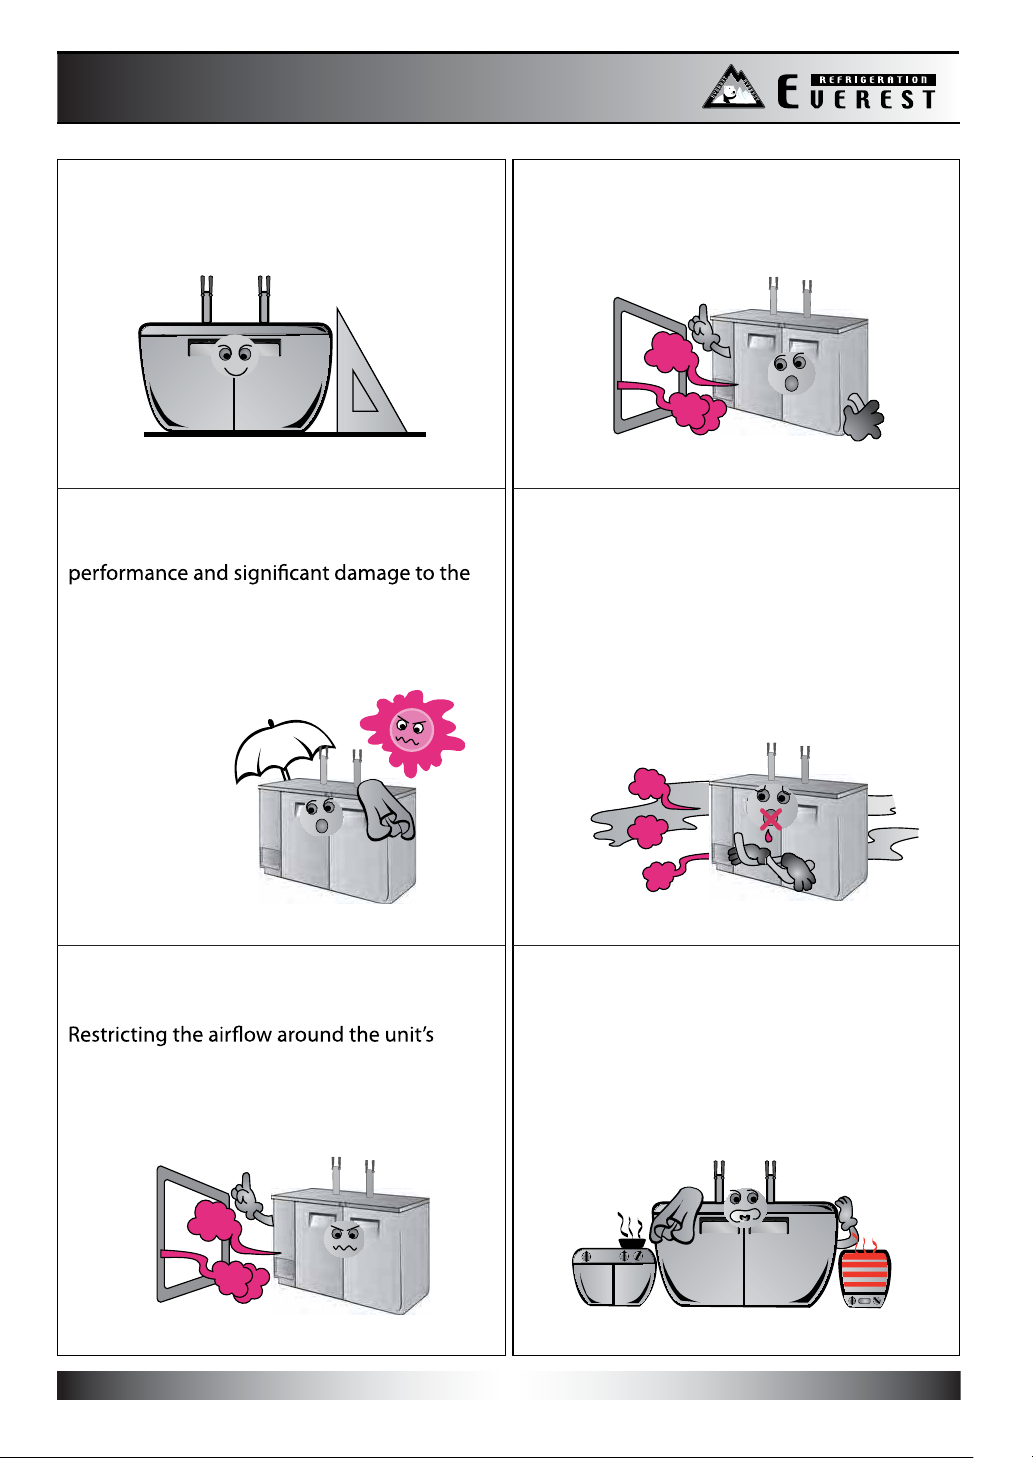
Install the unit on a hard and level surface
or the unit could produce undesired noises.
Indoor Use Only
Outdoor use may cause a decrease in
unit.
The unit should be at least 2” away from the
wall.
Dusty and High Humidity Areas
Dusty environments will cause the
condenser coil to prematurely clog which
will require it to be cleaned more often.
High humidy environments could cause
the unit to rust.
Do not build an enclosure or cabinet
around the unit.
condenser area will cause the compressor to
work harder, which can result in compressor
failure and the unit not being able to
maintain the desired temperature.
Select a location away from other heat
and moisture generating equipment
such as stoves, ovens, dish washers, etc.
High ambient temperatures cause the
compressor to work harder, which can result
in compressor failure and the unit not being
able to maintain the desired temperature.
4

Maintenance Guide
Maintenance Guide
REFRIGERATION
Shelf Cleaning
Periodically remove the shelves from the unit
and clean them
with mild soap
and warm water.
Door Gasket Cleaning
To preserve the life span of the door gaskets,
clean the gaskets
with mild soap
and water on
a regular basis.
Do not use the following products when cleaning
Clean the exterior of the product with mild soap and warm water.
Never use steel wool, strong acids, abrasive cleaners or degreasers.
Acidic products and products containing vinegar must be stored
in sealed containers to prevent corrosion to the interior of the
unit and the evaporator coil. (corrosion resulting from the lack
of or improper maintenance will not be covered under warranty).
Interior Cleaning
Clean the interior surface of the unit with mild soap and warm
water. Do not let water accumulate inside the unit. To prevent
water damage, wipe the interior of the unit with a dry cloth as
needed. Do not use abrasive cleaners, concentrated detergents,
bleaches, cleaning waxes, solvents or polishes to clean the interior
of the unit.
Condenser Coil Cleaning
Poor condensing unit performance is caused by heavy dust
build-up on the condenser coil. The condenser coil should be
condenser with a soft brush or a vacuum with a brush
attachment. The condenser coil should be cleaned in the
5
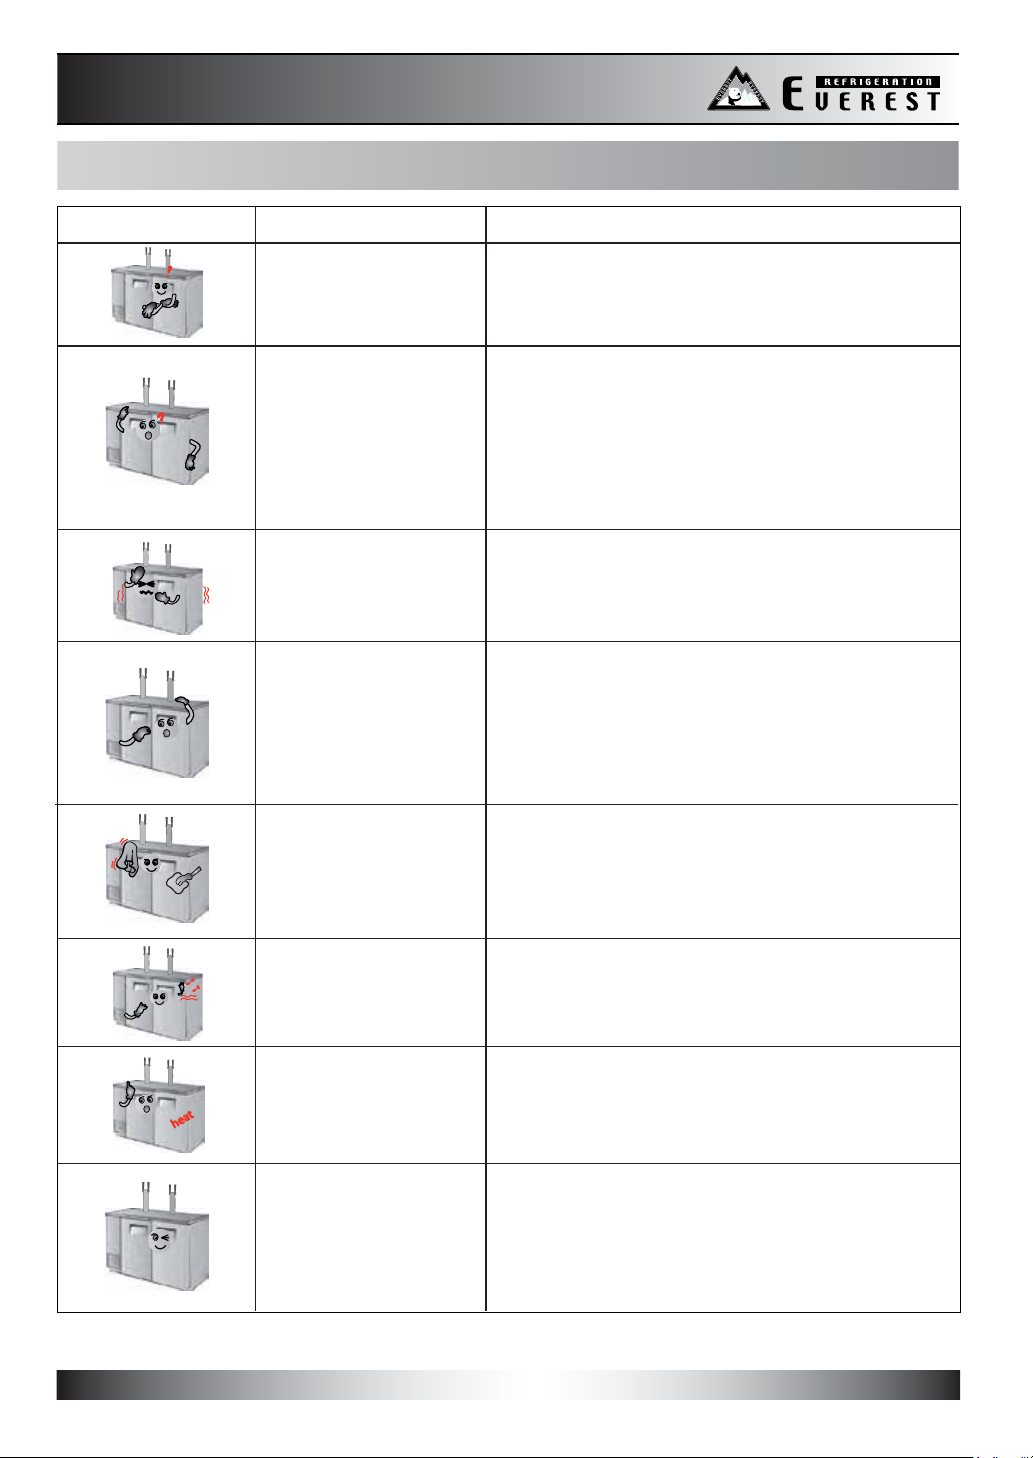
Trouble Shooting
Trouble Shooting
Please check the following before requesting service.
Symptom Possible Solutions
REFRIGERATION
Condensing unit
fails to start
Cabinet does not
maintain proper
temperature
Refrigerated
compartment is too
cold
Noisy operation
Condensation on the
exterior surface
Sound of water
dripping
a. Ensure the electrical cord has been connected.
b. Ensure the unit is turned on.
a. Check the door gaskets for proper seal.
b. Check to see if the temp. control setting is too
high, then adjust as necessary.
c. Avoid installing the unit next to heat generating
equipment and direct sunlight.
d. Avoid storing hot contents.
e. Ensure the doors are fully closed.
a. Adjust the temperature control to a warmer
setting.
a. Check for loose parts.
b. Check for tubing rattle.
c. Check for a bent fan blade.
d. Check for damaged fan motor bearings.
e. Ensure the unit is stable.
f. Ensure the cabinet is level.
a. Condensation on the exterior surface of the
unit is perfectly normal during periods of high
humidity.
b. Check door alignment and gaskets for proper
seal.
a. This is the sound of the refrigerant circulating
during the compressor rest period and it is
normal.
heat
Exterior walls are
warm
Condensation on the
interior
a. Heaters have been placed around the door
openings to prevent condensation buildup.
This is normal.
a. Condensation can occur during hot and
weather with frequent or prolonged door
This is normal.
humid
opening.
b. The doors might not be closed properly. Check door
alignment and for proper seal.
6

Shelves
Shelves
REFRIGERATION
Shelves(If equipped)
The unit’s shelves are adjustable so that
the refrigerated compartment can be
Shelf Clip
The shelf clip pilasters are spaced and
labeled in 1” increments for your
convenience.
Pilaster
To install a shelf, hook the shelf clips into the pilasters by inserting the top part of the clips
1”
To remove a shelf, start by unloading the shelf. Second, remove the shelf itself. Finally,
remove the shelf clips by tilting them up and allowing the bottom of the clip to come out
Warning - Never attempt to adjust a shelf when loaded!
7
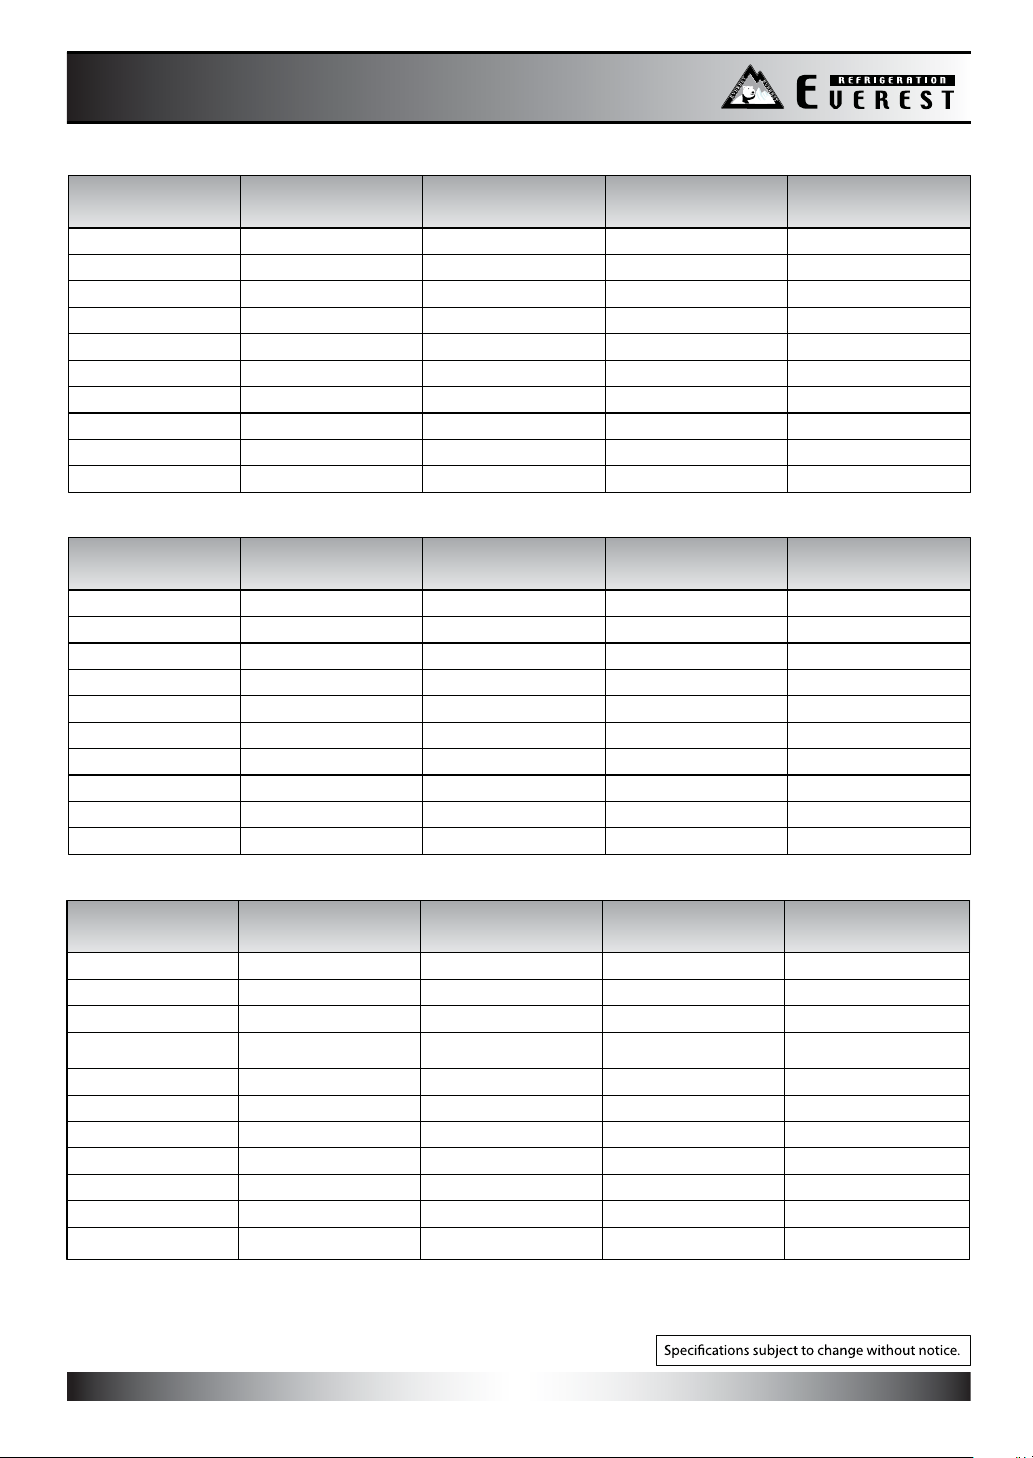
Specifications
Specification
Direct Draw Keg Refrigerators
REFRIGERATION
Model
Capacity( Cu. Ft.)
Door(s)
Shelves
Compressor (HP)
Power (V-Hz-Ph)
Temp. Range (°F)
Refrigerant
Crated Weight (LBS)
Amps (A)
Exterior Dimensions
(W x D x H* inches)
EBD1 EBD2 EBD3 EBD4
8.19
1
-
115-60-1
32 - 42 32 - 42 32 - 42 32 - 42
R-134A
160
3.90
a b
23 3/4 x 31 1/8 x 39
57 3/4 x 27 1/8 x 37 1/8
20.09
2
-
1/41/5 1/4 1/3
115 -60-1
R-134A
275
4.50
24.01
2
-
115-60-1
R-134A
313
4.50
68 x 27 1/8 x 37 1/8
89 1/4 x 27 1/8 x 37 1/8
24" Deep Direct Draw Keg Refrigerators
Model
Capacity( Cu. Ft.)
Door(s)
Shelves
Compressor (HP)
Power (V-Hz-Ph)
Temp. Range (°F) 32 - 42 32 - 42 32 - 42 32 - 42
Refrigerant
Crated Weight (LBS)
Amps (A)
Exterior Dimensions
(W x D x H* inches)
EBDS2-24 EBD2-24 EBD3-24 EBD4-24
13.95
2
115-60-1
R-134A
250
4.50
49 x 24 1/2 x 37 1/8
16.86
2
-- - -
1/41/4 1/4 1/3
115 -60-1
R-134A
280
4.50
57 3/4 x 24 1/2 x 37 1/8
20.41
2
115-60-1
R-134A
297
4.50
68 x 24 1/2 x 37 1/8
89 1/4 x 24 1/2 x 37 1/8
32.37
3
-
115-60-1
R-134A
363
4.50
27.76
3
115-60-1
R-134A
380
4.50
Back Bar & Direct Draw Keg Refrigerators
Model
Capacity( Cu. Ft.)
Door(s)
Shelves
Capacity
12 oz. Cans / Bottles
Compressor (HP)
Power (V-Hz-Ph)
Temp. Range (°F)
Refrigerant
Crated Weight (LBS)
Amps (A)
Exterior Dimensions
†
(W x D x H* inches)
[NOTE]
* Ext. height does not includes 5” for towers.
(This EBD1 model is equipped with pre-installed casters as standard feature).
† Depth does not include protruding door handle.
a Depth includes 1 1/2” for back grill.
b Height includes 5” for casters.
EBD2-BB EBD2-BBG EBD3-BB EBD3-BBG
20.09
2(SD)
2
20.09
1(SD), 1(GD) 1(SD), 1(GD)
2
280 / 192 280 / 192 360 / 240 360 / 240
1/4 1/4 1/4 1/4
115-60-1
32 - 42 32 - 42 32 - 42 32 - 42
R-134A
280
115 -60-1
R-134A
297
4.504.50 4.50
57 3/4 x 27 1/8 x 37 1/857 3/4 x 27 1/8 x 37 1/8
8
24.01
2(SD)
2
115-60-1
R-134A
320
24.01
2
115-60-1
R-134A
337
4.50
68 x 27 1/8 x 37 1/8 68 x 27 1/8 x 37 1/8
 Loading...