

Page 1
0
& MAINTENANCE INSTRUCTIONS
Models Included:
ASSEMBLY, OPERATION
FOR EVERDURE E2GO TROLLEY STANDS
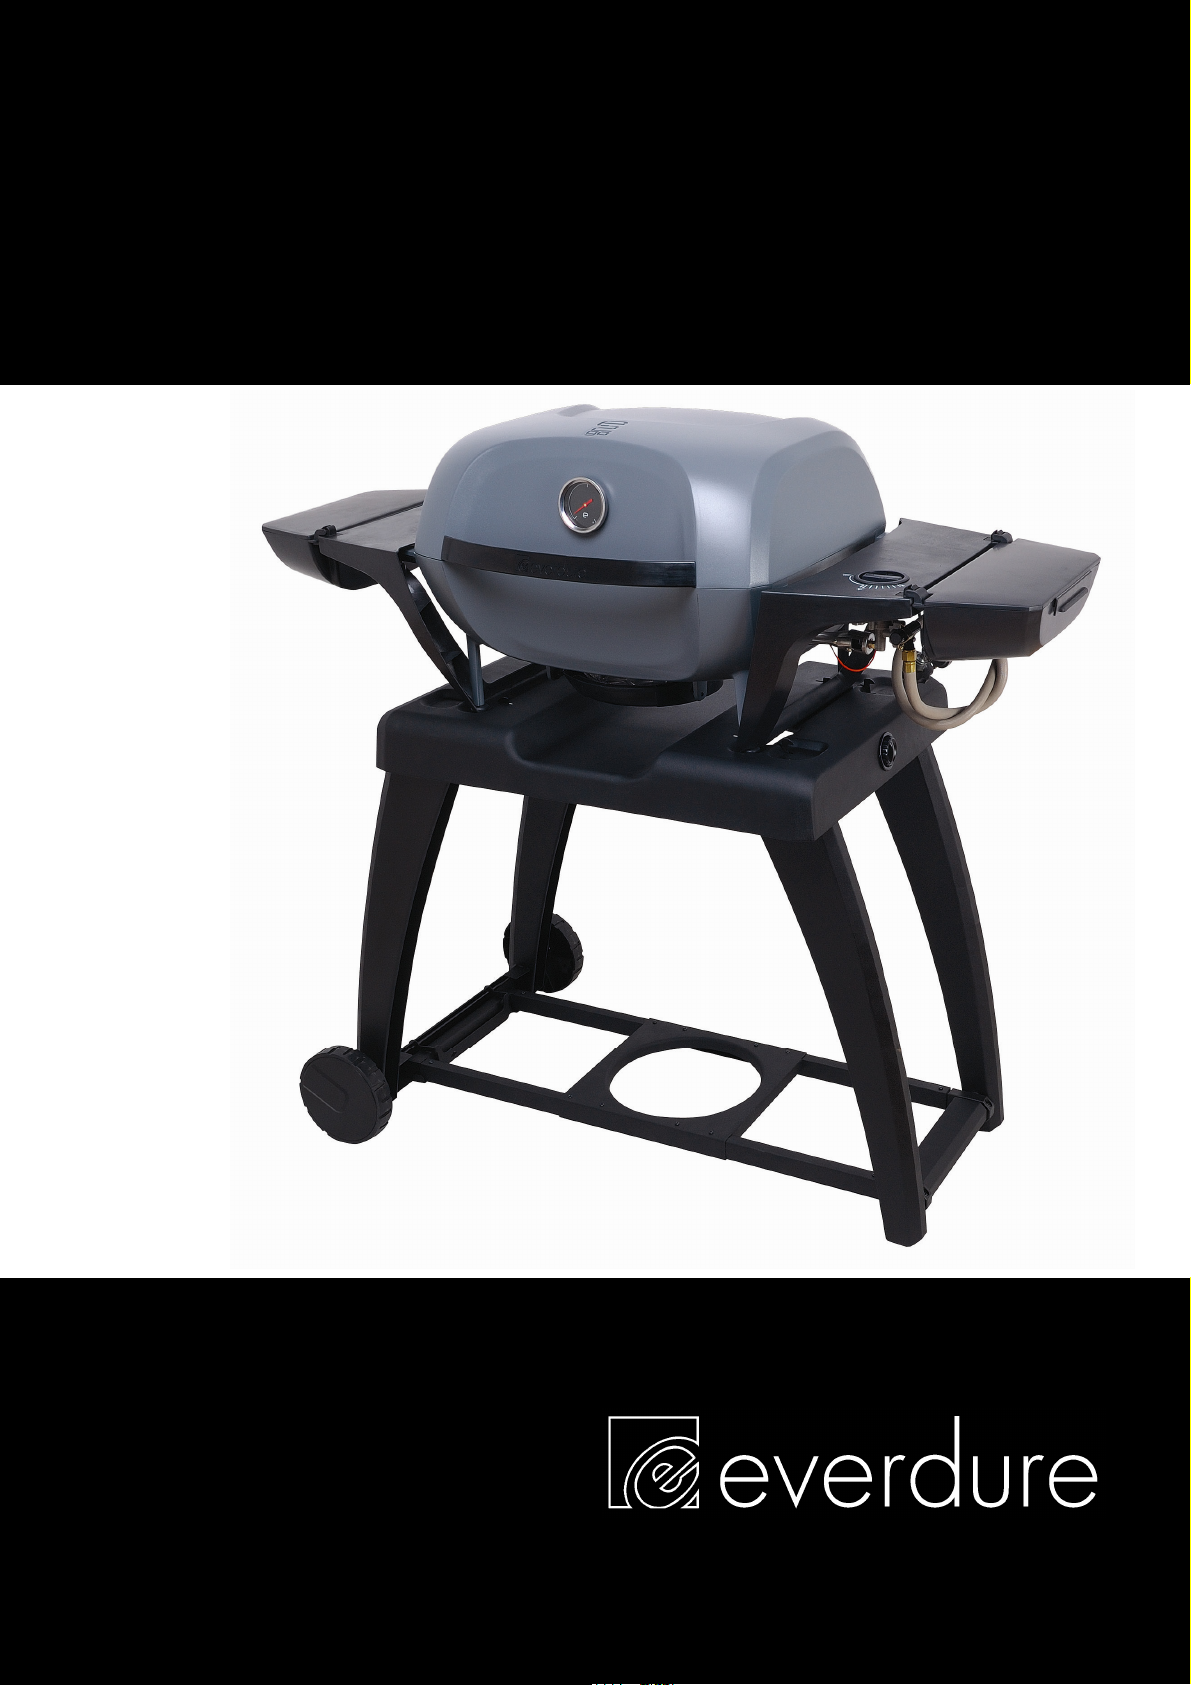
E2GOSTAND
THE EVOLUTION OF PORTABLE OUTDOOR COOKING
Page 2
1
THE EVOLUTION OF PORTABLE OUTDOOR COOKING
Page 3
2
OPERATION AND MAINTENANCE INSTRUCTIONS
FOR EVERDURE E2GO TROLLEY STAND
FOR USE WITH E2GLPC-09B & E2GLPC-09G OUTDOOR PORTABLE BARBECUES
CONTENTS
SECTION PAGE NO.
Important Safety Instructions
Cleaning & Storage
Trolley Assembly
Trolley & Barbecue Assembly
Collapsing The Trolley
Maintenance
Barbecue Accessories
Warranty
It is important that you retain these instructions, proof of purchase as well as
other important documents about this product for future reference.
E2GO & TROLLEY STAND
3
3
4
6
7
9
9
9
2
THE EVOLUTION OF PORTABLE OUTDOOR COOKING
Page 4

3
3
IMPORTANT SAFETY INSTRUCTIONS
IMPORTANT: Read the safety precautions of this booklet carefully before removing the trolley
from its carton or connecting the barbecue to the trolley. If you are unsure
about anything regarding your barbecue, please contact Everdure on
1300 766 066 before operating your appliance.
1. This trolley stand for the E2go portable barbecue is intended for OUTDOOR USE ONLY. This appliance must NOT be used
indoors.
2. For your safety and enjoyment, read all barbecue operating instructions before lighting the barbecue.
3. Ensure that all gas connections are tight on the barbecue before operating the appliance (refer to leak testing procedure in
this manual). Always check for leaks when a gas cylinder is replaced or reconnected.
4. Unsupervised children or pets should not be near a barbecue while cooking or during warm up or cool down. Ensure
children or pets are kept a distance well away from the barbecue whilst it is in use. Ensure that young children do not play
with the appliance. This appliance is not intended for use by young children or infirm persons.
5. Do not move this trolley with the barbecue fitted when in use or directly after use, as accessible parts may be very hot. The
barbecue should only be lifted by the serverys at either side (the fold out servery bins should be either folded in or removed).
Take care that undue pressure will not be placed on the gas hose, or turn off the gas supply & remove the hose from the
cylinder or gas source (not at the barbecue). Take care that the fat tray & disposable foil tray are removed to minimise
fat/oil spillage.
6. This trolley has been designed to be used with the E2go portable gas barbecue. When using an E2go Trolley Stand, ensure
that your barbecue is in a level position and the barbecue is secured onto the trolley stand correctly.
7. People with flammable clothing such as nylon etc. should keep well away from the barbecue when it is operating.
8. Ensure that the product has adequate clearance from combustible materials. The appliance is designed so that heat will not
affect the trolley. All combustible materials must be kept more than 250mm from the sides and rear of the trolley and more
than 1500mm above the cooking surface of the barbecue.
9. We recommend that you regularly maintain your trolley stand and keep it in good condition. This can be achieved by
following the cleaning and maintenance suggestions in this booklet.
10. The barbecue and E2go trolley stand are designed to be used with either 4kg or 9kg gas cylinders. The gas cylinder should
be placed in the dedicated cylinder mounting at the bottom of the trolley, not beside the trolley.
11. This appliance is not suitable for mounting in a movable vehicle (boat, trailer etc).
12. Do not use or store this appliance in areas of high salt content (a marine environment) or an area with caustic fumes or
liquids (such as a domestic pool), as these chemicals can cause the appliance materials to deteriorate (and void the
warranty). Regular cleaning and covering with an Everdure barbecue cover can help can help to reduce this.
DO NOT PLACE ARTICLES ON OR AGAINST THIS APPLIANCE
DO NOT STORE CHEMICALS OR FLAMMABLE MATERIALS OR SPRAY AEROSOLS NEAR THIS APPLIANCE
DO NOT OPERATE THIS APPLIANCE INDOORS
DO NOT ENCLOSE THIS APPLIANCE. THE MINIMUM CLEARANCE FOR THIS UNIT IS 1500mm ABOVE THE
COOKING SURFACE AND 250mm FROM ANY SIDE
DO NOT OPERATE THIS APPLIANCE BEFORE READING THE INSTRUCTION BOOKLET
CLEANING & STORAGE
EXTERNAL CLEANING
3
Before cleaning the trolley, ensure the appliance is cool and is safe to touch. Painted and plastic surfaces can
be cleaned using a mild household detergent or cleaner and a clean cloth (do not use scourers or harsh
detergents). It is advisable to test cleaners on a small section of the appliance first. NEVER use paint thinners
or similar solvents for cleaning and NEVER pour cold water over hot surfaces. Dry the surface afterwards.
STORAGE
When the appliance is not in use, the trolley, barbecue and gas cylinder together must be stored outdoors in a
well ventilated area. However it is permissible to store the barbecue and trolley stand (but not the cylinder)
indoors. Ensure the hot plate is clean before storing away.
THE EVOLUTION OF PORTABLE OUTDOOR COOKING
Page 5

4
TROLLEY ASSEMBLY
The trolley stand comes semi-assembled in a single package, and a number of components need fitting to
their correct position. Only a medium size Philips screwdriver and adjustable spanner are needed. The parts
are listed below.
PARTS REQUIRED
ITEM FIGURE NAME AND QTY
A
B
C
BOLTS M4X37..2PCS
NUT M4........... 2PCS
NUT M8….....…1PCS
UNPACKING AND ASSEMBING THE TROLLEY
1. Take the foam covered unit out of the carton, and place on a clean, flat surface. Carefully remove the foam
from each end and take off the protective plastic bags. Put the trolley on its top panel and fold the legs out.
Attach the castor to the right leg assembly.
4
THE EVOLUTION OF PORTABLE OUTDOOR COOKING
Page 6

5
2. Take the axle and thread on one wheel and one wheel spacer (wide end towards the wheel). Note some
models have the spacer built into the wheel. Thread the axle fully through the right leg assembly from the front
and thread the second wheel spacer and wheel on. Tighten the M8 lock nut and tighten. Note: some models
come with wheel covers that are then clipped to the outside of each wheel.
3. Take the cylinder support and fit it into the plastic hinges on the right leg assembly. Fix together using the
two M4 nuts and screws. Tighten. Lock the handle end of the cylinder support into the left leg assembly using
the handle lock.
4. Place the trolley the correct way up.
PACKAGING
Remove all external packaging. Recycle as per your local government laws.
THE EVOLUTION OF PORTABLE OUTDOOR COOKING
5
Page 7

6
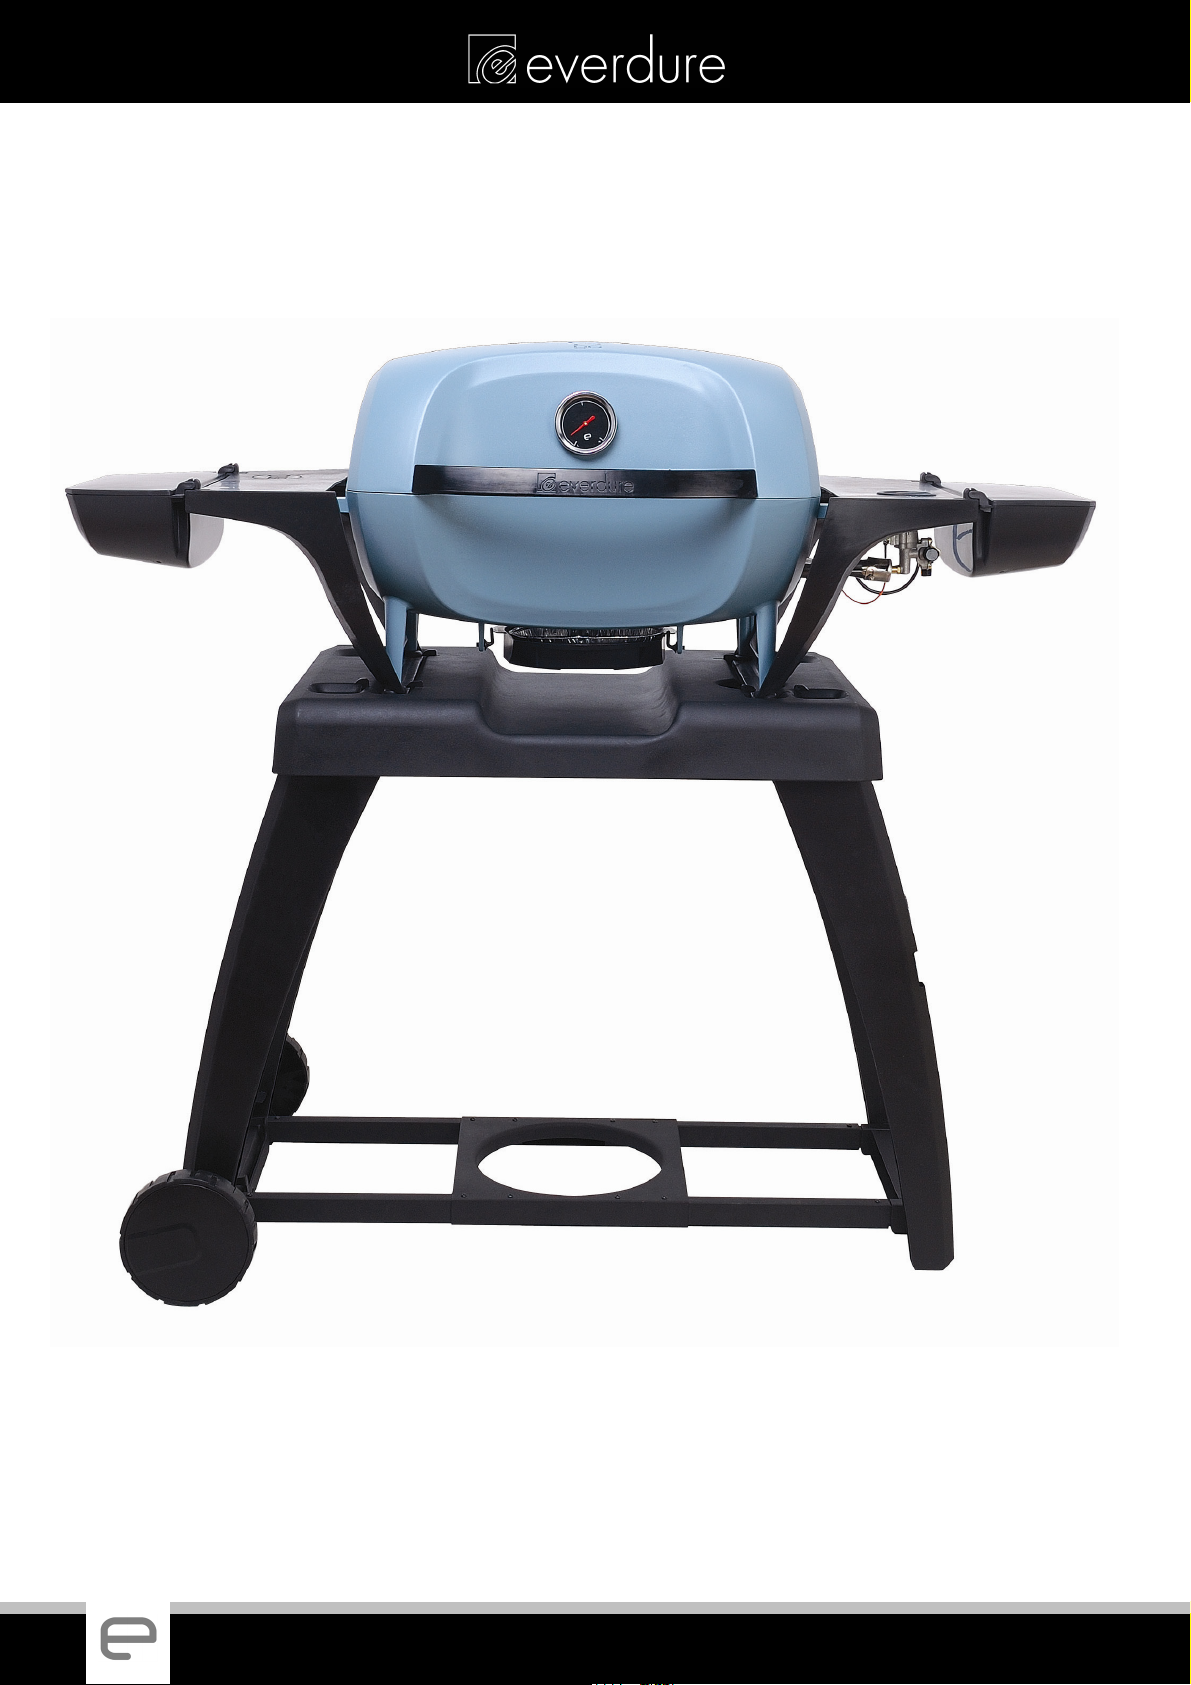
TROLLEY & BARBECUE ASSEMBLY
Knob in the
“free to move”
position.
The trolley locking knobs are at each side of the trolley. When the knob is vertical (see diagram), the locking
hooks are free to move inwards and outwards (see second diagram).
Push each of the locking knobs (at either side of the trolley, with the knob positioned vertically) fully in and turn
clockwise to lock the hooks in the open position.
Knob out &
turned
clockwise –
BBQ locked
into trolley.
Take the E2go barbecue, and place it in the two inner locking points (see diagram). Note: The wheels should
be to the left – do not disconnect the hose from the barbecue.
Rotate the locking knob anti-clockwise until they are free from the lock & spring outwards (this means the
locking hooks are now around the feet of the barbecue (closed position)). Rotate the knobs clockwise again to
lock the barbecue in position on the trolley. Remove all packaging from within the barbecue. Place the foil
tray into the fat tray and place below the barbecue.
To remove the barbecue from the trolley, reverse the operations so the trolley hooks are locked open before
attempting to remove the barbecue.
The mechanism must be locked in the open position when fitting or removing the barbecue from the trolley.
Before using the barbecue, it must be locked back in place.
6
THE EVOLUTION OF PORTABLE OUTDOOR COOKING
Page 8

7
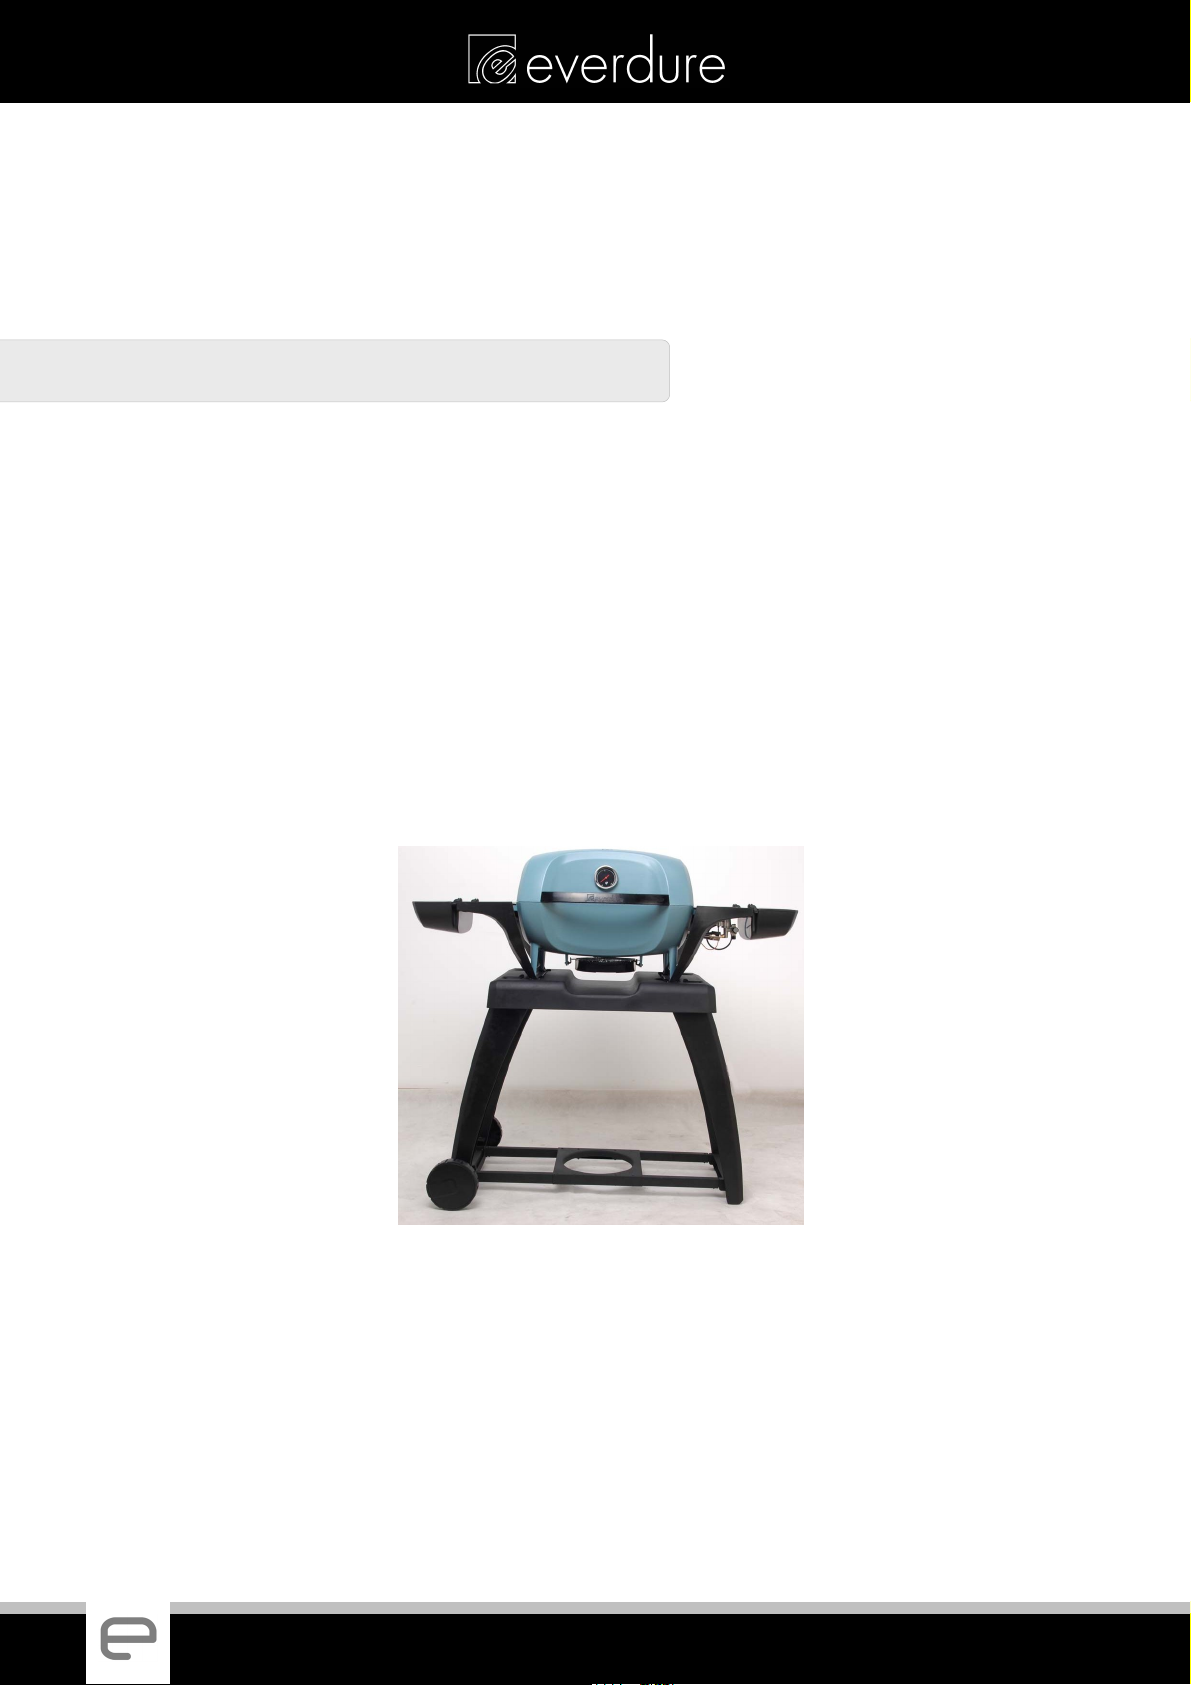
COLLAPSING THE TROLLEY
The trolley can be collapsed down in size for easier storage or for transporting the barbecue.
STEP A: Remove the barbecue and undo the handle lock.
After removing the barbecue (take care that it is correctly supported so no damage can be done to the hose),
go to the left hand side of the trolley. Rotate the handle lock outwards and pull the trolley handle out of the
leg assembly.
STEP B: Fold the trolley up.
Pull the cylinder support and left leg assembly through the right leg assembly. Fold the right leg assembly up
under the trolley stand top and fold both onto the left leg assembly. To store, fold the cylinder holder under
the trolley.
Before placing the barbecue onto the collapsed trolley, make sure the castor has been fitted. Lock the trolley
hooks in the open position and place the barbecue onto the trolley. Lock the barbecue onto the trolley and
bring the hose and regulator around to the top of the trolley where it will not touch the ground or fall off. The
trolley can now be moved via the handle.
THE EVOLUTION OF PORTABLE OUTDOOR COOKING
7
Page 9

8
COLLAPSING THE TROLLEY – 5 EASY STEPS FOR CONVERSION
The castor must be fitted before
collapsing the trolley.
Do not use the trolley in the
collapsed form over rough ground,
as damage to the trolley may occur.
Take care to restrain the handle at
all times.
When adjusting the trolley
configuration, take care that your
hand does not get trapped between
the moving parts. It is
recommended that the operation be
done by two people.
The trolley stand cylinder support is
locked in position with the handle
lock – always make sure this is in the
“locked” position before fitting the
barbecue. Take care that fingers do
not get trapped under the handle.
Never remove the hose and
regulator from the barbecue unit.
Always lock the e2go barbecue to
the trolley (locking knobs at sides of
trolley).
8
THE EVOLUTION OF PORTABLE OUTDOOR COOKING
Page 10

9
MAINTENANCE
It is recommended that, at the commencement of each barbecue season, the following maintenance be
conducted.
E2GO TROLLEY STAND
1. Check all fasteners for tightness and re tighten where necessary to ensure rigidity of the structure.
2. Wipe over barbecue trolley with a clean cloth. Add a little oil or grease to all moving parts.
3. If connected to the barbecue, test the locking mechanism is still locked & the barbecue cannot be
dislodged by accident.
EVERDURE BARBECUE ACCESSORIES (OPTIONAL)
Everdure also offers a comprehensive range of essential barbecue accessories - everything that you need to
turn your barbecue into a complete outdoor cooking system and also to prolong the use of your product.
Accessories such as a weatherproof cover and BBQ rotisserie are readily available items. Visit
www.everdure.com for regular product updates.
WARRANTY
IMPORTANT
Please keep your receipt, as this must be presented if making a claim under the terms of the Everdure
warranty.
All Service and Assembly Enquiries: 1300 766 066 www.everdure.com
THE EVOLUTION OF PORTABLE OUTDOOR COOKING
9 9
9
Page 11

10
10
THE EVOLUTION OF PORTABLE OUTDOOR COOKING
Page 12

11
THE EVOLUTION OF
HEALTHY OUTDOOR COOKING
A division of Shriro Australia Pty Ltd
23-27 Chaplin Drive Lane Cove NSW 2066
1300 766 066
www.everdure.com
IM Ref: E2GS10/2009/06
FOR OUTDOOR USE ONLY
THE EVOLUTION OF PORTABLE OUTDOOR COOKING
 Loading...