

Everchill JC-128 Installation And User Manual

Installation and User Manual
Instructions d’installation et
Guide de l’utilisateur
BEVERAGE COOLER
Centre de boisson
JC-128


TABLE OF CONTENTS
BEVERAGE COOLER SAFETY .................................................................. 2
Proper Disposal of Your Old Refrigerated Appliance ............................. .. . 4
PARTS AND FEATURES ......................................................................... 5
INSTALLATION REQUIREMENTS ............................................................. 6
Location Requirements .... ........................ ...................................... . 6
Electrical Requirements .......... ......................... ........................... .... 7
INSTALLATION INSTRUCTIONS ............................................................. 7
Step 1 - Unpack Beverage Cooler.......................... ............................. 7
Step 2 - Door Reversing ............. .......................... ........................... 9
Step 3 - Complete Installation ........ ..................................... .......... . 11
Step 4 - Level the Beverage Cooler ................ ................................... 12
BEVERAGE COOLER USE .................................................................... . 12
Temperature Control ....... ............................ ................................. 12
Features ............... ............. ................. ................. ................ ..... . 13
BEVERAGE COOLER CARE ..................................................................... 14
Cleaning ................................... .............................. .................. . 14
Defrosting ............................. ............................... .................... . 15
Power Interruptions ........... ................................. ......................... 15
Vacation and Moving . ................. ....................... ........................... 16
Reinstalling/Using Beverage Cooler Again . .............................. ........... 16
TROUBLESHOOTING .......................................................................... 17
Operation .................. ............. ................ ................. ................. . 17
Temperature and Moisture ........ ............................... ...................... 18
1
ENGLISH
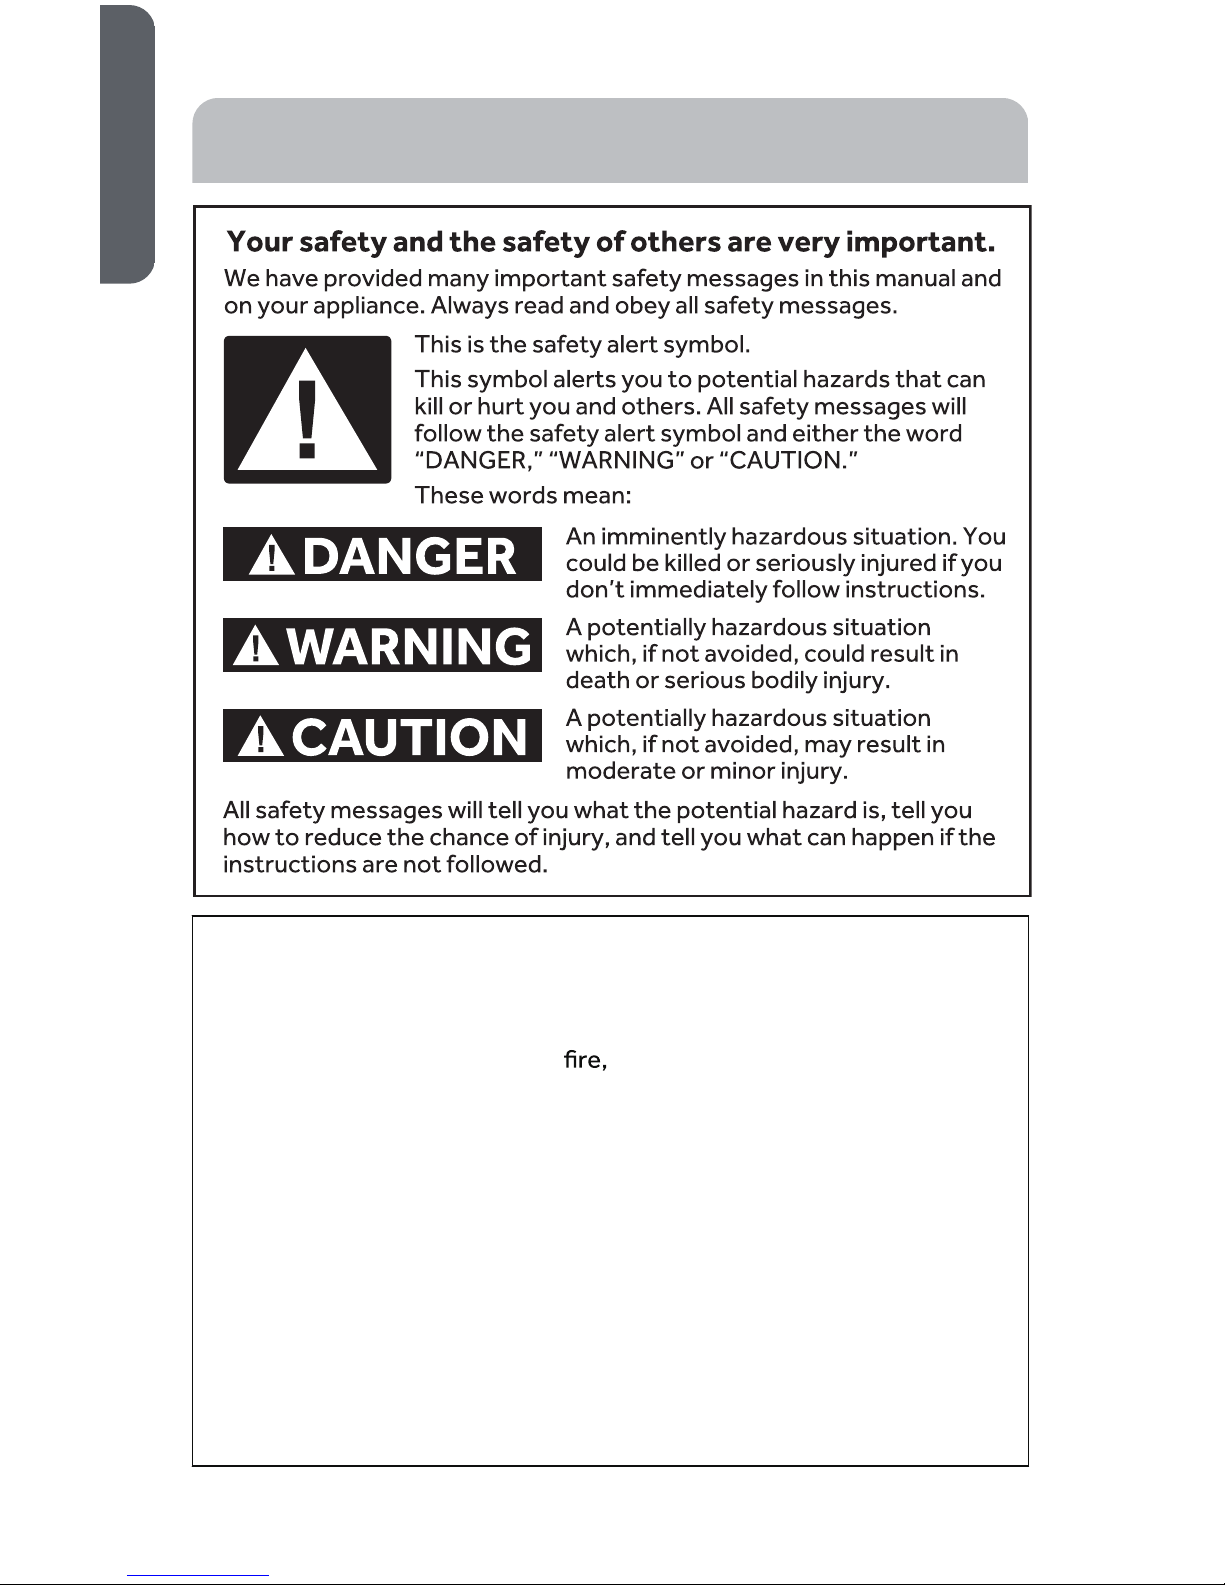
BEVERAGE COOLER SAFETY
IMPORTANT SAFETY
INSTRUCTIONS
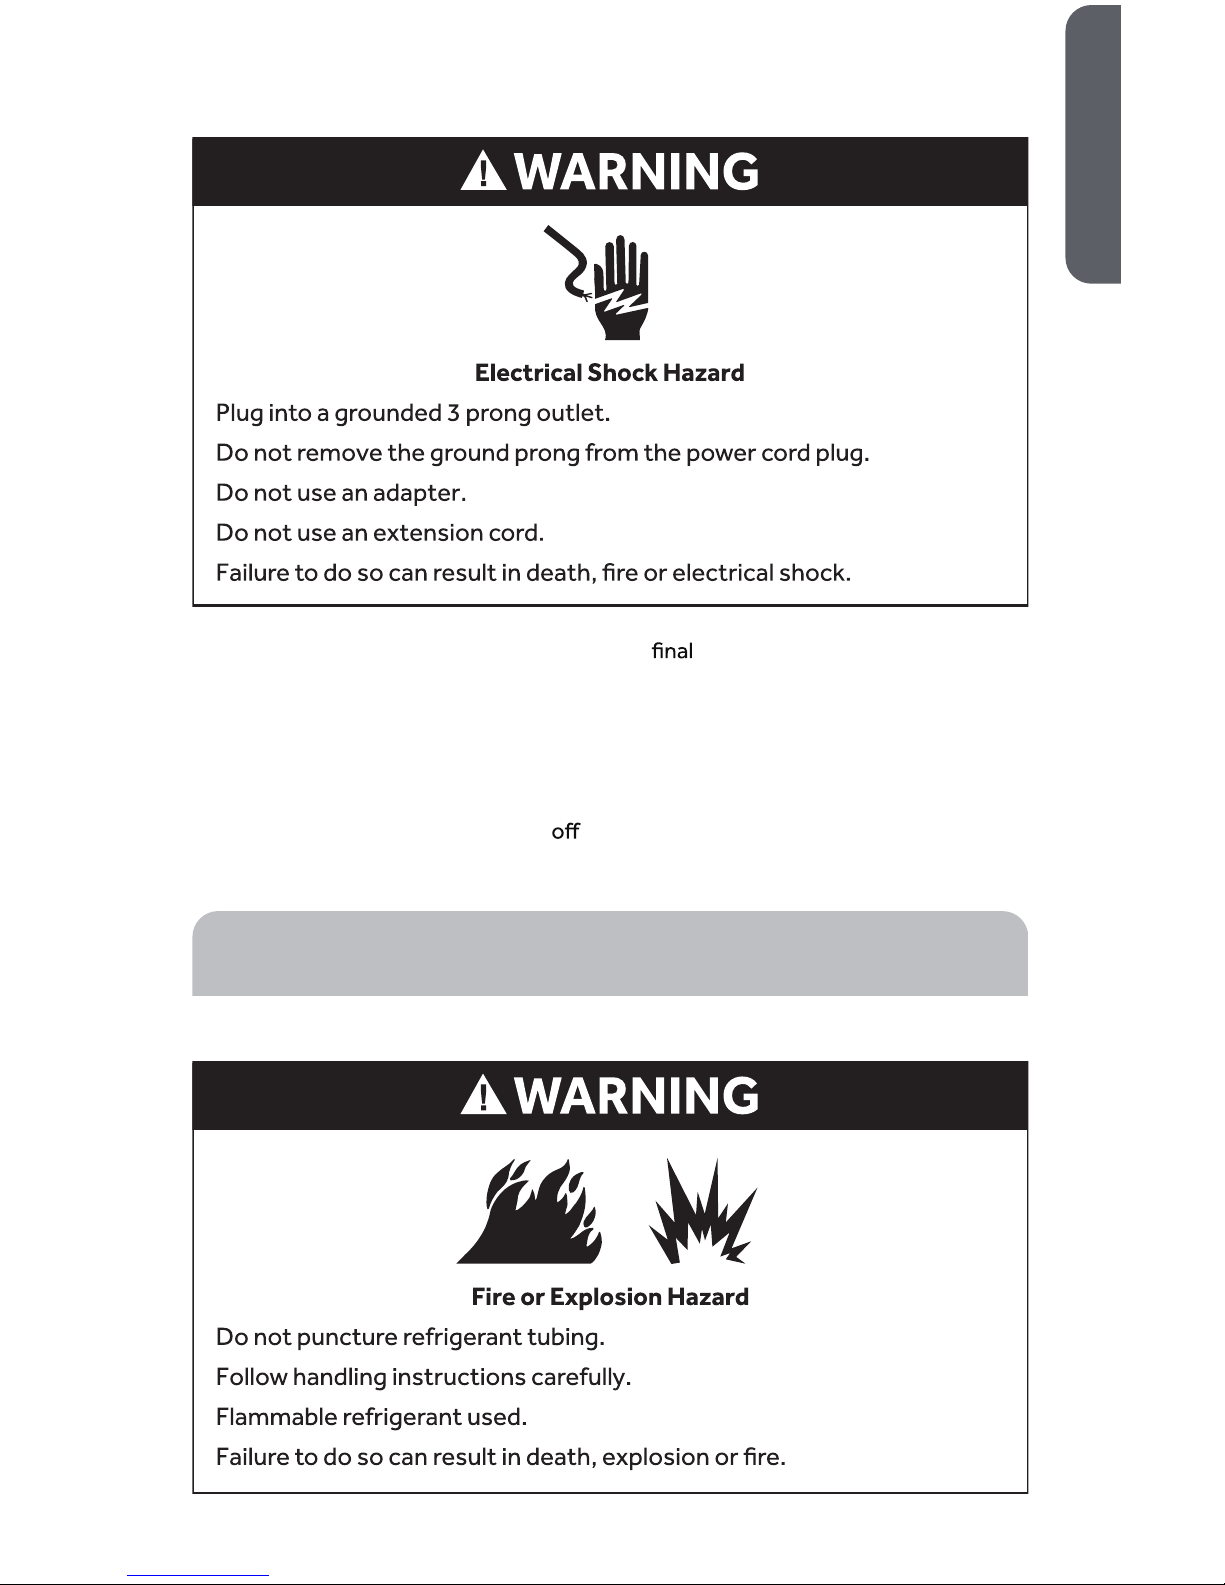
WARNING: To reduce the risk of electrical shock, injury to
persons, or damage when using the beverage center, follow basic
precautions, including the following:
•
Read all of the instructions before using this appliance.
•
Use this appliance only for its intended purpose as described in this
user manual.
•
This appliance must be properly installed in accordance with the
installation instructions before it is used. See grounding instructions
in the installation section.
•
Flammable refrigerant used. Do not use mechanical devices to
defrost beverage center. Do not puncture refrigerant tubing.
•
Flammable refrigerant used. To be repaired only by trained service
personnel. Do not puncture refrigerant tubing.
•
Flammable refrigerant used. Dispose of properly in accordance with
federal or local regulations.
2
ENGLISH
IMPORTANT SAFETY
INSTRUCTIONS
•
Flammable refrigerant used. Follow handling instructions carefully.
Risk of re or explosion due to puncture of refrigerant tubing.
•
Disconnect power before servicing.
•
Replace all parts and panels before operating.
•
Do not repair or replace any part of the appliance unless specically
recommended in the manual. All other servicing should be referred to
a qualied technician.
•
Plug into a grounded 3 prong outlet.
•
Do not remove ground prong.
•
Do not use an adapter.
•
Do not use an extension cord.
•
This beverage center should not be recessed or built-in in an enclosed
cabinet. It is designed for freestanding installation only.
•
Do not store foods in beverage center. Interior temperature may not
be cool enough to prevent spoilage or the temperature may cause
bacteria growth.
•
Use
nonammable cleaner.
•
Keep
ammable materials and vapors, such as gasoline, away from
beverage center.
•
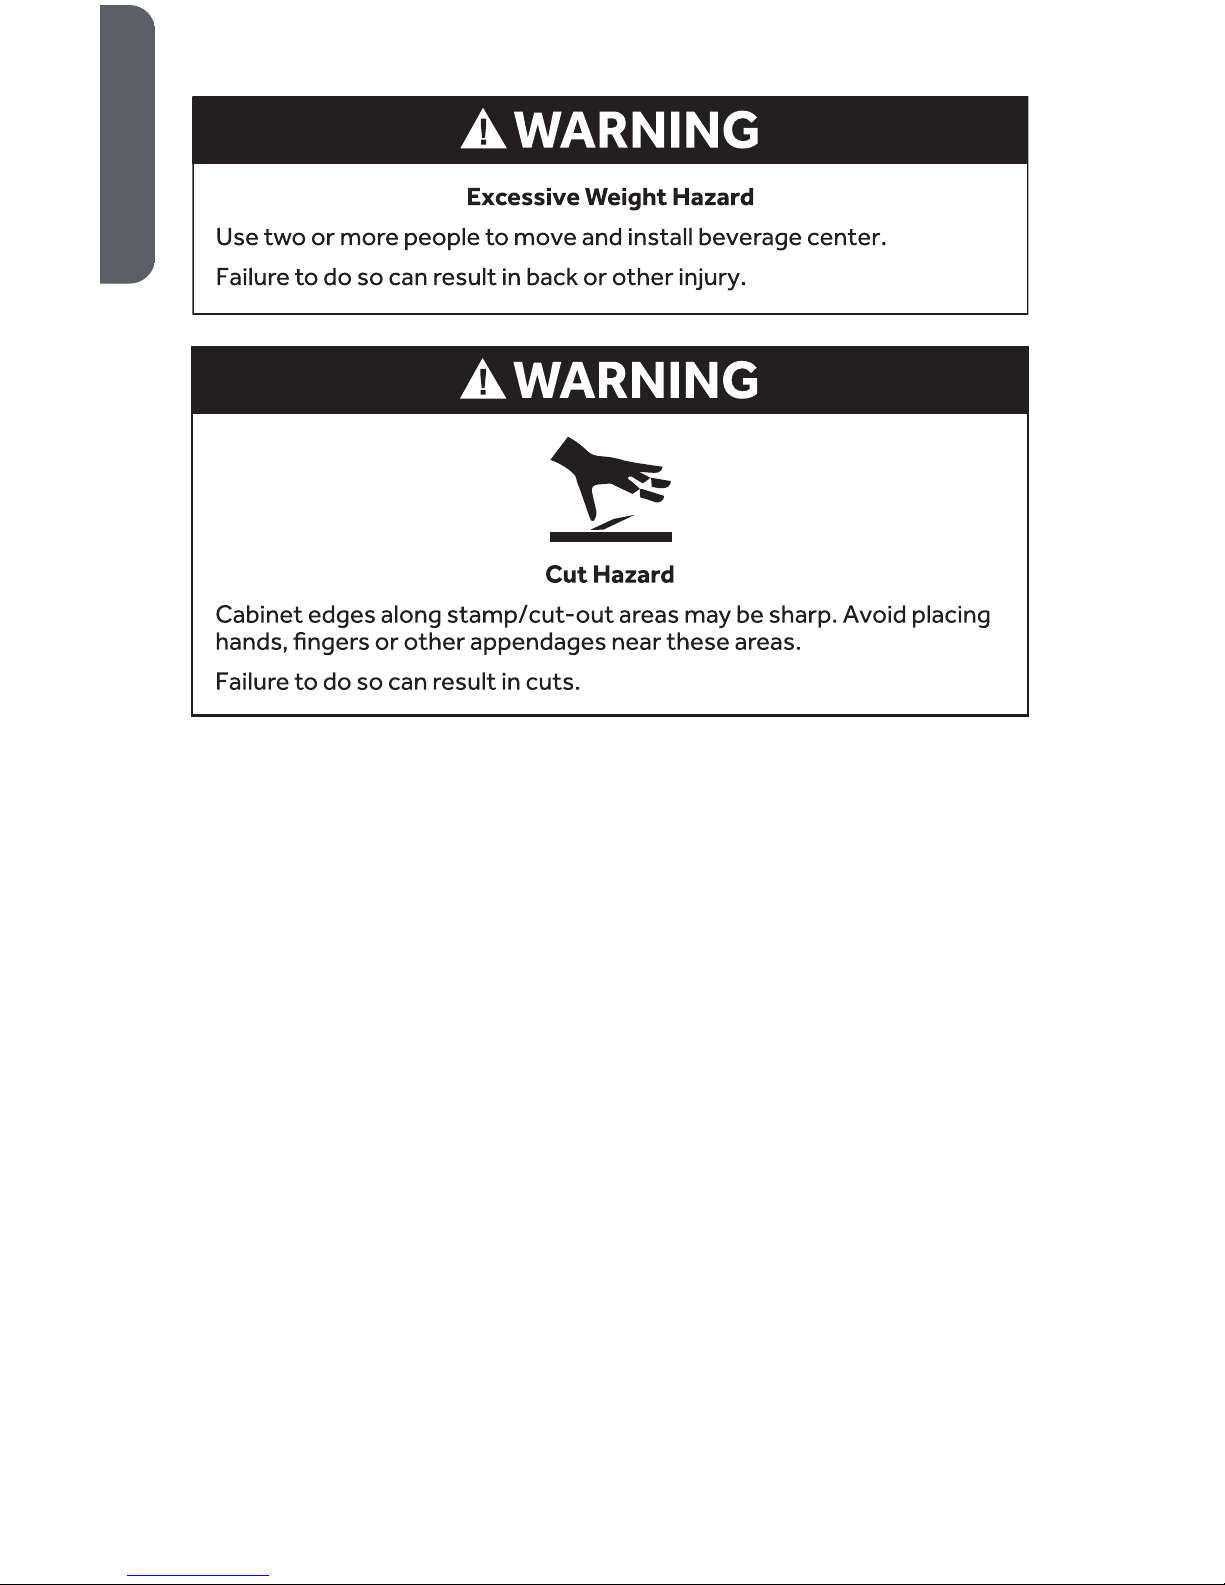
Cabinet edges along stamp/cut-out areas may be sharp. Avoid
placing hands, ngers or other appendages near these areas.
•
If your beverage center is not being used, remove the door. This will
reduce the possibility of danger to children.
•
Use two or more people to move and install beverage center.
•
This appliance is designed for indoor use only and should not be used
outdoors.
•
Close supervision is necessary if this appliance is used by or near
children. Do not allow children to play on, with, or inside this
appliance.
•
Do not sit or stand on top of the appliance.
READ AND SAVE THESE
INSTRUCTIONS
State of California Proposition 65 Warnings:
WARNING: This product contains one or more chemicals known to the
State of California to cause cancer.
WARNING: This product contains one or more chemicals known to the
State of California to cause birth defects or other reproductive harm.
3
ENGLISH
PROPER DISPOSAL OF YOUR OLD REFRIGERATED
APPLIANCE
WARNING
Suffocation Hazard
Remove door or drawer(s) from your old refrigerated appliance.
Failure to do so can result in death or brain damage.
IMPORTANT: Child entrapment and suocation are not problems of the past.
A junked or abandoned refrigerated appliance is still dangerous – even if it will
sit for “just a few days.” If you are getting rid of your old refrigerated appliance,
please follow these instructions to help prevent accidents.
Before You Throw Away Your Old Refrigerated Appliance:
•
Remove the door(s), lid and/or drawer(s).
•
Leave the shelves in place so that children may not easily climb inside.
Important information to know about disposal of refrigerants:
Dispose of refrigerated appliance in accordance with Federal and Local
regulations. Refrigerants must be evacuated by a licensed, EPA certied
refrigerant technician in accordance with established procedures.
4
ENGLISH

PARTS AND FEATURES
A
Full-width Shelves (4)
B
LED Light
C
Temperature Control
D
See-through Glass Door
E
Recessed Door Handle
F
Leveling Legs (2)
5
ENGLISH
A
B
C
D
E
F
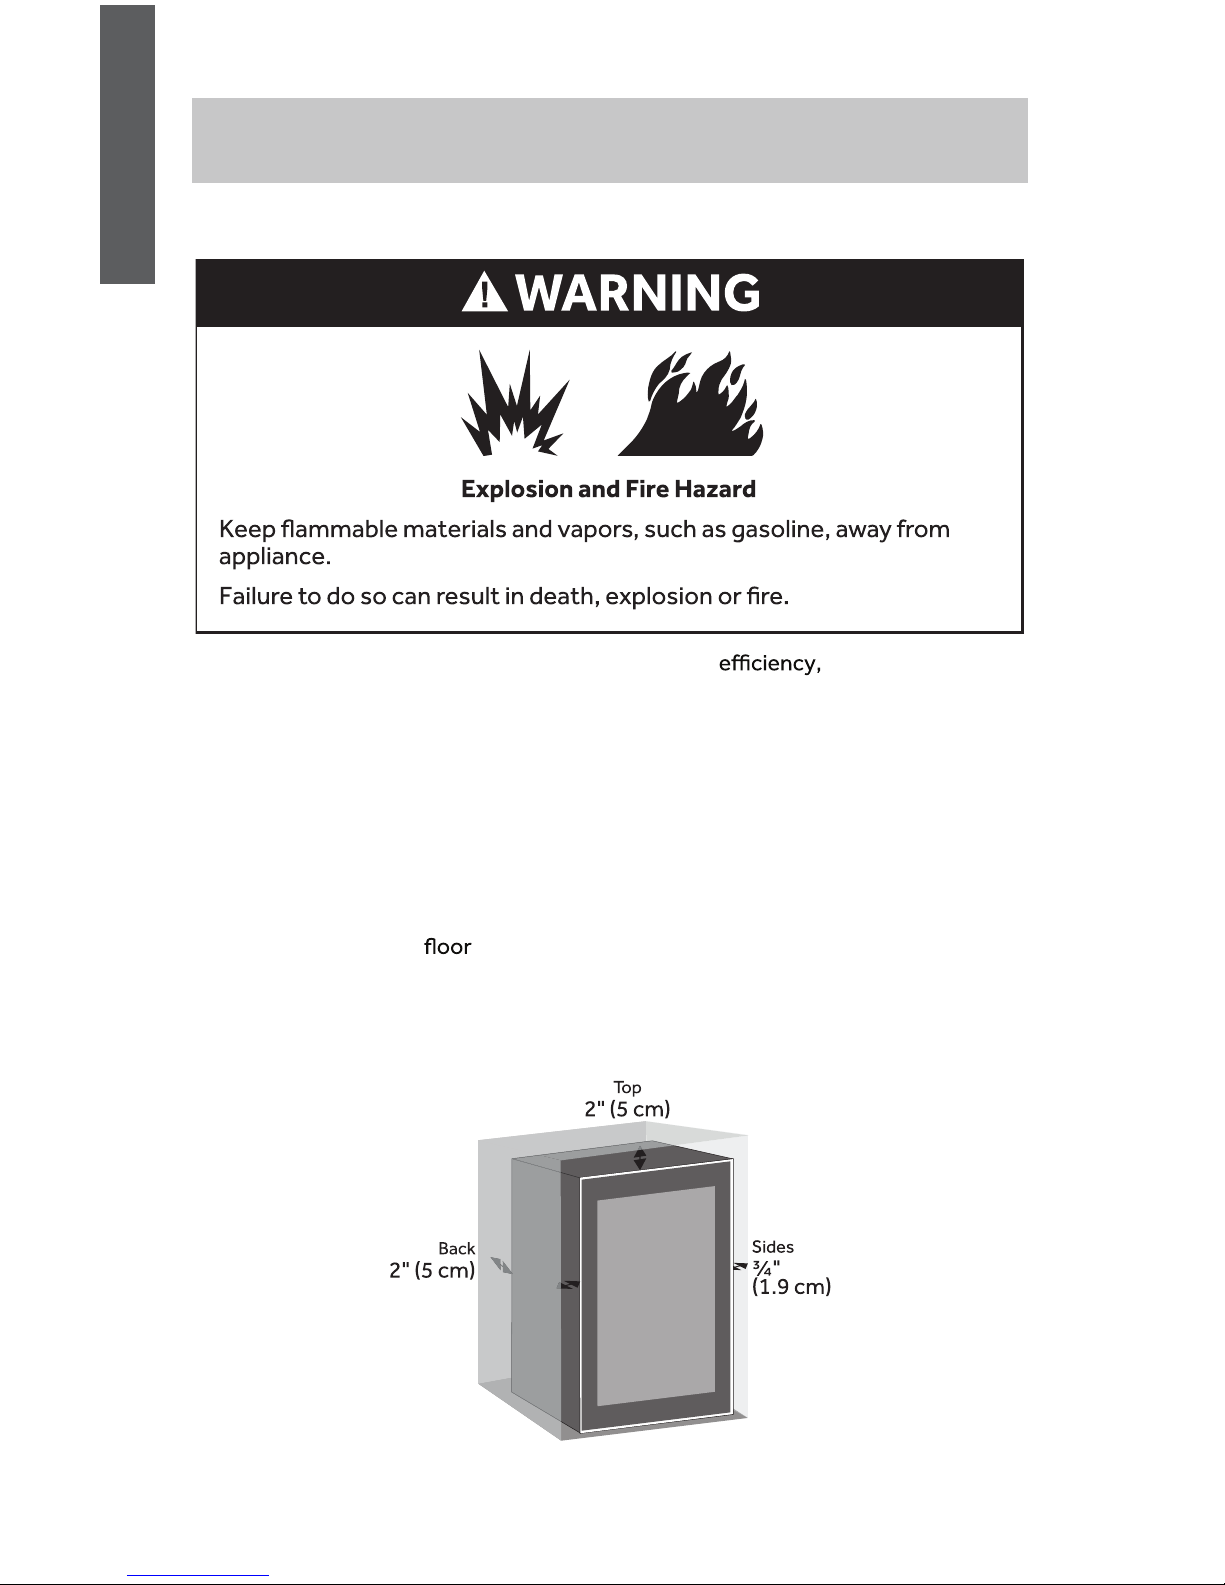
INSTALLATION REQUIREMENTS
LOCATION REQUIREMENTS
To ensure the beverage cooler operates at optimum you should install it
in a location where there is proper air circulation and electrical connections.
•
This appliance is designed for indoor use only and should not be used outdoors.
Do not install your beverage cooler in any location that is not properly insulated
or heated e.g. garage etc. Your beverage cooler was not designed to operate in
temperature settings below 55°F (13°C) or above 90°F (32°C).
NOTE: When the room temperature is colder than the control set
temperature, the beverage coolercooling will not operate until the room
temperature becomes warmer than the set temperature.
•
Select a suitable location for the beverage cooler on a hard even surface away
from direct sunlight or heat source e.g. radiators, baseboard heaters, cooking
appliances etc. Any unevenness should be corrected with the leveling legs
located on the front and rear corners of the beverage cooler.
RECOMMENDED CLEARANCES
6
ENGLISH
ELECTRICAL REQUIREMENTS
Before you move your beverage cooler into its location, it is important to make
sure you have the proper electrical connection.
Recommended Grounding Method
A 115 volt, AC only 15-amp fused, grounded electrical supply is required. It is
recommended that a separate circuit serving only your beverage cooler be
provided.
Use an outlet that cannot be turned
by a switch.
Do not use an extension cord.
INSTALLATION INSTRUCTIONS
STEP 1 - UNPACK BEVERAGE COOLER
7
ENGLISH
IMPORTANT:
•
Handle with care when moving to avoid either damaging the refrigerant
tubing or increasing the risk of a leak.
•
While unpacking, keep the refrigerator upright. If it is necessary to tilt the
beverage cooler more than a 45° angle, wait 2 hours before plugging the
beverage cooler into the outlet.
NOTE: The waiting time allows the refrigerant to settle which avoids
possible damage to the compressor and the sealed system.
1. Use two or more people to move and install beverage cooler.
2. Remove all packaging material. This includes the foam base and all adhesive
tape holding the beverage cooler accessories inside and outside.
3. Inspect and remove any remains of packing, tape or printed materials before
turning on the beverage cooler.
4. Dispose of/recycle all packaging materials.
CLEAN BEFORE USING
After you remove all of the packaging materials, clean the inside of the refrigerator
before using it. See the cleaning instructions in “Beverage Center Care.”
8
ENGLISH

STEP 2 - DOOR REVERSING
(Optional)
If you want to reverse the door swing so that the door opens from the opposite side,
perform the following steps:
TOOLS NEEDED
•
⁵⁄₁₆" Hex-head Wrench
•
3 mm Hex Key
•
Putty Knife
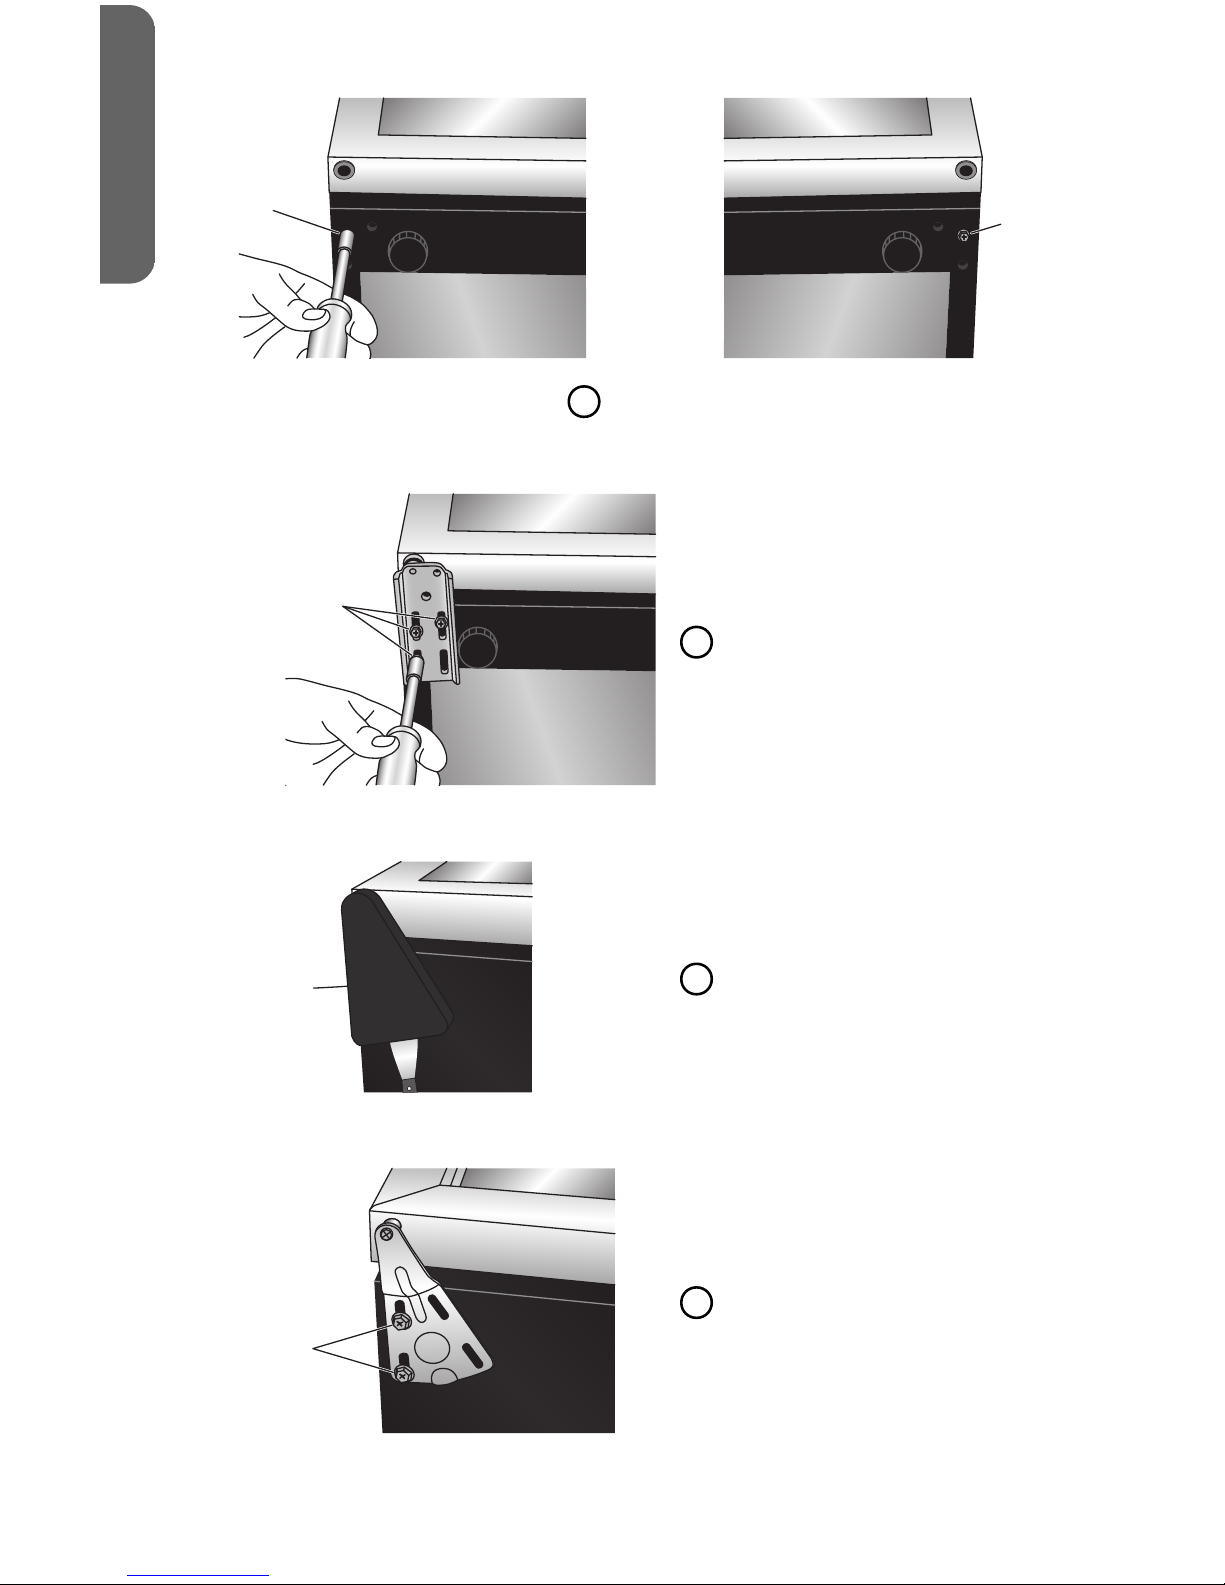
REMOVE AND REPLACE THE DOOR
IMPORTANT: The door is heavy and fragile, and the door front is glass. To
avoid door glass breakage, use both hands, and grasp only the sides of the door
to remove.
1. Unplug or disconnect power.
2. Using two or more people, gently lay the beverage cooler on its back.
3. Using a ⁵⁄₁₆" hex-head wrench, remove the three hexagonal screws fastening
the bottom hinge to the cabinet, and set aside.
a
A
Bottom Hinge Screws
4. Remove the bottom hinge and the two washers. Set the washers aside.
5. Using a 3 mm hex key remove the hinge pin from the bottom hinge, and then
reinstall the hinge pin in the hole next to the hole from which it was removed.
Replace the two washers.
a
b
A
Hinge Pin
B
Washers
6. Remove the screw from the bottom of the cabinet and move it to the matching
hole on the opposite side.
9
ENGLISH
a
a
A
Screw
7. Using the three hex-head screws removed earlier, reinstall the bottom hinge on
the opposite side.
a
A
Screws
8. Using a putty knife, gently pry upward on the back edge of the top hinge cover
to remove.
a
A
Hinge Cover
9. Using a ⁵⁄₁₆" hex-head wrench, remove the two screws fastening the top hinge,
and then remove the hinge.
a
A
Top Hinge Screws
10. Using the putty knife remove the hole plug from the door and the two hole
plugs from the cabinet, and then replace them in the holes remaining from
removing the top hinge.
10
ENGLISH
 Loading...