

Page 1
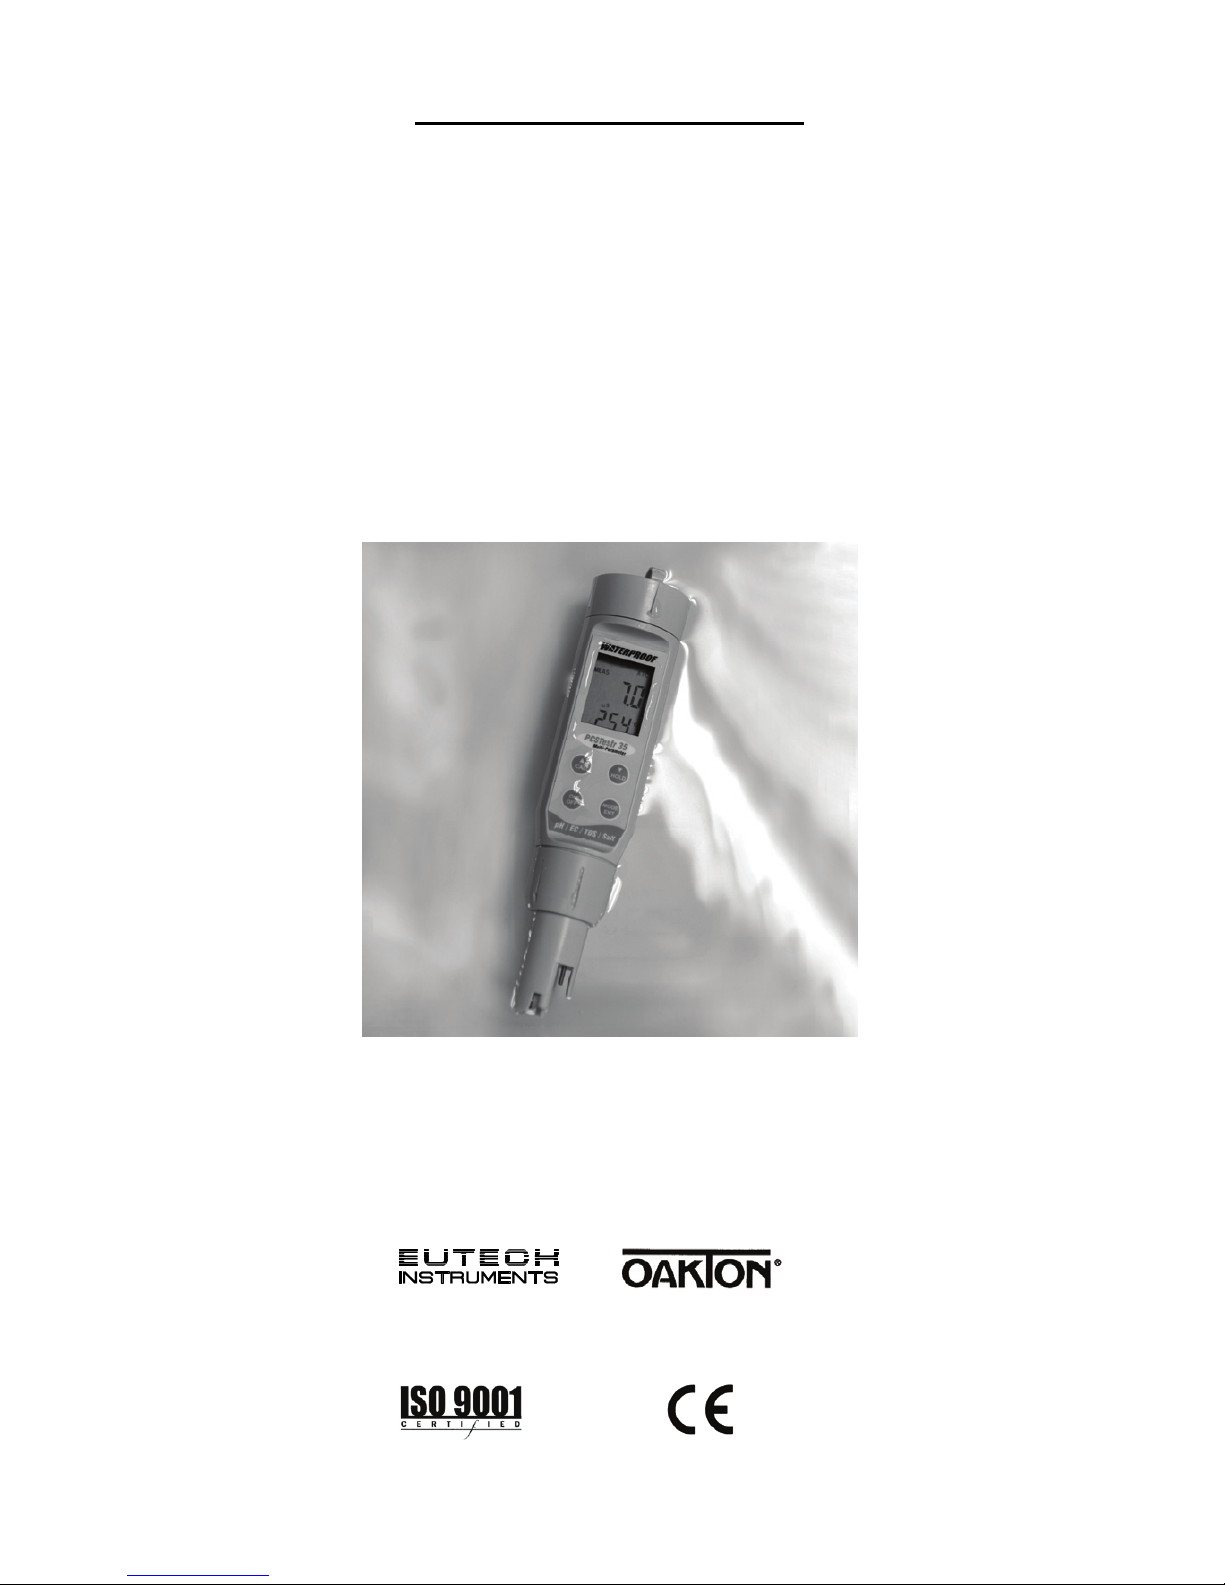
QUICK GUIDE
MULTI-
PARAMETER
TESTER 35
pH/ Conductivity/ TDS/
Salinity/ Temperature
PCSTestr35, PCTestr35, PTTestr35
Technolo
gyM
adeEa
sy...
Part of Thermo Fisher Scientific
68X441601 Rev 0 Jan’08
Page 2

Thank you for purchasing the
multi-parameter tester. Please use
the following instructions to set up
and calibrate your tester before
taking measurements.
There are 3 stages to execute
before using your meter:
STAGE 1 : Conditioning and
temperature calibration
STAGE 2: Setup the system
and the parameters
STAGE 3 : Calibrate the
parameters
BEFORE YOU BEGIN
you must first load batteries,
condition the tester and calibrate
the temperature.
BATTERIES
Twist and unscrew the top
cover and insert the 4 batteries
(LR44 1.5V) as shown in this
picture. Note the polarity.
2
Page 3

3
STAGE 1
CONDITIONING
Condition your tester by
immersing it in tap water for at
least 30 minutes before use.
DO NOT use de-ionized water.
CALIBRATING THE
TEMPERATURE
Before taking measurements, it
is important to calibrate your
tester to read accurately. This
procedure is only done once in
a long while as the calibration
for temperature will remain
accurate unless used under
severe conditions.
FOLLOW THESE STEPS:
1. Press the ON key
The tester is now in
Measurement mode.
2. Place a standard
thermometer in the sample for
reference. If using a mercury
thermometer, allow some time
to reach correct reading.
3. Then place tester into the
same sample. Allow some time
for sensor to stabilize.
4. Press MODE to select the pH
measuring mode. Then press
the CAL key.
Page 4
5. Press the HOLD key for 5
seconds and wait till screen
changes.
6. Use the c and d keys to
manually adjust until you reach
the correct temperature of
your sample according to the
reference thermometer.
7. Press ENT to confirm and
return to the PH measuring
mode.
NOTE: Once calibrated, you
don’t have to do this for any
other parameter as
temperature is common to all.
CHANGING THE
SENSOR
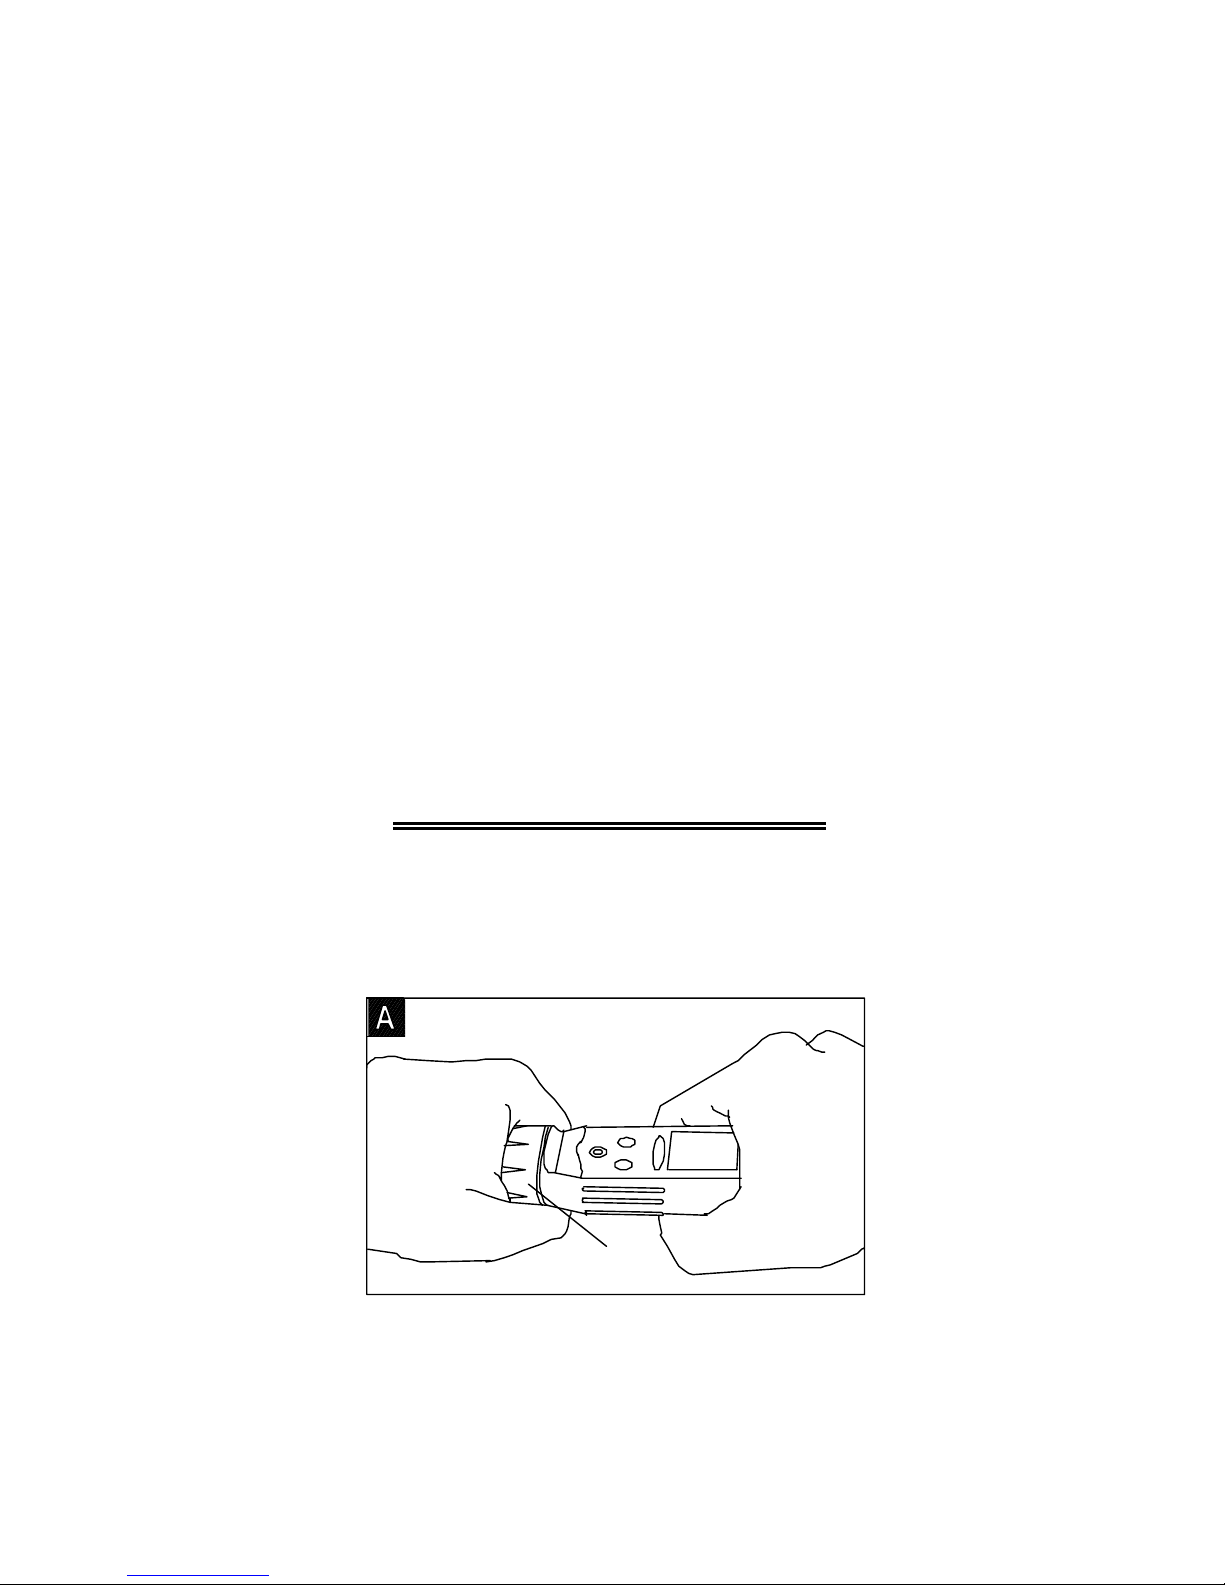
Rot ate co ll ar
away from you
Ribbed collar
After twisting the ribbed collar off,
hold the electrode/sensor module
and pull straight out.
4
Page 5
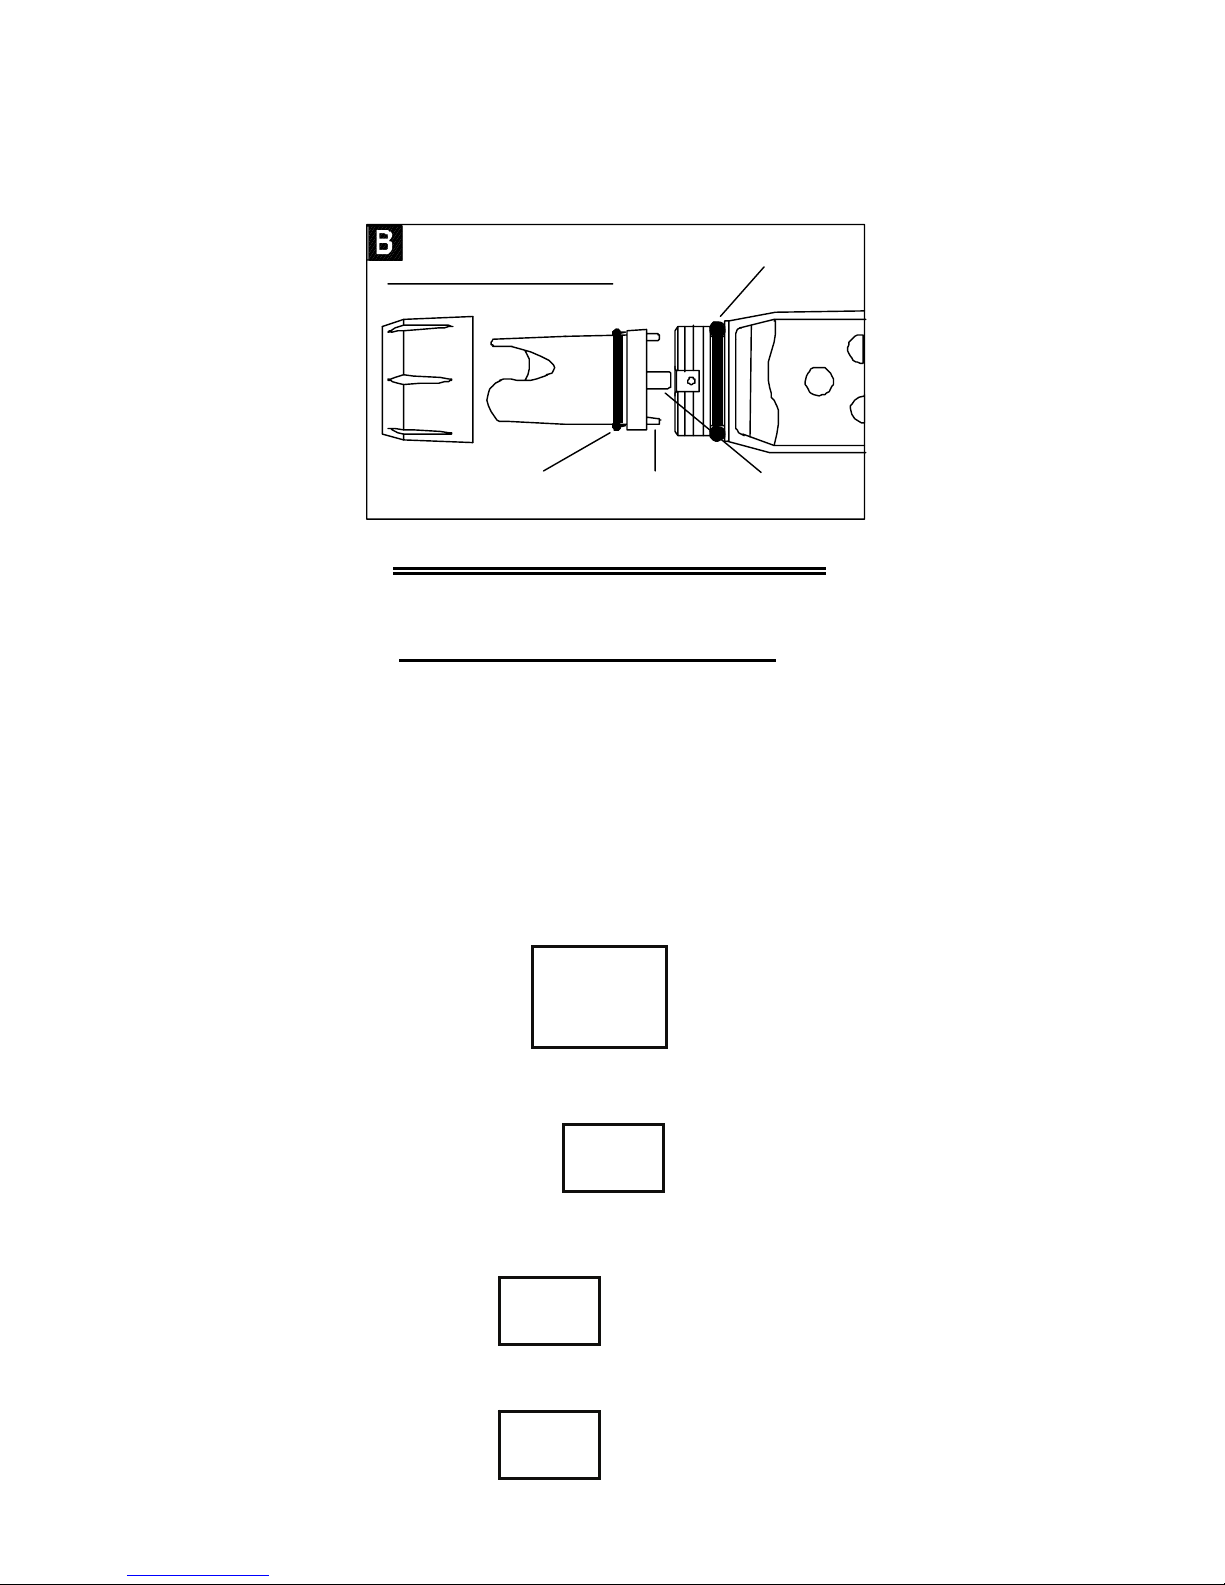
Then replace the new
electrode/sensor, ensuring the pins
are lined up to the connector
before inserting.
5
Insert Electrode Module
Electrode Module
Large O-Ring
Smal l O -Rin g S mal l Ta b Lar g e Tab
STAGE 2 : SET UP
1. Turn your tester off. Then
hold the ENT key down and
press ON/OFF to enter the
Setup mode.
2. The display will show
SEt
UP
SEt
UP
Then it will automatically
change to
PArA
3. Use the c and d keys to
select
PArA
Or
4. Press ENT to confirm.
SySt
Page 6

Select SYST to enter the main
menu for general settings.
OR
Select PARA to set up the
various parameters – pH,
COND, TDS, Salinity.
SAVING THE SET UP
After any manual changes have
been done during set up, you
are required to save the setting.
1. Press both c and d keys at
the same time and release.
2. Press again until you see
SA
YES
3. Use either c OR d key to
toggle between YES and NO.
Selecting YES will save your
changes/ calibrations.
NOTE: If you did NOT make
changes or recalibrate, this
screen will NOT appear.
6
Page 7
SYSTEM SETUP
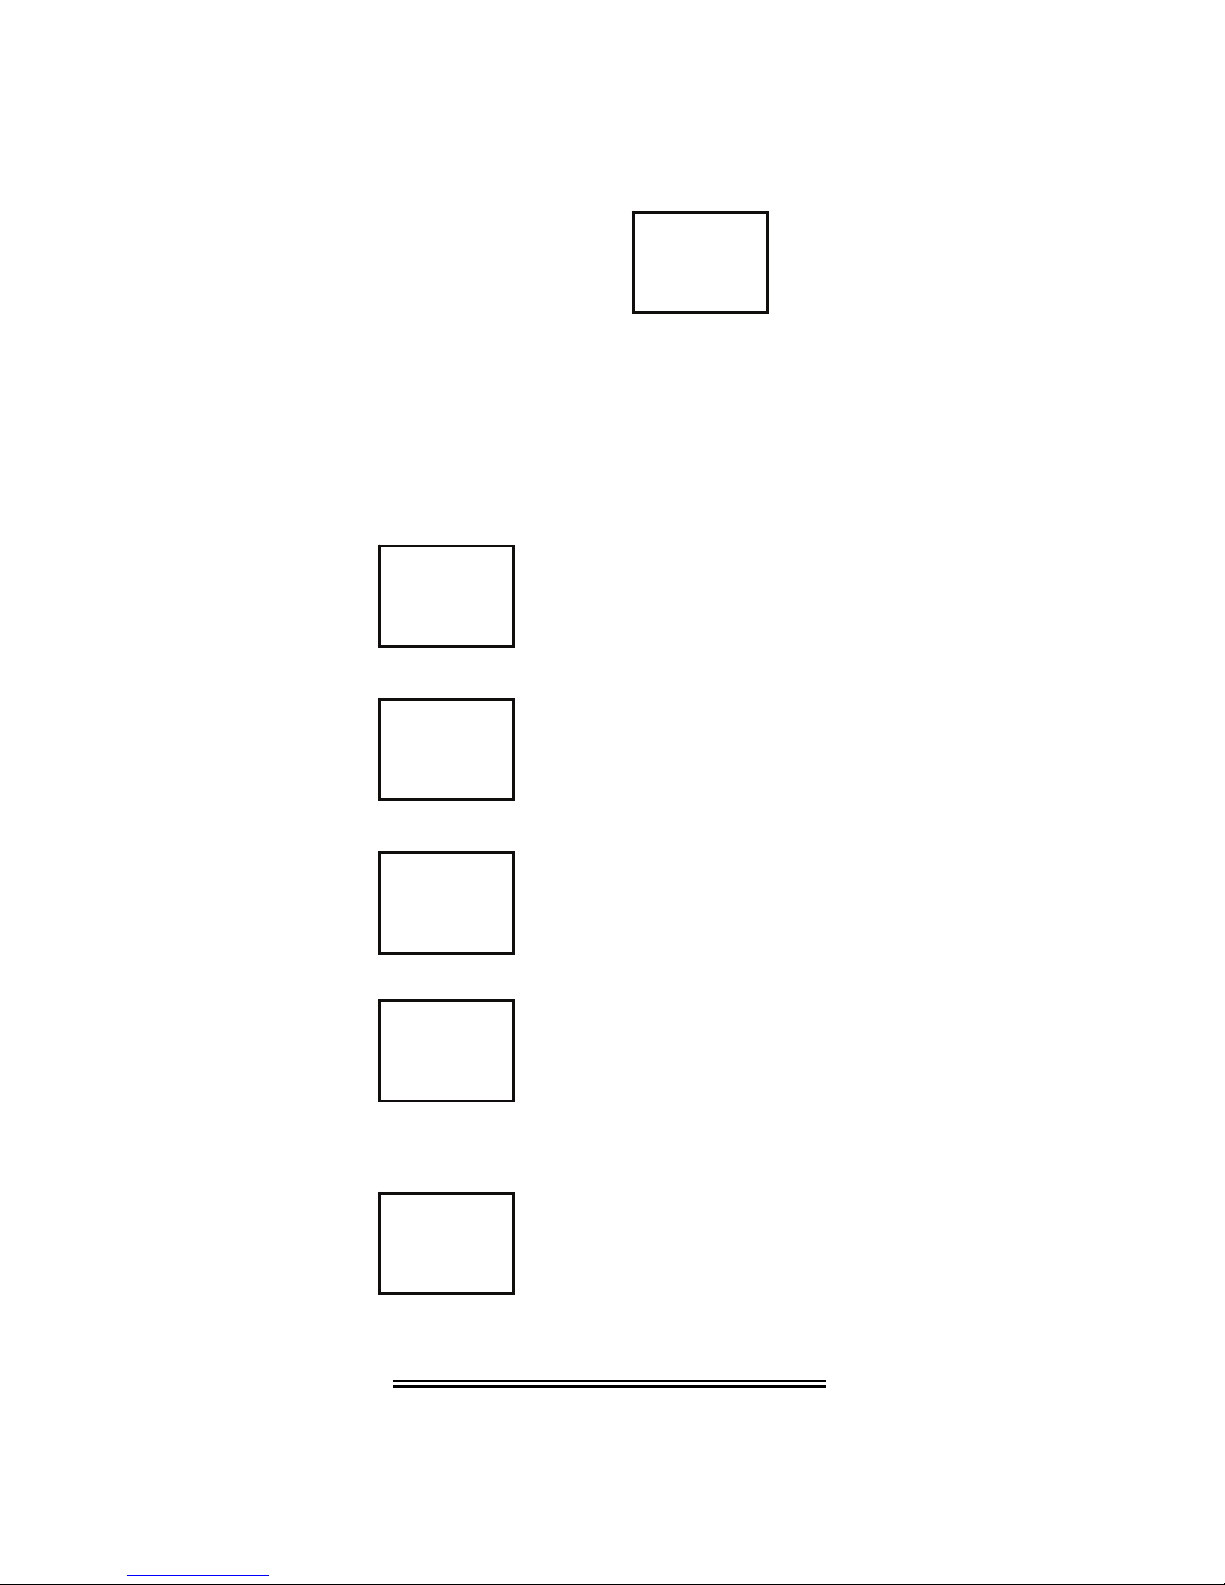
After selecting SYST, you will
see the display
Unit
rST
Use the c and d keys to
switch to other settings and
press ENT to select :
UNit
rST
Use this to reset the
calibration or factory
settings.
Use this to turn on or
off the AUTO OFF
function.
SET
A.off
Use this to set the
temperature
coefficient.
SET
TC
Set
ATC
Use this to turn on or
off the Automatic
Temperature
Compensation.
Use this to set the
temperature unit in
degrees Celsius or
Fahrenheit.
Set
°C°F
7
Page 8
Resetting previous
calibrations or
factory settings
1. When the above screen
appears, press ENT to select.
2. Use the c and d keys to
toggle between
and
3. To reset previous calibrations
in the pH parameter, select
by pressing ENT.
Then select by
pressing ENT to
reset your previous settings
OR
use the c and d keys
to select to reset the
factory settings.
Press ENT to confirm and
return to
4. To reset calibrations for all
other parameters, press ENT to
select and follow
the same instructions as point
number 3 above.
8
rst
unit
EC
rST
FCT
rST
CAL
rST
PH
rST
EC
rST
PH
rST
UNit
RST
Page 9
Turning the AUTO
OFF function on or
off
SET
A.off
1. Use the c and d
keys from
UNit
rst
and find
Set
a. off
2. Press ENT to select it.
Use the c and d keys to
switch between
9
and
NO
a. off
YES
a. off
Selecting YES means your
tester will turn OFF
automatically if it is not used
after a 8.5 minutes.
Setting the
Temperature
Coefficient
SET
TC
1. Use the c and d
keys from
UNIT
RST
and find
SET
TC
Page 10
2. Press ENT to select it.
The standard coefficient used is
2.1. Press ENT if this is correct
for your sample.
If not, use the c and d keys to
manually set the coefficient,
then press ENT when done.
Turning on or off the
Automatic
Temperature
Compensation
1. Use the c and d
keys from
and find
2. Press ENT to select it.
3. Use the c and d keys to
select either
OR
Then press ENT.
10
Selecting YES will activate the
automatic temperature
compensation function.
Selecting
NO will activate manual
function.
NO
ATC
YES
ATC
Set
ATC
UNit
RSt
Set
ATC
Page 11
Setting up the
temperature unit
of measurement
Set
°C°F
1. Use the c and d
keys from
UNit
RST
and find
Set
°C°F
2. Press ENT to select it.
3.Use the c and d keys to
select either
OR
11
°C
SET
Press ENT when done.
°F
SET
4. Save the changes as
described on page 6.
-END OF SYSTEM SETUP –
PARAMETER
SETUP
1. Return to
and press ENT.
SEt
UP
2. Then use the c and d keys
to select
PArA
and Press ENT.
Page 12
You will see the
PH
displayed on the screen first.
3. Use the c and d keys to
scroll to COND, TDS or SALT
parameter.
4. Press ENT to select the
parameter you want to set up.
12
Setting up the pH
Buffer
PH
1. At the above display, press
ENT.
2. Use the c and d keys to
select either
OR
Nist
BUFF
USA
BUFF
Then press ENT to confirm.
3. Again, use the c and d keys
to select either
OR
Five-point calibration or Three
point calibration.
5-PT
CAL
3-pt
CAL
4. Then press ENT to confirm.
This will bring you back to
PH
Page 13
CoND
Setting up the
Conductivity
Parameter
1. From press ENT.
PArA
Then use c and d keys to
select
CoND
2. Press ENT.
3. Then use c and d keys to
select either
OR
13
YES
A.CAL
NO
A.CAL
Selecting YES means the
automatic calibration will be
activated. Press ENT to confirm.
4. Then use c and d keys to
select either
OR
YES
SPC
NO
SPC
Selecting YES means the
Single Point Calibration will be
activated. Press ENT to confirm
and return to the main menu.
Selecting NO means multipoint
calibration will be activated.
Page 14
14
Setting up the TDS
Factor
TDS
1. From press ENT.
PArA
Then use c and d keys to
select
TDS
2. Press ENT.
3. Use the c and d keys to
change the TDS value. For
example:
0.67
FACT
4. Press ENT to confirm and
return to main menu.
Setting up the
Salinity parameter
SALT
1. From press ENT,
PArA
then use c and d keys to
select
SALT
2. Press ENT.
Page 15

3. Then use c and d keys to
select either
OR
15
PPT
UNIT
PER
UNIT
to measure in Parts Per
Thousand as PPT or
Percentage as PER.
4. Press ENT to confirm and
return to the main menu.
5. Save the changes as
described on page 6.
-END OF PARAMETER SETUP-
STAGE 3:
CALIBRATING THE
PARAMETERS
Calibrating PH
1. In the measurement mode
at press the CAL key.
PH
2. Place the tester in the buffer
solution. The bottom reading
will show the correct buffer
value.
3. When the reading has
stabilized, for instance: 3.87 for
a 4.01 buffer, press ENT.
Page 16

4. To continue with another
buffer calibration, simply
remove tester and place in
another buffer solution.
5. Press ENT again to confirm
the buffer value when it has
stabilized.
6. When calibration is done,
press the CAL key to confirm.
Calibrating COND
COND
1. At the display
press the CAL key.
NOTE: In your set up for COND,
the tester must be in AUTO
CAL mode. NOT manual CAL.
2. Place the tester in the buffer
solution.
3. Follow the same instructions
as above for PH calibration –
Points 3 to 6. Press CAL key to
confirm.
For manual calibration, place
tester in the buffer solution
then do the following:
16
Press c and d keys to scroll to
the calibration standard value
Page 17

and press ENT. The tester will
return to measurement mode.
Calibrating TDS
1. At the display
press the CAL key.
2. Place the tester in the buffer
solution.
3. Press c and d keys to scroll
to the calibration standard
value and press ENT. The tester
will return to measurement
mode.
Calibrating SALT
1. At the display
press the CAL key.
2. Place the tester in the buffer
solution.
3. Press c and d keys to scroll
to the calibration standard
value and press ENT. The tester
will return to measurement
mode.
END OF CALIBRATION SECTION
SALT
TDS
17
Page 18

18
HOLD FUNCTION
To stop measurements and
lock on to a reading, press the
HOLD key. The tester will not
change the last reading on the
screen until the HOLD key is
pressed again.
This function is useful when
taking measurements in a dim
environment. It allows you to
hold the reading until you are
able to move to a well-lit area.
MEASUREMENT
1. To start measuring, press the
ON/OFF key.
2. Press MODE/ ENT until you
get to your desired parameter.
3. Place tester in your sample
and it will start measuring
immediately.
Page 19

19
Warranty
The waterproof testers are
warranted to be free from
manufacturing defects for 1
year and the electrode module
is warranted for 6 months,
unless otherwise stated. If
repair, adjustment or
replacement is necessary and
has not been the result of
abuse or misuse within the
time period specified, please
return the tester – freight
prepaid – and correction will
be made without charge. Out
of warranty products will be
repaired on a charge basis.
Return of Items
Authorization must be
obtained from your distributor
before returning items for any
reason.
When applying for
authorization, please include
information regarding the
reason the item(s) are to be
returned.
Note: We reserve the right to
make improvements in design,
construction and appearance
of products without notice.
Prices are subject to change
without notice.
Page 20

20
For more information on
Eutech Instruments’/ Oakton
Instruments’ products, contact
your nearest distributor or visit
our website listed below:
Oakton Instruments
P.O Box 5136,
Vernon Hills, IL 60061, USA
Tel: (1) 888-462-5866
Fax: (1) 847-247-2984
E-mail:
Web-site: www.4oakton.com
Eutech Instruments Pte Ltd.
Blk 55, Ayer Rajah Crescent,
#04-16/24 Singapore 139949
Tel: (65) 6778 6876
Fax: (65) 6773 0836
E-mail:
Web-site: www.eutechinst.com
 Loading...