

Page 1
Instruction Sheet
Instruction Sheet
Microprocessor based,
Microprocessor based,
pH Tester 2
pH Tester 2
with ATC that floats!
with ATC that floats!
Page 2

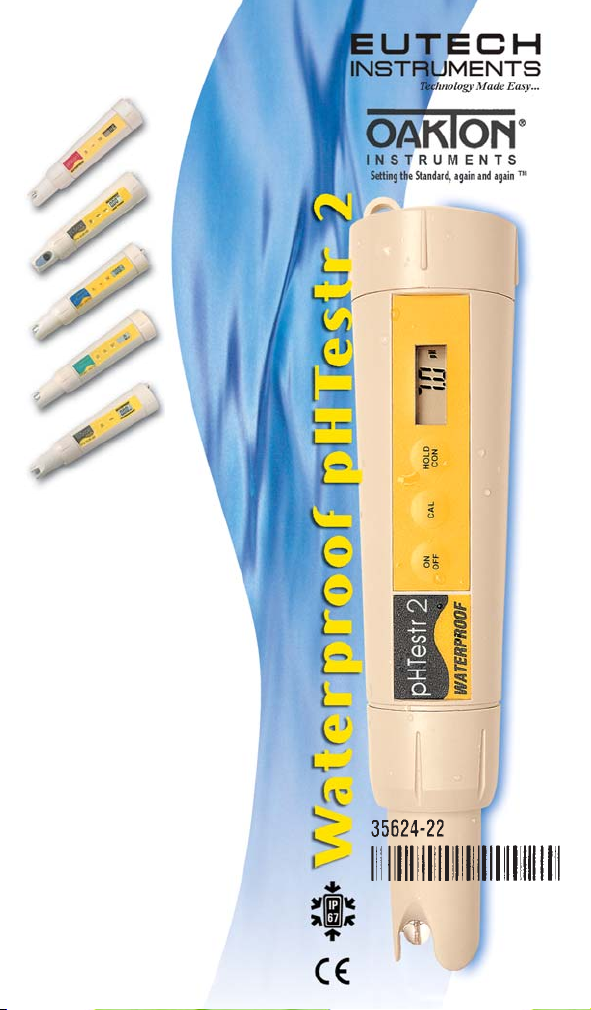
Waterproof pHTestr 2
Microprocessor-based Pocket pH Tester
BEFORE USE: DO NOT BE ALARMED if
white crystals form around the cap. This
is normal.
CONDITIONING: Condition the unit before
first use. Remove cap, immerse electrode
in tap water for 1 hour. This activates
electrode and dissolves crystals.
CALIBRATION: This tester allows up to
3-point calibration. Start with pH 7
buffer. Press ON/OFF button to power
on. Immerse electrode in chosen buffer
about 2 cm deep and stir gently. Wait
for displayed value to stabilize
at or near the pH buffer chosen.
Next, press the CAL button to enter
calibration sequence. When dis-
play flashes continuously, press
HOLD/CON button to confirm. If
necessary, proceed to next buffer
value (pH 4 or pH 10) and repeat
the calibration procedure. You
have successfully calibrated
the instrument.
pH TESTING: • Remove cap
and press ON/OFF button on
the keypad to turn on the
pHTestr 2 • Dip the electrode
about 2 cm into the test solution
• Stir once, let the display
stabilize. Note the pH • Press
HOLD/CON button if you wish
to hold the reading. Press again
to release • Press the ON/OFF
button to shut off • Tester au-
tomatically shuts-off after 8.5
minutes to conserve batteries!
MAINTENANCE IS EASY: Rinse the
electrode in tap water after use. In harsh
samples, take readings quickly, rinse electrode
immediately afterwards with tap water to
remove residues and prevent electrode
contamination. To maximize electrode life, place
a small piece of clean cloth or sponge in the
cap, moisten with tap water (NOT DE-IONIZED
WATER), and replace cap.
CHANGING BATTERIES: Twist open the
battery compar tment lid. Remove old
batteries and replace with fresh ones noting
polarity as shown in battery compartment.
Re-calibrate after battery change.
Keypad
USEFUL NOTE: • To avoid cross contami-
nation, rinse between samples and buffer
with tap water • Calibration should be done
regularly or daily to ensure good tester
accuracy.
ERROR MESSAGES: E1 - Weak batteries.
Need replacement. E2 - Wrong or bad buffer
value (out of range) or the electrode is failing.
OR - Over range signal or electrode is not in
contact with sample solution.
68X247717 2/05 Rev 5
Page 3

Twist-off
Battery
Compartment
Amplified
Electrode
REMOVE THE OLD ELECTRODE
(Picture A)
Rotate collar away from you
Rubber
Gripper
Band
Ribbed Collar
(Picture B)
REPLACE THE ELECTRODE
Small O-Ring
(Hidden)
Replacement
Electrode
Large O-Ring
Lanyard
Connection
Replaceable
Sensor
SPECIFICATIONS
Model pHTestr 1, 2
pH Range -1.0 to 15.0 pH
Resolution 0.1 pH
Accuracy pHTestr 1 : ± 0.2 pH
ATC Yes (Except pHTestr 1)
Calibration pHTestr 1 :
Auto Power- Yes
Off/Hold
Auto-Buffer Yes (pH 4, 7, & 10)
Recognition
Battery Life 3 x 1.4 V (Type: A 76,
Dimension/ Tester : 15 x 3.8 cm ; 90g
Weight Boxed : 18.5 x 7 x 5 cm ; 170g
pHTestr 2 : ± 0.1 pH
1-point (4.0, 7.0 or 10.0)
pHTestr 2 :
3-point (4.0, 7.0 & 10.0)
LR44, V13GA) ; >60 hours
Eutech Instruments
Oakton Instruments
www.eutechinst.com
www.4oakton.com
Made in Malaysia
68X247809 2/05 Rev 3
Insert Electrode
Small Tabs
Large Tab
ELECTRODE REPLACEMENT: One of the
benefits in selecting the Waterproof pH
tester is that you can now replace the
electrode whenever needed keeping the
body of the tester intact. When the tester
fails to calibrate, gives fluctuating readings
in buffers, or shows error messages ‘E2’
or ‘OR’ in a buffer, and the procedures in
the maintenance section do not help,
you need to change the electrode (see
pictures for instructions).• With dry hands
firmly grip the ribbed collar (Picture A)
and slowly twist the body counter
clockwise until it is completely removed.
Save both the electrode module collar
and O-ring inside for later use. Pull the
old electrode module straight out from
the bottom of the tester • Align the four
tabs on the new module so they match
the four slots on the tester (Picture B).
Note: Older testers may have only two
slots. In this case, break off the two small
tabs using a needle-nose pliers • Gently
push the module onto the bottom end to
fully seat it in position. Put the small Oring all the way into the ribbed collar.
Then push the collar on over the module
and hand-tighten by firmly twisting it
clockwise.
 Loading...