

Euro Video EVD-04/100HDS Quick Start Manual

www.eurovideo-cctv. com
4CH DVR Quick Start Guide 120510 P.1
4CH DVR
Quick Start Guide
1. Packing........................................P. 2
2. Hard Disk Installation................P. 3
3. DVD-RW Installation...................P. 4
4. Front Panel Controls..................P. 5
5. Rear Panel Connectors..............P. 7
EVD-04/100HDS

4CH DVR Quick Start Guide 120510 P.2
1. DVR
2. Quick Start
3. IR Remote Control *
Pressed "DVR1" Button before use
4. Battery
5. CD
6. Hard Disk Mount
7. Screws
8. IDE to SATA Power Cord
9. Power Cord
10. SATA Cord
Note: Standard shipping products do not include HDD
4CH DVR Quick Start Guide 120510 P.3
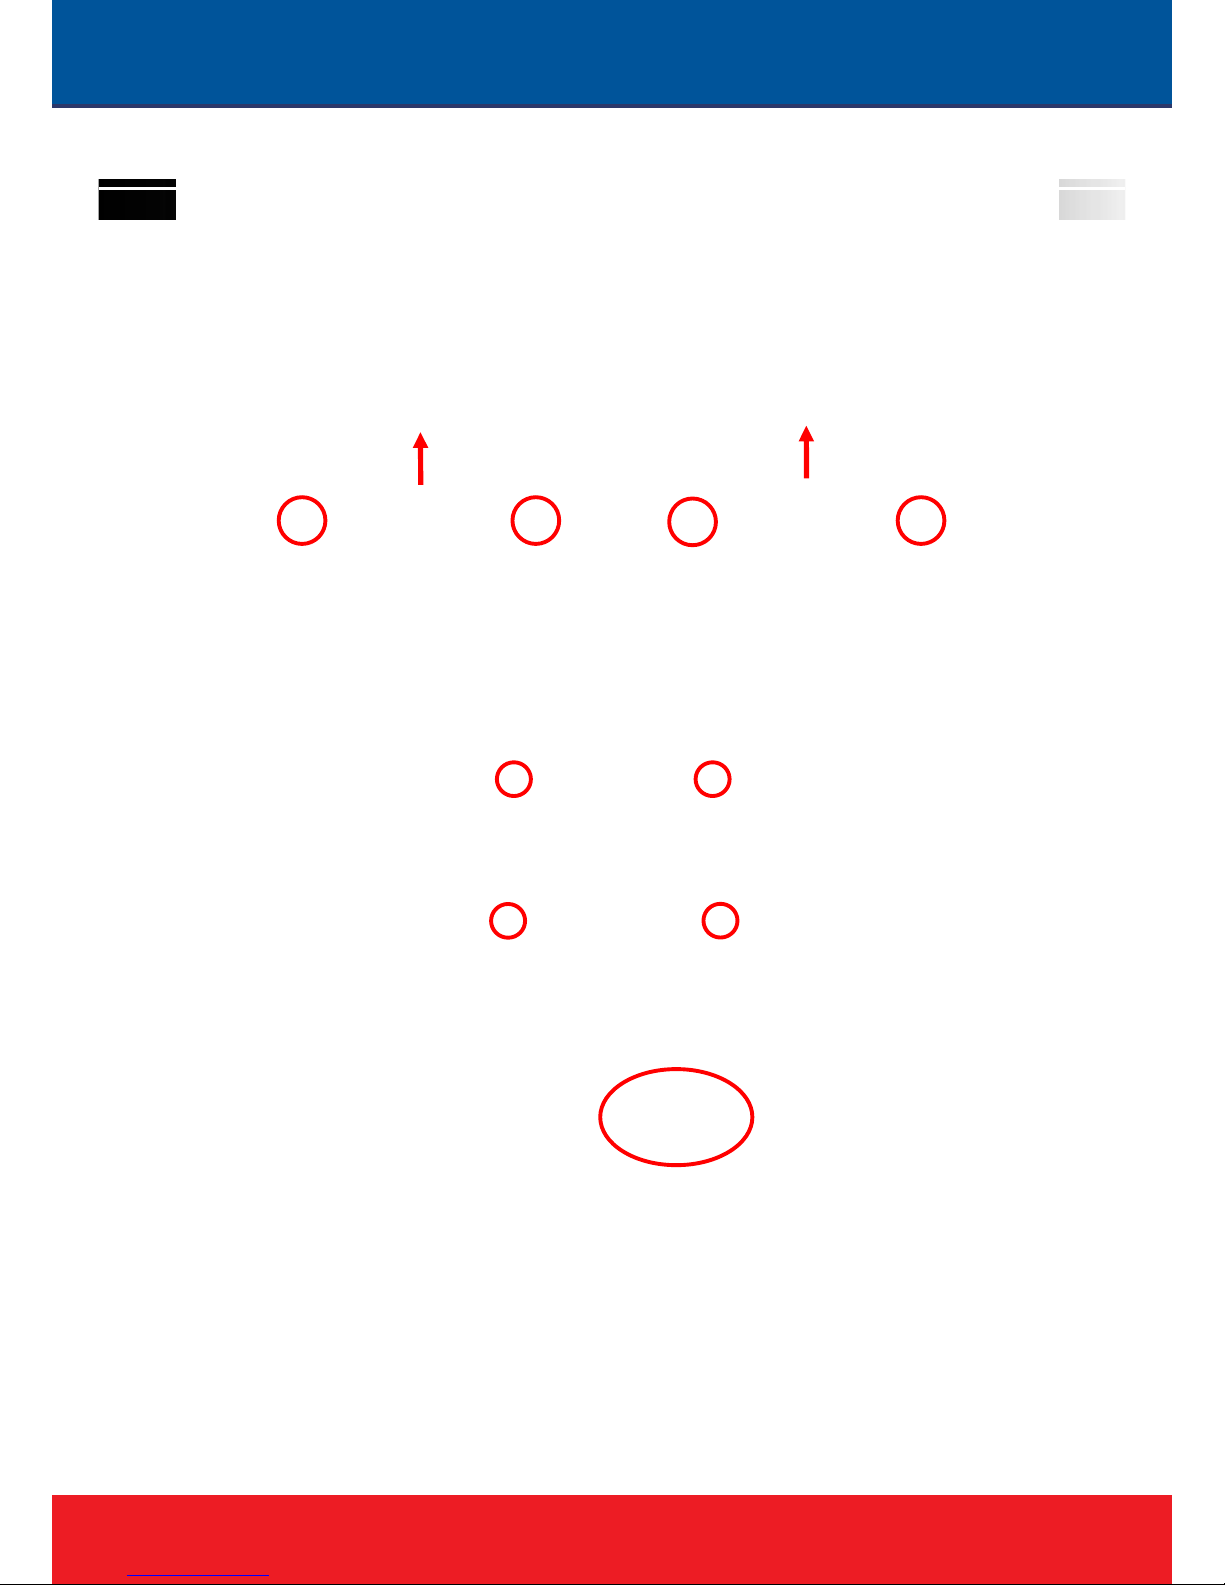
Step 1) Fix the HDD to rack mount with the screws as indicated.
Step 2) Place the HDD on the HDD plate and screw it as indicated.
Step 3) Connect the power and the SATA cables as indicated.
Note: After installation, please initialize Hard Disk before starting to record. For more detailed
information, please check out User Manual 4-9 System Tools for reference.
 Loading...