

Eurotops Versand 29957 Instruction Manual

EP644
LIGHTER CAMERA
INSTRUCTION MANUAL
PLEASE READ THE MANUAL BEFORE FIRST USE. SAVE IT FOR FUTURE
REFERENCE!
THE LIGHTER CAMERA IS DELIVERED UNCHARGED. ON FIRST TIME USE, CHARGE IT
FOR 6 HOURS.
WHEN RECORDING A VIDEO OR TAKING A PHOTO, MAKE SURE THAT THE SIDE OF
THE DEVICE CONTAINING THE SLOT FOR MICRO SD CARD (8) SHOULD BE FACING
DOWNWARDS. THIS WILL AVOID THE VIDEOS AND PHOTOS BEING UPSIDE DOWN
WHEN VIEWING.
SYSTEM REQUIREMENTS
• Windows operating system : Windows XP/Vista/Windows 7 or later version.
• Macintosh operating system : Mac OS X version10.4.11/10.5.8/10.6.4 or later version.
PRODUCT DESCRIPTION
1. Lighter’s head
2. Ignition switch
3. USB port
4. Reset hole
5. ON/ OFF button/ video recording
6. Camera lens: Do not cover the camera
lens when you are taking pictures or
recording videos.
7. LED flashlight
8. Slot for micro SD card
9. LED indicator
10.
Flashlight ON/ OFF
Accessories included: USB cable + CD Driver
INSERTING THE MICRO SD CARD
Before first use, insert a micro SD card (maximum capacity: 32 GB, not included).
Note: To remove the SD card, also proceed as step 2.
1
2
3 4
When the card is
fully inserted, you
will hear a click
CHARGING THE LIGHTER CAMERA
Charging time: About 5-6 hours
NOTES :
- To preserve your battery, please use the device until the battery discharges totally, and charge
at its maximum capacity during the 5 first times of use.
- If the device has not been used for a long time, please fully recharge it before use.
-In order to maximize the capacity of the battery storage, please continue to charge for 30mins
to one hour after the indicator light becomes blue.
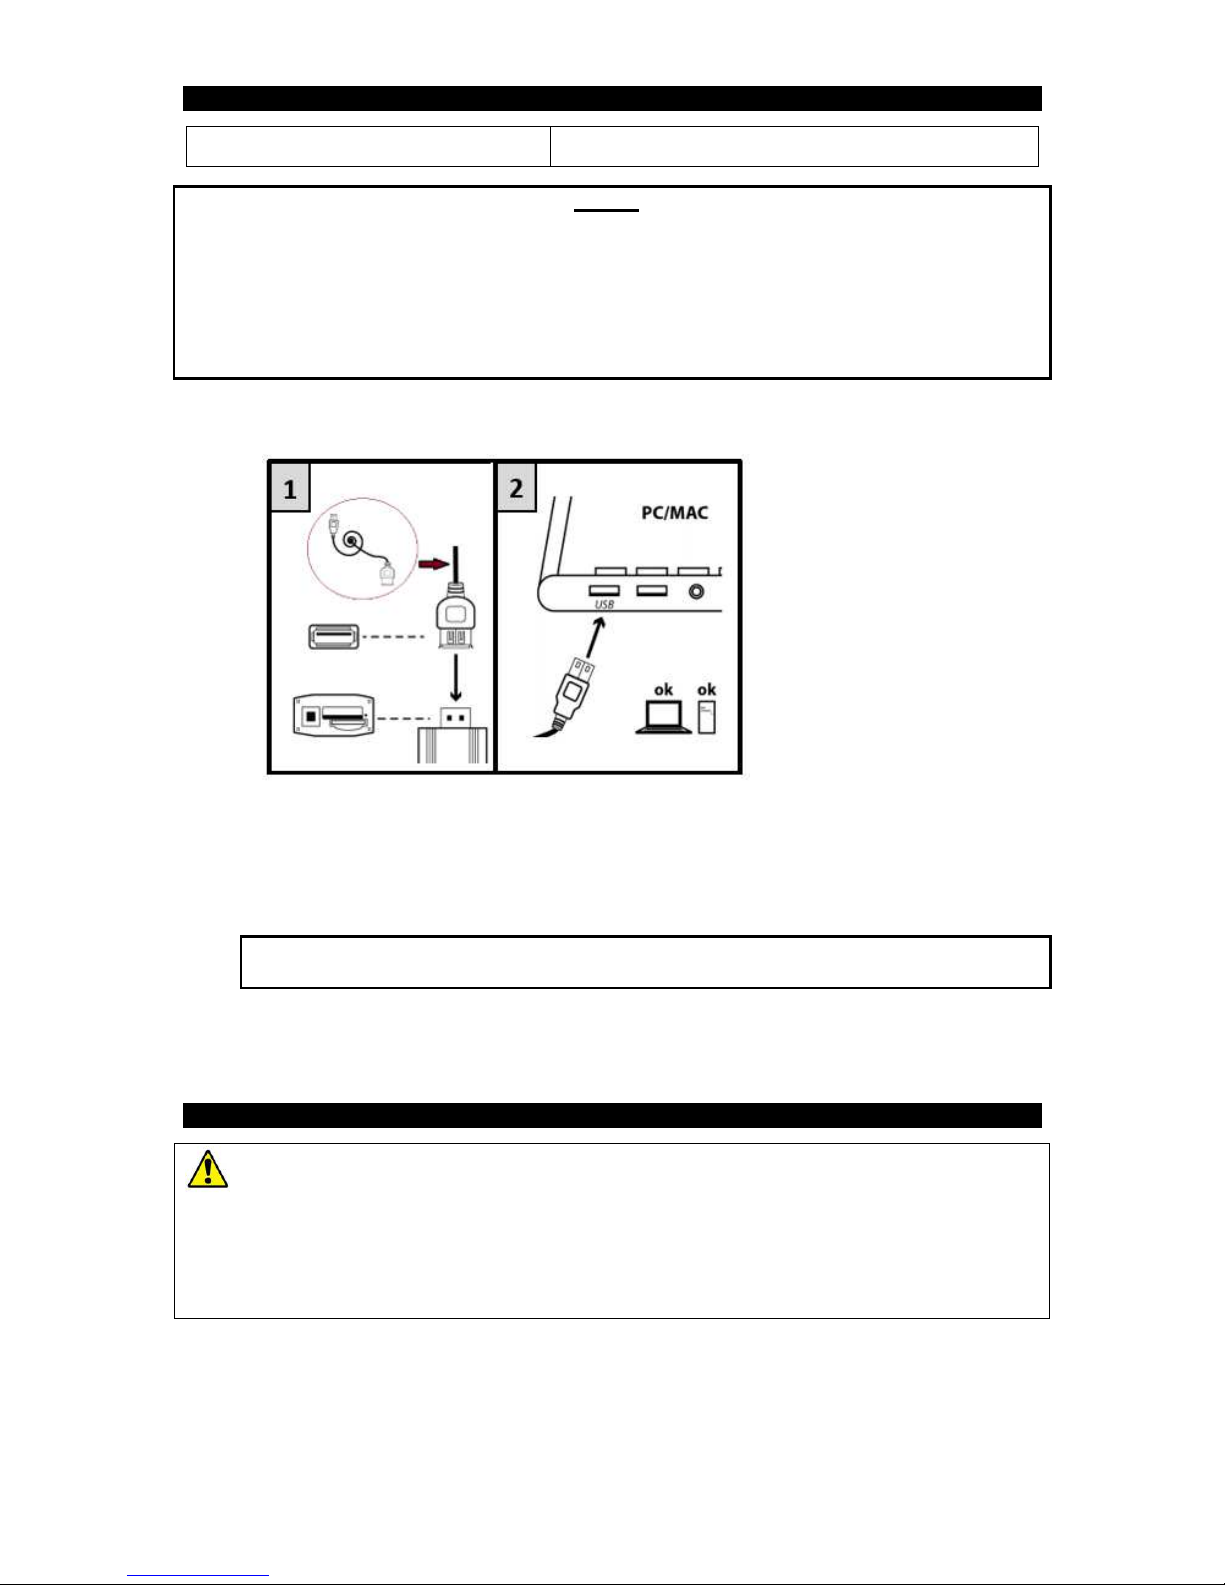
CONNECTION TO USB CABLE (included)
CHARGING
1. After connection to USB port of computer, the red LED indicator turns on. A few
seconds later, the unit vibrates and flashes 3 times in red and blue, and then the
indicator becomes red and blue when charging.
Note: If no memory card is inserted, the blue indicator will be solid red, flashing in blue
when charging.
2. When fully charged, it becomes blue.
3. Then disconnect it to USB port of computer, it vibrates twice and the LED turns off.
SETTING TIME AND DATE
- If the battery is not charged enough, discharged or has not been charged for several
days, the time may reset to factory default settings. In that case, set the correct date and
time again.
-
Always make sure that the device is sufficiently charged to allow the update of the time and
date. So if you plan to make photos and videos regularly, charge it regularly.
Setting recording hour and date (For PC only)
1. Connect the device to your computer.
2. The file directory containing the photos and videos automatically displays. If it does not
display, go to “My Computer” and double-click the removable drive corresponding to the
memory of the device.
3. Right-click just next to DCIM file.
 Loading...