

EURO FIREPLACES Arlberg, Tatra, Arlberg Aqua, Mt Blanc 970, Mt Blanc 970 tunnel Installation Manual
...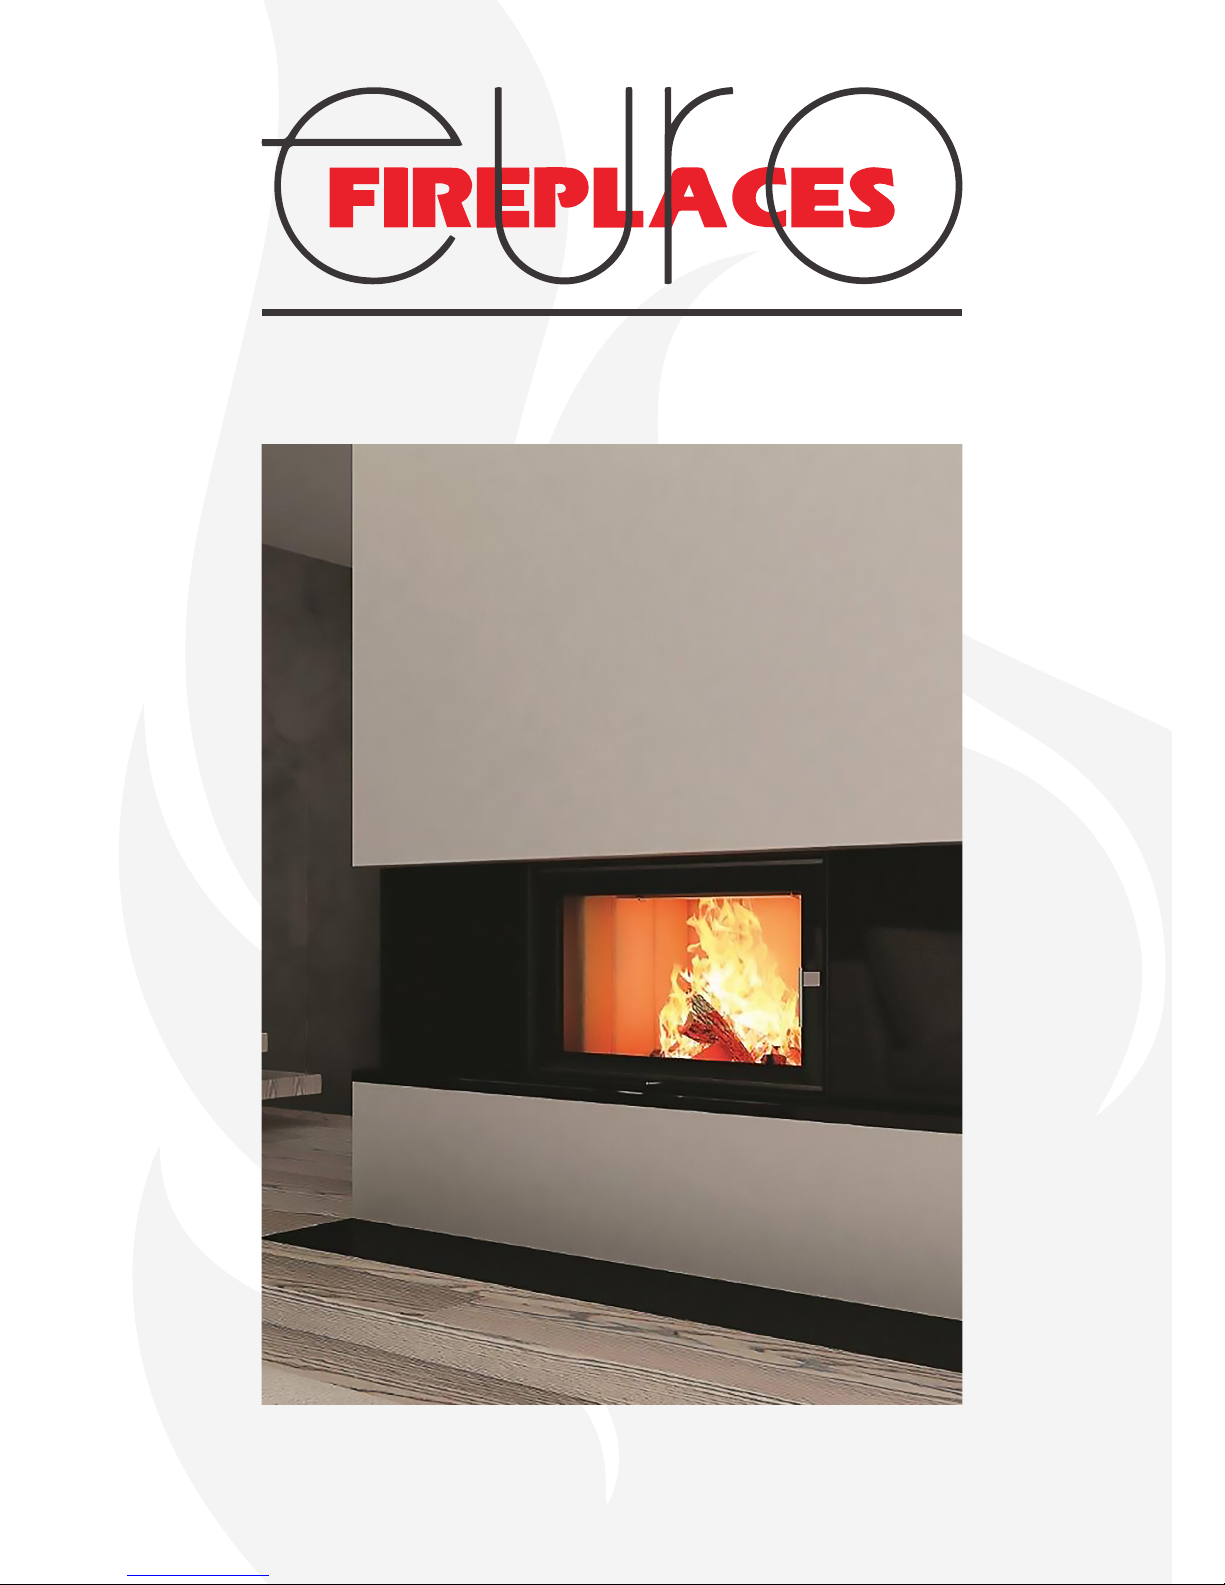
Designer InBuilt Wood Heaters
INSTALLATION GUIDE

Thank you for your purchase of a
Designer Inbuilt Wood heater.
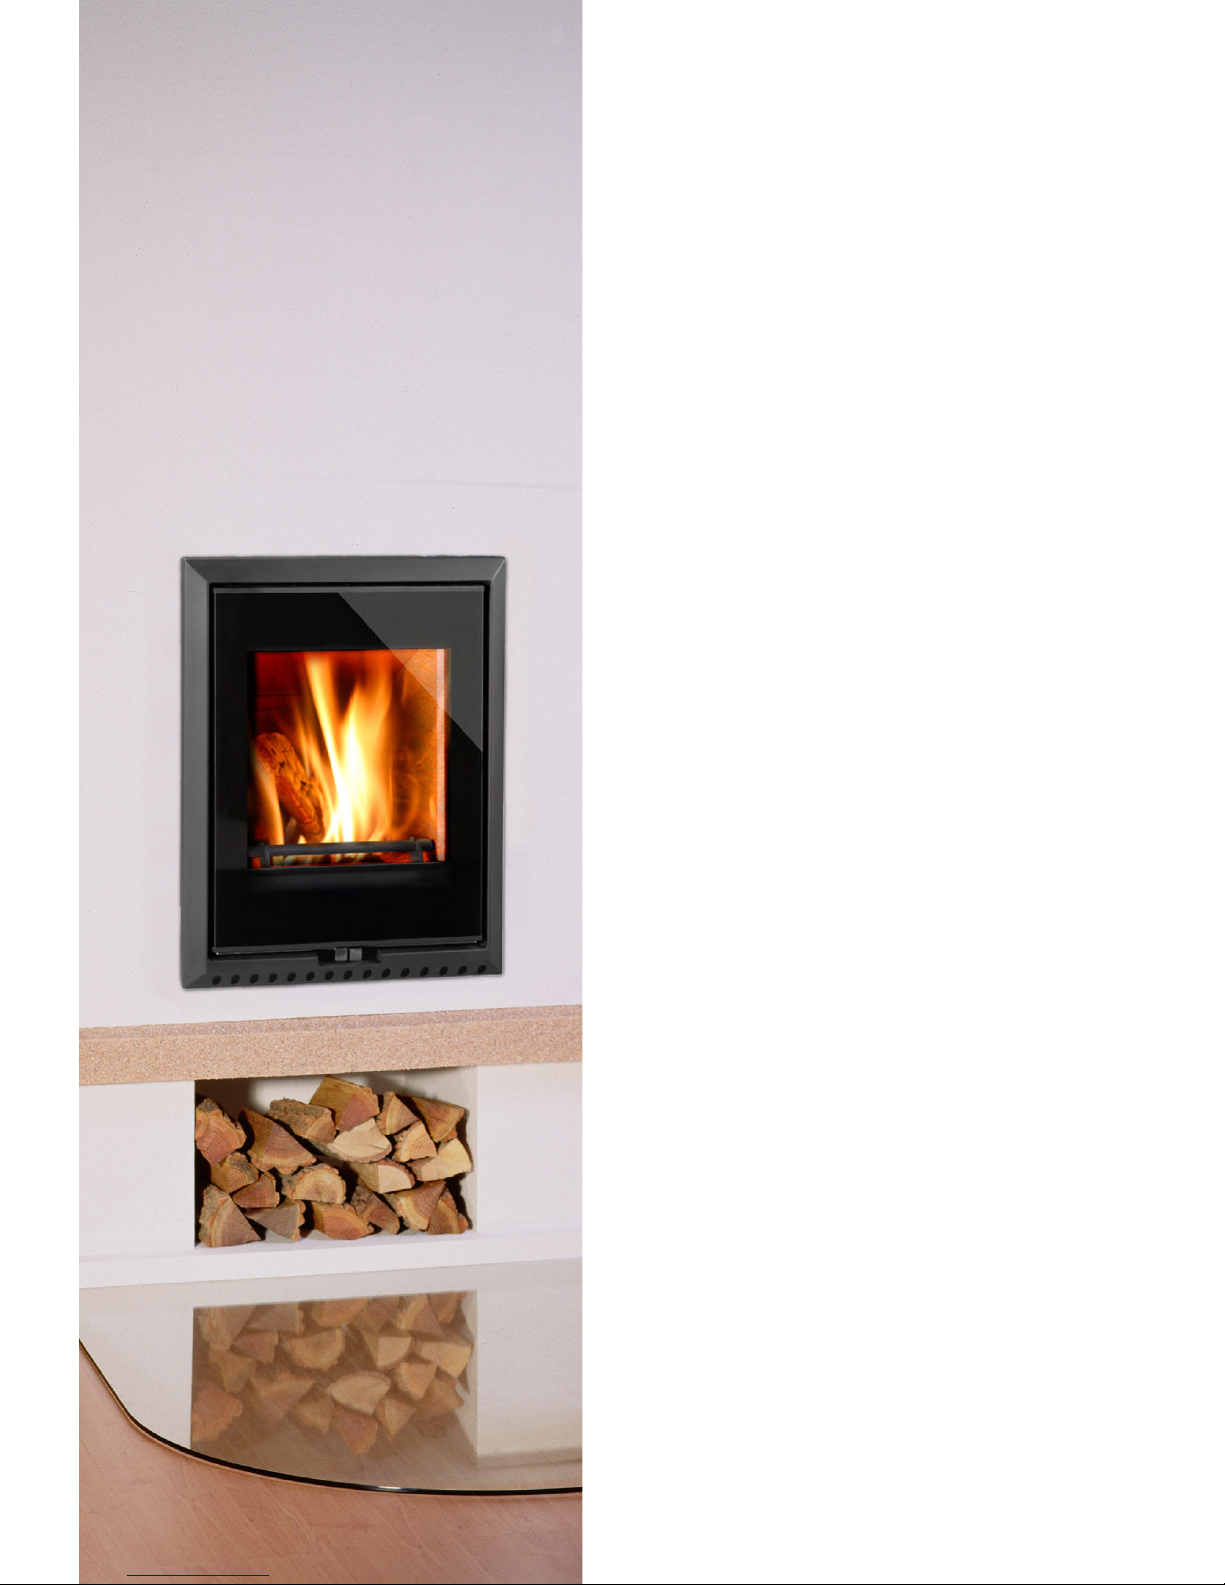
Euro Fireplaces oers a large range of designer InBuilt wood heaters.
While these heaters are best suited to new houses or renovation
projects, installation into an existing replace is also possible with
smaller inserts.
When considering a Euro Fireplace InBuilt, please note that following
the correct installation guidelines is essential to achieve both maximum
eciency as well as safety. Due to the high heat output of these
heaters, an enclosed hotbox is required as well as heat-proong on
any combustible wall (plasterboard, timber, etc...).
All Euro Fireplaces heaters utilize a natural convection system, as well
as radiant heat. Convection allows warm air to travel through your
house, constantly replacing and converting the cold air. It is the most
ecient way to heat an insulated home. No fans or electric components
are required, however intake and outtake vents must be installed to
facilitate this system. Those vents are particularly important in high
convection installations such as Skamol.
Designer InBuilt heaters can be installed with more or less heat bank
depending on the type of installation and the materials used. Heat
bank allows the heater to hold on to heat long after the re has gone
out, storing it in dense building materials such as re bricks, stone or
concrete, heat bank will also prolong the burn time.
High convection installations such as Skamol allow the heater to
distribute hot air almost immediately in to large areas. In most cases a
combination of methods is used to produce the most eective heat for
your home.
Some Euro Fireplaces heaters have a hydronic option, allowing the
In Built unit to provide heat to a series of radiators, oor heaters and
domestic hot water systems. Those heaters have portion of the kw
output dedicated to water and a portion to air.
Content
I Things to Consider 4
I FAQ 6
I How to Burn Guide 8
I Inbuilt Methods 10
I Hot Box Finish 12
I Ducting 13
I Fresh Air Intake 14
I Hydronic 15
I Convection 16
I Skamol Construction 18
I Construction Methods 20
I Step by Step Guide 24
I Alternative Methods 30
I Tunnel Heaters 32
I Insert Construction 34
I Heater Range 40

When considering a Euro Fireplace In Built,
p lease consider the following requirements:
I In Built heaters are designed for maximum eciency and the lowest
possible emissions; therefore only a small amount of rewood is
required for a high heat output.
I Wood size is important; smaller logs will burn hotter for longer. Logs
100 to 150mm in diameter are the ideal size.
I Overloading your replace will result in over burning, which can
eventually cause damage to your heater and may void the warranty.
The heater only needs around 6-7kg of rewood at any one time to
achieve excellent heat output.
I No treated timber or building materials must be used as fuel.
Firewood should be dry and well seasoned.
I Mt Blanc heaters have a vertical door, however the heater should not
permanently be run as an open replace. A closed door will maintain
an eciency of 80%, whilst an open door will cause the eciency to
drop below 30%.
I The heater will burn slowly for many hours when shut down, however
it is not designed to be loaded with large heavy logs, as this will
result in blackened glass and a heavy creosote build-up. Black glass
is an indication of incorrect burning practices.
I Heaters with traditional lateral doors such as the Arlberg have a
tighter seal, and can therefore retain ambers longer.
I The choice of what inbuilt material is used will result in either strong
convection (Skamol) or large amounts of heat storage (Fire Bricks). A
combination of these materials is also an option however.
I No timber or combustible material can be used in any part of the
installation or must be protected against. Any materials used must
withstand temperatures up to 350°C.
I Placing the vents in the correct location is essential for both
eciency and safety
I High convection installations such as Skamol need double the
venting of a brick installation
I A 50mm thick Skamol base with 3mm steel sheet for strength is
required inside the hot box and for 500mm in front of the heater.
4

I The hotbox may require future maintenance; this should be done
through the top or through a side service hatch. Construct the lid
out of Skamol in order to heat proof, facilitate convection and ensure
ease of access
I If the heater sits against any combustible surface, it must be heat
proofed accordingly.
I The rst 500mm above the hotbox must be void of any timber
components.
I Basic insulation within your home is essential to ensure the heater
runs correctly.

FAQ
Q: The heaters are made in Europe; are they made for soft wood only?
A: Even in Europe the most commonly used rewood is Buche (Beech)
Buche is a kind of hardwood; soft wood such as pine actually burns
hotter ( but quicker) than hardwood. The most important aspect of
wood is:
I Well-seasoned with a moisture condense of no more than 20%
I Never use treated timber
I Only the correct size will give you the best heat
Q: What are the burn times?
A: This is depending on the installation method, heat bank installation
will result in long retention of ambers for up to around 7 hours, however
it is important the heater is used correctly. Never shut the air control
fully while there are still visible ames in the re box. A high convection
installation will result in a shorter burn time of around 5 to 6 hours but
will provide immediate heat when lighting the re
Q: Who can do the installation?
A: Installation can be done by your builder; we usually consult with the
builder to make sure he understands the building process.
Q: How well do those heaters work without a fan?
A: The heaters work by natural convection. Cold air from your house is
drawn in to the lower part of the hot box through vents. That air gets
heated and expelled out through the vents on top. This is the most
ecient way of wood heating. It is important the heater is not allowed
to draw cold air from the outside; this may happen through gaps under
doors
6

Q: What is the fresh air intake?
A: The fresh air intake is an option most Euro Fireplaces have, the fresh
air intake connects a pipe from the back of the heater to the outside;
now the heater will draw air it needs for combustion from the outside
instead of reusing air and oxygen needed for combustion from inside
the house and diminishing air quality.
Q: Where are the heaters made?
A: Euro Fireplaces deals mostly with German and Austrian based
companies such as Thorma, Haas + Sohn and Kobok with the
manufacturing plants located in Austria, Germany, Slovakia and the
Czech Republic
Q: What is the warranty on Euro replaces?
A: Euro Fireplaces have a standard European warranty of 2 years,
however an extra 2 years can be obtained by simply lling out a warranty
card and submitting that to Euro Fireplaces. Designer InBuilt units have
the lifespan of a house, however correct installation and operation are
essential to this.
Q: Are Euro Fireplaces tested for the Australian market?
A: All of our Fireplaces are tested for the Australian market except in
some cases exemption for testings apply such as for kitchen stoves or
central wood heating appliances
Q: How do the test result compare to traditional Australian Wood
heaters?
A: Euro Fireplaces have some of the lowest emissions (as low as 0.4g
per kg wood burned) and highest eciency wood heaters available on
the Australian market

Operation
Move air regulator fully to the left
and stack softwood kindling on
top of two pieces of hardwood.
Make sure air can move freely
from the grate around the stack.
Place a relighter (circled) near
the top of the stack, and light it.
Leave the air regulator fully open.
IMPORTANT:
I Do Not burn anything other than
clean, dry rewood.
I Switch o any exhaust fans in
the house when starting the re.
Move air regulator to the middle.
This will stop the primary air
(from the bottom grate), causing
secondary air to enter from the
top grate and allowing the heater
to build a good bed of coals.
8
The start up cycle is complete
when there are no longer any
visible ames. Open the door
slowly and spread the remaining
coals.
IMPORTANT:
Avoid opening the door and
reloading while ames are still
visible.
Place up to 4 similarly sized logs
(approx. 50cm long, 12cm thick) on
to the bed of hot coals.
Keep the air regulator at the middle.
Using properly dried rewood, and
following the above steps, the logs
will ignite within 60 seconds.
For further information please refer to our burning guide or contact your
local Euro Fireplaces dealer.

InBuilt Methods
In order to achieve maximum eciency from your inbuilt replace,
Euro Fireplaces recommends the following installation methods.
The aim of these methods is to create a Hot Box that will enhance the
convection of the replace and maintain heat that would otherwise
be lost through the ue. This Hot Box should be 1.8m to 2m tall, and
leave a gap of at least 150mm around the replace unit. There are three
dierent materials the structure can be made from: Fire bricks such
as Akumol, building bricks or Skamol. The most ecient installation
is with re bricks; a material used in the construction of pizza ovens.
Akumol functions as a heat bank as well as aiding convection. A Skamol
installation will create a powerful convection, yet cannot function as a
heat bank. Normal building bricks will provide re proong as well as
some heat bank and convection.
Each type of construction must be built on a concrete slab, and a hearth
must be installed in front of the rebox. If built onto wood oors 50mm
Skamol will suce.
A combination of these materials can also be used, with a Skamol lining
on the back for convection and bricks on the sides and front for heat
storage and possible heat transfer on to a tile or stone nish.
10

If you choose standard building bricks for the installation, ensure the
bricks are of good quality. Lesser quality bricks may crack with time due
to being exposed to the heat inside the hotbox. Heat tolerant mortar
must be used. Standard building bricks provide moderate heat storage
and reection of heat. You may also choose to line a standard brick
installation with Skamol.
In many cases a combination of inbuilt material is used. You may choose
to have a brick installation while lining the back of the hotbox with
Skamol; this will give you eective convection as well as reproong
the back of the hotbox, while the brick sides and front act as a heat
bank. You can increase convection or heat bank depending on how
many sides within the hot box are lined with Skamol and how many
sides are bricks.
If you choose to use Hebel for a hot box installation it must be lined
with Skamol as Hebel by itself is not ecient and eective enough to
absorb heat or reect heat. Hebel by itself may also break down in time
due to the high heat inside the hotbox.
I Heat proong against timber: if the hotbox is built in to a timber
framed house 100mm thick Skamol panels with a 30mm air gap must
be used. Alternatively 70mm brick and 50mm sheet of Skamol with a
30mm air gap. This will provide more heatbank.
I Hotbox lid: The hot box lid should be constructed of 2 x 50 mm thick
Skamol.
I Venting in a Skamol installation is crucial and double the venting
(oppose to a heat bank installation) is needed for this type of
installation.
I Heat bank also can be attached on to the heater even with a Skamol
installation.
Finish of the hot box
If you plan to choose a stone or tile nish we recommend you use a
brick installation. heat will then be absorbed in to the bricks as well as
in to the stone or tile. Heavier installation (more thermal mass) will result
in less convection but more heat bank . If you plan to nish a Skamol
installation with tile or stone please be aware the tile or stone will not
be able to store heat as heat will not be able to penetrate the Skamol
hot box. If you choose to paint or render a brick or Skamol installation
please make sure heat tolerant paint and heat tolerant render is used
Building the hot box up to the ceiling or only at 2 m height: If you choose
to build the hot box installation up to the ceiling, a hot box lid will be
installed at 2 m height and continued from there all the way up to the
ceiling, the space from the hot box lid must be vented! (Usually in to the
roof cavity) If the hot box is built to 2 m only (popular with tunnel heater,
when used as a room divider) you will have a painted ue from the hot
box going in to a standard triple ue conguration through the ceiling
(similar to a standard freestanding heater installation)
12
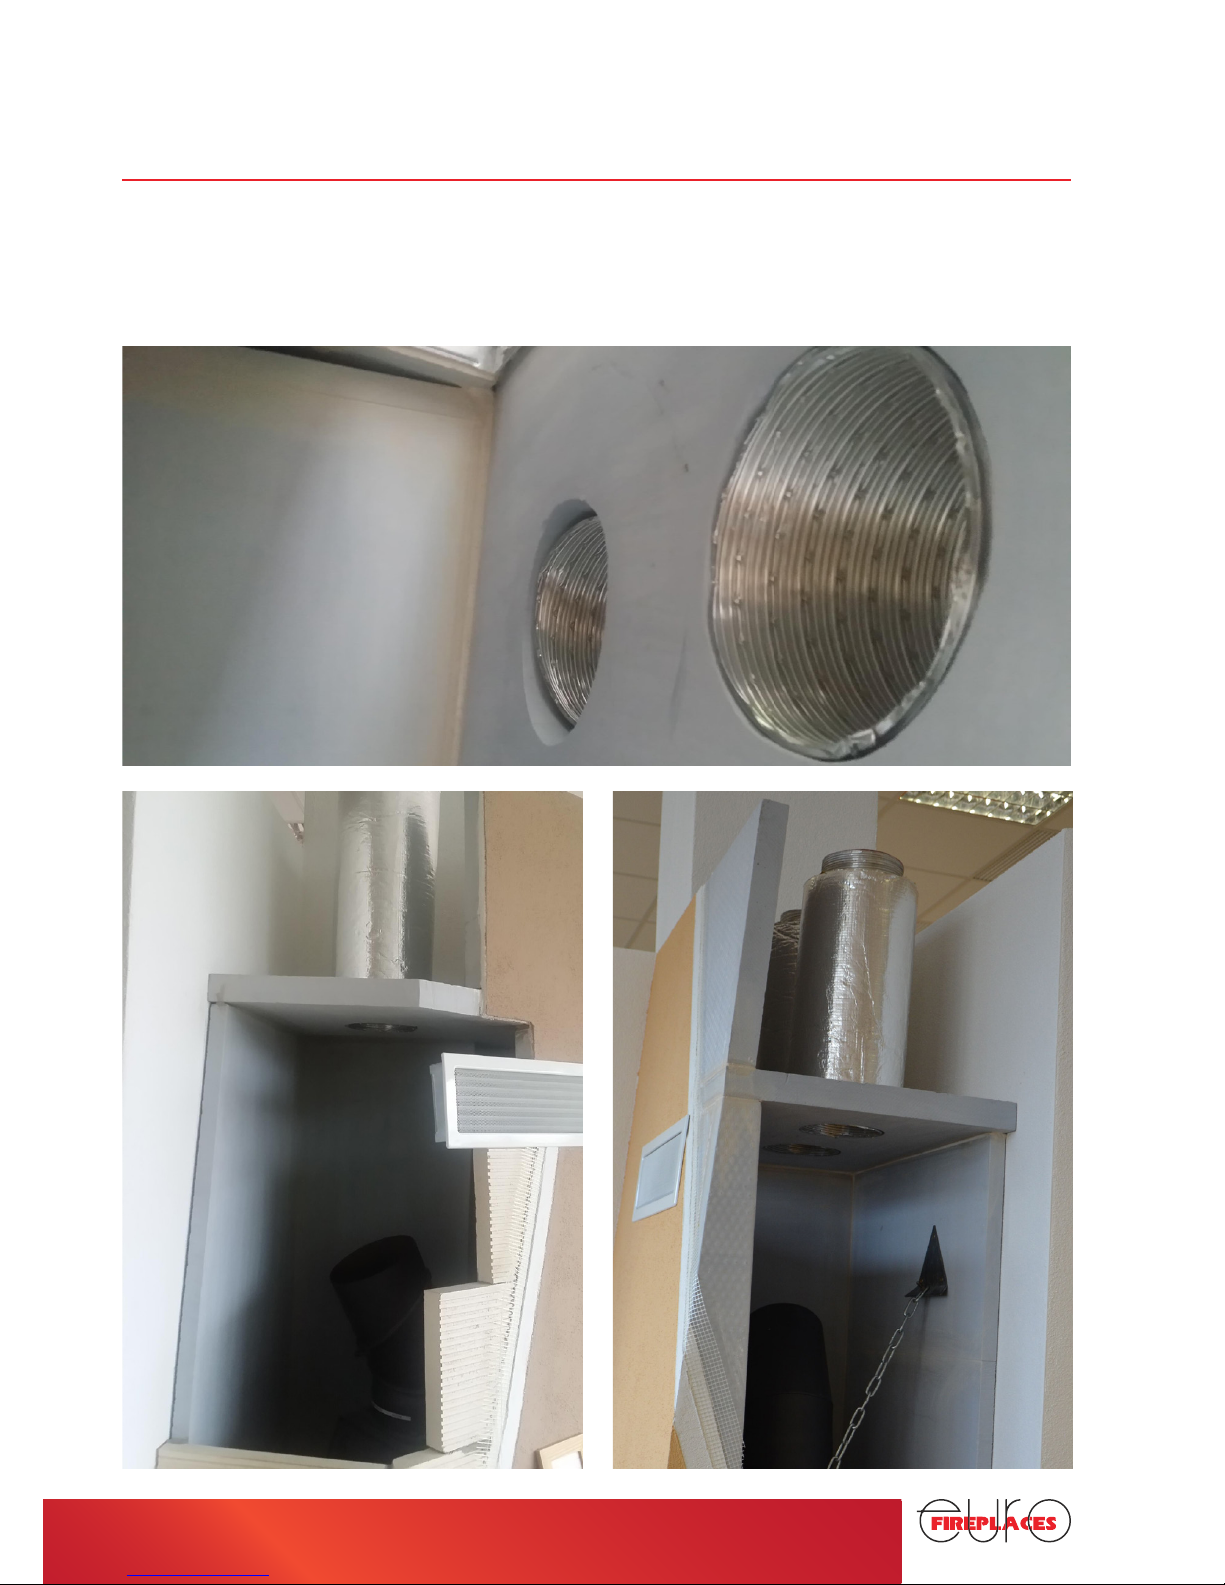
Ducting
Euro Fireplaces Designer InBuilt units can be ducted via a hot air transfer
kit from the hot box in to other areas of the house (central wood heating
appliances) Those ducting kits are available from your local Euro Fireplaces
distributer. Only approved ducting kits must be used

Fresh Air Intake
Euro Fireplaces models rely on surrounding air to achieve a high
standard of combustion. As such, an adequate intake of air is essential.
In an energy ecient room (eg. tight windows and doors), air intake
may be low and aect the re. Quality of the air in the room may also be
aected, however this can be aided with the installation of an external
air supply. For large inbuilt units this air intake is necessary due to the
high oxygen requirement of the re.
14
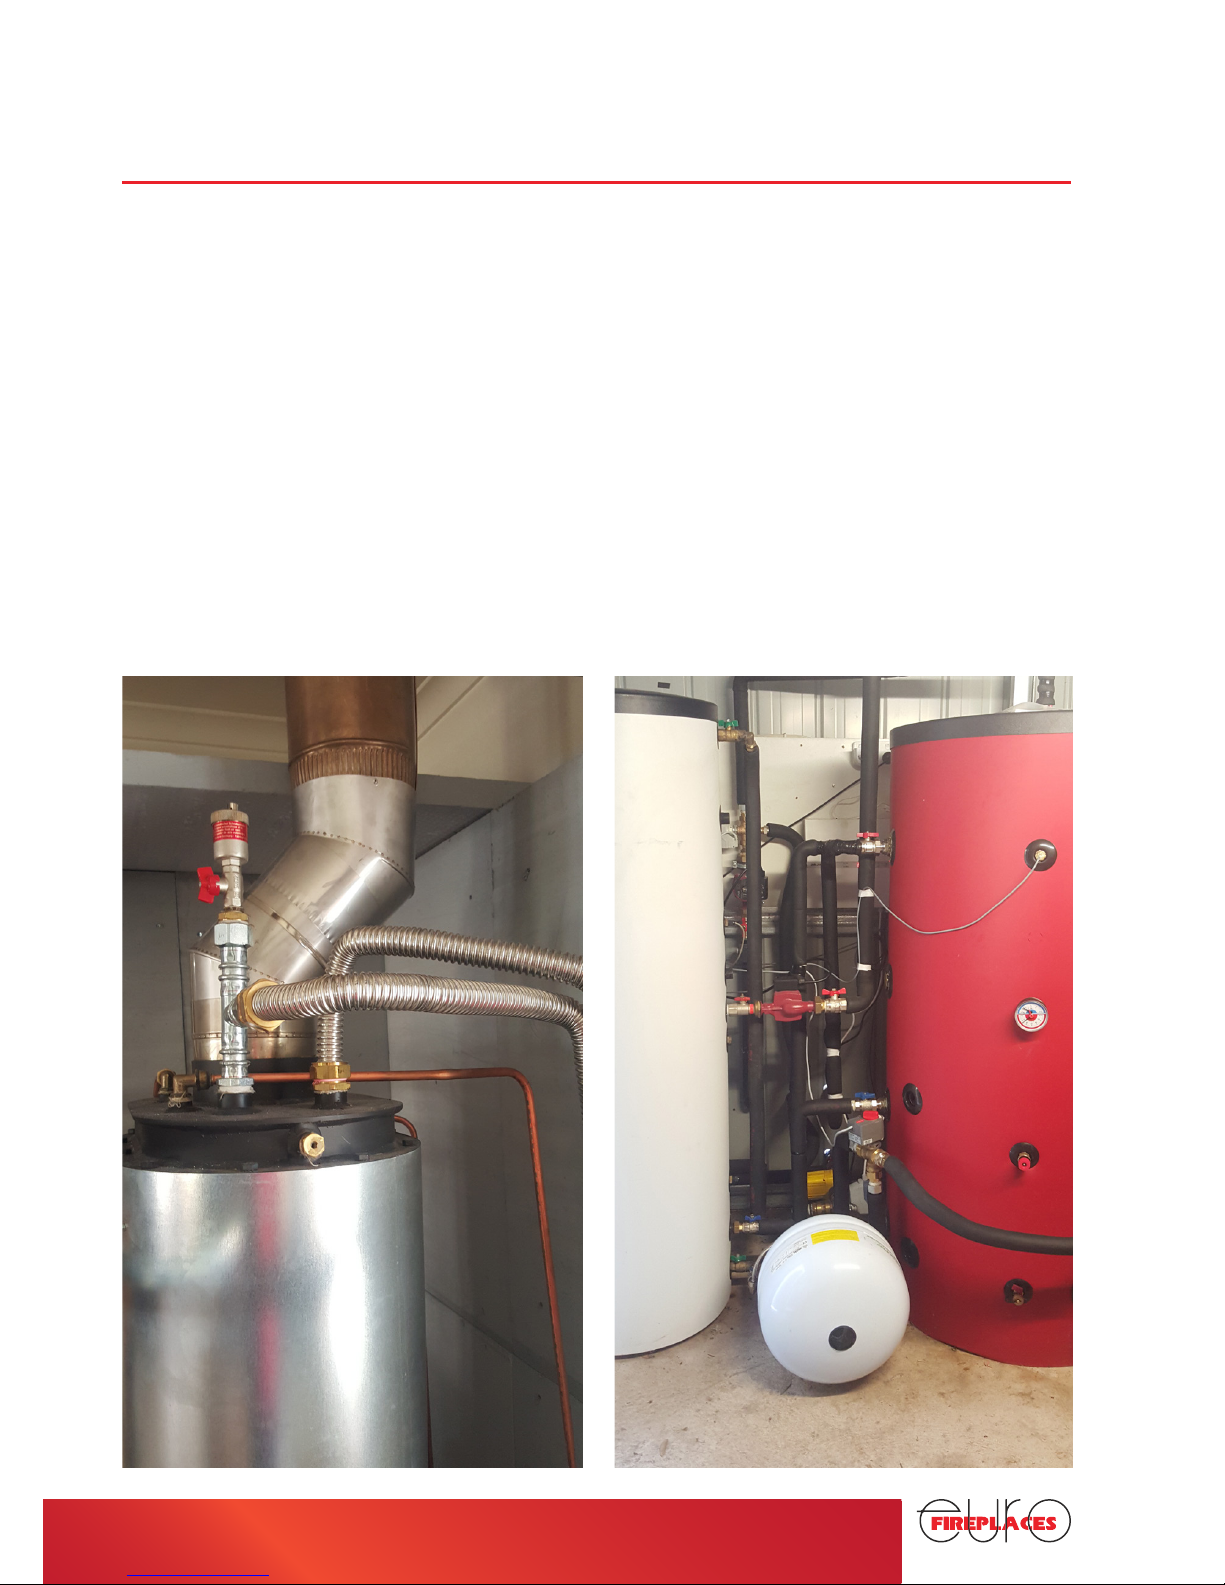
Hydronic options
Some of Euro Fireplaces Designer InBuilt have a hydronic option where
a certain portion of the heat output is dedicated to heating water.
Depending on your needs heaters have between a 40/50 to 30/70
distribution of heat into air. Water installations are usually done with a
buer tank domestic hot water and radiators or oor heating. Heat can
also be ducted via the roof cavity with an Euro Fireplaces approved
ducting kit.
Due to the complex nature of hydronic heating installations we
recommend contacting your local Euro Fireplaces dealer or hydronic
specilist for more detailed information as to the pricing and requirements
of these systems.
 Loading...