

Page 1
Install EtroScan on a Windows PC
SD card
Audio
Audio
Network
slot
in
N73
EV8383
Series
Quick
Installation
Guide
www.etrovision.com
+886-2-2655-1518
Technical Support: [email protected]
Sales Contact: [email protected]
- EtroScan™ is a utility is used to configure network
settings for cameras & video servers. EtroScan™ is
available on the CD-ROM or can be downloaded at
http://www.etrovision.com/Support/.
- Run Setup.exe to install EtroScan.
Basic Physical Installation
Please review the steps before starting. The steps outlined
below are the suggested installation path, but certain steps
may need to be switched depending on the installation
environment.
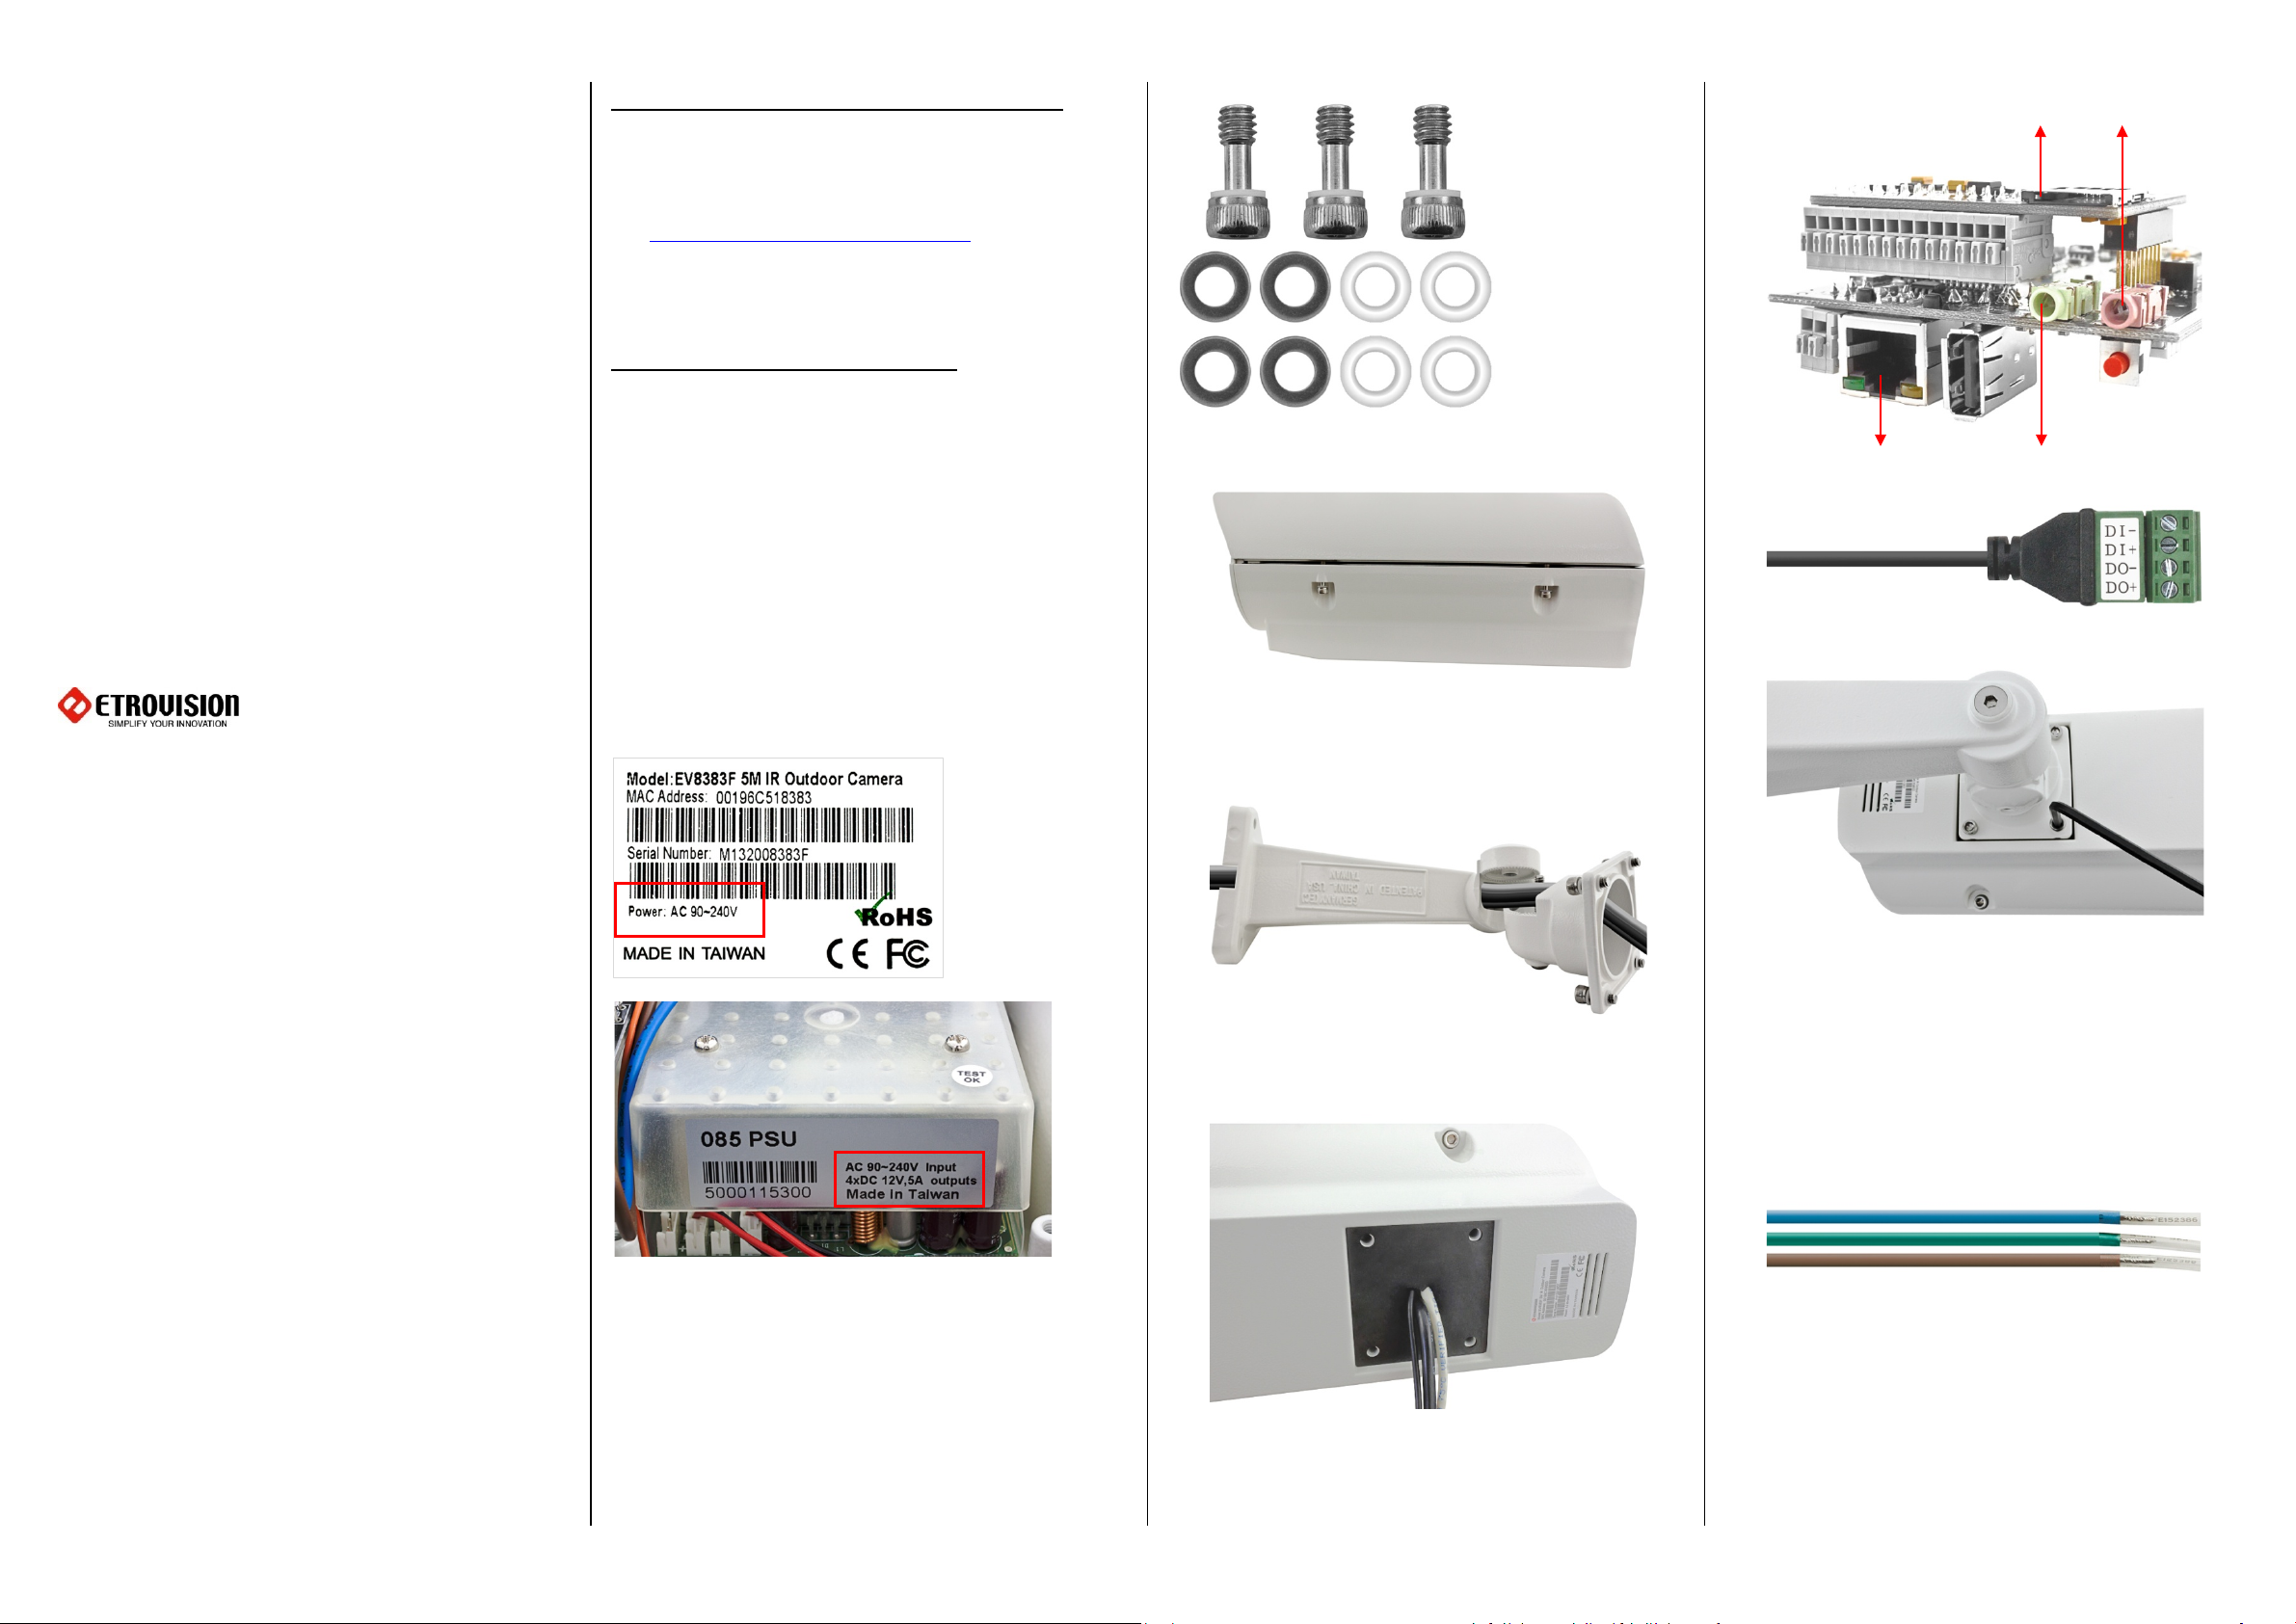
The camera’s electrical specification is one of the following:
- 90-240Vac
- 24Vac
The camera’s electrical specification can be found on the
product label on the box or on the power supply inside the
camera case.
Hex key, screws, anchors, etc can be found in a package
contained within the bracket arm.
nd
package containing washers, rubber pad, etc are not
A 2
used.
1. Unscrew the bolts to open the case.
2. Unscrew the bolt to disassemble the bracket arm joint.
Feed cables (e.g. network, DI/DO) through the arm.
Reassemble the arm when complete.
3. Insert cables into the bottom of the case through the
rubber protective covering.
4. Connect cables to board; DI/DO has separate cable.
5. Connect the bracket arm to the camera case.
6. Mount camera to the wall (or other point) using the
screws & anchors.
7. Connect the power cable to the main power. The
green/yellow cable is the ground; brown & blue are
power.
WAR NI NG : Disconnect power before opening the
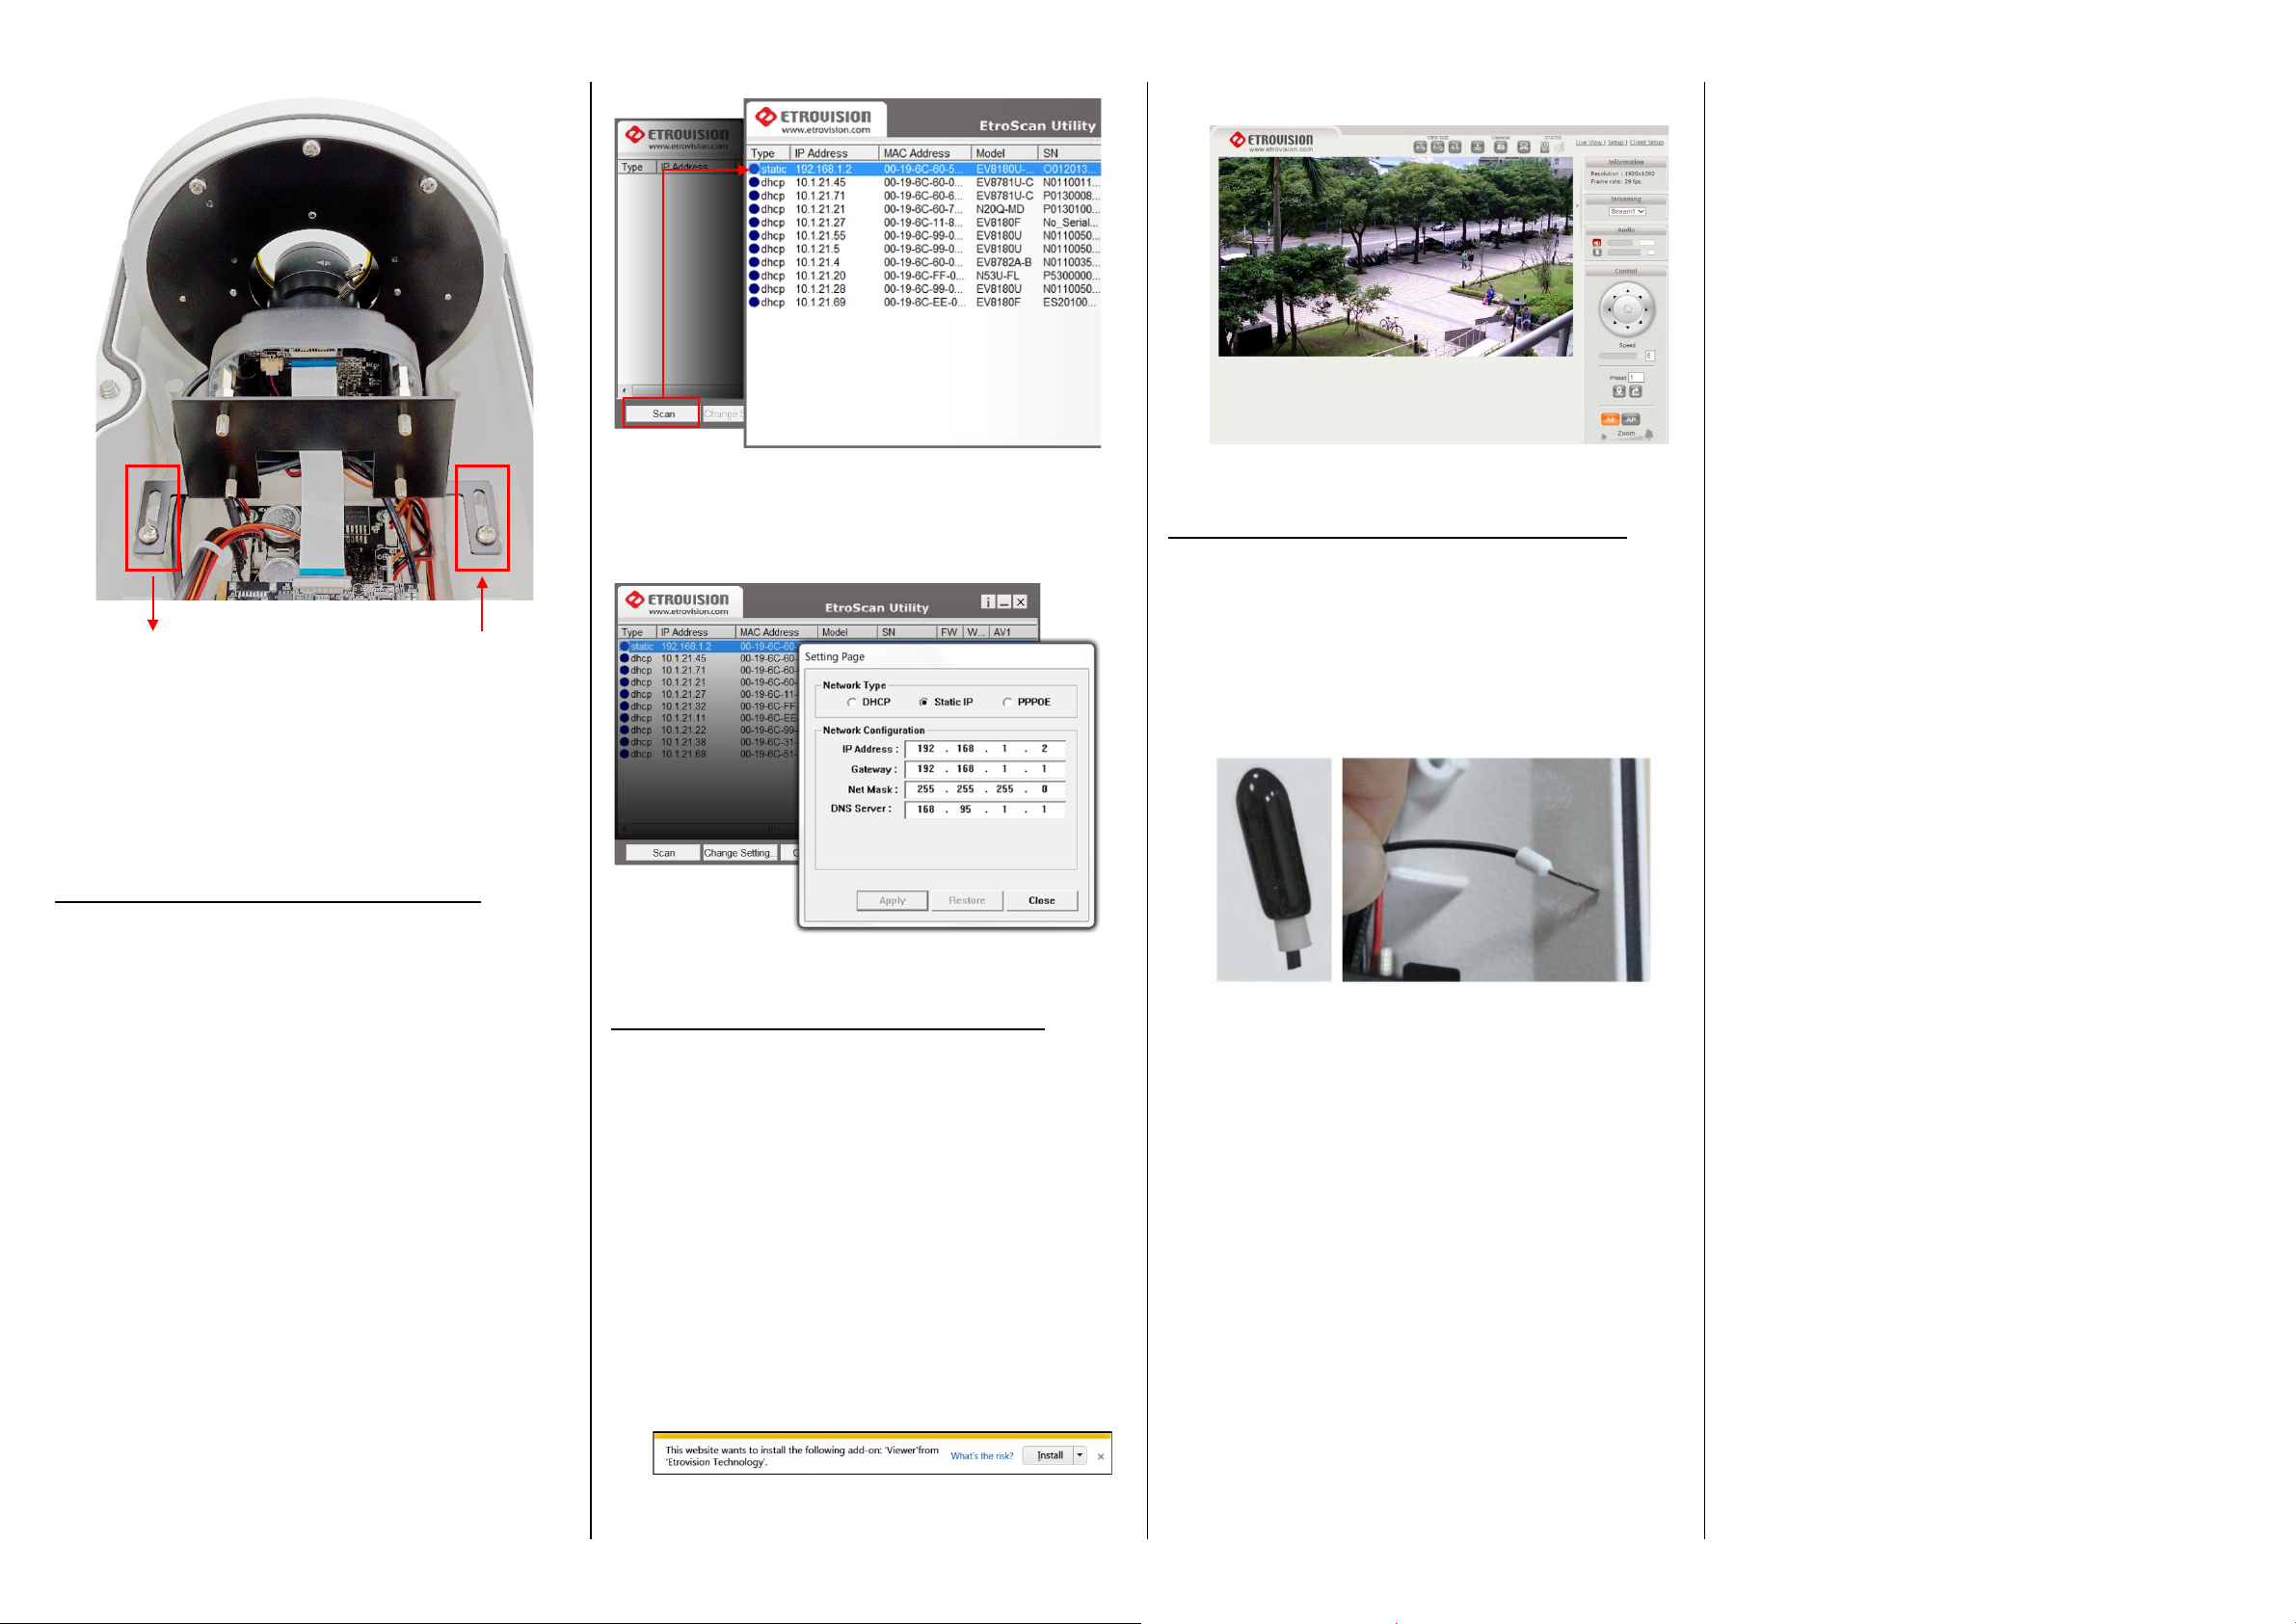
8. To adjust the lens, unscrew the 2 bolts securing the
camera lens bracket and slide back to make lens
controls easily accessible.
cable
camera to avoid electrical accidents.
out
Page 2
displayed.
Move forward
Move back
to adjust
9. Adjust the zoom, iris & focus lens controls as needed;
label on lens identifies the controls.
10. To adjust the lens focus, remove the rubber lens cover
and twist the lens right or left to adjust the focus.
when done
Configure the Network Settings
The factory default IP address settings:
IP Address: 192.168.1.2
Subnet Mask: 255.255.255.0
Gateway: 192.168.1.1
Run EtroScan™ (program available via Start All
Programs Etrovision Technology menu).
Use Change Setting to change network settings. After
clicking Apply, enter “pass” for the root password when
prompted.
Access IP Camera Web Interface
When accessing an IP camera using the web interface for
the first time (or when the IP address changes), some
configuration for ActiveX controls are required.
Restoring Factory Default Settings
There are 2 methods for restoring the factory default
settings:
- Power on the camera, remove the plastic cover from
the reset pin and touch the pin to metal for 6 seconds.
The camera will revert to factory default settings (e.g.
IP will reset to 192.168.1.2).
- The web UI Setup (System -> Factory Default) ; network
and user account data can be saved if desired. Please
refer to the User’s Manual for more information on the
web UI Factory Default functionality.
Scan displays all devices on the network. Use 192.168.1.2 IP,
Model, and MAC Address to identify a specific
camera/video server.
1. Open an IE browser
2. Type in the IP address in the URL: http://<IP ADDRESS>
(e.g. http://10.1.21.53)
3. On first connecting to a camera, IE will probably
prompt to install Active X components which are used
in the camera web UI. Click Install to continue.
Following this step, a User Access Control window will
also appear to confirm installation.
4. Once the process is complete, the Live View will be
 Loading...