

Page 1
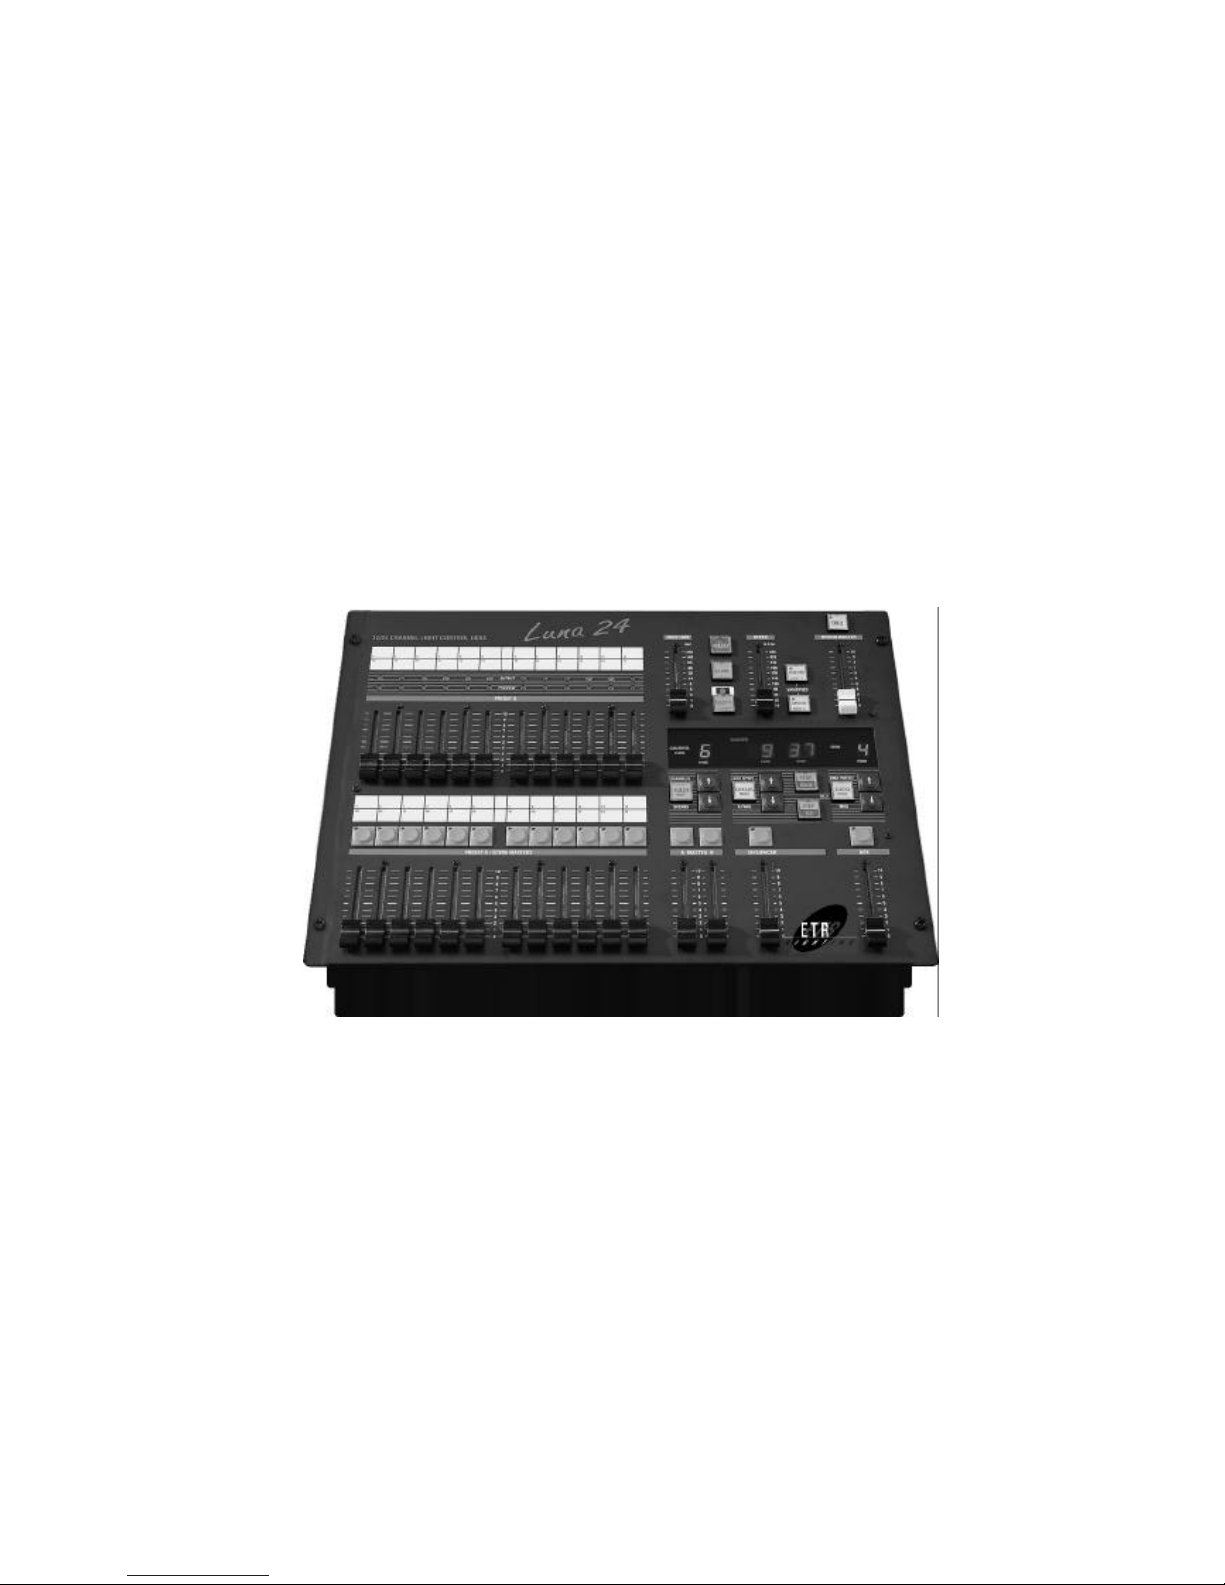
LUNA 24
QUICK REFERENCE GUIDE
Version 3.40 10/99
Page 2

LUNA 24 DMX - PATCH
You: You are one of the few people who will read this page. Then one will only read in this manual
just what interests them. But please read it nevertheless to learn how to use the information in this manual efficiently.
Different people will use the LUNA 24, but only one person knows all of its possibilities. The other
users only would like to know what is necessary for their requirements.
Therefore this manual is divided into many small sections. Each describes a separate function
of the LUNA 24.
As the responsible person you check out the users’ need and install the corresponding working
method on LUNA 24. Besides the necessary instructions you only provide the user with those chapters (instructions) of
this manual he/she needs to fulfill his/her task. The user will be grateful to you for not burdening him/her with
unnecessary information.
The format: The format of this manual is easy to photocopy.
Reference: The manual is structured in a way that makes it easy to find the required information: there is a list of contents for
each section - so it is also helpful to experienced users.
Important: This short introduction is a good aid to work with LUNA 24. But it doesn’t replace the main manual.
Before you start working with LUNA 24 please read the main manual, especially chapters „Precautions and Safety instructions“
and „Transport and Installation“.
The chapters: This manual is structured as follows:
CHOOSING OPERATING MODES the 4 operating modes and how they are selected/installed
OPERATING MODE 1 the functions of the normal A-B operation with 12 circuits
OPERATING MODE 2 the functions of 1 preset / 12 scene-faders-operation including 12 circuits
OPERATING MODE 3 the functions of 1 preset / crossfader-operation with 24 circuits
OPERATING MODE 4 the functions of 12 scene-fader-operation with 24 circuits
CHASER how to use the chaser - programming and operating
AUDIO-EFFECTS the 5 audio-effects - programming and operating
DMX-PATCH 4 DMX-patches - programming and operating
INTRODUCTION
Page 3
LUNA 24 CHOOSING OPERATING MODES
LUNA 24 can be operated in 4 different ways for different tasks.
Operating mode 1: 2 Preset With the faders of PRESET A and PRESET B you must first produce two different,
12 circuits A- B - Operation independent lighting scenes. Then you can mix MASTER A and MASTER B.
Operating mode 2: 1 Preset The PRESET A-faders produce lighting scenes. The PRESET B-faders work as scene 12 circuits
12 Scene Masters masters. Complete lighting scenes can be stored and recalled through them.
Operating mode 3: 1 Preset Use PRESET A to work on channels 1-12; use PRESET B to work on channels 13-24. 24 circuits
Crossfader MASTER B is the „crossfader“ to mix stored lighting scenes.
Operating mode 4: 12 Scene Masters Faders of PRESET A can be used alternatively for circuit 1-12 or 13-24. Faders of
24 circuits PRESET B work as scene masters. 24-Circuit scenes can be stored and recalled.
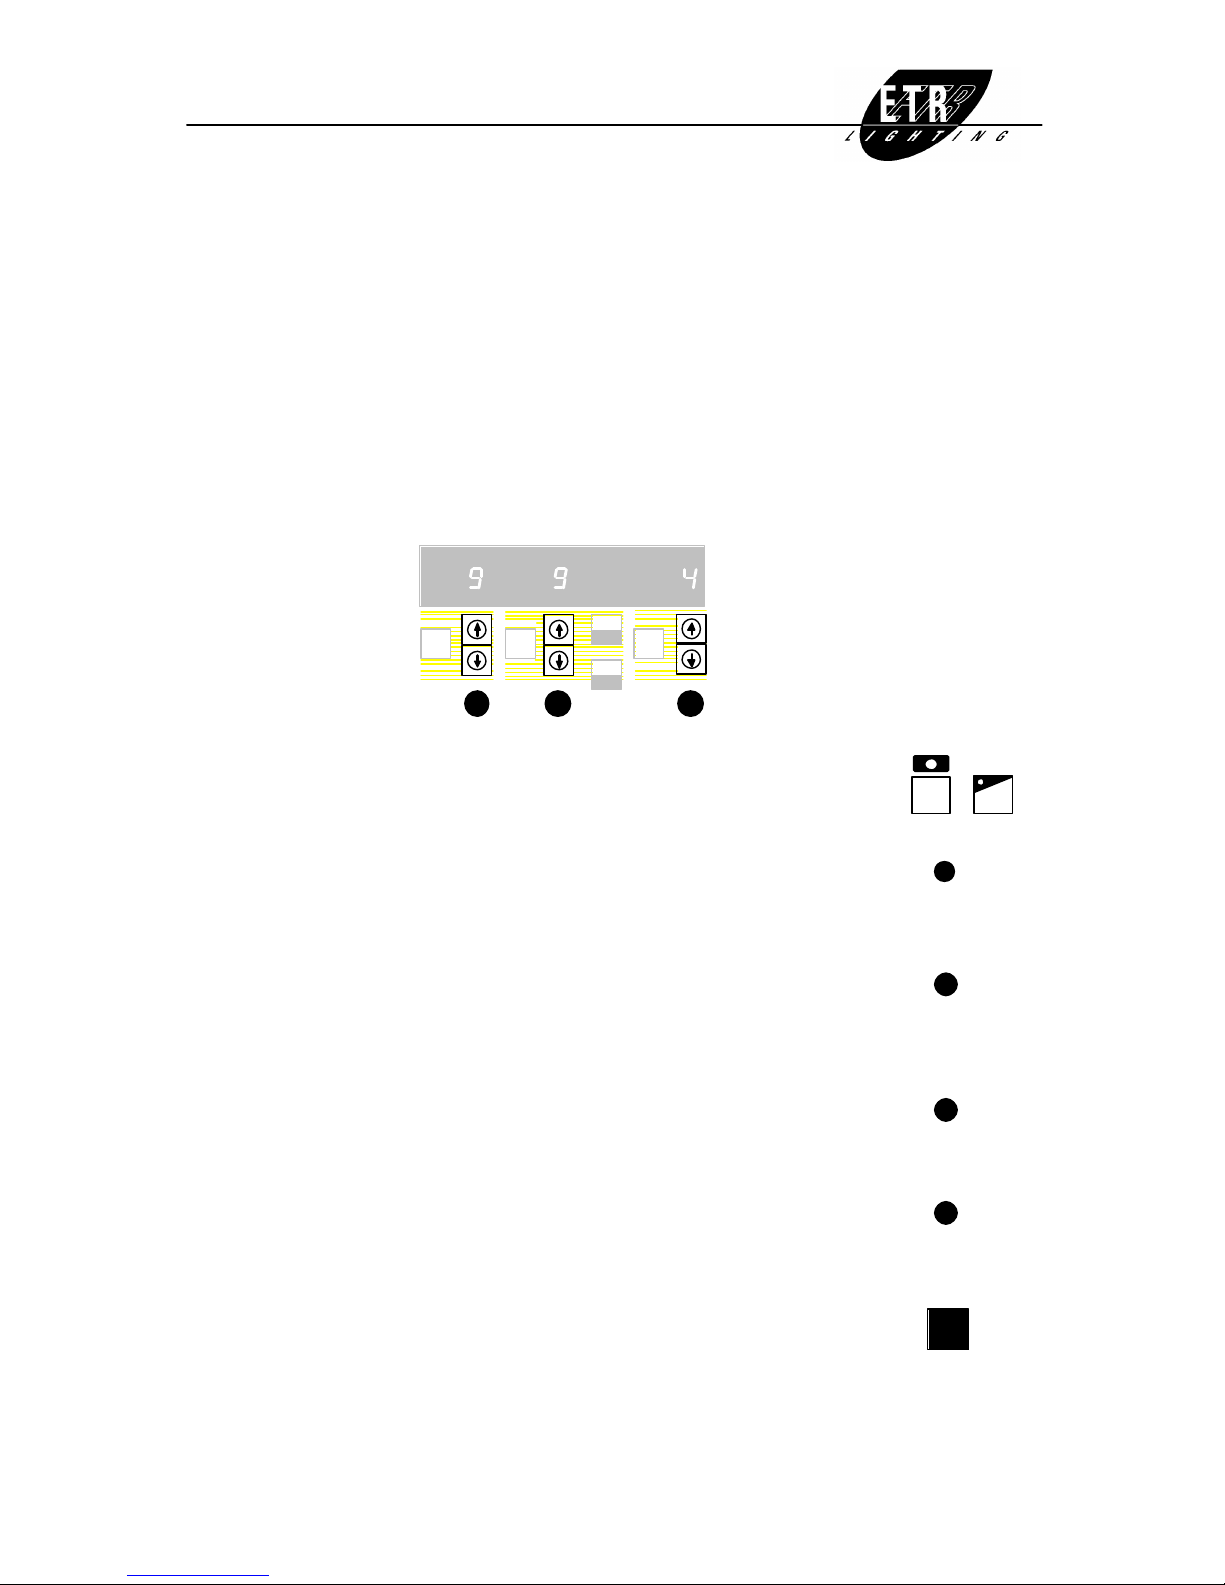
Installation of operating mode:
STEP
GO
STOP
BACK
CHASER
MODE
FLASH
MODE
AUDIO
MODE
SCENES
(ADD STEP)
DMX-PATCH
MIDI
1
PAGE PROG
CH. 1-12
23
Installing Press simultaneously MODIFY- and DBO-key.
selection mode: MODIFY-LED is illuminated green. DBO-key is blinking.
Select operating Display (far right side) shows operating mode by numbers 1 through 4.
mode: Choose by using arrow-key below.
Switch off effect If you don’t need the effect program (chaser and audio-effects) you can turn them off. programs:
The number of available programs is shown in the middle of the display under PROG.
Choose
the program you need by using the arrow-key.
Zero means program number zero = first program.
A dash indicates that all effect programs are turned off.
Limit memory Sometimes it might be helpful to reduce the number of available lighting scene banks. access:
Display shows right-hand under PAGE number 1-9.
Use arrow-key to select.
Invert MASTER B: In operating mode 1 (the classical A-B mode) it might be helpful to mix or fade scenes with
MASTER B inverted.
Use arrow-key above MASTER B to switch mode.
The Display shows „-“ = normal or „c“ = inverted.
Store settings: Press STORE-key. It quits the selecting mode.
(If you press MODIFY-key you quit selecting mode without storing.)
Remarks: Contents of limited or OFF-programs remain stored.
In every operating mode the same storing places are used.
So you can produce a scene in operating mode 3 and recall it in operating mode 4.
ESCAPE
+
DBO
1
2
3
3
STORE
CHOOSING OPERATING MODES
Page 4
LUNA 24
mode:
1
2 PRESETS A-B - OPERATION
12 circuits
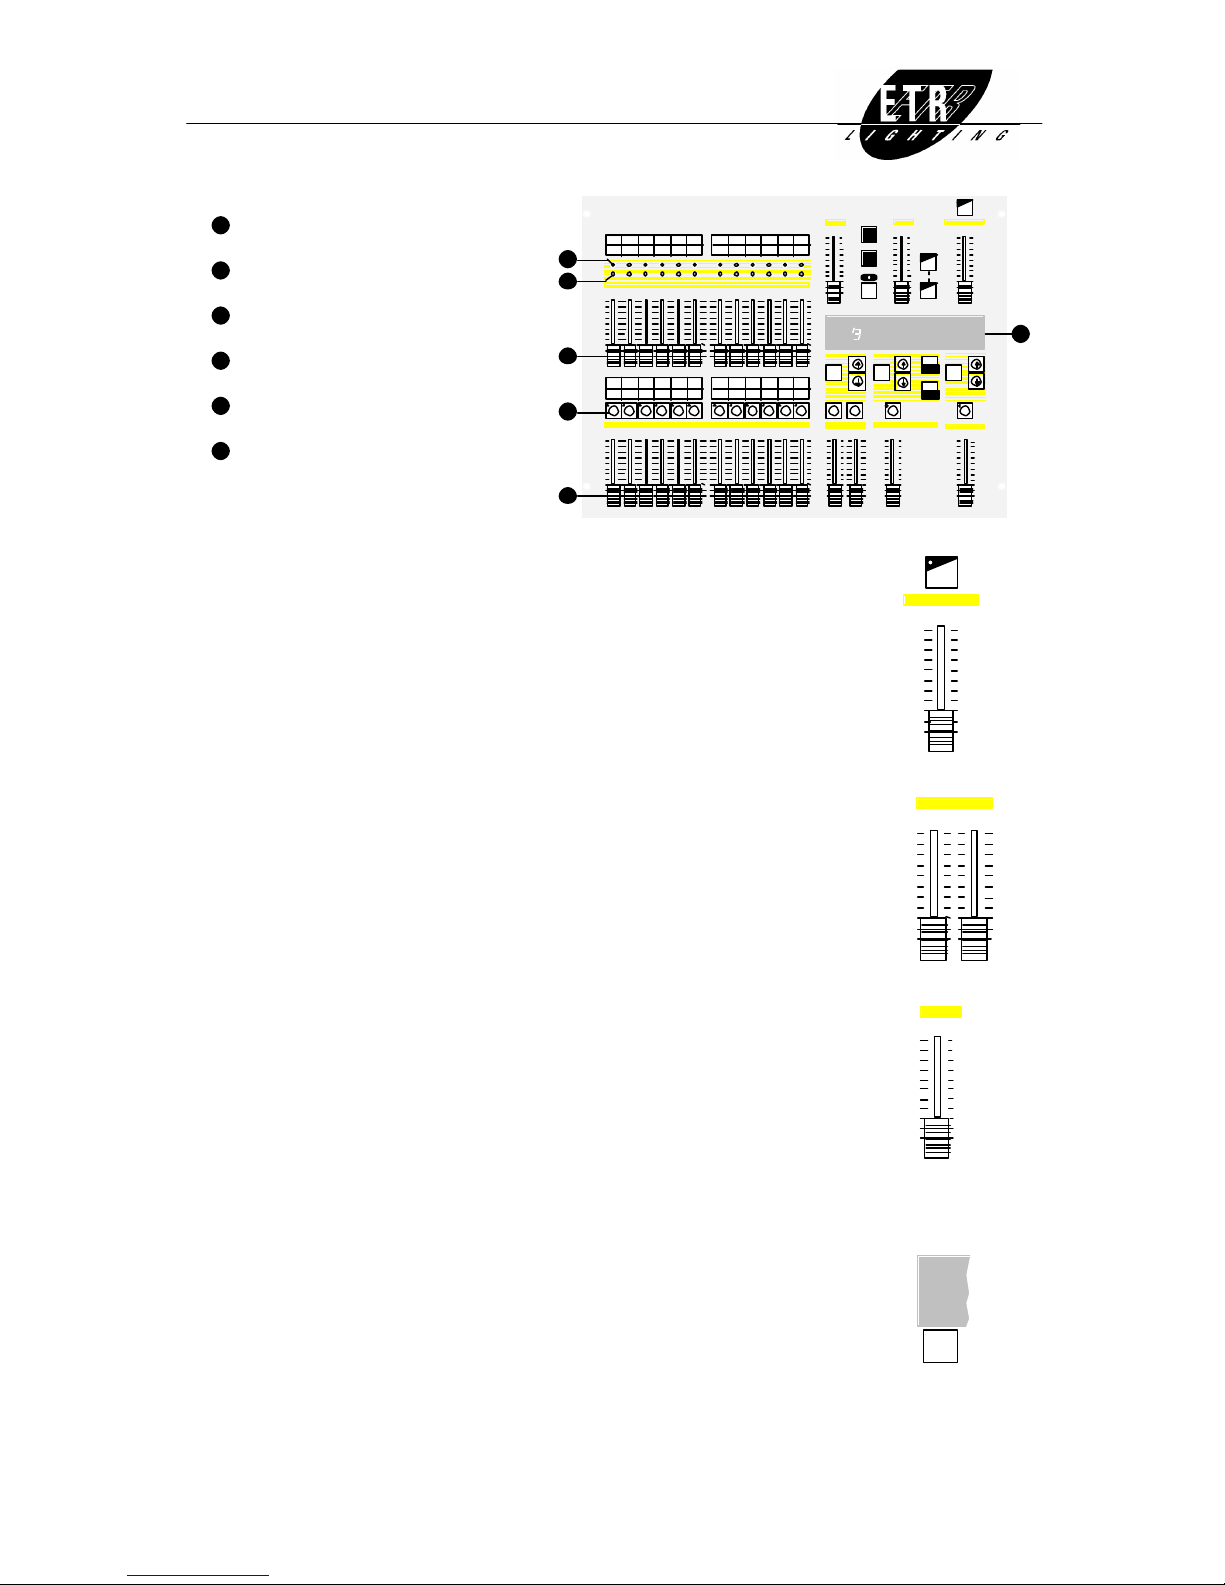
1
OUTPUT- LEDs
2
PREVIEW- LEDs
3
PRESET A
4
FLASH- Keys
5
PRESET B
6
Display
PRESET B / SCENE MASTERS
0
1
2
3
4
5
6
7
8
10
9
13
1 2 3 4 5 6
14 15 16 17 18 19
7 8 9 10 11 12
20 21 22 23 24
PRESET A
0
1
2
3
4
5
6
7
8
10
9
13
1 2 3 4 5 6
14 15 16 17 18 19
7 8 9 10 11 12
20 21 22 23 24
OUTPUT
PREVIEW
0
1
2
4
6
10
20
40
80
200
140
SEC.
FADE TIME
ESCAPE
MODIFY
STORE
10
40
60
80
100
120
150
190
240
480
320
B.P.M.
SPEED GRAND MASTER
0
1
2
3
4
5
6
7
8
10
9
DELETE
DBO
SPEED
NEXTê
SOUND
NEXTé
VARISPEED
MASTER
0
1
2
3
4
5
6
7
8
10
9
BA SEQUENCER
0
1
2
3
4
5
6
7
8
10
9
STEP
GO
STOP
BACK
CHASER
MODE
FLASH
MODE
AUDIO
MODE
AUX
0
1
2
3
4
5
6
7
8
10
9
CHANNELS
SCENES
(ADD STEP) DMX-PATCH
MIDI
PREVIEW PAGE
1
2
3
5
6
4
Black- Out: DBO-key switches to black-out.
When it is active the key-LED is lit.
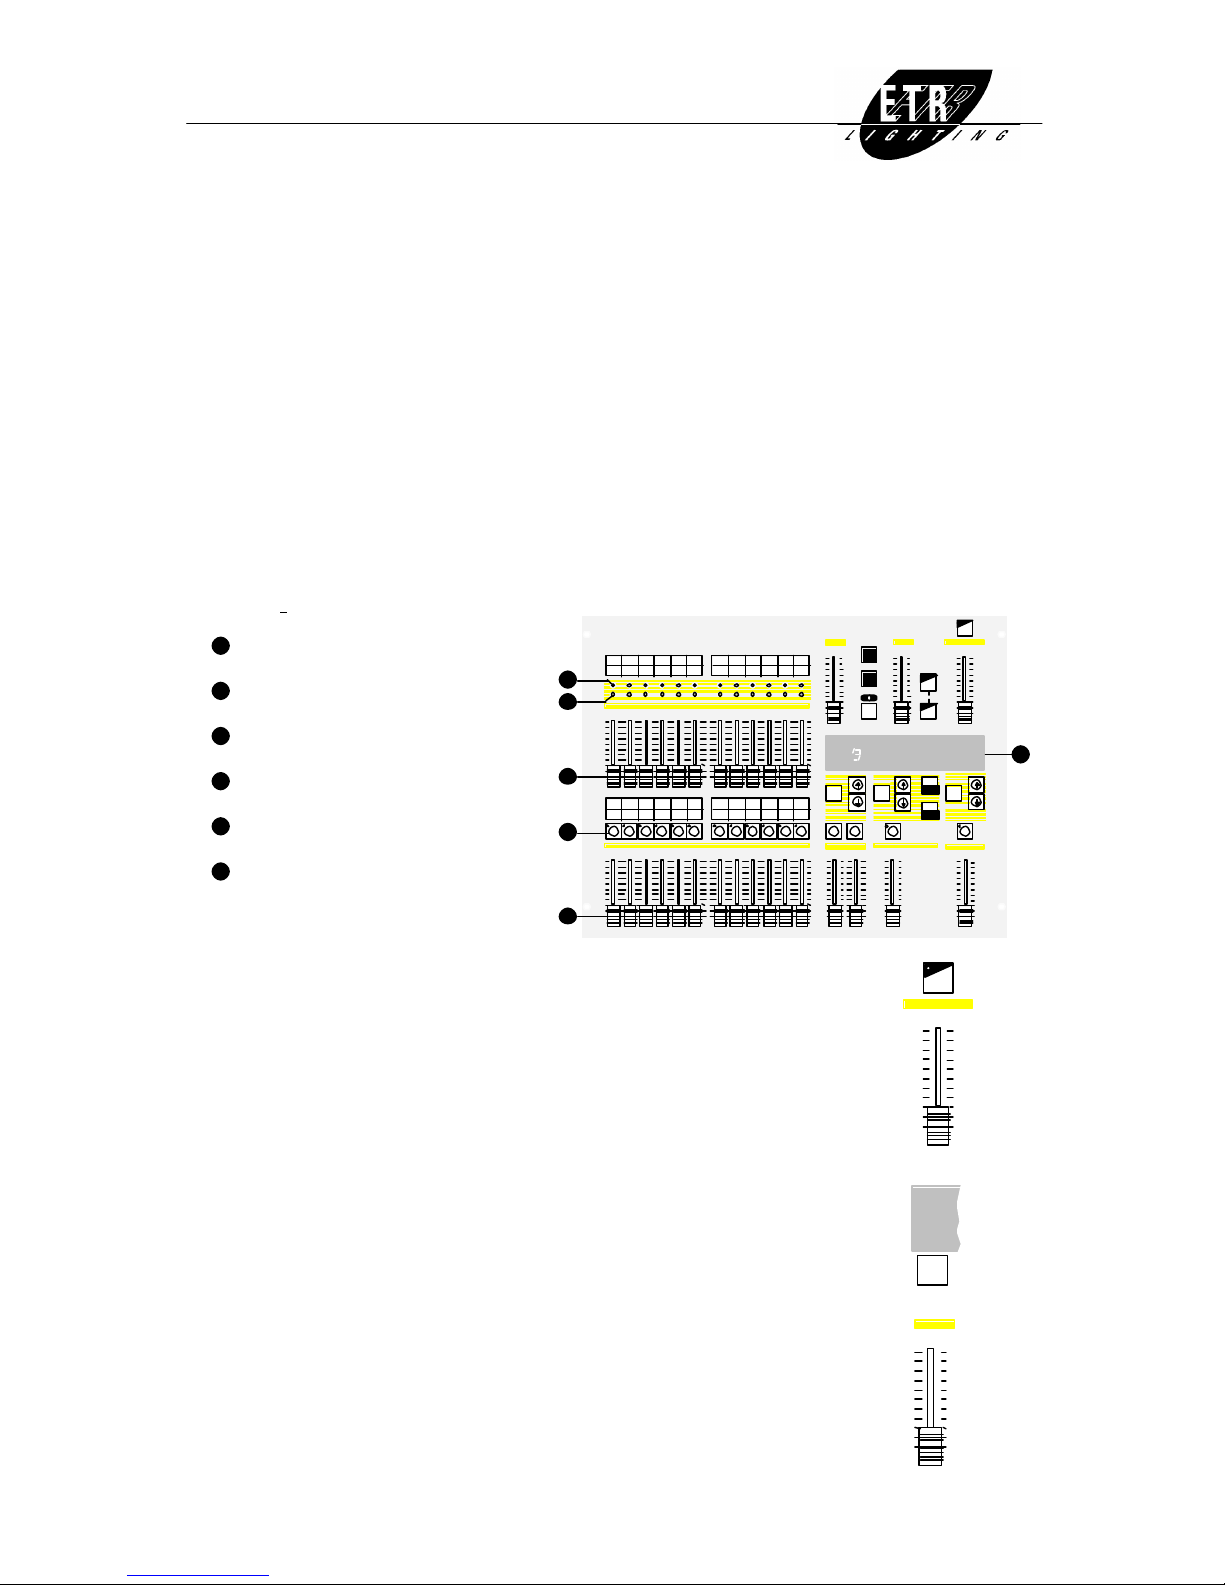
Overall lighting: The GRAND MASTER is regulating the overall lighting of the performance.
PRESET- fader: Two scenes (A and B) can be produced and crossfaded.
Each scene can control 12 independent light spot circuits.
While one scene is on output the other can be prepared with the 12 faders of PRESET A or
PRESET B.
MASTER- fader: Fade in or out the chosen scene with MASTER A and MASTER B.
(Depending on setting MASTER B might be inverted.)
OUTPUT- LEDs: OUTPUT-LEDs illuminate according to the channel settings.
FADE TIME: The FADE TIME-fader influences the MASTER A- and MASTER B-faders.
It is slowing down the fading regarding the chosen time.
The display is showing vertically above the MASTER B-fader the process of
fading with 4 vertical lines.
The left two lines indicate fading in, the right ones indicate fading out.
The left ones refer to MASTER A, the right ones to MASTER B.
FLASH- mode: The grey FLASH-keys are used for two different functions.
FLASH MODE-key is choosing the function.
It then is shown in the display.
Flash one channel: FLASH MODE = „CHANNEL FLASH“
Press required FLASH-key.
The channel is displayed on output.
SOLO of one FLASH MODE = „CHANNEL SOLO“
channel: As long as the FLASH-key is held the corresponding channel is the only one on output. All
other channels are off.
GRAND MASTER
0
1
2
3
4
5
6
7
8
10
9
DBO
MASTER
0
1
2
3
4
5
6
7
8
10
9
BA
10
9
8
7
6
5
4
3
2
0
1
0
1
2
4
6
10
20
40
80
200
140
SEC.
FADE TIME
SOLO
FLASH
CHANNEL
FLASH
MODE
OPERATING MODE 1
Page 5

LUNA 24
mode:
2 1 PRESET / 12 SCENE MASTERS12 circuits
Contents:
p. 1 Summary - important parts and controls
- black-out
- overall lighting
Lighting scene - produce
- store
- recall
p. 2 Modify scenes - change
- delete
- copy
Blind mode
p. 3 120 lighting scenes
Crossfading time
FLASH-key functions
Summary:
1
OUTPUT- LEDs
2
PREVIEW- LEDs
3
PRESET A
4
FLASH- Keys
5
SCENE MASTERS
6
Display
PRESET B / SCENE MASTERS
0
1
2
3
4
5
6
7
8
10
9
13
1 2 3 4 5 6
14 15 16 17 18 19
7 8 9 10 11 12
20 21 22 23 24
PRESET A
0
1
2
3
4
5
6
7
8
10
9
13
1 2 3 4 5 6
14 15 16 17 18 19
7 8 9 10 11 12
20 21 22 23 24
OUTPUT
PREVIEW
0
1
2
4
6
10
20
40
80
200
140
SEC.
FADE TIME
ESCAPE
MODIFY
STORE
10
40
60
80
100
120
150
190
240
480
320
B.P.M.
SPEED GRAND MASTER
0
1
2
3
4
5
6
7
8
10
9
DELETE
DBO
SPEED
NEXTê
SOUND
NEXTé
VARISPEED
MASTER
0
1
2
3
4
5
6
7
8
10
9
BA SEQUENCER
0
1
2
3
4
5
6
7
8
10
9
STEP
GO
STOP
BACK
CHASER
MODE
FLASH
MODE
AUDIO
MODE
AUX
0
1
2
3
4
5
6
7
8
10
9
CHANNELS
SCENES
(ADD STEP) DMX-PATCH
MIDI
PREVIEW PAGE
1
2
3
5
6
4
Black- Out: The DBO-key is turning totally dark immediately.
If active the key-LED is bright.
(This manual assumes that the DBO-key is always off.)
Overall lighting: The GRAND MASTER is controlling the overall lighting of the performance.
Lighting Scene:
Produce All faders on zero, GRAND MASTER and MASTER A on 100%.
lighting scene: By using the 12 faders of PRESET A you can produce the required lighting scene.
The green OUTPUT-LEDs are illuminated accordingly.
Store This lighting scene can be stored on any SCENE-MASTER fader.
lighting scene: To do so press the grey FLASH-key and the STORE-key simultaneously.
Recall MASTER A-fader on zero, MASTER B-fader on 100%.
lighting scene: Move up required SCENE MASTER-fader.
The lighting scene appears on OUTPUT-LEDs.
GRAND MASTER
0
1
2
3
4
5
6
7
8
10
9
DBO
STORE
+
OPERATING MODE 2 - 1
Page 6

LUNA 24
mode:
2 1 PRESET / 12 SCENE MASTERS12 circuits
Modify Scenes:
Choose scene: Press the red MODIFY-key simultaneously with the grey FLASH-key of the chosen
scene. The LED is illuminated red.
MODIFY-LED is illuminated. Modify mode is active.
The PREVIEW-LEDs show contents stored.
Change scene: Channel value can be modified with the PRESET A-fader if the PREVIEW-LED is lit green.
Otherwise the channel value has to be „picked up“ by moving the fader on red up and on yellow down.
Store changes: Press STORE- and MODIFY-key simultaneously.
Store output By pressing STORE-key only everything on output (green OUTPUT-LEDs) is stored. values:
That can be scenes from CHASER or AUX-part for example.
Delete whole Choose the scene you want to delete (MODIFY- and its FLASH-key).
scene: Press DELETE-key for 2 seconds.
MODIFY-LED is lit yellow for that time.
When it is illuminated green the scene is deleted.
Copy scene: Choose place (scene) where the copy has to be (MODIFY- and its FLASH-key).
Then press FLASH-key of the scene you want to copy.
(FLASH MODE = PREVIEW, see page 3)
Keep key pressed and press STORE-key.
The scene is copied to chosen place (key-LED is illuminated).
Quit modifying Modifying mode is active if MODIFY-LED is lit.
mode: Press MODIFY-key. Unstored changes - MODIFY-LED illuminates red - are lost.
Blind Mode:
During a performance other scenes can be produced with PREVIEW-LEDs without
showing on stage.
The corresponding SCENE MASTER-fader and MASTER A-fader have to be set on zero.
ESCAPE
+
ESCAPE
MODIFY
+
STORE
STORE
2 sec.
STORE
+
ESCAPE
OPERATING MODE 2 - 2
Page 7
LUNA 24
mode:
2 1 PRESET / 12 SCENE MASTERS12 circuits
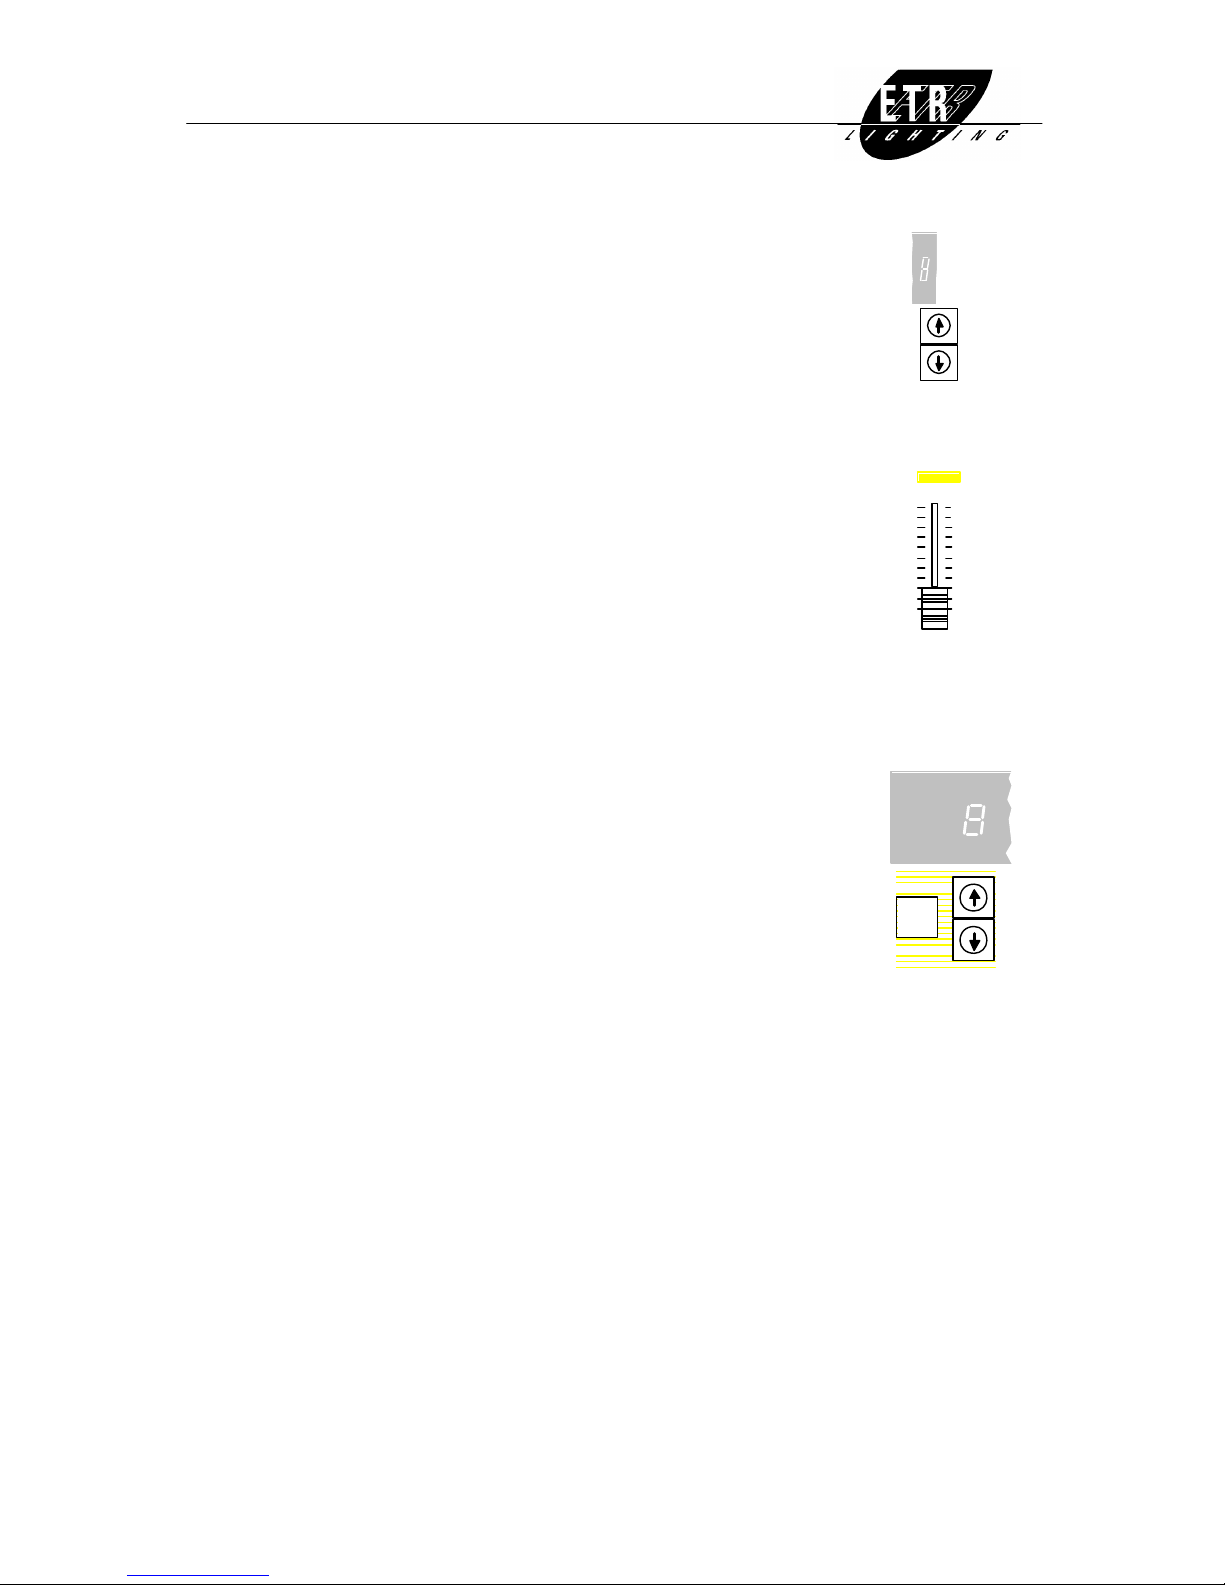
120 Lighting Scenes:
10 banks (0-9), each including 12 scenes, are available.
The bank number is shown in display as „PAGE“.
Use arrow-keys below to choose.
The 12 scenes per bank can be mixed and put on output by the
12 SCENE MASTERS.
If you select a new bank the old scene is available in the SCENE MASTER until
it is set on zero.
The FLASH-key-LED is flashing.
Fading Time:
FADE TIME-fader is influencing the SCENE MASTER-fader.
It is prolonging the fading according to the time set.
FLASH-Key Functions:
The grey FLASH-keys control 5 functions.
FLASH, SOLO and PREVIEW of scenes, and channel FLASH and SOLO.
FLASH- mode: FLASH MODE-key selects the function.
It is shown in the display.
If the function is used only for one channel, CHANNEL is illuminated in addition.
To switch between channel and scene function press FLASH MODE- plus the according
arrow-key.
Preview scenes: FLASH MODE = „PREVIEW“
Press FLASH-key of selected scene.
As long as you press the key the channel values are shown on the PREVIEW-LEDs. They are not
ready to output.
Flashing of a FLASH MODE = „FLASH“
scene: Press FLASH-key of selected scene.
This scene remains as long as you press the key on output.
Solo of a scene: FLASH MODE = „SOLO“
As long as you press a FLASH-key the according scene only is on output. All
others are on dark.
Flashing of a FLASH MODE = „CHANNEL FLASH“
channel: Press selected FLASH-key.
This channel remains as long as you press the key on output.
Solo of a channel: FLASH MODE = „CHANNEL SOLO“
As long as you press a FLASH-key the according channel is on output.
All other channels are on dark.
PAGE
CH. 1-12
0
1
2
4
6
10
20
40
80
200
140
SEC.
SOLO
FLASH
CHANNEL
PREVIEW PAGE
FLASH
MODE
SCENES
OPERATING MODE 2 - 3
Page 8
LUNA 24
mode:
3 1 PRESET / CROSSFADER24 circuits
Contens:
p. 1 Summary - important parts and controls
- black-out
- overall lighting
FLASH-key functions
Fading time
p. 2 Manual operation - turn off crossfader
- producing lighting scene
- flash and solo of a channel
p. 3 Crossfade operation - produce - store - recall of lighting scenes
- automatic sequences
- fading to dark
- scene preview
p. 4 Editing scenes - change
- copy
- delete
- insert
Summary:
1
OUTPUT- LEDs channel values 1-12
2
PREVIEW- LEDs channel values 13-24
3
PRESET A channel faders 1-12
4
FLASH- keys
5
PRESET B channel faders 13-24
6
Display
PRESET B / SCENE MASTERS
0
1
2
3
4
5
6
7
8
10
9
13
1 2 3 4 5 6
14 15 16 17 18 19
7 8 9 10 11 12
20 21 22 23 24
PRESET A
0
1
2
3
4
5
6
7
8
10
9
13
1 2 3 4 5 6
14 15 16 17 18 19
7 8 9 10 11 12
20 21 22 23 24
OUTPUT
PREVIEW
0
1
2
4
6
10
20
40
80
200
140
SEC.
FADE TIME
ESCAPE
MODIFY
STORE
10
40
60
80
100
120
150
190
240
480
320
B.P.M.
SPEED GRAND MASTER
0
1
2
3
4
5
6
7
8
10
9
DELETE
DBO
SPEED
NEXTê
SOUND
NEXTé
VARISPEED
MASTER
0
1
2
3
4
5
6
7
8
10
9
BA SEQUENCER
0
1
2
3
4
5
6
7
8
10
9
STEP
GO
STOP
BACK
CHASER
MODE
FLASH
MODE
AUDIO
MODE
AUX
0
1
2
3
4
5
6
7
8
10
9
CHANNELS
SCENES
(ADD STEP) DMX-PATCH
MIDI
PREVIEW PAGE
1
2
3
5
6
4
Black- Out: DBO-key is turning immedeately to totally dark.
If activated the LED is illuminated.
(This manual assumes that the DBO-key is always off.)
Overall lighting: The GRAND MASTER is regulating the total lighting of the performance.
FLASH-Key Functions:
FLASH- Mode: The grey FLASH-keys are used in 3 functions:
CHANNEL FLASH, CHANNEL SOLO, PREVIEW.
FLASH MODE-key selects the function.
It’s shown on display.
Fading Time:
FADE TIME: FADE TIME-fader affect the MASTER A- and B-faders.
It’s slowing down the fading according to the selected time.
GRAND MASTER
0
1
2
3
4
5
6
7
8
10
9
DBO
SOLO
FLASH
CHANNEL
PREVIEW
FLASH
MODE
0
1
2
4
6
10
20
40
80
200
140
SEC.
FADE TIME
OPERATING MODE 3 - 1
Page 9
LUNA 24
mode:
3 1 PRESET / CROSSFADER24 circuits
Manual Oper ation:
All faders on zero. GRAND MASTER fade up to 100%.
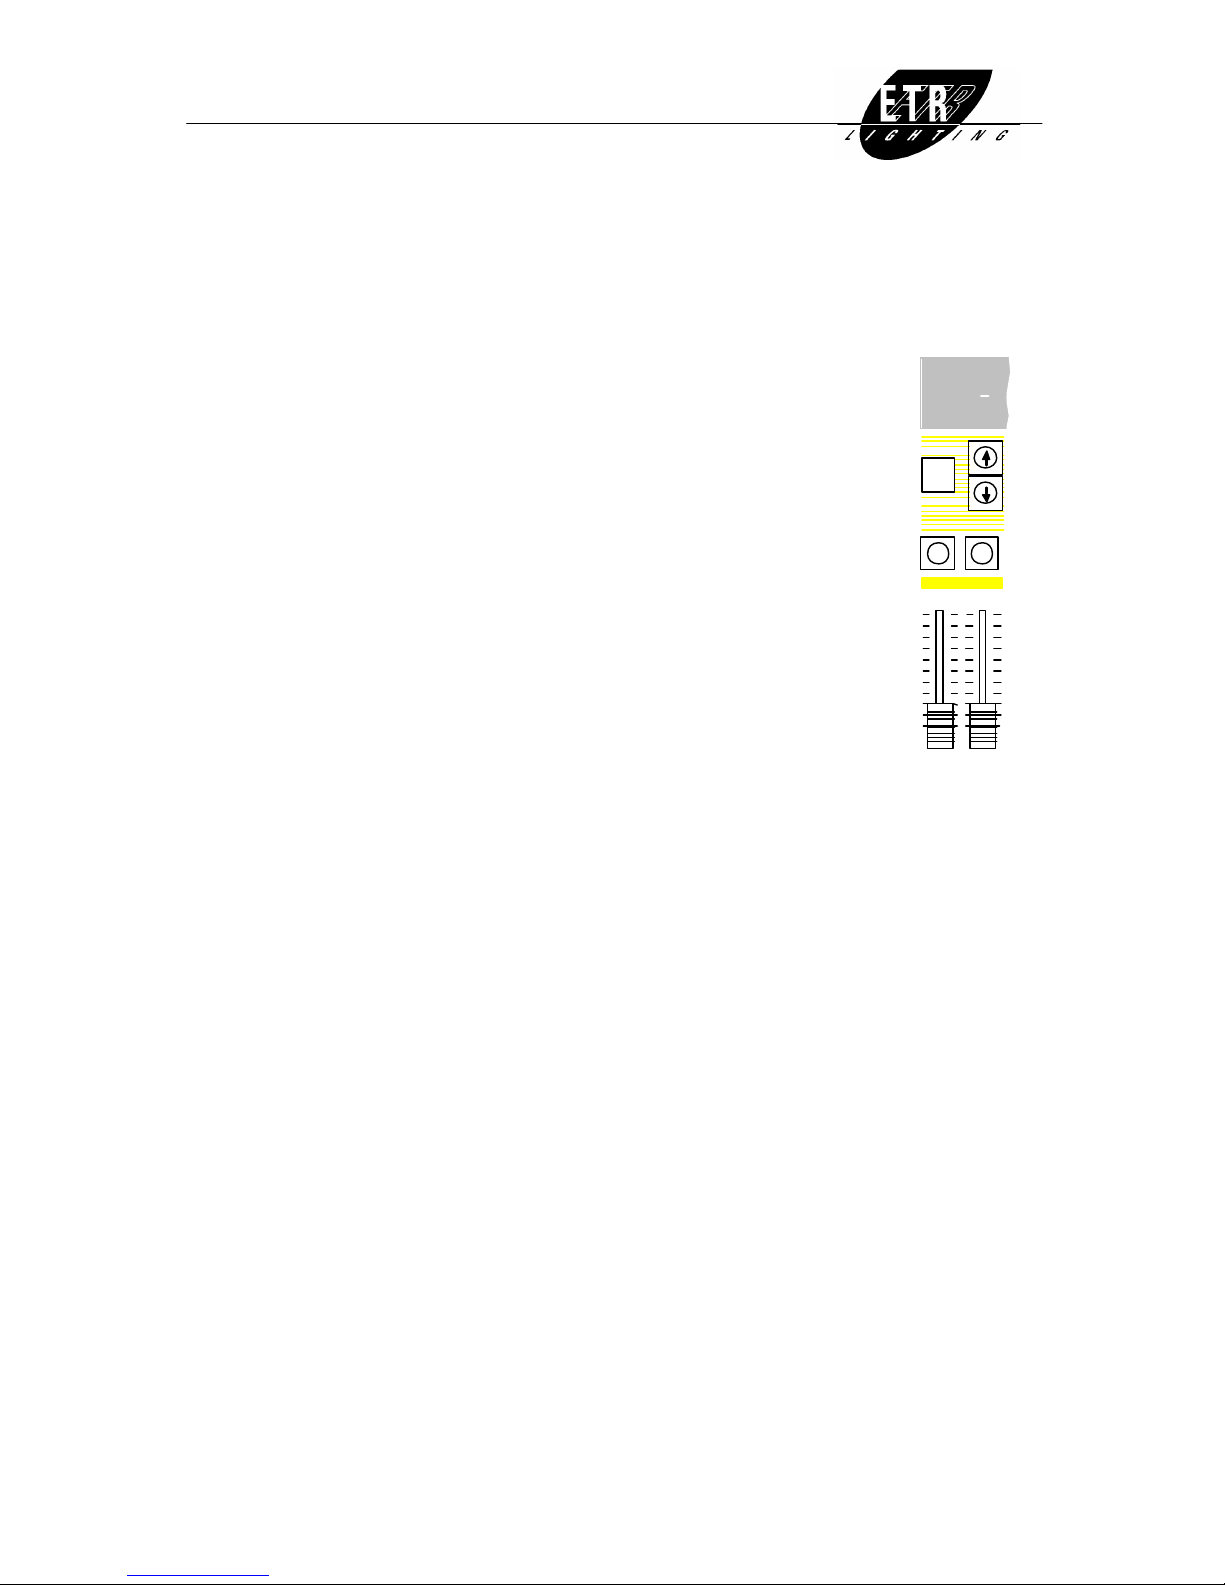
Crossfader off: Press both arrow-keys.
PAGE-display starts flashing.
Push MASTER B-fader full range up or down.
PAGE-display shows a dash.
Crossfader is off.
Producing MASTER A controls the total lighting (brightness) of the scene > 100%.
lighting scene: Install the channels 1-12 using the 12 PRESET A-faders.
The OUTPUT-LEDs display this accordingly.
Install the channels 13-24 using the 12 PRESET B-faders.
The PREVIEW-LEDs display this accordingly.
Flashing of a FLASH MODE = „CHANNEL FLASH“
channel: Use arrows to select channels 1-12 or 13-24.
It’s shown on display.
Press selected FLASH-key.
This channel is on output as long as the key is pressed.
SOLO of a channel: FLASH MODE = „CHANNEL SOLO“
Use arrows to select channels 1-12 or 13-24.
It’s shown on display.
As long as FLASH-key is pressed the channel is the only one on output.
All other channels are on dark for this time.
PREVIEW PAGE
CH. 13-24
CH. 1-12
MASTER
0
1
2
3
4
5
6
7
8
10
9
BA
FLASH
MODE
SCENES
10
9
8
7
6
5
4
3
2
0
1
OPERATING MODE 3 - 2
Page 10
LUNA 24
mode:
3 1 PRESET / CROSSFADER24 circuits
Crossfade Operation:
All faders on zero, GRAND MASTER on 100%. FLASH MODE = „PREVIEW“.“
120 lighting 10 banks (0-9), each including 12 scenes, are available.
scenes: The bank number is shown in display as „PAGE“.
Use arrow-keys below to choose.
The 12 lighting scenes per bank are selected by the 12 grey FLASH-keys. The key-LED
of the selected scene is illuminated.
It’s flashing if PAGE is changed.
Crossfader: MASTER B-fader is used as crossfader. By moving it up or down it is fading into the next
lighting scene.
The fading process is shown on the display.
It is slowed down by the FADE TIME-fader. The dot in the PAGE-display is then flashing.
Storing Produce lighting scene (as described in section „manual operation“).
lighting scene: Press FLASH-key of selected memory simultaneously with STORE-key.
The scene is stored in that memory.
You can produce further scenes and store them in selected memories.
Recall scenes: Press FLASH-key of selected scene simultaneously with MASTER B-FLASH-key.
It will be loaded to the crossfader (MASTER B).
Move MASTER B-fader up or down. The scene appears on output.
Select next scene by using FLASH-keys.
The next time you move MASTER B-fader the first scene will fade out and the new one will
fade in.
Automatic If there is no new scene recalled by using FLASH-keys, the crossfader (MASTER B) sequence:
fades automatically to the next higher scene.
From scene 1 to scene 2 etc. or from scene 12 to scene 1 of the next bank.
Fading out to The PAGE-display illuminates if you are pressing both arrow-keys.
darkness: (You can cancel this process by pressing MODIFY-key.)
By moving MASTER B you’re fading to dark.
PAGE-display shows a dash.
Preview scenes: FLASH MODE = „PREVIEW“
Press FLASH-key of selected scene.
Channel values will be shown on OUTPUT- and PREVIEW-LEDs.
They are not ready on output .
Pressing MASTER B-FLASH displays the next scene of the crossfader.
PAGE
CH. 1-12
MASTER
0
1
2
3
4
5
6
7
8
10
9
BA
10
9
8
7
6
5
4
3
2
0
1
STORE
+
MASTER B
+
PAGE
CH. 1-12
OPERATING MODE 3 - 3
Page 11
LUNA 24
mode:
3 1 PRESET / CROSSFADER24 circuits
Editing Scene:
Changing mode Press MODIFY-key simultaneously with FLASH-key of MASTER B.
„on“: MODIFY-LED illuminates green.
Select scene: The scene in crossfader will be changed.
If you wish to change scene press FLASH-key of new scene simultaneously with MASTER Bkey.
Change Change channel with according PRESET A- or B-fader.
channel values: The selected channel value has to be picked up by fader.
Then it can be changed.
Store changes: Press STORE- and MODIFY-keys simultaneously.
Store If you press STORE-key only, everything on output, for example SEQUENCER or output
values: AUX, is stored.
If in FLASH MODE = „CHANNEL-FLASH“ those values are shown on OUTPUT- and
PREVIEW-LEDs.
Copying scene: Press FLASH-key in change mode of the scene you want to copy.
Keep it pressed and press then simultaneously STORE-key.
The scene is copied on the one in the crossfader.
Deleting Press DELETE-key for 2 seconds in change mode.
whole scene: The MODIFY-LED illuminates yellow.
As soon as it illuminates green the actual scene is deleted.
Remove memory An empty memory location can be removed from a sequence.
location: The following memory locations move one position to the left.
Press DELETE-key for 2 seconds in change mode.
MODIFY-LED illuminates yellow.
As soon as it illuminates green the selected memory is deleted.
Insert memory It is possible to insert as many new scenes in the sequence as you like.
location: Choose the scene in change mode which will follow the new scene.
Press ADD STEP (= CHASER MODE-key) for 2 seconds.
As soon as the MODIFY-LED has changed from illuminating yellow to green the memory is
inserted.
The chosen scene and all others are moved one position to the right.
Quit change mode: If MODIFY-LED is illuminated the change mode is active.
Press MODIFY-key. Unstored changes - MODIFY-LED illuminates red - are lost.
MASTER B
ESCAPE
+
MASTER B
+
ESCAPE
MODIFY
+
STORE
STORE
STORE
+
2 sec.
2 sec.
CHASER
MODE
2 sec.
ESCAPE
OPERATING MODE 3 - 4
Page 12
LUNA 24
mode:
4 12 SCENE MASTERS24 circuits
Contents:
p. 1 Summary - important parts and controls
- channel assignments
- black-out
- overall lighting
p. 2 Lighting scene - recall
- edit
- store
- delete
- copy
p. 3 Fading time
FLASH-key functions
Summary:
1
OUTPUT- LEDs
2
PREVIEW- LEDs
3
PRESET A
4
FLASH- keys
5
SCENE MASTERS
6
Display
PRESET B / SCENE MASTERS
0
1
2
3
4
5
6
7
8
10
9
13
1 2 3 4 5 6
14 15 16 17 18 19
7 8 9 10 11 12
20 21 22 23 24
PRESET A
0
1
2
3
4
5
6
7
8
10
9
13
1 2 3 4 5 6
14 15 16 17 18 19
7 8 9 10 11 12
20 21 22 23 24
OUTPUT
PREVIEW
0
1
2
4
6
10
20
40
80
200
140
SEC.
FADE TIME
ESCAPE
MODIFY
STORE
10
40
60
80
100
120
150
190
240
480
320
B.P.M.
SPEED GRAND MASTER
0
1
2
3
4
5
6
7
8
10
9
DELETE
DBO
SPEED
NEXTê
SOUND
NEXTé
VARISPEED
MASTER
0
1
2
3
4
5
6
7
8
10
9
BA SEQUENCER
0
1
2
3
4
5
6
7
8
10
9
STEP
GO
STOP
BACK
CHASER
MODE
FLASH
MODE
AUDIO
MODE
AUX
0
1
2
3
4
5
6
7
8
10
9
CHANNELS
SCENES
(ADD STEP) DMX-PATCH
MIDI
PREVIEW PAGE
1
2
3
5
6
4
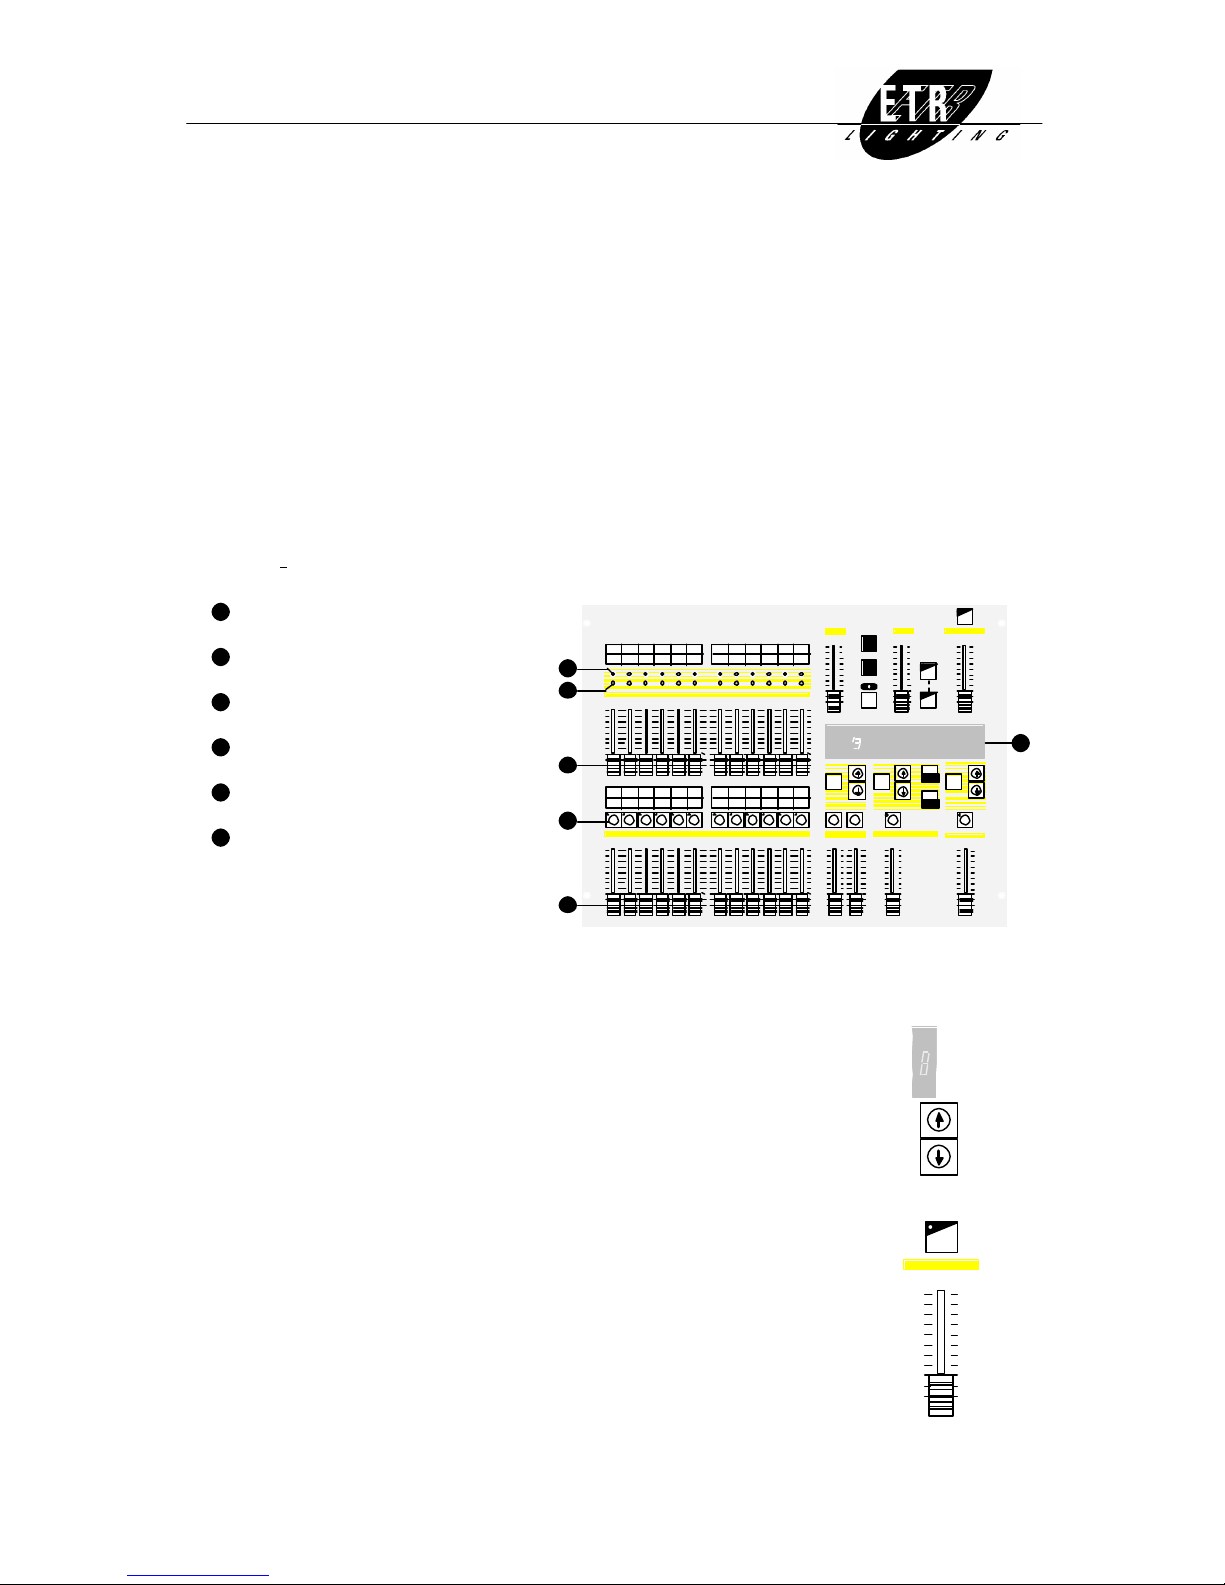
Channel Only 12 parts and controls are at hand.
assignment: (PRESET-faders, FLASH-keys, OUTPUT- and PREVIEW-LEDs)
Even so, all scenes including 24 circuits can be operated.
You have to change the channel assignment.
It is indicated on the display above PAGE by „CH. 1-12“ or „CH. 13-24“.
Choose by using arrow-keys.
Black- Out: The DBO-key switches immediately to dark.
If activated the LED is illuminated.
(This manual assumes that it is always off.)
Overall lighting: The GRAND MASTER is controlling the overall lighting of the performance.
PAGE
CH. 1-12
GRAND MASTER
0
1
2
3
4
5
6
7
8
10
9
DBO
OPERATING MODE 4 - 1
Page 13
LUNA 24
mode:
4 12 SCENE MASTERS24 circuits
Lighting Scene:
120 scenes: 10 banks (0-9), each with 12 scenes, are available.
The bank number is shown on the display with „PAGE“.
Select with arrow-keys below.
Recall scenes: The 12 scenes per bank can be mixed and put on output with the 12 SCENE MASTERfaders (MASTER B = general fader).
If you select a new bank, the scene of the old bank stays on the SCENE MASTER until it is on
zero.
It’s indicated on the according FLASH-key-LED by flashing.
Editing lighting scenes:
All faders on zero, GRAND MASTER- and MASTER B-faders on 100%.
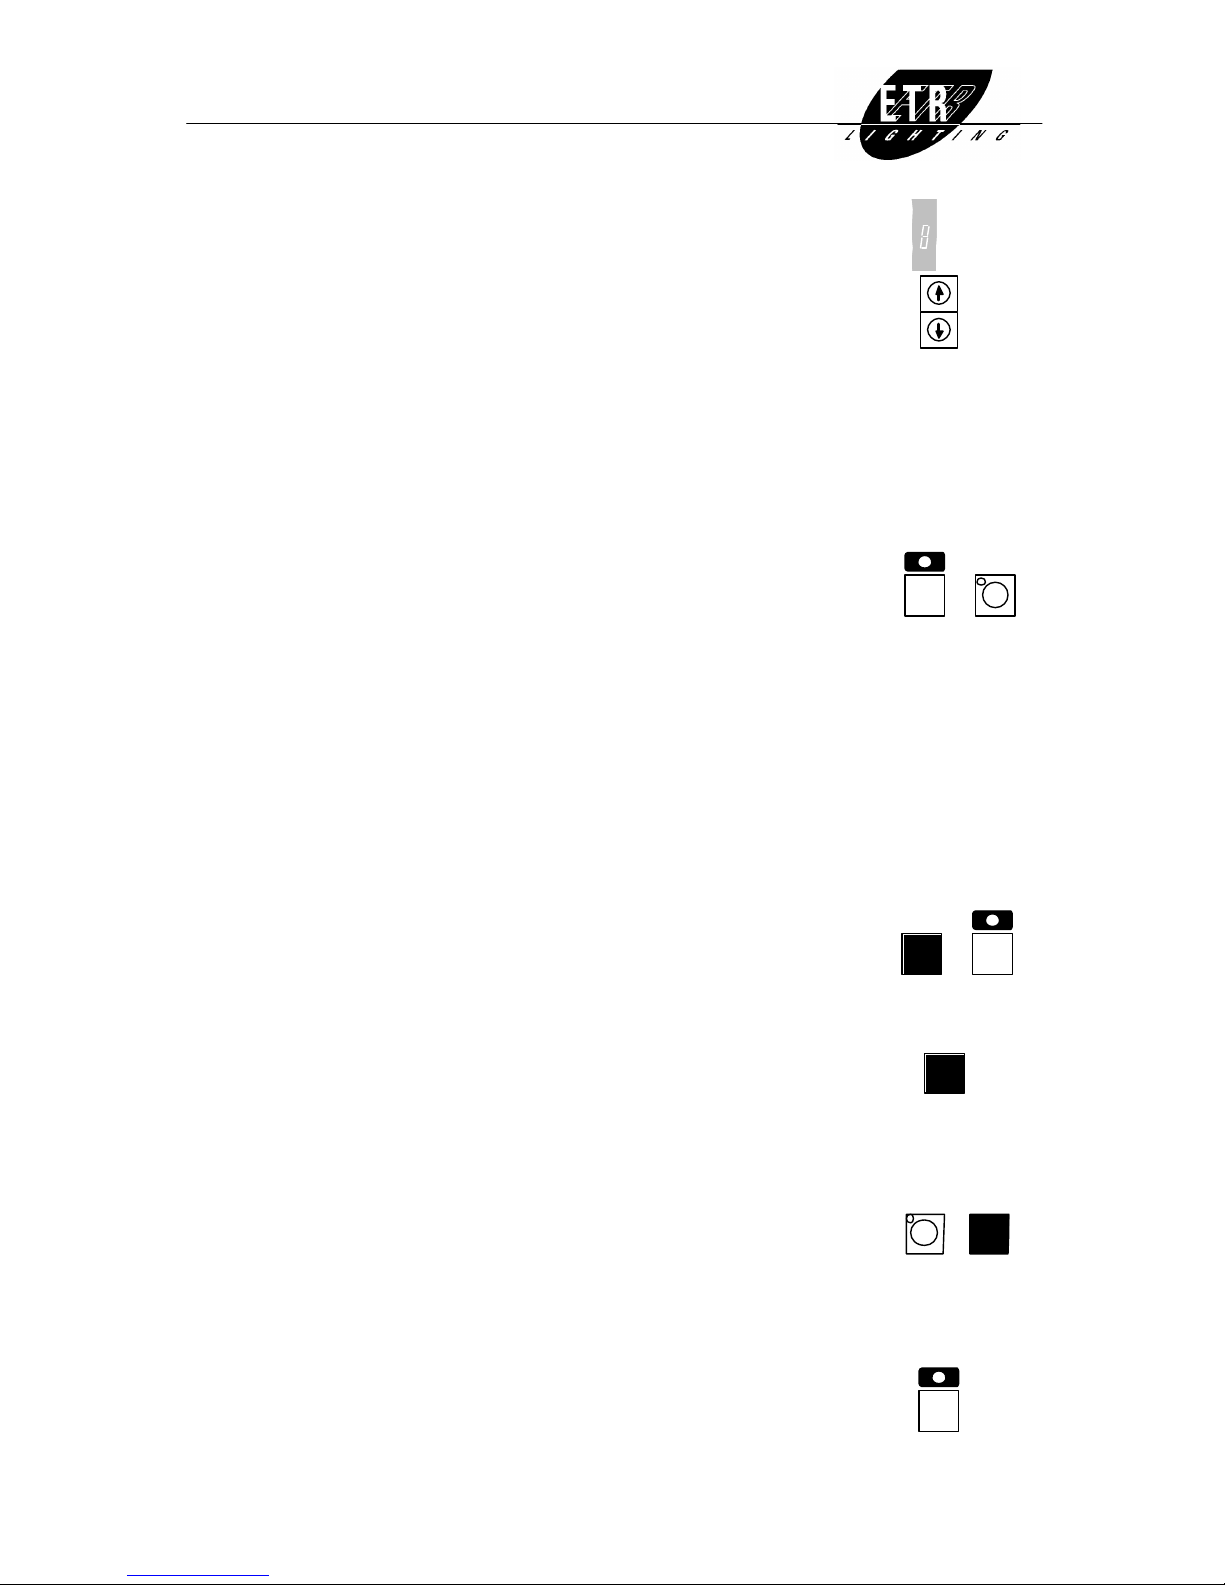
Select scene: Press the red MODIFY-key simultaneously with the grey FLASH-key of the chosen
scene. Its LED and MODIFY-LED are flashing.
Change mode is „on“.
The PREVIEW-LEDs are showing stored contents.
Real or blind: If you move the according SCENE MASTER up the scene is on output.
The changes are therefore visible on stage.
Editing scene: A channel value can be changed with respective PRESET A-fader if PREVIEW-LED is
illuminated green.
Otherwise you have to get the channel value first by moving on red the fader up,
on yellow down.
Changed channel values are preserved if you change channel assignment.
Store changes: Press STORE- and MODIFY-keys simultaneously.
The MODIFY-LED illuminates green. Change mode is still on. You can still work on
this scene or you can select a new one to work on.
Delete Select the scene you want to delete (MODIFY- and respecting FLASH-key).
whole scene: Press DELETE-key for 2 seconds.
The MODIFY-LED illuminates yellow for that period.
As soon as it illuminates green the selected scene is deleted.
Copying scene: Choose place where you want to move copy to. (MODIFY- and respective
FLASH-keys).
Press FLASH-key of the scene you want to copy.
(FLASH MODE = PREVIEW, see page 3)
Keep pressing it and then press STORE-key as well.
The scene is copied (key-LED is illuminated).
Quit change mode: If MODIFY-LED is illuminated change mode is on.
Press MODIFY-key.
Changes which were not stored - MODIFY-LED illuminates red - are lost.
PAGE
CH. 1-12
ESCAPE
+
ESCAPE
MODIFY
+
STORE
2 sec.
STORE
+
ESCAPE
OPERATING MODE 4 - 2
Page 14
LUNA 24
mode:
4 12 SCENE MASTERS24 circuits
Fading Time:
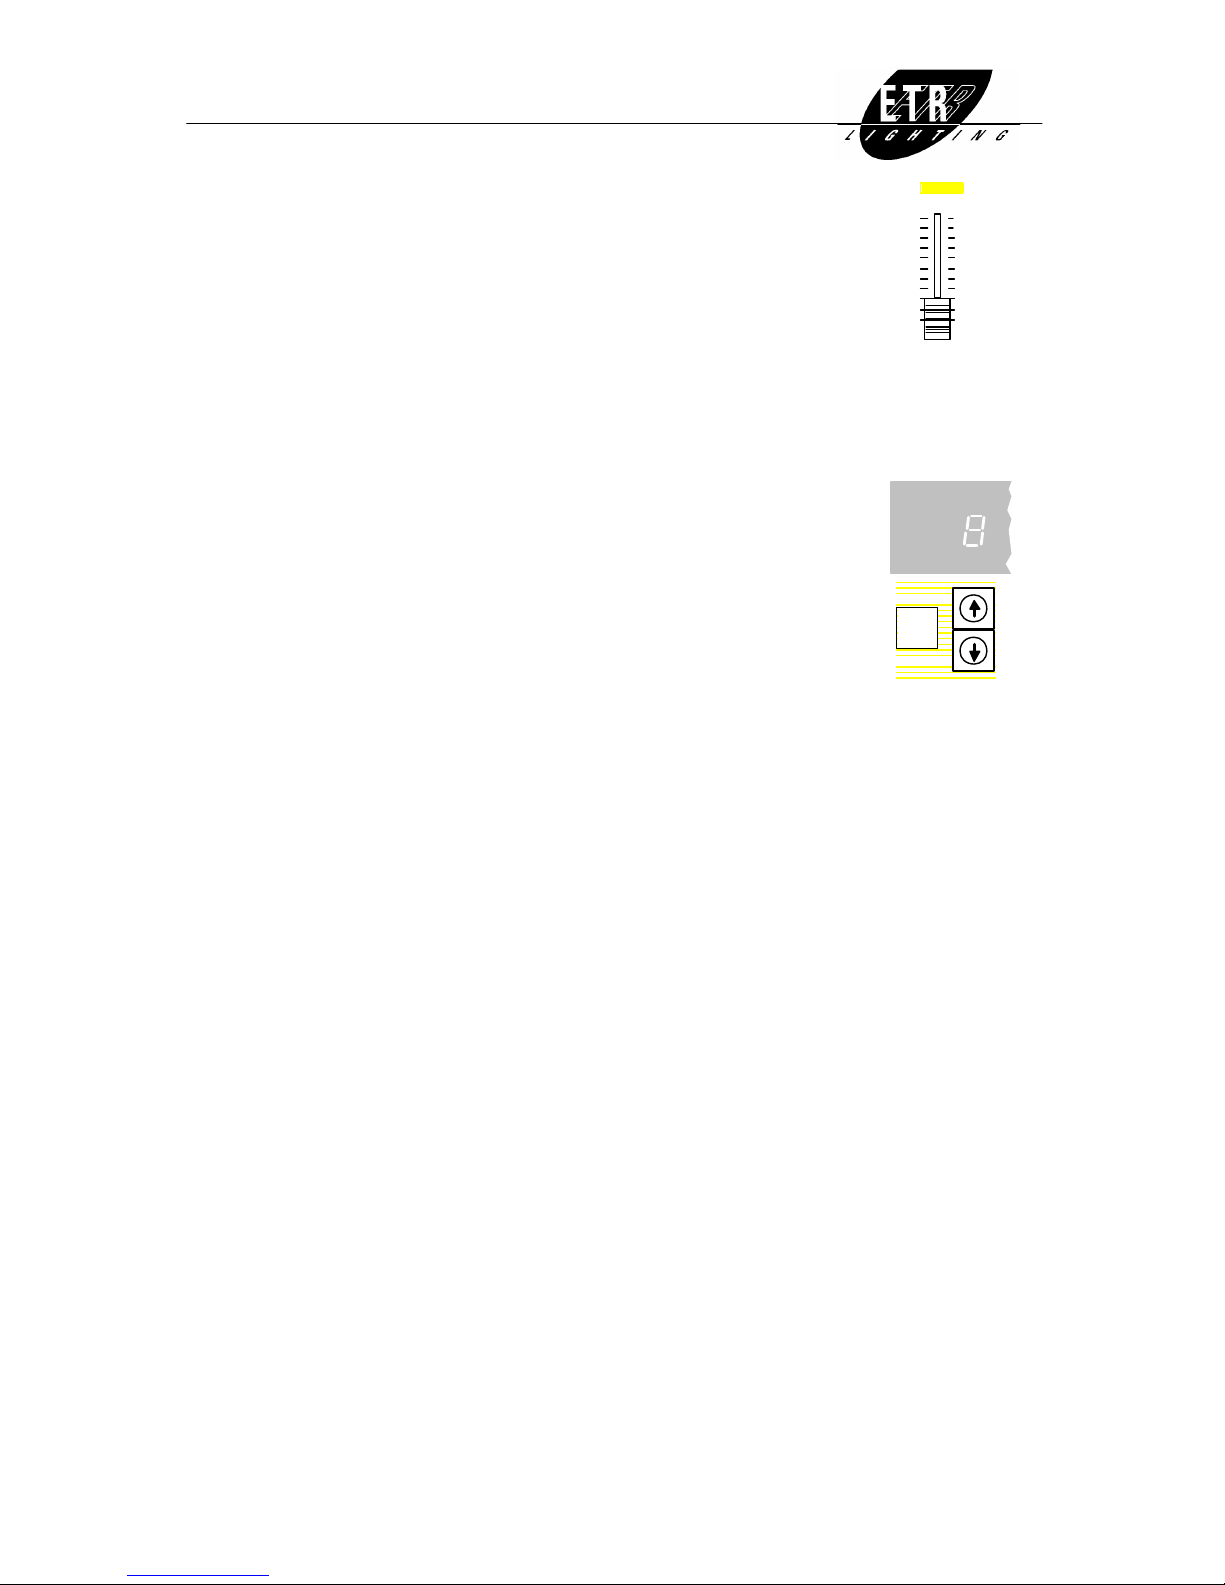
The FADE TIME-fader influences the SCENE MASTER-faders.
It is slowing down the fading time to the preset time.
FLASH-Key Functions:
The grey FLASH-keys control 5 functions.
FLASH, SOLO and PREVIEW of the scenes, and channel FLASH and SOLO.
FLASH- mode: You select the function with the FLASH MODE-key.
It is shown on the display.
If the function works only on one channel, CHANNEL is illuminated.
To switch from channel to scene function, press FLASH MODE- simultaneously with the
corresponding arrow-key.
Preview scenes: FLASH MODE = „PREVIEW“
Press FLASH-key of the selected scene.
Channel values are shown on PREVIEW-LEDs.
But they are not on output.
Flashing a scene: FLASH MODE = „FLASH“
Press FlLASH-key of the selected scene.
As long as you press the scene is on output.
Solo of a scene: FLASH MODE = „SOLO“
As long as you press FLASH-key this scene only is on output.
All others are on dark.
Flashing a channel: FLASH MODE = „CHANNEL FLASH“
Press selected FLASH-key.
This channel shows as long as you press on output.
Solo of a channel: FLASH MODE = „CHANNEL SOLO“
As long as you press a FLASH-key the respective channel only is on output.
All others are dark.
0
1
2
4
6
10
20
40
80
200
140
SEC.
SOLO
FLASH
CHANNEL
PREVIEW PAGE
FLASH
MODE
SCENES
OPERATING MODE 4 - 3
Page 15
LUNA 24 CHASER
Contens:
p. 1 General
Programming - program a sequence
- delete old program
p. 2 Recall - choose running mode
- choose crossfading mode
- prepare new program
p. 3 Change programs - change scene
- insert scene
- delete scene
- copy scene
- single or partial runs
Adjust audio-level
General Information:
The chaser puts different scenes in sequence to output.
The sequence can be controlled manually or automatically with SPEED-fader or
synchronized to the music.
10 different sequences can be programmed.
The according number is shown on display at „PROG“ (red).
Choose with arrow-keys below.
Each program can hold up to 99 steps.
The step number is shown on display at „STEP“.
SEQUENCER
0
1
2
3
4
5
6
7
8
10
9
STEP
GO
STOP
BACK
CHASER
MODE
(ADD STEP)
PROG STEP
CHASER
Programming:
All faders on zero, GRAND MASTER- and MASTER A-faders on 100%.
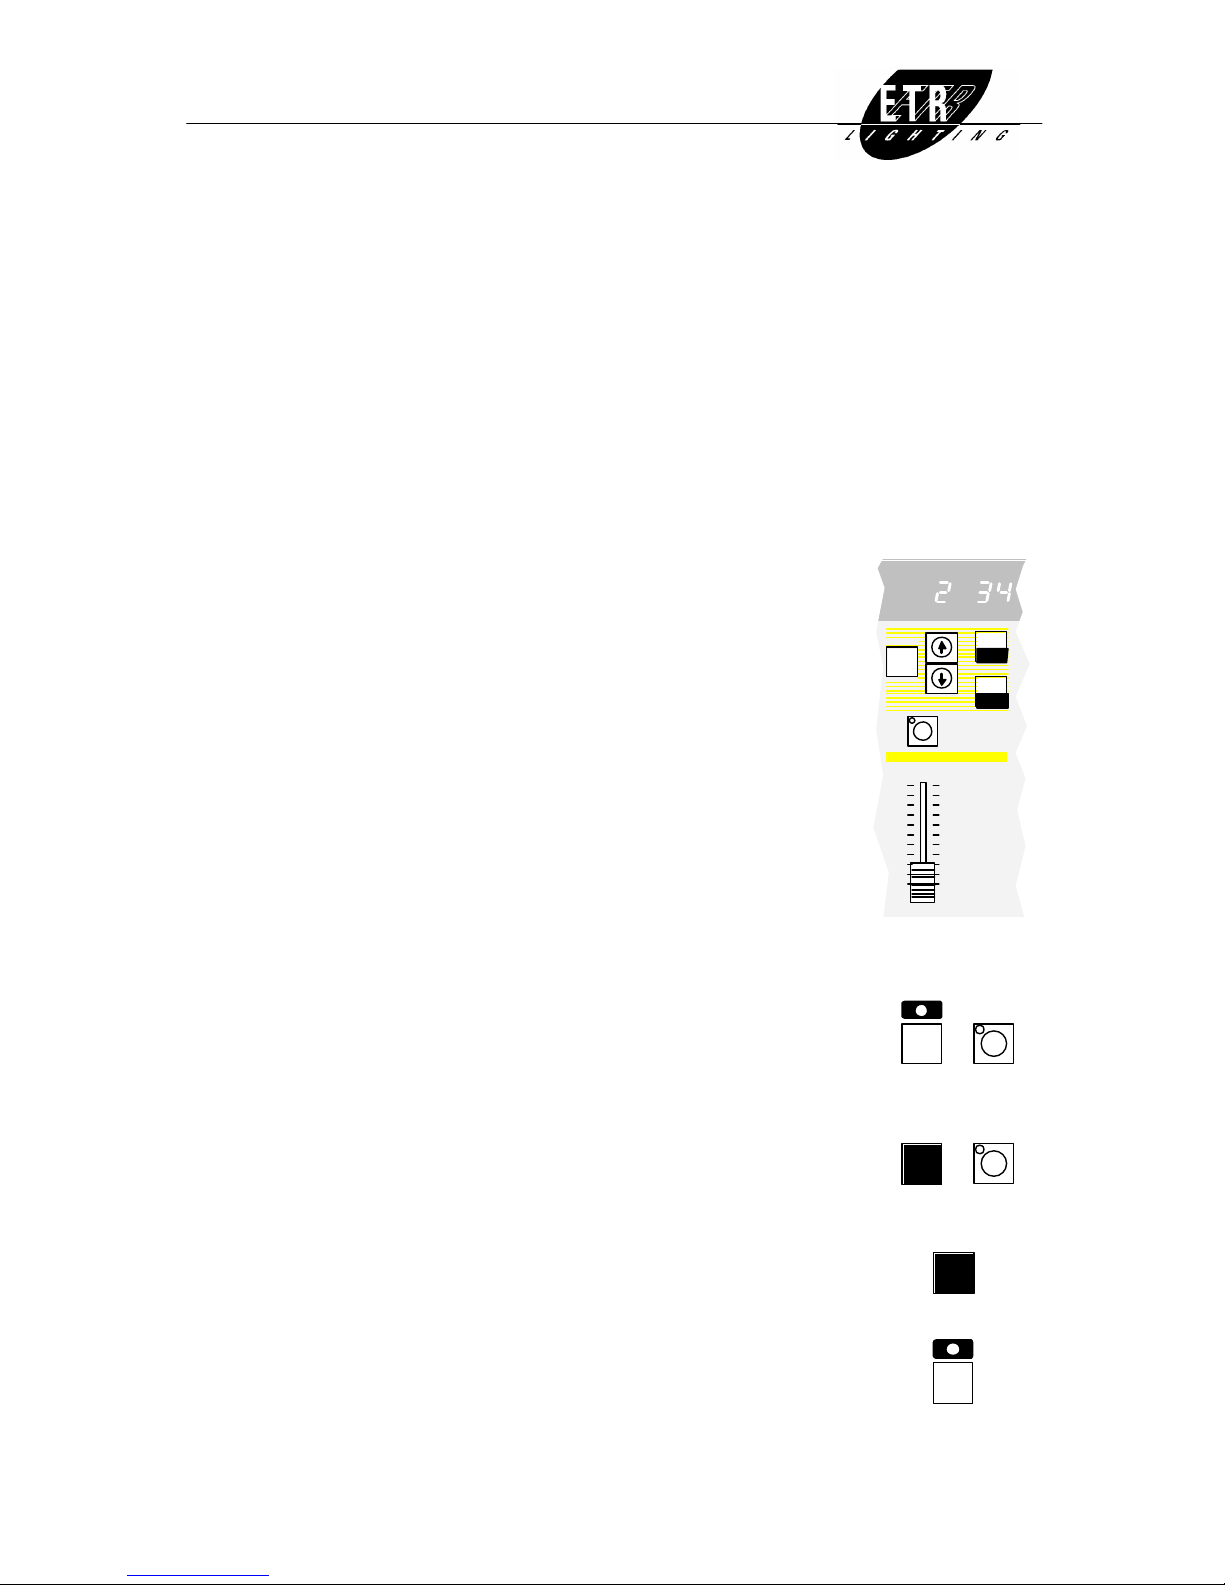
Start programming Press MODIFY- and SEQUENCER-keys simultaneously.
mode: Both LEDs are illuminated. On the display „CHASER“ is flashing.
Delete old program: Press DELETE- and grey SEQUENCER-keys simultaneously for 2 seconds.
On the display in position STEP an „E“ is shown for empty.
Step by step: Create scene with PRESET-faders.
Store by using STORE-key.
Next step (STEP) is announced (if it is slightly darker = empty).
Keep repeating if you want to add more steps.
Quit programming Press MODIFY-key.
mode: Unstored changes - MODIFY-LED illuminates red - are lost.
ESCAPE
+
SEQUENCER
2 sec.
+
SEQUENCER
STORE
ESCAPE
CHASER - 1
Page 16
LUNA 24 CHASER
Recall:
MASTER A-fader on zero.
Move up SEQUENCER-fader. Chaser is on output.
Choose running mode:
Continuing Set trigger frequency with SPEED-fader.
running order: SPEED-key-LED is flashing.
SPEED-key activates the pace. Respective LED is bright.
Controlled by The SOUND-key-LED is flashing according to the musical rhythm.
music: (An audio signal is input to the jack socket on the back.)
By pushing SOUND-key the musical rhythm is controlling the chaser.
Its LED is now fully illuminated.
VARISPEED: If you activate the SOUND- and SPEED-keys together the triggering of the chaser consists of a
mixture of both rhythms.
Stopping: Stop the chaser with STOP/BACK-key or deactivate SOUND- or SPEED-keys.
Single steps Every time you press STOP/BACK-key a stopped chasing light is skipping backwards.
backwards:
Single steps Every time you press STEP/GO-key a chasing light is skipping forwards.
forwards:
Methode of crossfading:
The different scenes can be crossfaded in 3 different ways.
The method is selected with CHASER MODE-key and shown on the display accordingly.
Hard crossfading: On display CHASER is illuminated.
Crossfading from one scene to the next is immediate.
Soft crossfading: On display CHASER and SOFT are illuminated.
Crossfading to the next scene is slowed down.
It is depending on the position of the SPEED-fader.
Flashing on On display CHASER and IMP. are illuminated.
impulse: Each new scene is fading immediately in and slowly out.
Fading out time is corresponding to position of the SPEED-fader.
Prepare a new program:
Until you set the SEQUENCER-fader on zero the chaser program is active.
If you select a new program, on display NEXT is flashing.
Use grey SEQUENCER-key (FLASH MODE = PREVIEW) to display it on the
PREVIEW-LEDs.
Now you can preset the way of running and the way of crossfading.
Fade out the old program and fade in the new one by moving the SEQUENCER-fader for a
short time on zero.
10
40
60
80
100
120
150
190
240
480
320
B.P.M.
SPEED
SPEED
NEXT
ê
SOUND
NEXTé
VARISPEED
STOP
BACK
STEP
GO
CHASER
SOFT
IMP.
MODE
CHASER - 2
Page 17
LUNA 24 CHASER
Change Programs:
All faders on zero, GRAND MASTER on 100%.
Change mode on: Press MODIFY-key and grey SEQUENCER-key simultaneously.
The respective LEDs are illuminated. On display CHASER is flashing.
Real or blind: Live on output changes are only appearing if you moved up the SEQUENCER-fader after
activating the change mode.
If you don’t do so the changes will be produced „blind“ by the PREVIEW-LEDs.
By doing so you can change while performing a chaser program another (or even the
performing) program.
Change scene: Press STEP/GO- or STOP/BACK-keys to select next step.
Pick up the selected channel value with respective PRESET-fader and change it.
Store changes: Press STORE- and MODIFY-keys simultaneously.
(STORE only stores the actual output status.)
Delete step: Press DELETE-key for 2 seconds. MODIFY-LED illuminates yellow.
When it is illuminated green the selected step is deleted.
Insert step: Select step. Insert the new step ahead of it.
Press ADD STEP (CHASER MODE-key) for 2 seconds.
MODIFY-LED illuminates yellow. When it changes to green the new step is inserted.
Copy a scene: Press FLASH-key of selected scene. (FLASH MODE = PREVIEW).
Press simultaneously STORE-key.
The scene is copied on the selected step on CHASER.
Copy a Select the step you want to copy with the NEXT-keys (SOUND- and SPEED-keys). chaser step:
On display NEXT is illuminated.
Now you can choose any other program.
Press simultaneously STORE- and MODIFY-keys to store this scene on the previously
chosen step in CHASER.
It can be previewed with the SEQUENCER-key (FLASH MODE = PREVIEW).
Pressing STOP/BACK or STEP/GO goes back to that step.
Stops: Usually the program continues to the last programmed step and then restarts.
You can set stop marks for partial runs: the program then stops at this mark.
Press MODIFY- and SPEED-keys simultaneously to insert or to delete a stop mark.
On display an ‘S’ ( = STOP) is flashing by the program number.
Quit change mode: Press MODIFY-key.
Unstored changes - MODIFY-LED illuminates red - are lost.
Adjust Audio-Level:
Press MODIFY- and SOUND-keys simultaneously.
On display LED bar shows the audio-level.
Change level with SPEED-fader. The old level has to be picked up first.
In zero position on display an ‘A’ is shown.
The music level will then be controlled automatically.
After you have set the music-level press MODIFY-key.
ESCAPE
+
SEQUENCER
ESCAPE
MODIFY
+
STORE
2 sec.
CHASER
MODE
2 sec.
STORE
+
SPEED
NEXT
ê
NEXT
é
ESCAPE
MODIFY
+
STORE
ESCAPE
+
SPEED
NEXT
ê
ESCAPE
ESCAPE
+
SOUND
NEXTé
CHASER - 3
Page 18
LUNA 24 AUDIO - EFFECTS
Contens:
p. 1 General - 5 different audio-effects
Programming
Recall
p. 2 Change program - change scene
- delete scene
- copy scene
Adjust audio-level
General Information:
10 different audio-effect programs can be stored.
The program number is shown on display under PROG (right-hand) in green. Select
with the respective arrow-keys.
Each program includes 4 different scenes, number 1-4.
Those scene numbers are shown on display in a square.
Those scenes can be controlled by music in 5 different ways.
The manner of control is selected with the AUDIO MODE-key.
It is shown on display.
SOUND The audio signal is divided into 4 frequency bands.
Each band controls according its level a scene.
(number 1=bass, number 2=low-mid, number 3=high-mid, number 4=treble).
SOUND With the same frequency band as described in „sound“ only the loudest will
VU be triggered.
CHASE The 4 scenes are triggered one after the other according to the rhythm of the music.
SOUND The 4 scenes are triggered one after the other by the rhythm of the music.
CHASE The brightness is controlled by the loudness of the music.
VU If the volume is less than 25% scene number 1 is on output. Between 25 and 50%
number 2 is on, between 50 and 75% number 3 and above 75% number 4.
PROG
SOUND
CHASE
VU
2 3 41
AUDIO
MODE
MIDI
Programming:
All faders on zero, GRAND MASTER- and MASTER A-fader on 100%.
Start programming Press MODIFY-key simultaneously with grey AUX-key.
mode: Both respective LEDs are illuminated.
Store scene: Create scene with PRESET A-faders.
(In Operating mode 3 with PRESET A- and B-faders.)
Store by pressing STORE-key.
The next scene number shows.
Proceed the same way for the remaining 3 scene numbers.
Quit program mode: Press MODIFY-key.
Recall:
MASTER A-fader on zero.
Move up AUX-fader. The selected audio-effect is on output.
ESCAPE
+
AUX
STORE
ESCAPE
AUDIO - 1
Page 19
LUNA 24 AUDIO - EFFECTS
Change Programms:
Start change mode: Press MODIFY-key and grey AUX-key simultaneously.
Both respective LEDs are illuminated.
Select scene: Use AUDIO MODE-key to select the scene.
The PREVIEW-LEDs show the stored channel values.
Change scene: Use respective PRESET-fader to pick up and change the selected channel value.
Store changes: Press STORE- and MODIFY-keys simultaneously.
(STORE only stores the actual output state.)
The next scene is now ready for change.
Delete scene: Press DELETE for 2 seconds. MODIFY-LED flashes yellow.
As soon as it switches to green the selected scene is deleted.
Delete program: Press DELETE- and AUX-keys simultaneously for 2 seconds to delete all 4
scenes in one step.
Copy scene: Press FLASH-key of scene to be copied. (FLASH MODE = PREVIEW).
Keep FLASH-key pressed and then press STORE.
The scene is copied to the selected place.
Quit change mode: Press MODIFY-key.
Unstored changes - MODIFY-LED illuminates red - are lost.
Adjust Audio-Level:
Press MODIFY- and SOUND-keys simultaneously.
On display LED bar shows the audio-level.
Change level with SPEED-fader. The old level has to be picked up first.
In zero position on display an ‘A’ is shown.
The music level will then be controlled automatically.
After you have set the music-level press MODIFY-key.
ESCAPE
+
AUX
AUDIO
MODE
ESCAPE
MODIFY
+
STORE
2 sec.
2 sec.
+
AUX
STORE
+
ESCAPE
ESCAPE
+
SOUND
NEXTé
AUDIO - 2
Page 20
LUNA 24 DMX - PATCH
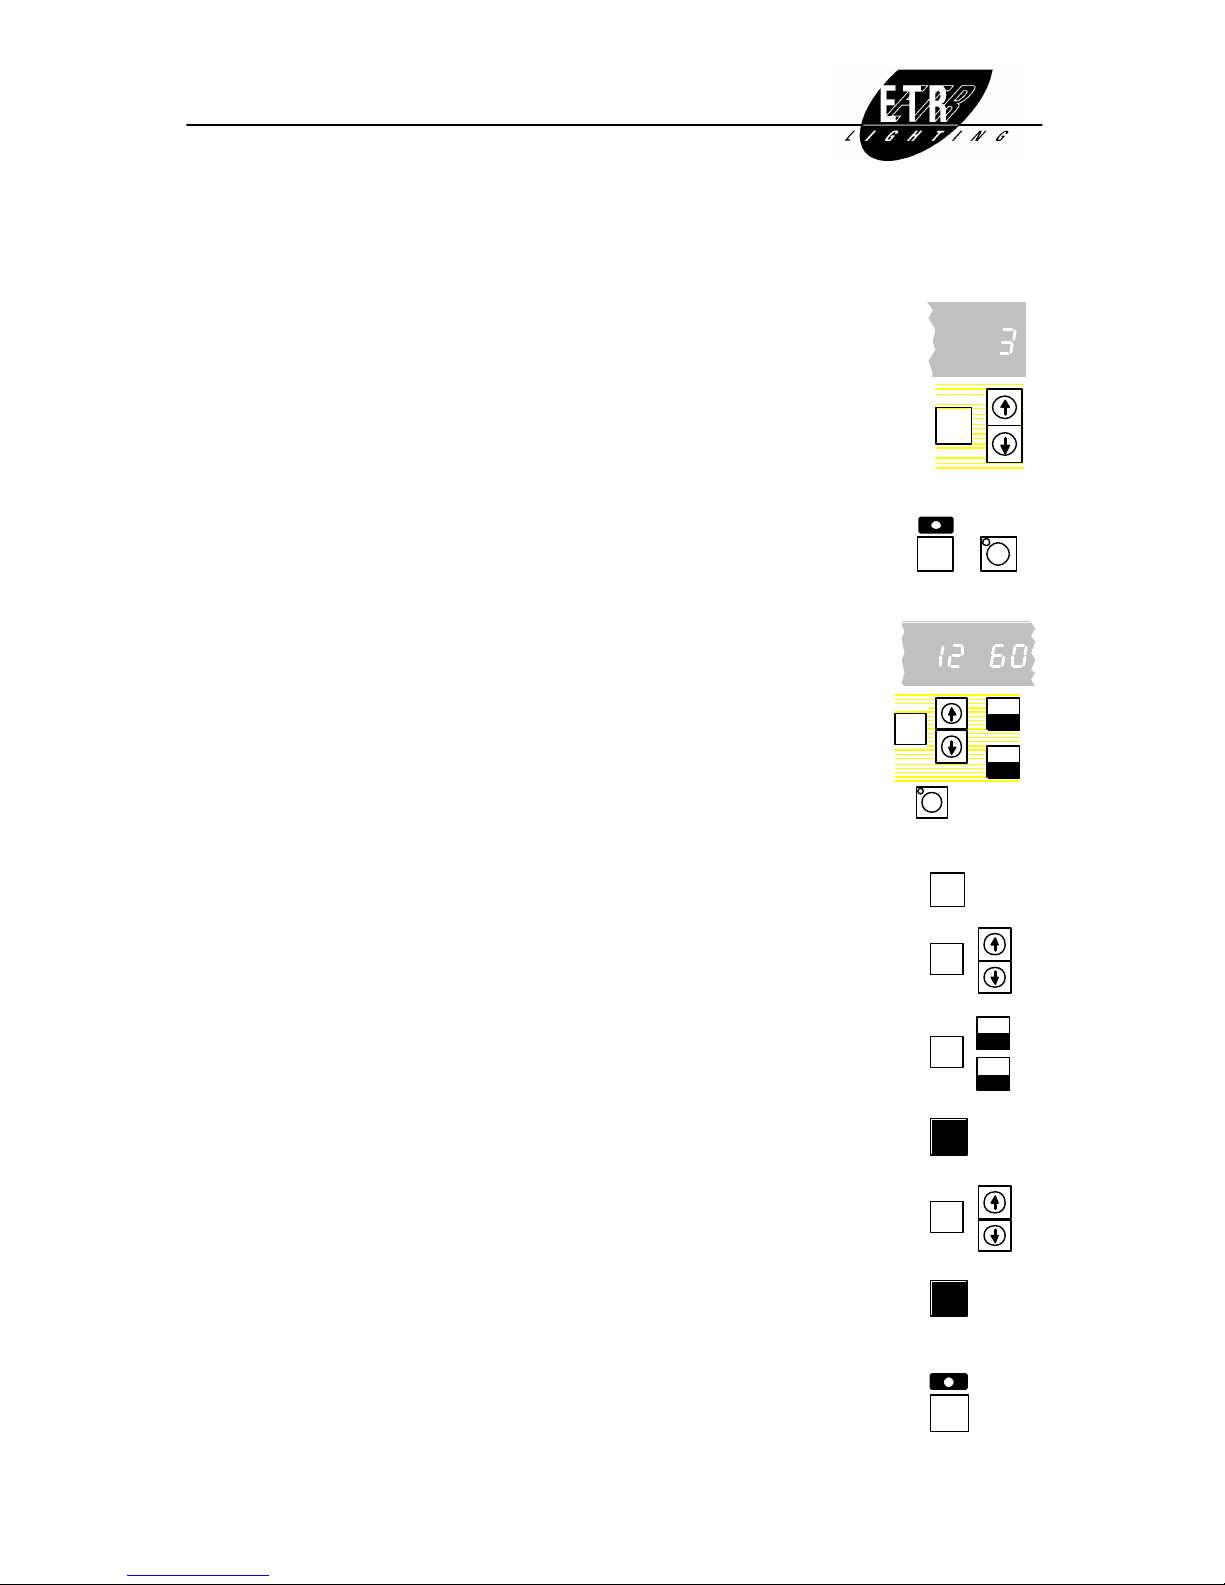
What is a DMX-patch?
LUNA 24 can control up to 96 DMX channels.
By using patch you route lighting circuits to faders on LUNA 24.
Select patch number:
Press AUDIO MODE- simultaneously with up-key beside.
On display DMX-PATCH and a number are illuminated.
Use arrow-keys to choose one out of 4 possible patches.
Press STORE-key to activate it (MODIFY to cancel).
Change DMX-patch:
Start change mode: Select as said above the patch number.
Is DMX-PATCH illuminated on display press MODIFY- and grey AUX-keys simultaneously.
Both respective LEDs are illuminated.
Select Use STOP/BACK- or STEP/GO-keys to select DMX-channel.
DMX- channel: (press long to fastforward - press both keys to go to channel 1)
The DMX-channel-number is shown on display CHANNEL.
Press grey SEQUENCER-key to flash respective spotlight.
Select fader circuit: On display, lefthand to CHANNEL, it shows which fader circuit of LUNA 24 controls the
respective DMX-channel.
Use arrow-keys below to select fader-channel.
Then the patching is done.
Press both arrows simultaneously to disconnect.
On display „- - „ = no connection is illuminated.
Other connections: Each time you press CHASER MODE-key the next connection (if there is one)
is shown together with the selected fader circuit.
Preview Use arrow-keys while pressing CHASER MODE-key to select fader circuit without connections:
changing connections.
Channels in Select DMX-channels while pressing CHASER MODE-key.
sequence: The channels are connecting to the selected fader circuit.
(Especially helpful to delete several connections in sequence with “ - -“. )
Delete whole patch: Press DELETE-key for 2 seconds. MODIFY-LED illuminates yellow.
When it illuminates red the DMX-channels 1 -24 are patched to fader circuits 1-24
(factory preset). All other connections are deleted.
Copy patch: Select patch you wish to copy.
Press AUDIO MODE-key and simultaneously select destination patch.
Release AUDIO MODE-key. The patch is copied.
Store changes: MODIFY-LED is illuminated red when a patch is changed.
This change is only stored when you press STORE-key.
Quit change mode: Press MODIFY-key. (Unstored changes - MODIFY-LED illuminates red - are lost.)
On display the number of the changed patch is illuminated.
It is illuminated dark if the changed patch is not in use on LUNA 24 at the moment.
Press STORE to activate the changes.
Press MODIFY to keep the old situation active.
AUDIO
MODE
DMX-PATCH
MIDI
DMX-PATCH
ESCAPE
MODIFY
+
AUX
SEQUENCER
STEP
GO
STOP
BACK
MODE
ADD STEP
CHANNEL
MODE
CHASER
MODE +
STEP
GO
STOP
BACK
MODE
+
DELETE
2 sec.
AUDIO
MODE +
STORE
ESCAPE
DMX-PATCH
 Loading...