

E-TOP PR126, PR126g User Manual
PR126g
Power Line Router
User Guide
1
Quick Setup Guide V1.0

Table of Contents
TABLE OF CONTENTS........................................................................................................................... 2
FCC CAUTION........................................................................................................................................... 4
CHAPTER 1 INTRODUCTION............................................................................................................ 5
1.1 THE MAIN INSTRUCTION OF PR 126G ............................................................................... 5
1.2 MAIN FEATURES........................................................................................................................ 5
1.3 THE INTRODUCTION OF FUNCTION OF THREE MODES QUICK SETUP............................ 6
1.3.1 The introduction of Quick Setup of Router mode................................... 6
BASIC SETUP.............................................................................................................................. 6
SERVER SETUP........................................................................................................................... 6
1.3.2 The introduction of Quick Setup of AP mode............................................ 7
BASIC SETUP.............................................................................................................................. 7
APPLICATION SETUP................................................................................................................ 7
1.3.3 The introduction of Quick Setup of Client mode..................................... 7
BASIC SETUP.............................................................................................................................. 8
APPLICATION SETUP................................................................................................................ 8
1.3.4 The main introduction of PC Utility................................................................ 8
1.4 HARDWARE SPECIFICATION ................................................................................................... 9
1.4.1 Hardware Features.................................................................................................. 9
1.4.2 Hardware Block Diagram....................................................................................10
1.4.3 LED Feature SPEC ....................................................................................................11
1.5 SOFTWARE SPECIFICATION.................................................................................................. 12
1.5.1 Router Mode............................................................................................................... 12
1.5.2 AP Mode........................................................................................................................ 13
1.5.3 Client Mode................................................................................................................. 15
1.6 NECESSARY APPROVALS........................................................................................................16
1.7 APPENDIX ................................................................................................................................. 16
1.7.1 MFP.................................................................................................................................. 17
1.7.2 Web Camera............................................................................................................... 18
1.7.3 USB HDD....................................................................................................................... 20
1.8 OPERATION SYSTEM...............................................................................................................21
1.9 BROWSER.................................................................................................................................. 21
1.10 UTILITY ................................................................................................................................21
CHAPTER 2 TECHNOLOGY OVERVIEW..................................................................................... 21
2.1 INTRODUCTION OF INT5500 CHIP SET (HOME PLUG1.0 WITH TURBO) .............. 22
2
Quick Setup Guide V1.0

CHAPTER 3 THE MAIN FRAME OF FAMILY APPLICATIONS......................................... 23
3.1 FAMILY APPLICATIONS.......................................................................................................... 23
3.2 TARGET APPLICATIONS ......................................................................................................... 24
3
Quick Setup Guide V1.0

Federal Communication Commission Interference Statement
This equipment has been tested and found to comply with the limits for a Class B
digital device, pursuant to Part 15 of the FCC Rules. These limits are designed to
provide reasonable protection against harmful interference in a residential
installation.
This equipment generates uses and can radiate radio frequency energy and, if not
installed and used in accordance with the instructions, may cause harmful
interference to radio communications. However, there is no guarantee that
interference will not occur in a particular installation. If this equipment does cause
harmful interference to radio or television reception, which can be determined by
turning the equipment off and on, the user is encouraged to try to correct the
interference by one of the following measures:
. Reorient or relocate the receiving antenna.
. Increase the separation between the equipment and receiver.
. Connect the equipment into an outlet on a circuit different from that to which the
receiver is connected.
. Consult the dealer or an experienced radio/TV technician for help.
FCC Caution: To assure continued compliance, any changes or modifications not
expressly approved by the party responsible for compliance could void the user's
authority to operate this equipment. (Example - use only shielded interface cables
when connecting to computer or peripheral devices).
FCC Radiation Exposure Statement
This equipment complies with FCC RF radiation exposure limits set forth for an
uncontrolled environment. This equipment should be installed and operated with a
minimum distance of 20 centimeters between the radiator and your body.
This transmitter must not be co-located or operating in conjunction with any other
antenna or transmitter.
The antennas used for this transmitter must be installed to provide a separation
distance of at least 20 cm from all persons and must not be co-located or operating
in conjunction with any other antenna or transmitter.
This device complies with Part 15 of the FCC Rules. Operation is subject to the
following two conditions:
(1) This device may not cause harmful interference, and (2) This device must
accept any interference received, including interference that may cause undesired
operation.
4
Quick Setup Guide V1.0

Chapter 1 Introduction
1.1 The Main Instruction of PR 126g
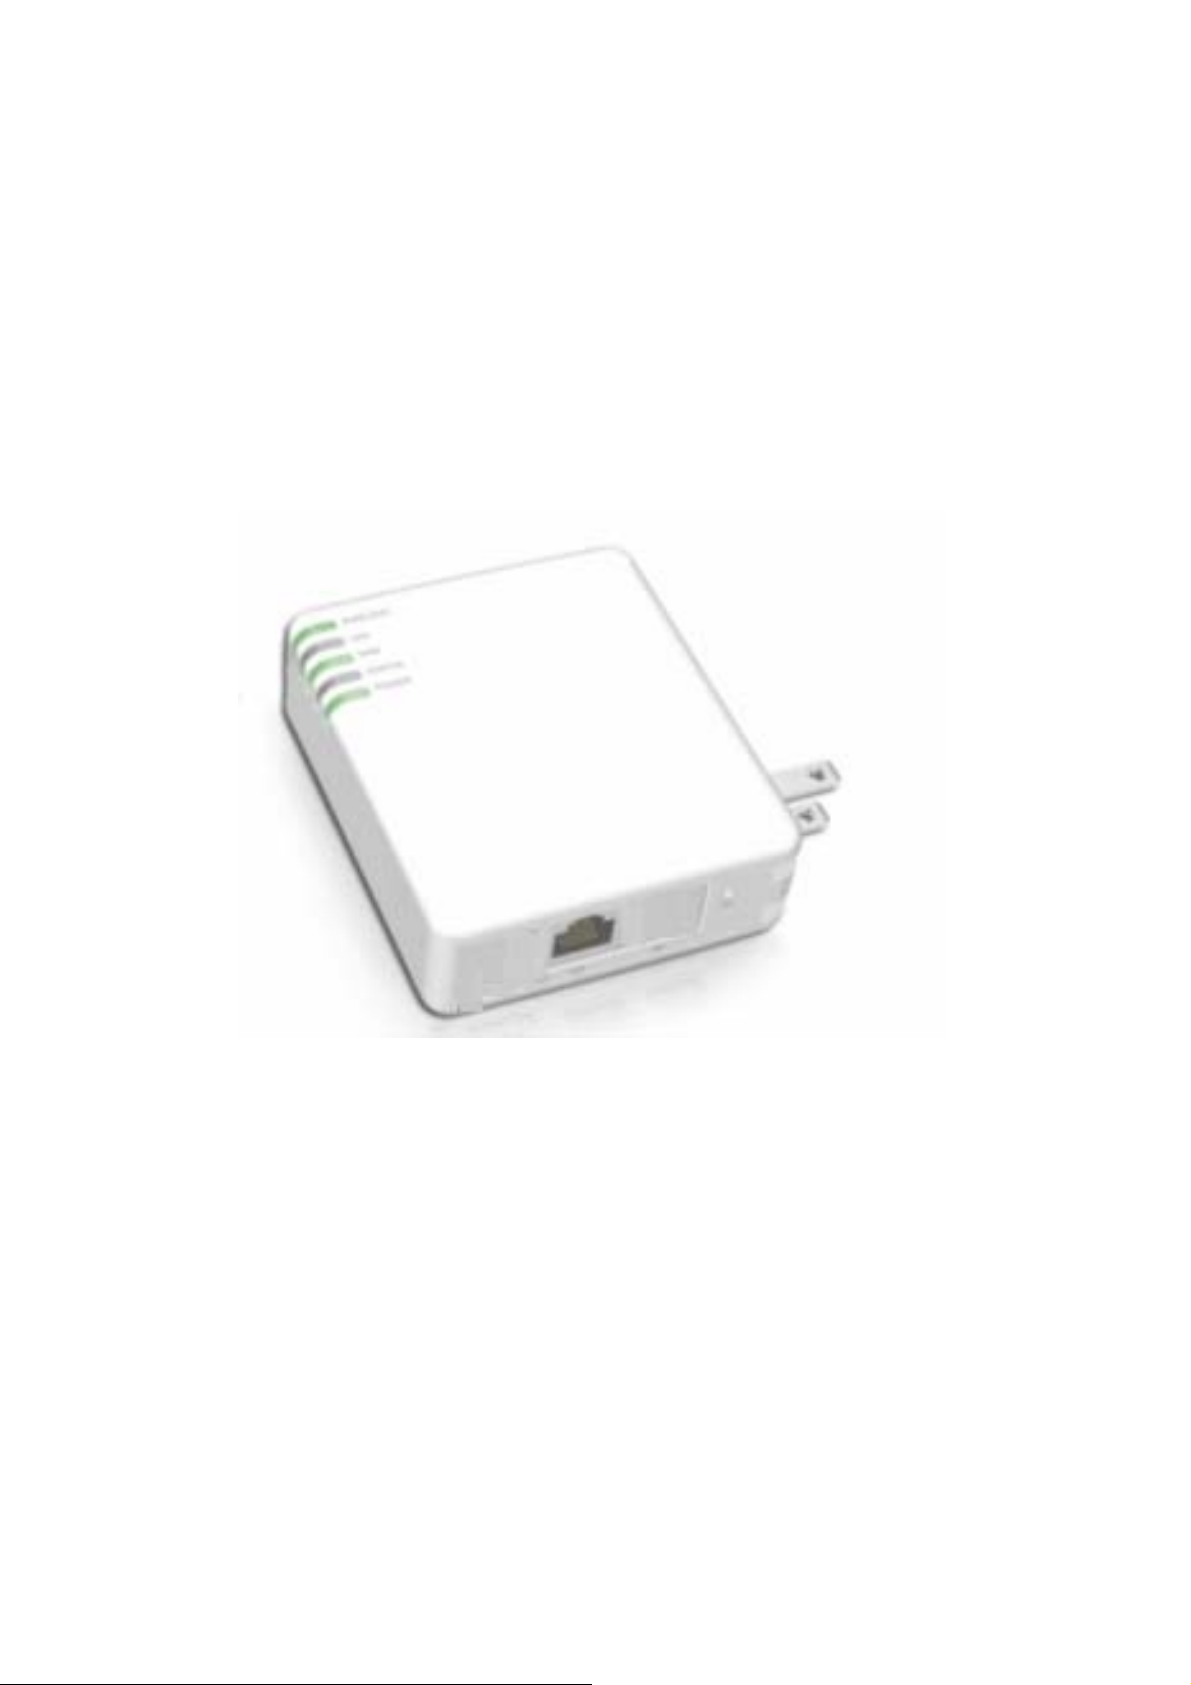
The Mini Router of PR126g is a portable and convenient wireless solution for the
traveling business person, which features with router, bridge, AP and USB port,
and it can connect with USB MFP, provide with the shared of scanner, printer and
card reader to the users of local area network. Also, monitor your home with a
Webcam via Mini R outer. Additionally, it can also be connected with the USB hard
disk or flash, and then it will be the FTP server. When it’s connected with USB
Audio Adapter, it can play the audio file of PC port remotely via internet for
broadcast. Navi PR126g also features with the Power Line, which can replace with
Ethernet line, is very easy to use and much convenient for the users.
1.2 Main Features
1. Function of auto setup
The unique design of Utility can help the beginners easily log on in ternet and
complete the server setup.
2. Three operation modes
It Features with Router, AP and Client, and it’s used with the hardware switch
for three modes changing.
3. Interface of webpage style
The interface of webpage style is very friendly to east to use, you can just
open the browser then go to setup to use the function.
4. MFP Server
Support the sharing of MFP, such as the card reader, scanner, printer.
5. Webcam Server
Support the function of webcam record, and it can be the monitoring system
for you home.
6. Samba Server
It’s such as the network to share the file and printer.
7. FTP Server
It can be used with the USB hard disk or flash as the net disk.
8. Audio Server
5
Quick Setup Guide V1.0

It’s used with the attached transferor to connect with the audio equipment,
and play music directly via local area network.
9. Encryption and authentication system
It has the encryption and authentication system of WEP, WPA, WPA2, and
802.11x, provide the users with more data protection.
10. In-time monitoring function
It can record the video of webcam for home safety monitoring.
11. Function of Power Line
It’s used with the family power line to transmit the data, and it doesn’t
require additional setup, you can just play and plug any time.
1.3 The introduction of function of three Modes Quick Setup
1.3.1 The introduction of Quick Setup of Router mode
This Quick Setup function is aimed to provide the beginning use rs w ith the easy
and quick way to set up this router, and then use it conveniently . The items of this
Quick Setup are as the followings:
z Basic Setup
1. WAN Setup – necessary default setup
2. LAN Setup – necessary default setup
3. Wireless Setup – necessary default setup
4. Time Server Setup – necessary default setup
5. Password Setup – necessary default setup
z Server Setup
1. USB Disk Management Setup– necessary default setup
2. User Account Management Setup – necessary default setup
3. Firewall Setup – optional
4. Qos Setup – optional
5. Web Camera Setup – optional
6. MFP Server Setup – optional
7. Samba Server Setup – optional
6
Quick Setup Guide V1.0

8. Audio Server Setup – optional
1.3.2 The introduction of Quick Setup of AP mode
When the slide switch turn to AP mode, Navi PR126g will become the Bridge with
two LAN ports. Navi PR126g can connect with the up Router or AP via LA N port,
Wireless(WDS) or Powerline, and attain the IP via up DHCP.
z Basic Setup
1. LAN Setup – necessary default setup
2. Wireless Setup – necessary default setup
3. Time Server Setup – necessary default setup
4. Password Setup – necessary default setup
z Application Setup
1. USB Disk Management Setup– necessary default setup
2. User Account Management Setup – necessary default setup
3. FTP Server Setup – optional
4. Web Camera Setup – optional
5. MFP Server Setup – optional
6. Samba Server Setup – optional
7. Audio Server Setup – optional
1.3.3 The introduction of Quick Setup of Client mode
When the slide switch turn to Client mode, Navi PR126g w ill become a network
adapter, and it will be automatically shown the WAN port, LAN port, Wireless and
bridge together, the PC client can connect to internet via wireless.
7
Quick Setup Guide V1.0

z Basic Setup
1. Site Survey Setup – necessary default setup
2. Wireless Setup – necessary default setup
3. Time Server Setup – necessary default setup
4. Password Setup – necessary default setup
z Application Setup
1. USB Disk Management Setup– necessary default setup
2. User Account Management Setup – necessary default setup
3. FTP Server Setup – optional
4. Web Camera Setup – optional
5. MFP Server Setup – optional
6. Samba Server Setup – optional
7. Audio Server Setup – optional
1.3.4 The main introduction of PC Utility
Navi PR126g provides with the utility program, which can automatically detect
the operation mode of Router and its connected USB device, so that it will help
the users can easily and quickly do the setup step-by-step without entering GUI;
after completing the quick setup of utility, you can log on internet and use the
function of server.
8
Quick Setup Guide V1.0
 Loading...