

Page 1

S3b Sim Secual
Product Training
Page 2

Presentation of the System
Quick Start Guide
Everyday Use
Standalone Systems
Index
Accessories
Page 3

S3b
Connected to your smartphone
Interact with your system
everywhere you are
Control by phone call, SMS, app
1
1
SIM card required, on the GSM net-
work
Easy to install. Easy to setup
System installed in a few minutes
Does not require a professional installer
Protection 24/7
2 x Lithium-ion backup batteries
Up and running in case of power failure
Stay in contact
You are informed by SMS
No Internet connection required
Wireless accessories
Easy installation everywhere
Secure connection by radio-frequency
Page 4

Communication by SIM card
1
GSM Alarm System
Protect your home easily
- Control from distance by phone call, app or SMS
- Installation in a few minutes
- Up to 50 wireless accessories with secure connection
- Built-in 100 dB siren
- Backup batteries in case of power failure
Perfect for homes and small business premises.
1
SIM card sold separately. Only requires a basic plan with unlimited texts + voice plan, no data required.
Page 5

Box content
- S3b Control Panel x1
- Motion Detectors x2
- Door / Window Contacts x2
- Remote Controls x2
- RFID Tags x2
- AC Adapter x1
- Documentation
- SIM card not included
x2 x2
x2 x2
Motion Detectors Door/Window Contacts
Remote Controls RFID Tags
S3b Sim Vid Secual
- With ES-CAM2A
Page 6

Quick Start Guide
Page 7

Get a SIM card (GSM) and remove the SIM PIN lock
- Disable SIM security on SIM card
1
- Your PIN code may be requested
- All you need is a basic voice and text plan, no data required
1SIM card not included (on the GSM network)
1
Settings
SIM PIN
Request a PIN code to
unlock the phone.
O
Control panel’s
SIM card
Page 8

Insert the SIM card in the control panel
- Make sure the control panel is o
- Insert the SIM card according to the drawing at the back of the
control panel
2
SIM
Page 9

Plug your control panel
- Connect the AC Adapter
- Turn your control panel on
Use the 12 Volts power supply with
the label “Control Panel”
3
Page 10

Mount the control panel
- Make sure the control panel is rmly xed
- The tamper switch will now trigger the alarm
if the panel is removed
- Make sure the GSM signal is sucient (the
LED blinks once every 2 seconds)
4
UP
Page 11

Change the language
- Send the language code by SMS to your
control panel:
English: 0001
French: 0002
Danish: 0004
Dutch: 0005
Italian: 0006
Swedish: 0007
German: 0008
Spanish: 0009
Finnish: 0010
Norwegian: 0011
- The control panel conrms and replies “OK”
5
0001
Ok
Blinks once every second: searching GSM network
Blinks once every two seconds: GSM reception is ready
Page 12

Save a SMS number
- Send 6 by SMS to your control panel
- Edit the reply, and send it back
- The control panel conrms and replies “OK”
Only the SMS numbers saved can control the
system and receive notications in case of
alarm
6
SMS numbers:
1.
2.
3.
4.
SMS numbers:
1.0600112233
2.
3.
4.
6
Ok
Page 13
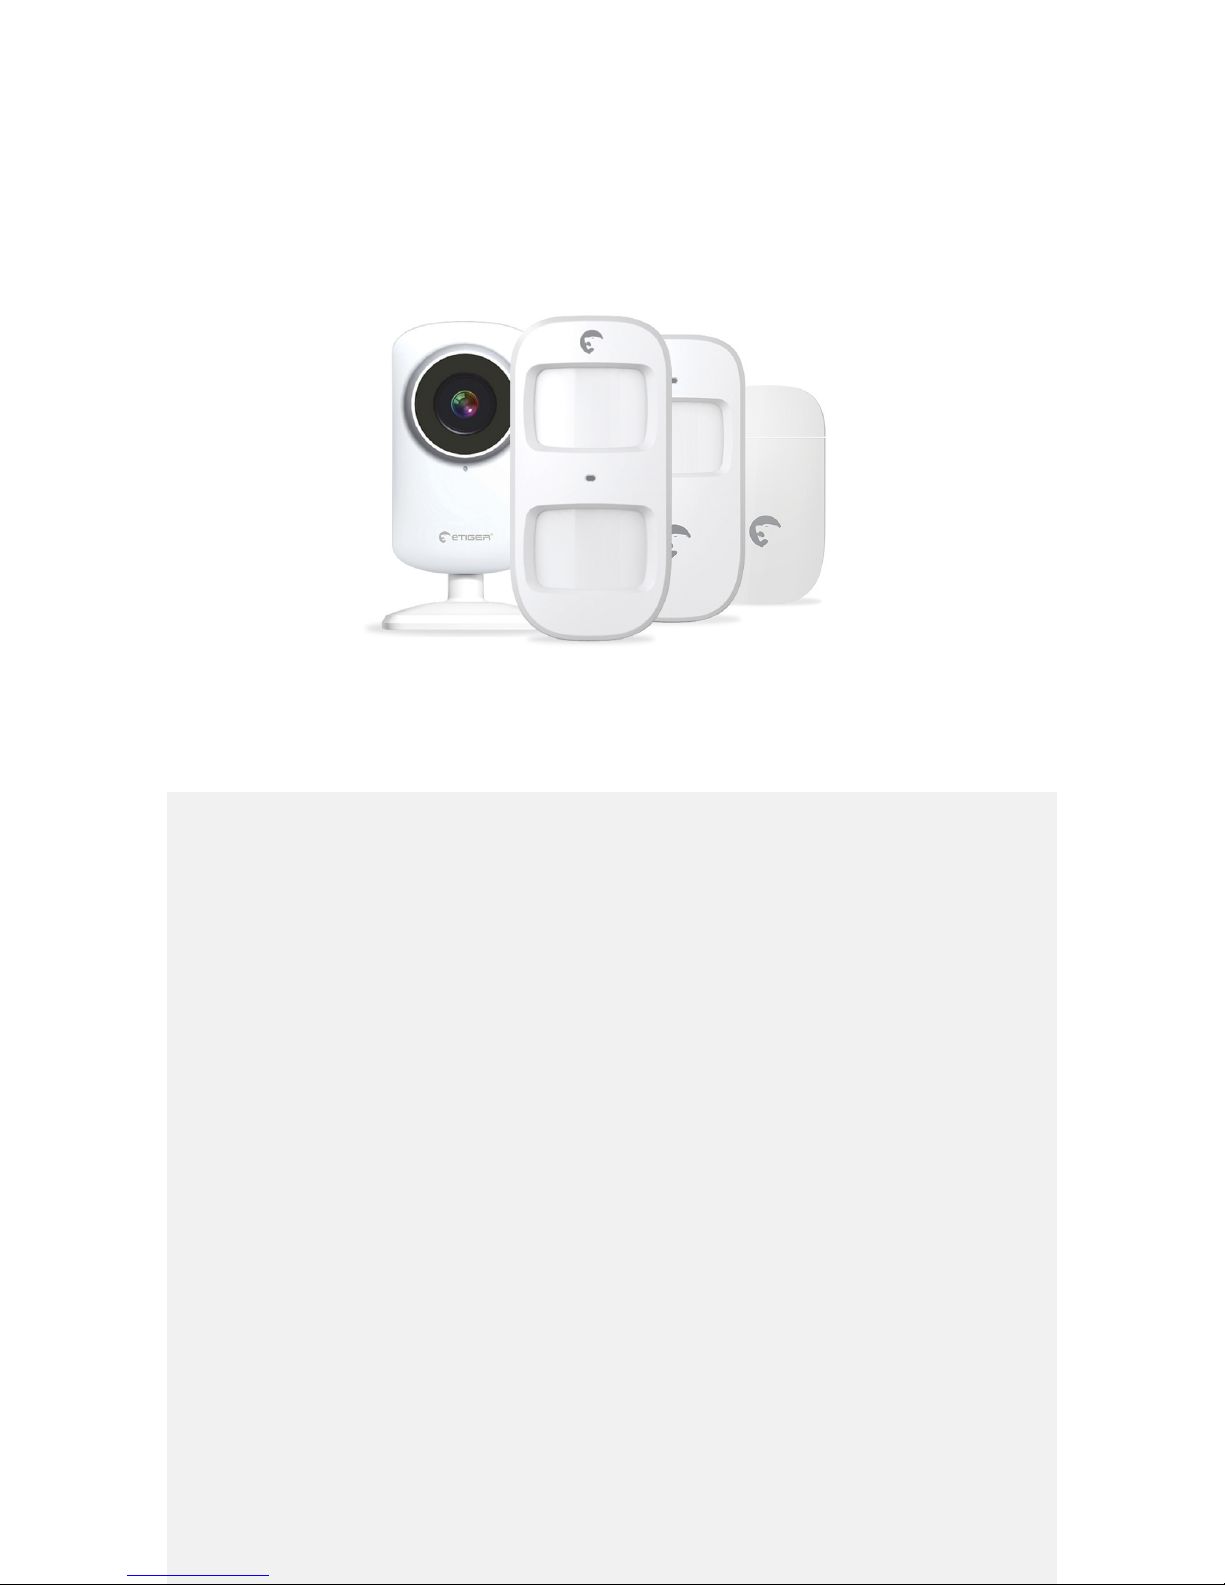
Accessories
Page 14
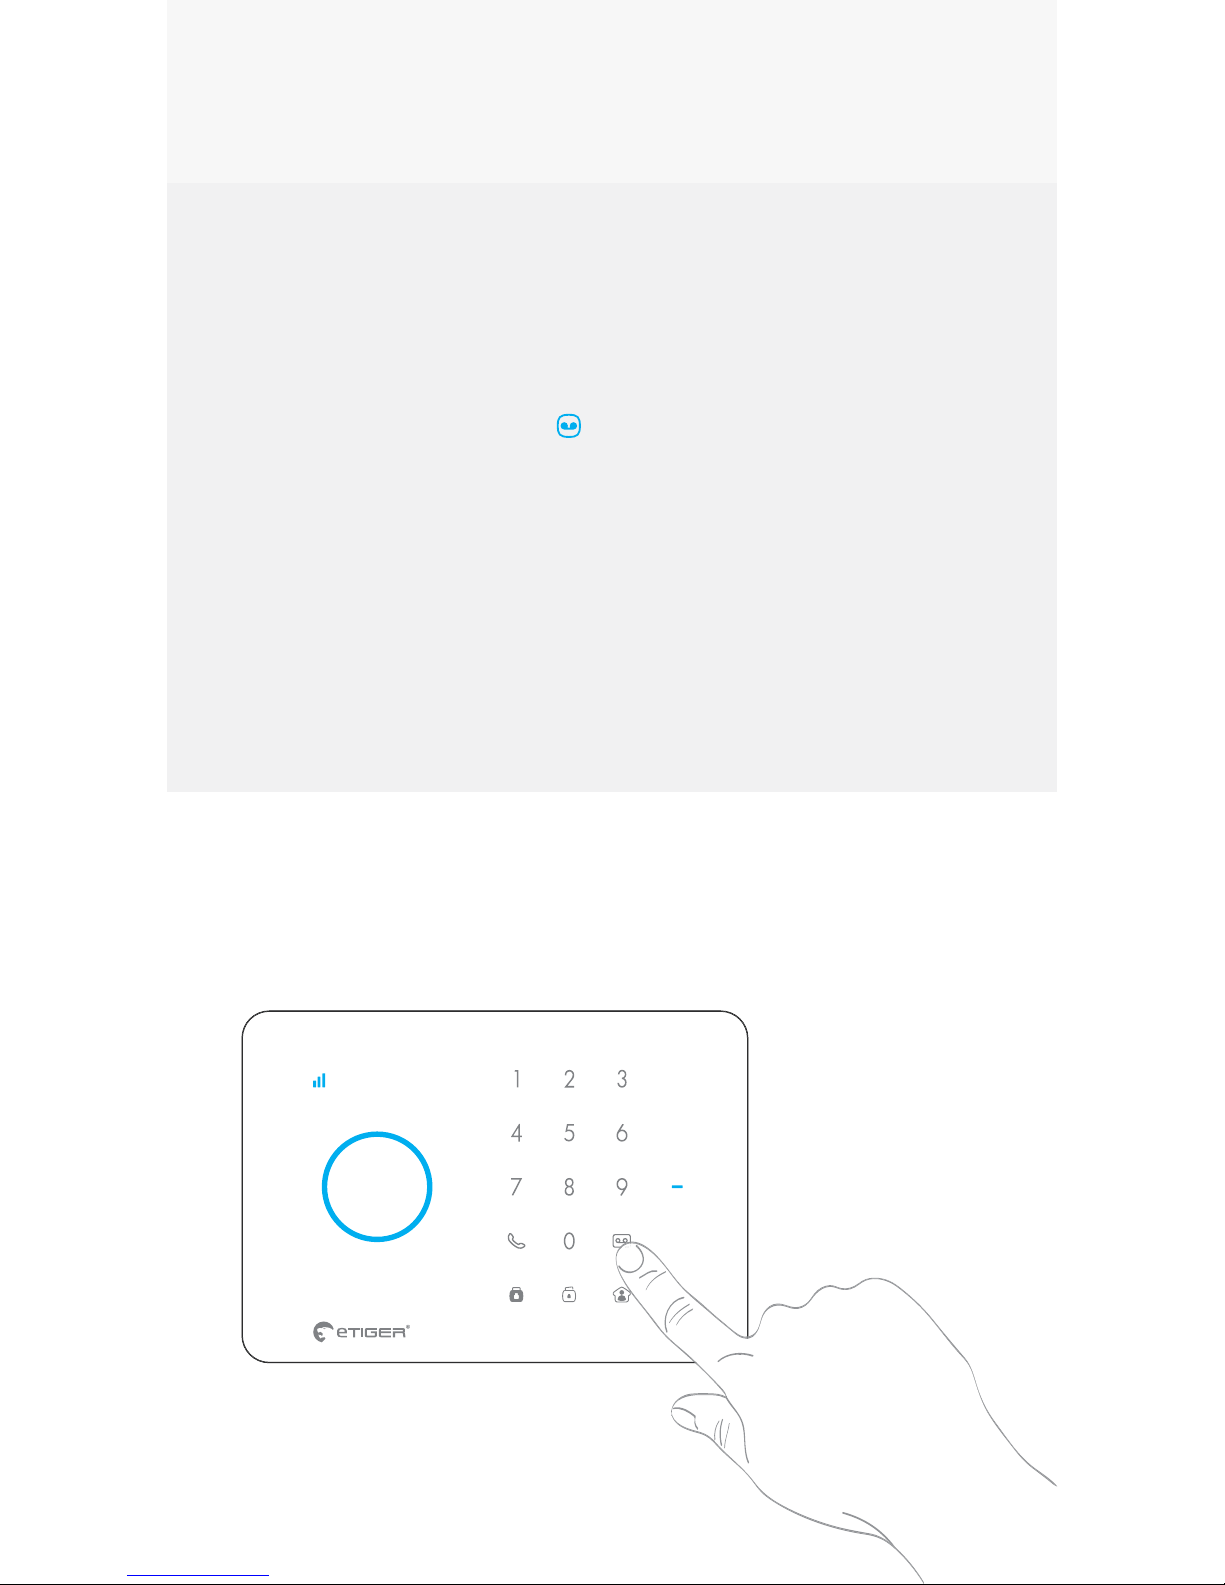
Register additional accessories
(optional)
- Type your Access Code + on the control
panel
1
- Trigger your accessory within 15 seconds
- The control panel beeps once: your accessory
is registered in the control panel
1Default Access Code: 1234
(can be changed for optimal security)
Accessories
Page 15
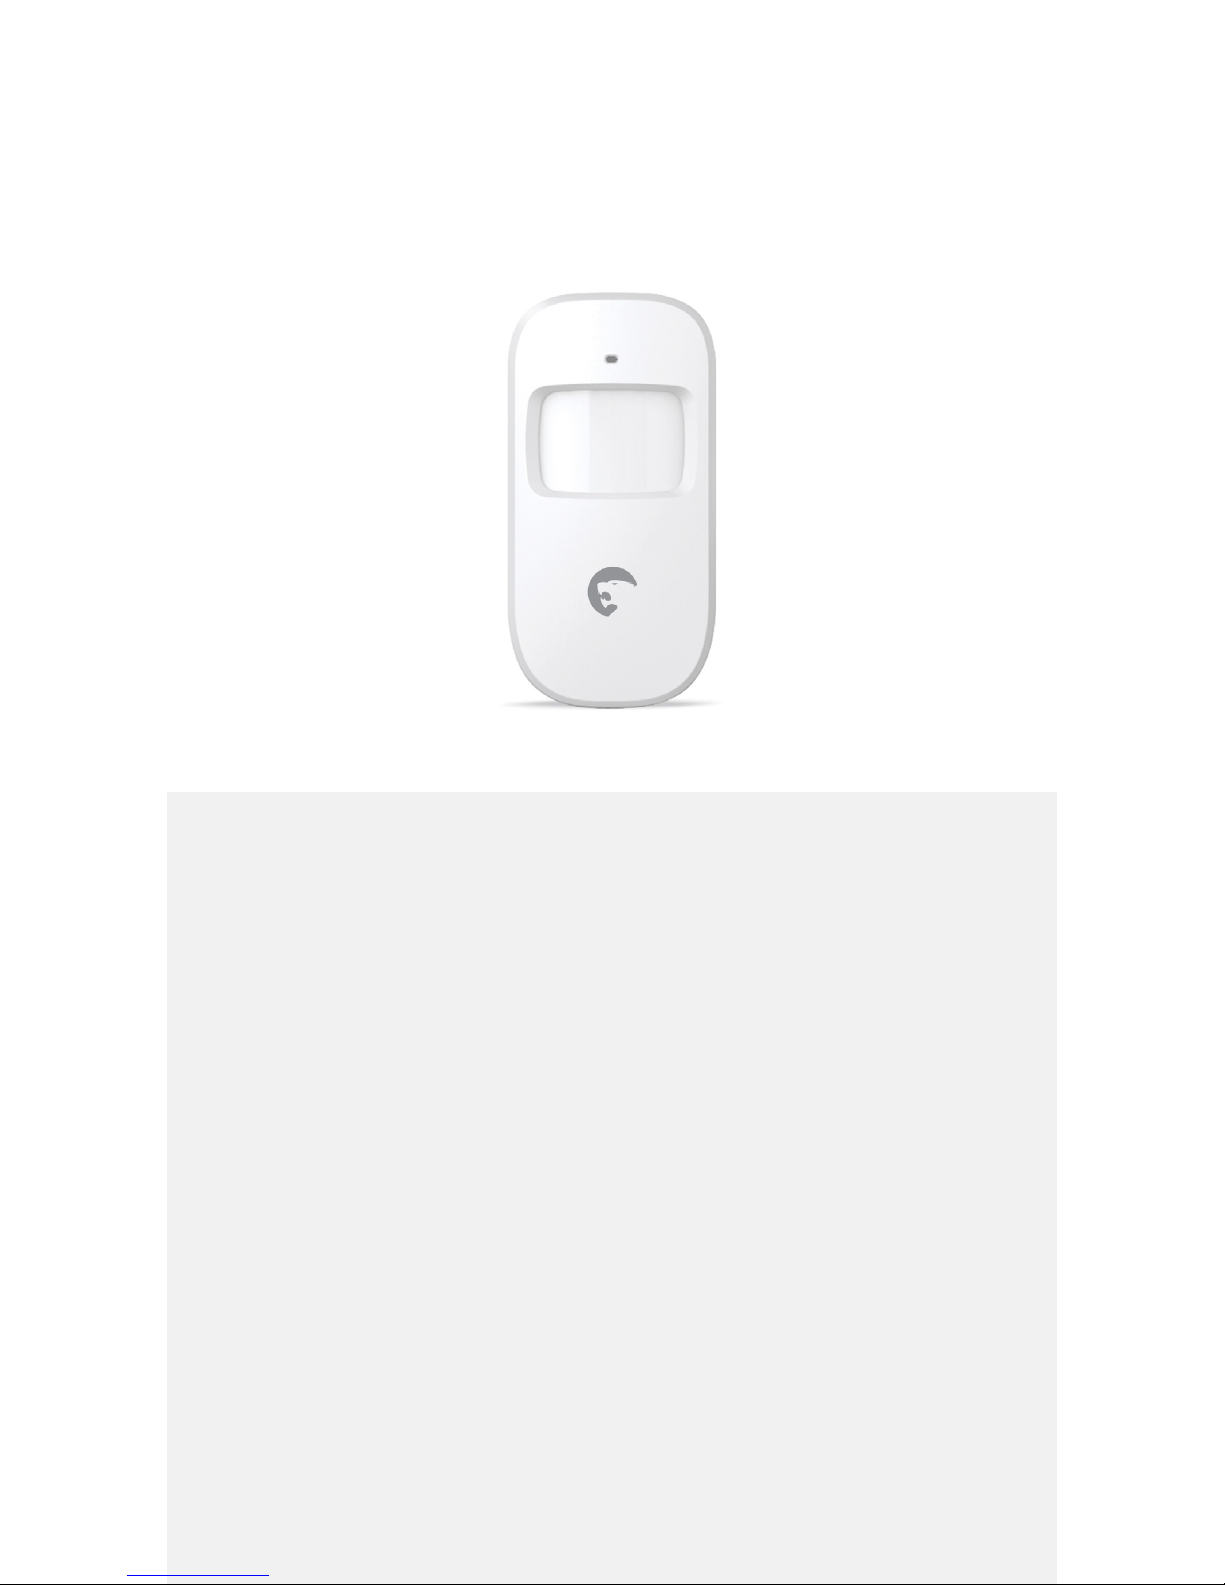
Features
- Infrared motion detector
- Detects movements inside a room
- Radio-frequency: 433 MHz (wireless)
- Transmission distance: up to 80 m
- Powered by batteries (2 x AA 1.5V LR6)
How to register in the control panel
Press the button at the back
ES-D1A
Wireless Motion Detector
Page 16
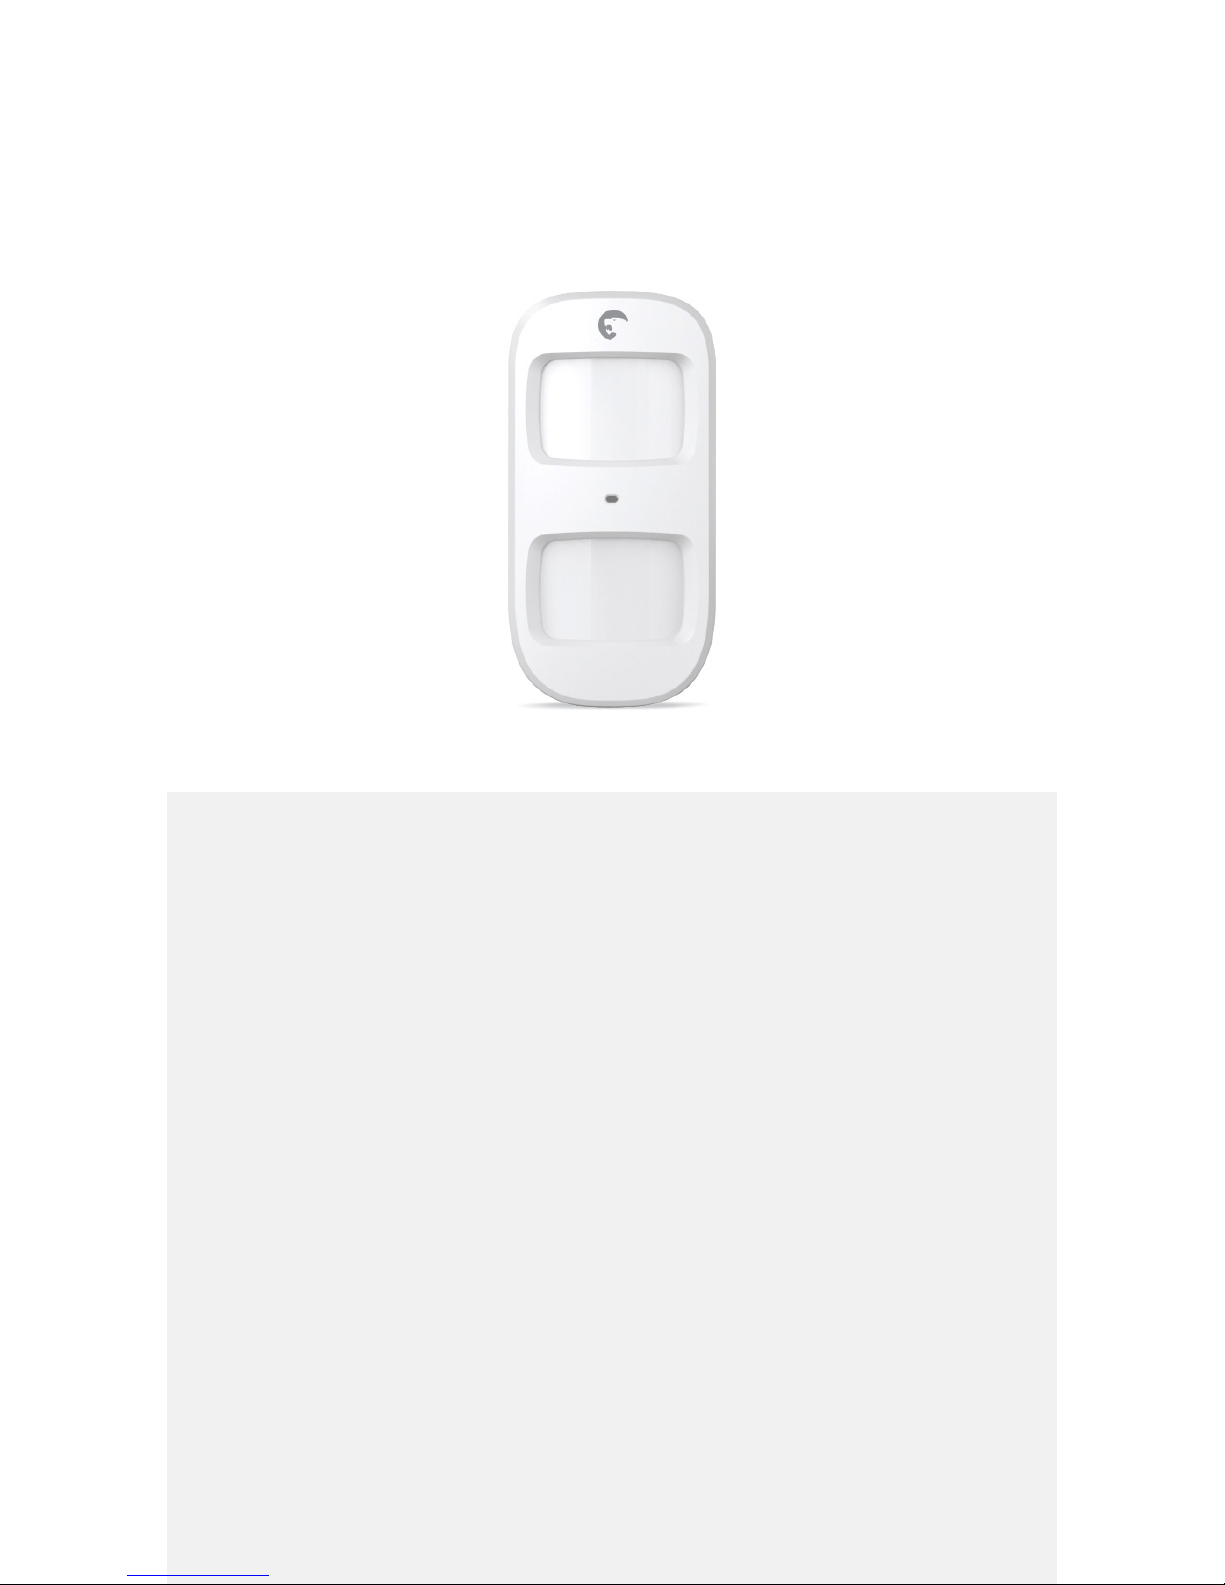
Features
- Infrared motion detector
- Detects human movements inside a room
- Does not detect pet (up to 25 kg)
- Radio-frequency: 433 MHz (wireless)
- Transmission distance: up to 80 m
- Powered by batteries (2 x AA 1.5V LR6)
How to register in the control panel
Press the button at the back
ES-D2A
Pet-immune Motion Detector
Page 17
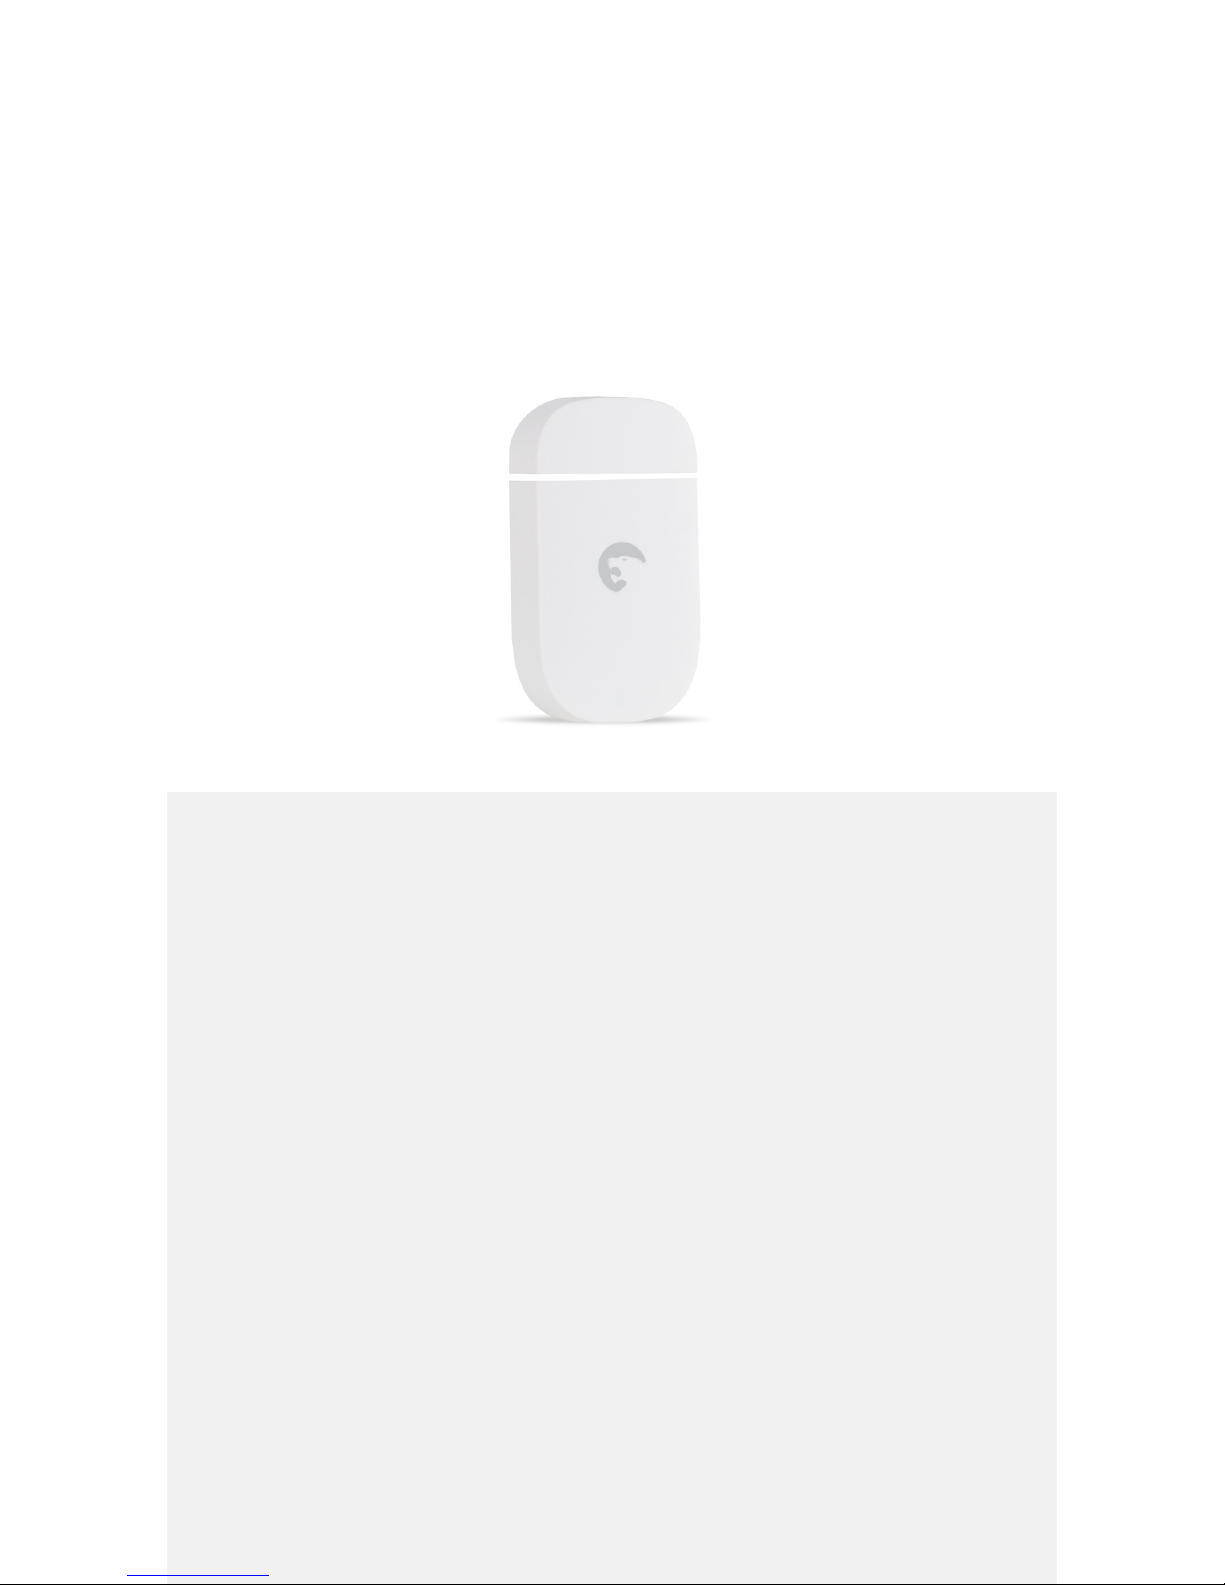
Features
- Detects the opening of a door, window, or any object that opens
- Radio-frequency: 433 MHz (wireless)
- Transmission distance: up to 80 m
- Powered by battery (1 x AAA)
How to register in the control panel
Separate the magnet from the transmitter
ES-D3B/C
Door / Window Contact
Page 18
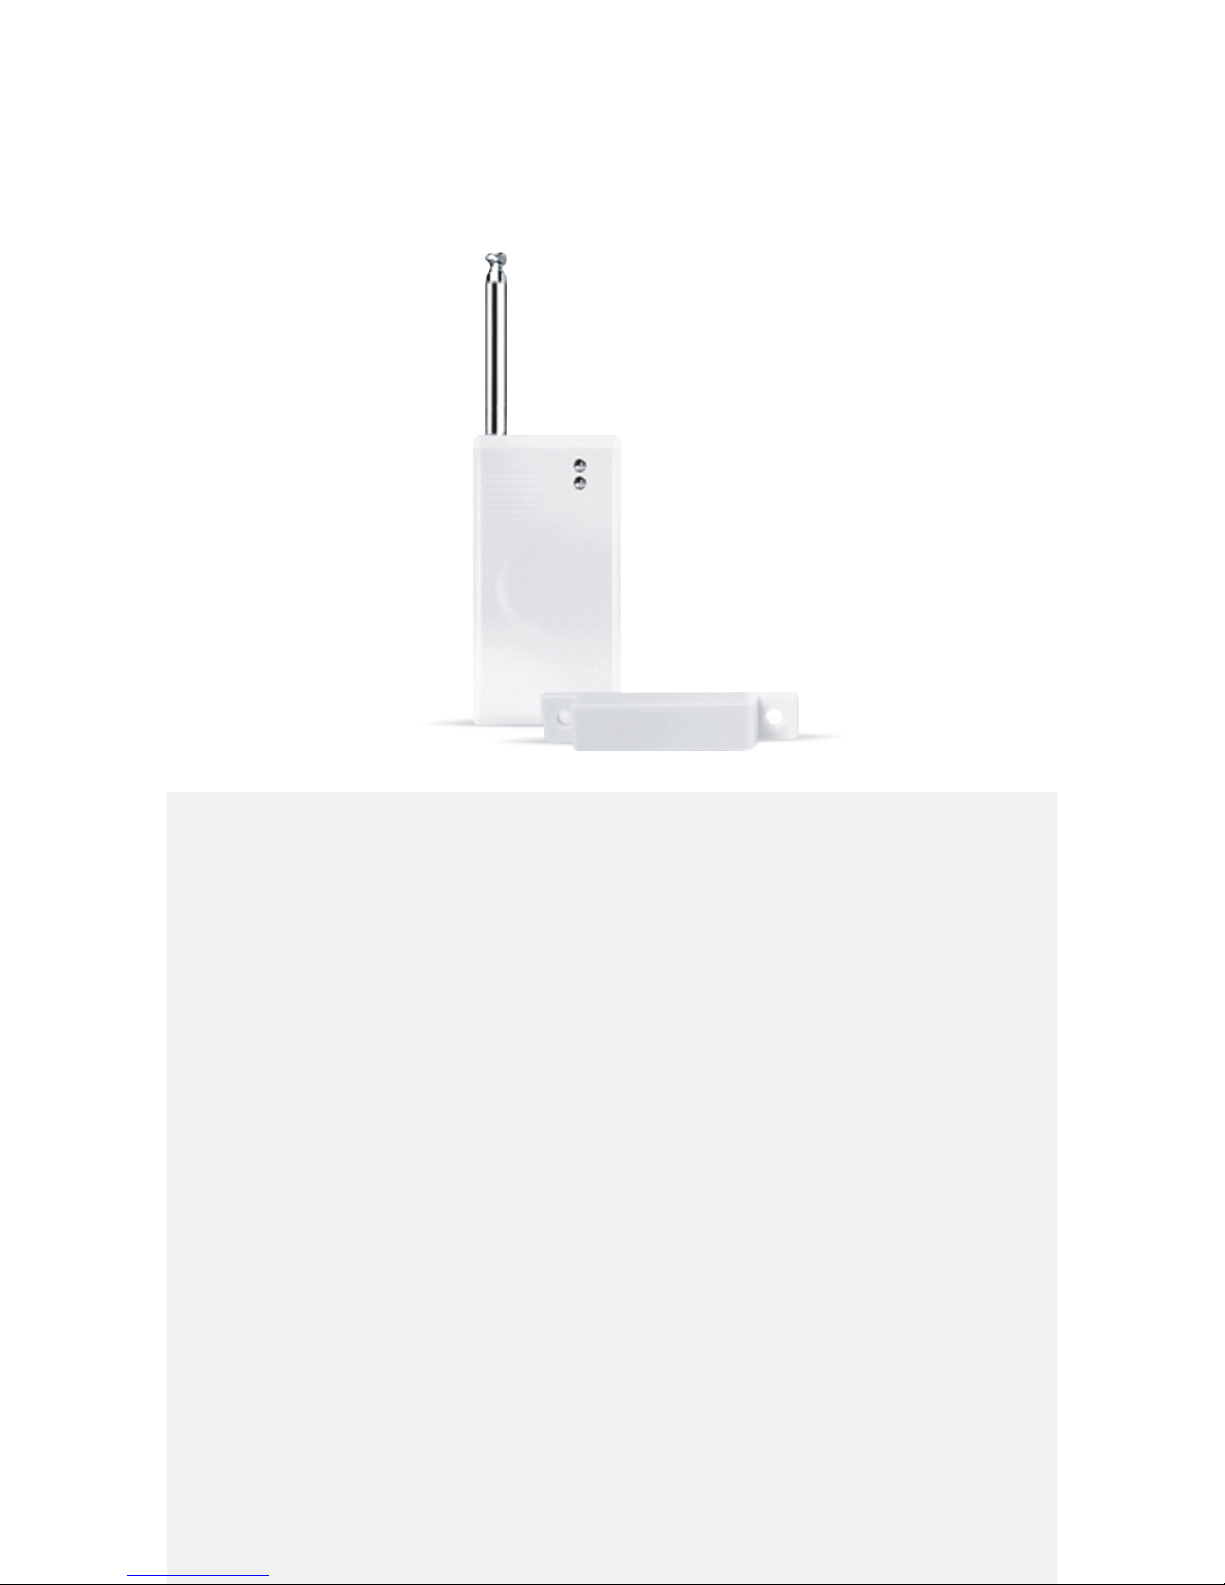
Features
- Detects the opening of a door, window, or any object that opens
- Radio-frequency: 433 MHz (wireless)
- Transmission distance: up to 300 m
- Powered by battery (1 x A23)
How to register in the control panel
Separate the magnet from the transmitter
ES-D4A
Long-Distance Door / Window Contact
Page 19
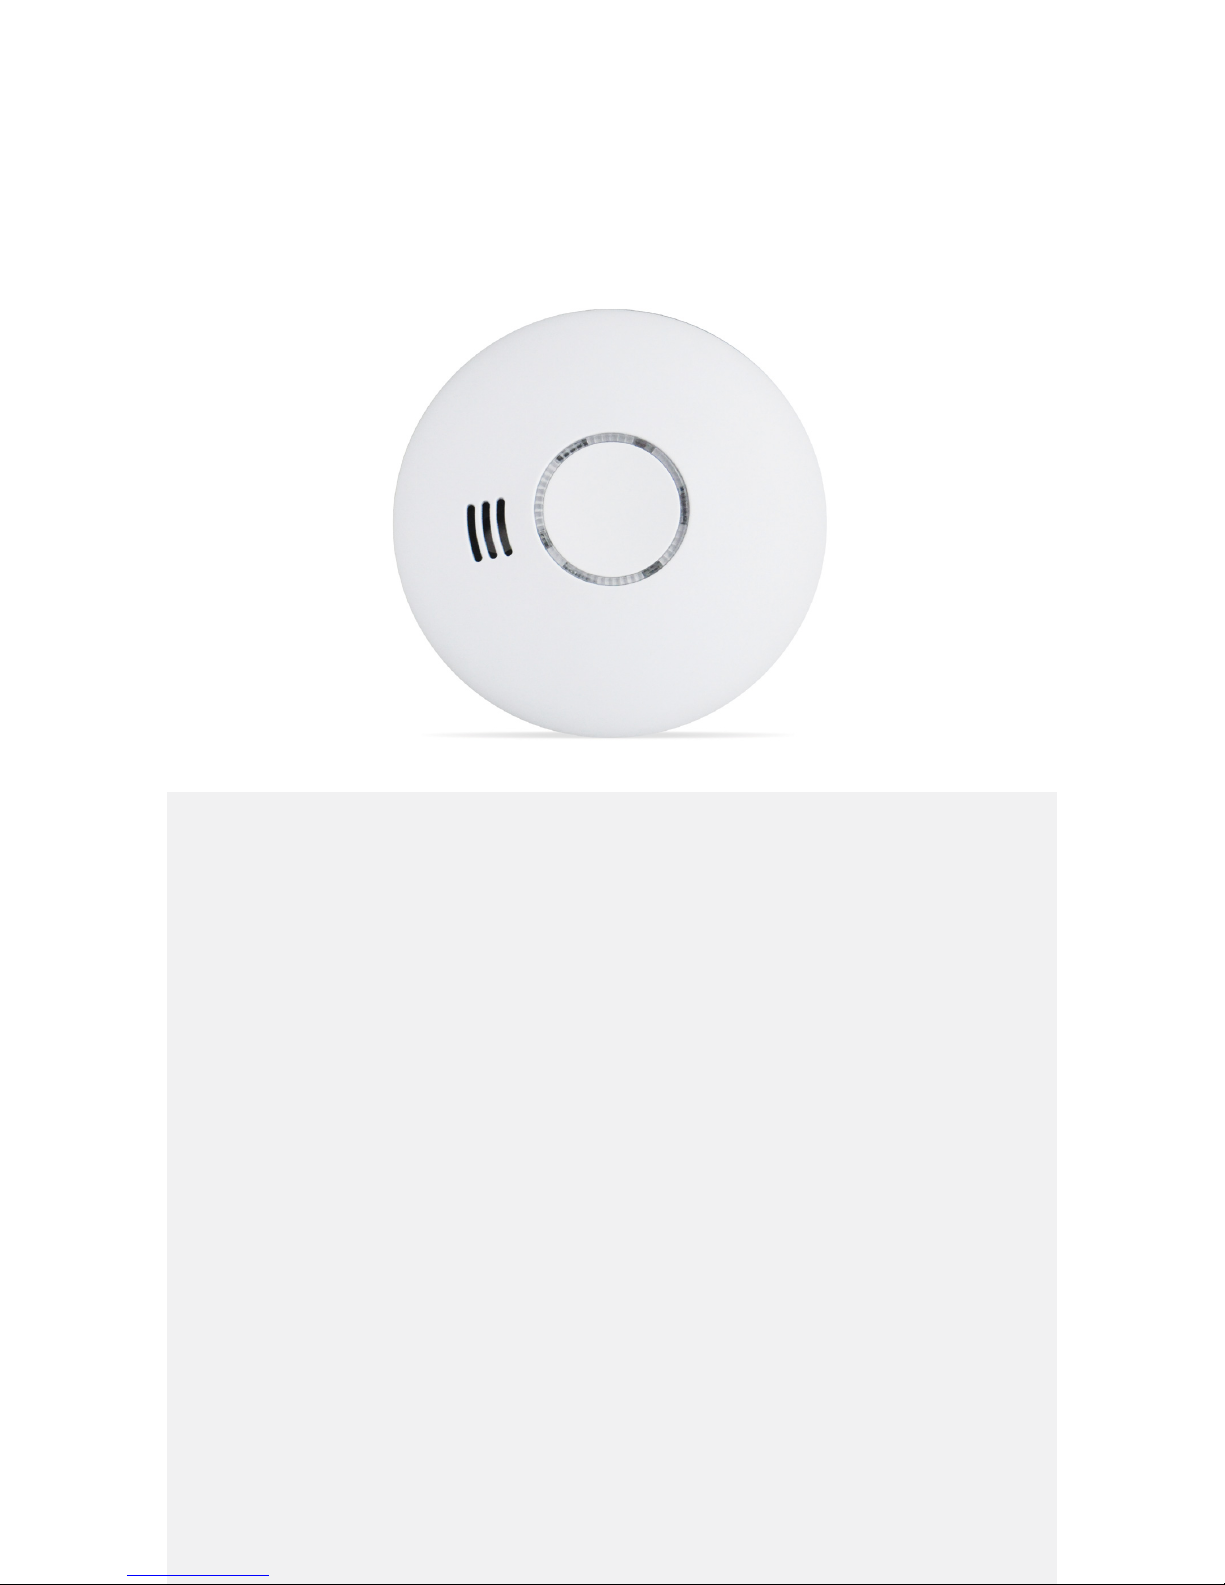
Features
- Connected to your alarm system or standalone
- In case of re, rings out and sends a signal to your alarm system
- Volume: 85 dB
- Radio-frequency: 433 MHz (wireless)
- Transmission distance: up to 100 m
- Powered by batteries 2 x AA 1,5 V (1-year battery life)
How to register in the control panel
Press the Test button of the detector
ES-D5B
Smoke Detector
Page 20
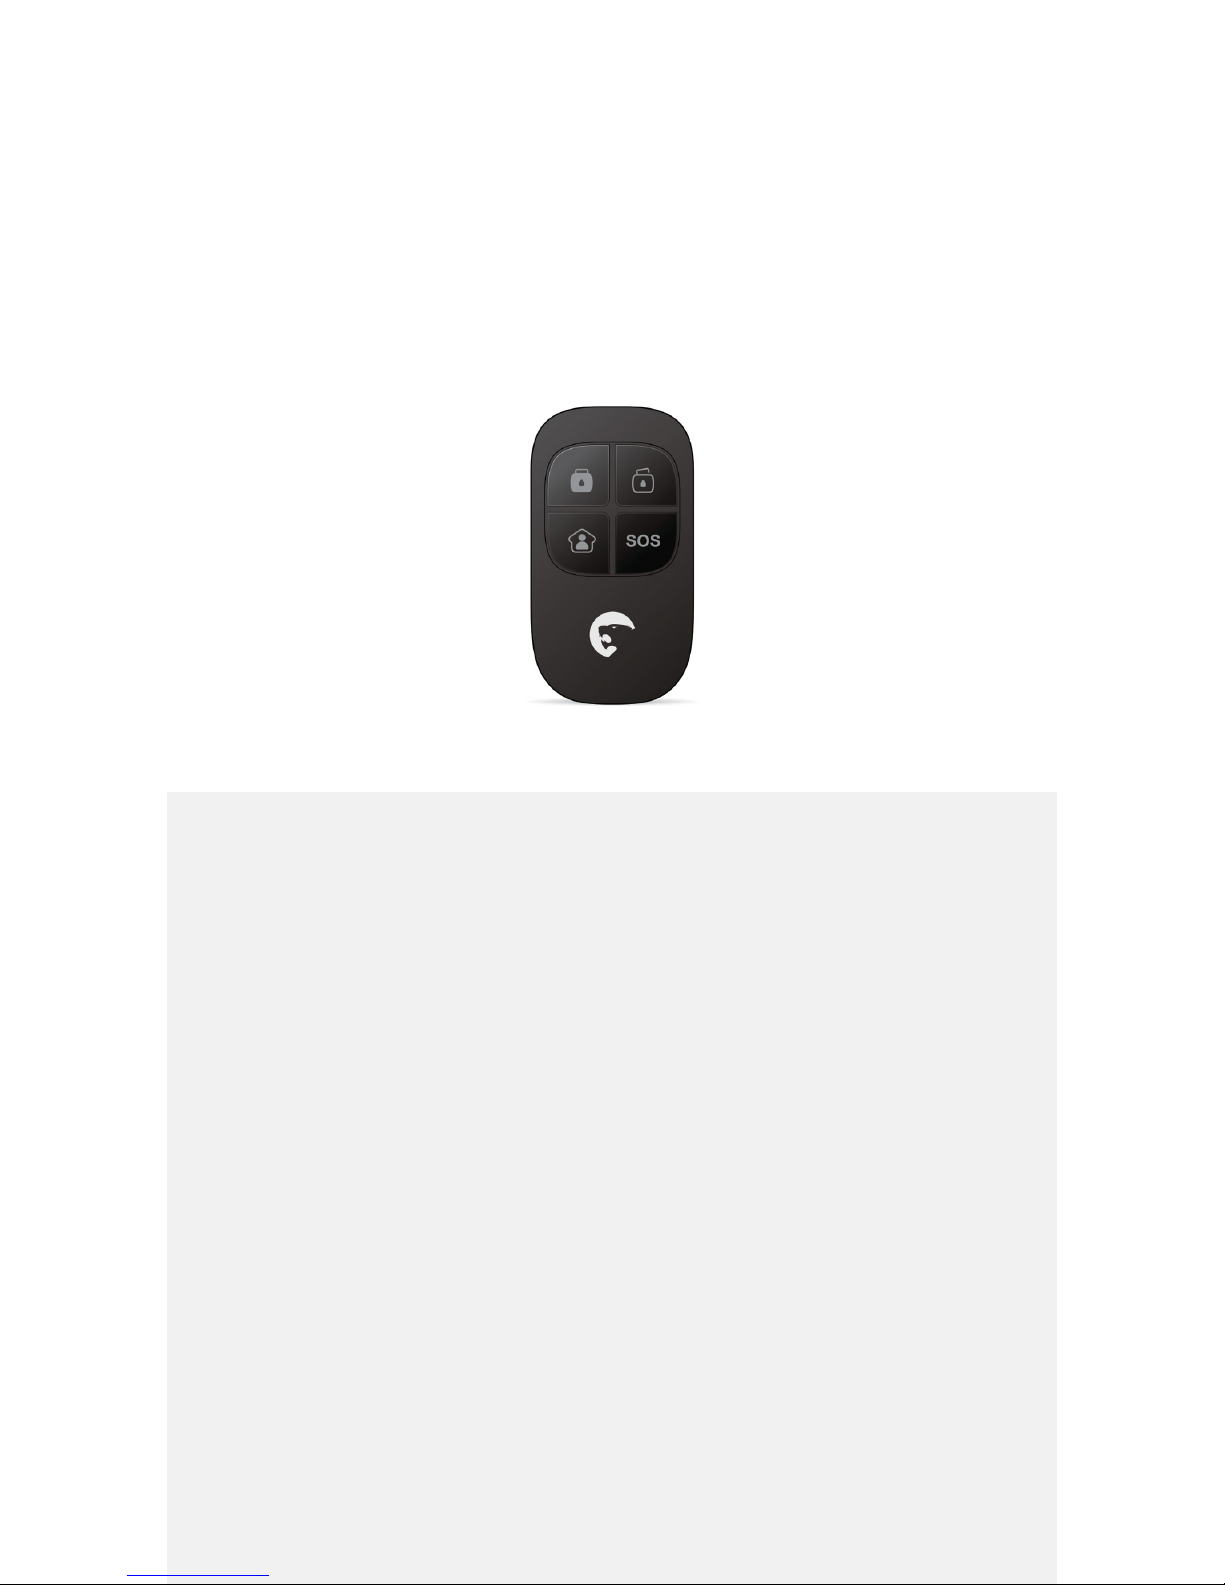
Features
- Arms or disarms the alarm system
- Activates the Home Mode
- Radio-frequency: 433 MHz (wireless)
- Transmission distance: up to 80 m
- Powered by battery (1 x CR2025)
How to register in the control panel
Press any key of the remote control
ES-RC1
Remote Control
Page 21
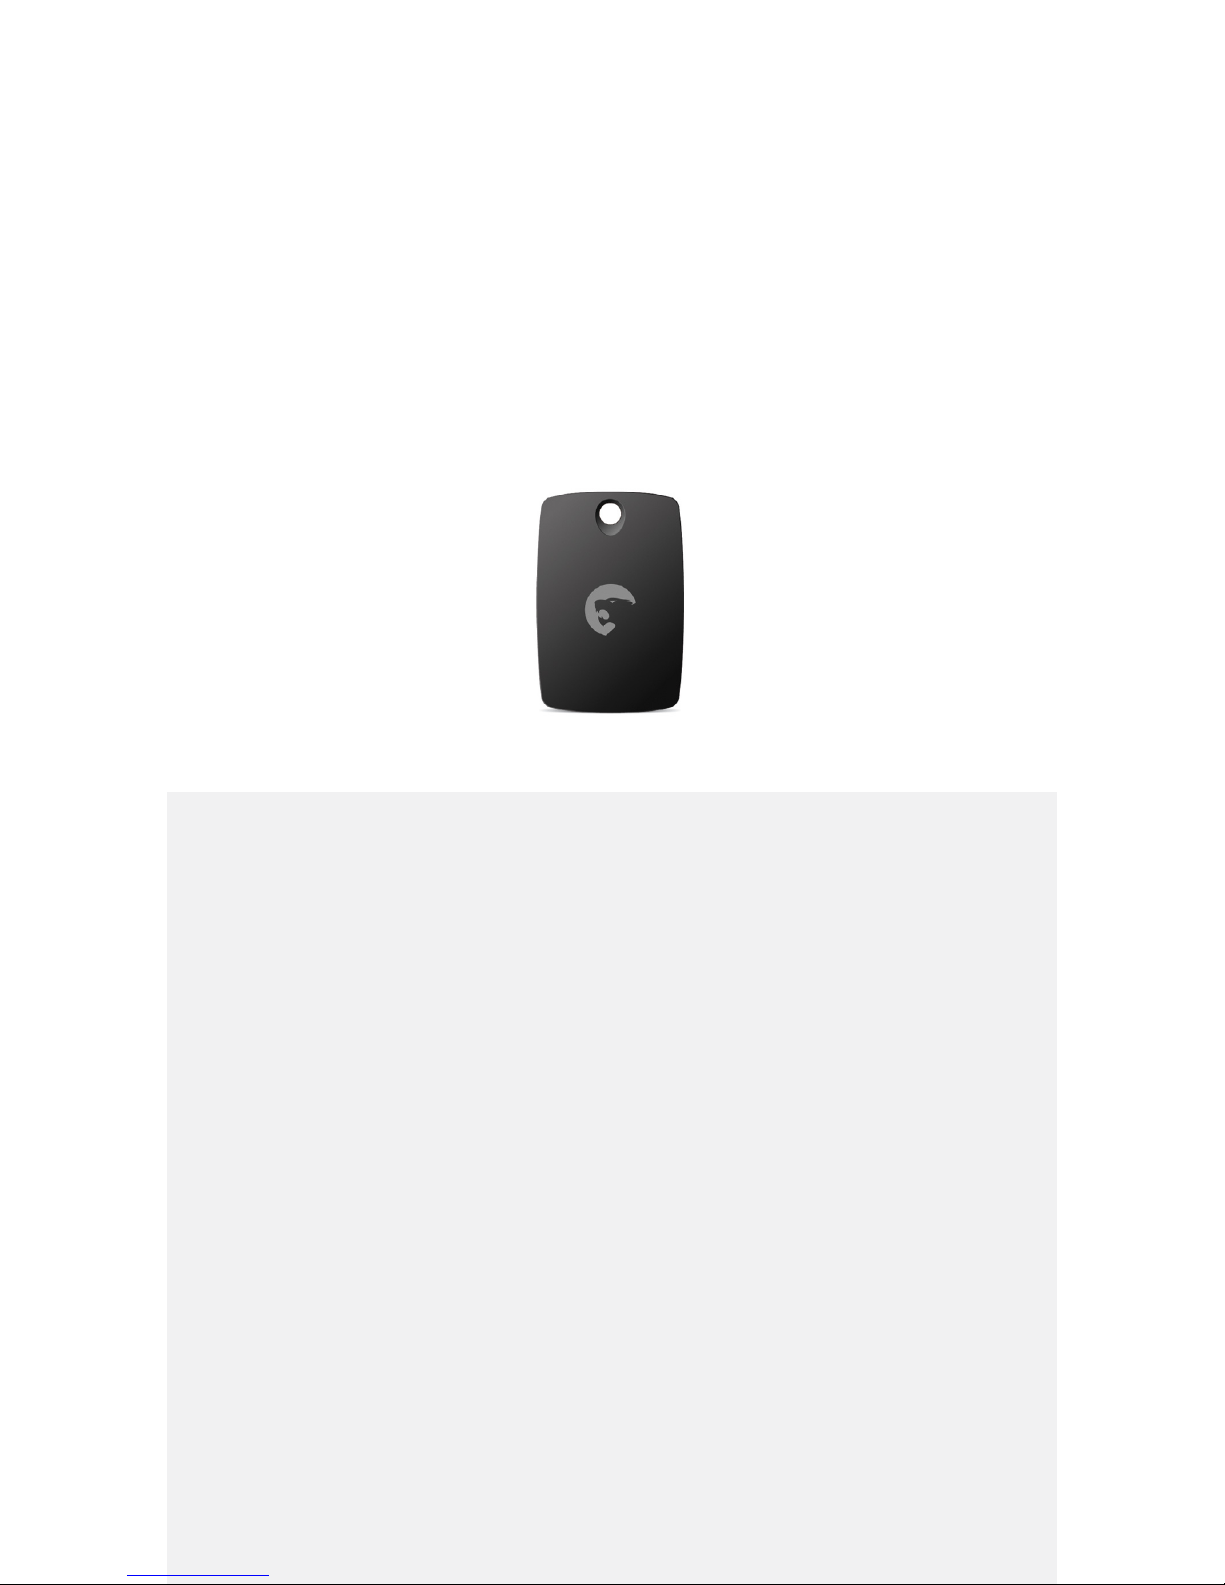
Features
- Disarms the alarm system
- Can be renamed
- Notications by SMS upon disarming
- Does not require power supply (no battery required)
How to register in the control panel
Swipe it in front of the control panel
ES-T1A
Disarming Tag (RFID)
Page 22
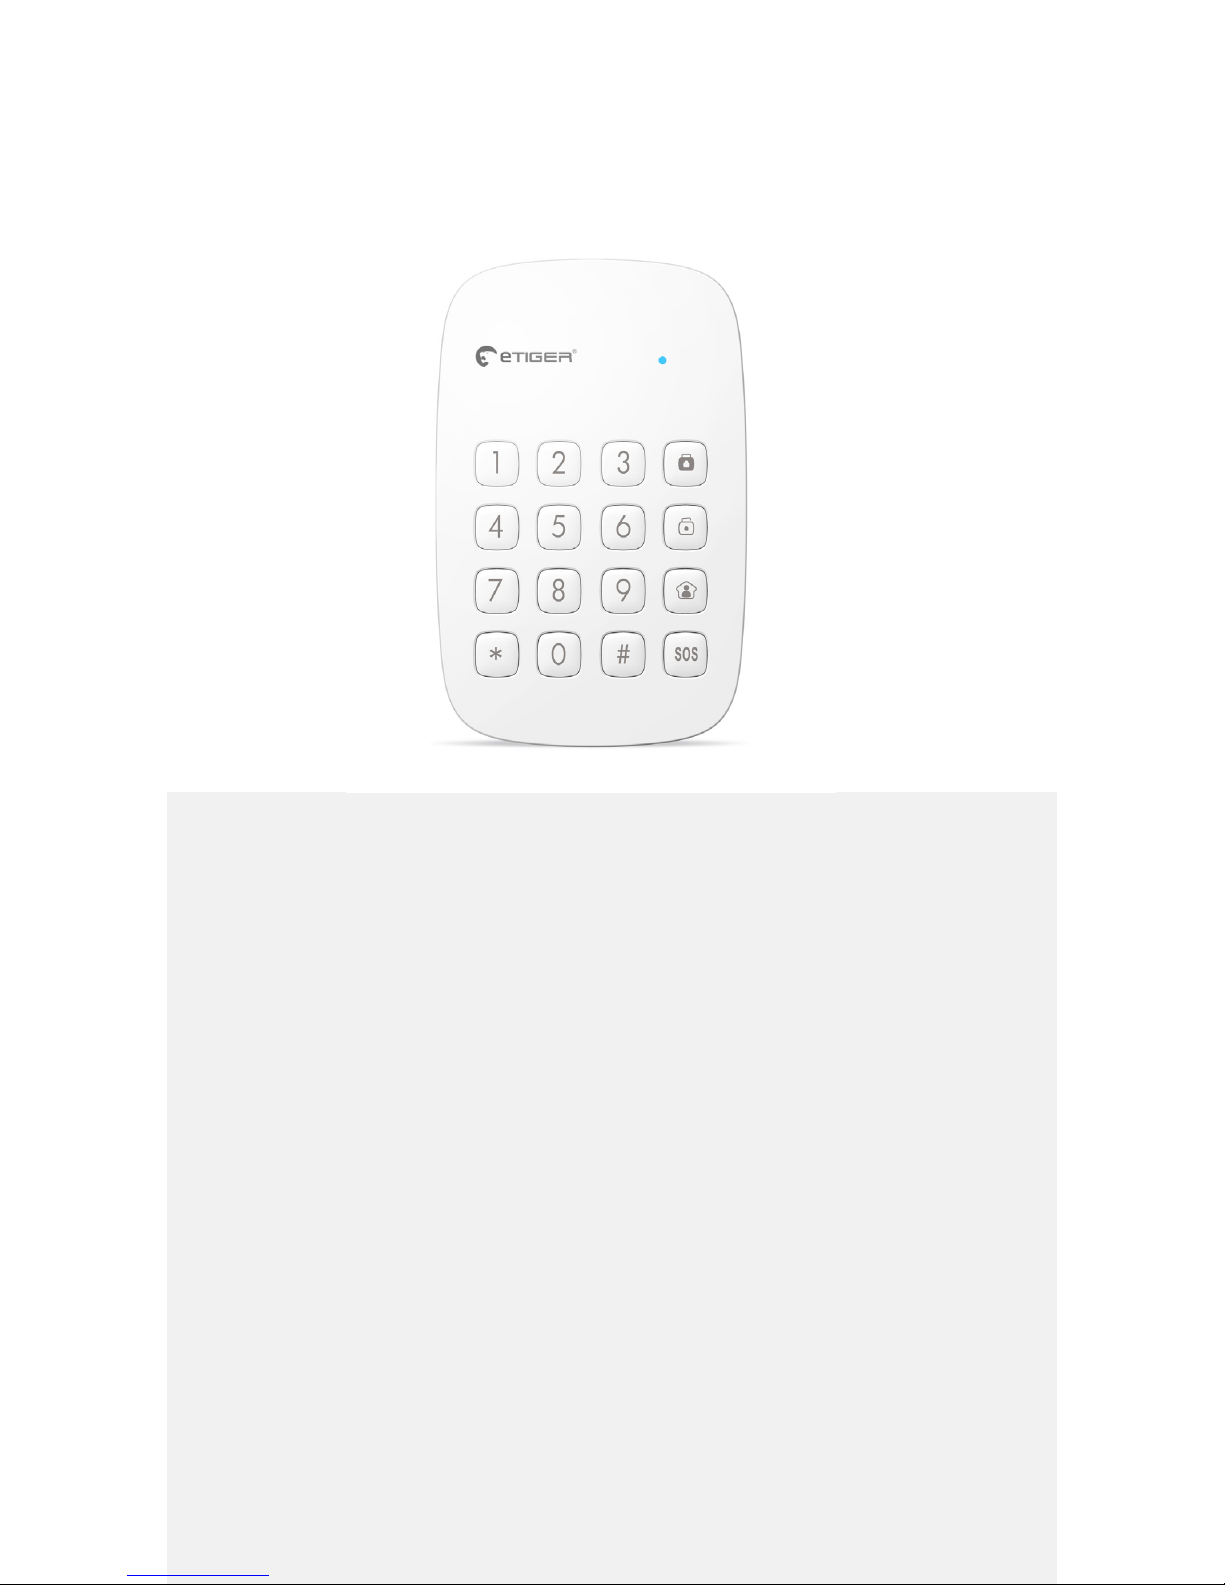
Features
- Additional access point in your home
- Functions: Arm, Disarm, Home Mode and Trigger the alarm
- Include a RFID tag reader
- Radio-frequency: 433 MHz (wireless)
- Transmission distance: up to 80 m
- Powered by batteries (3 x AAA)
How to register in the control panel
- Type your User Code
1, 2
- Press “Arm” on the control panel
ES-K1A
Wireless Keypad
1
Default User Code: 1234
2
If your keyboard is in sleep mode, press Arm or Home to wake the keypad up
Page 23
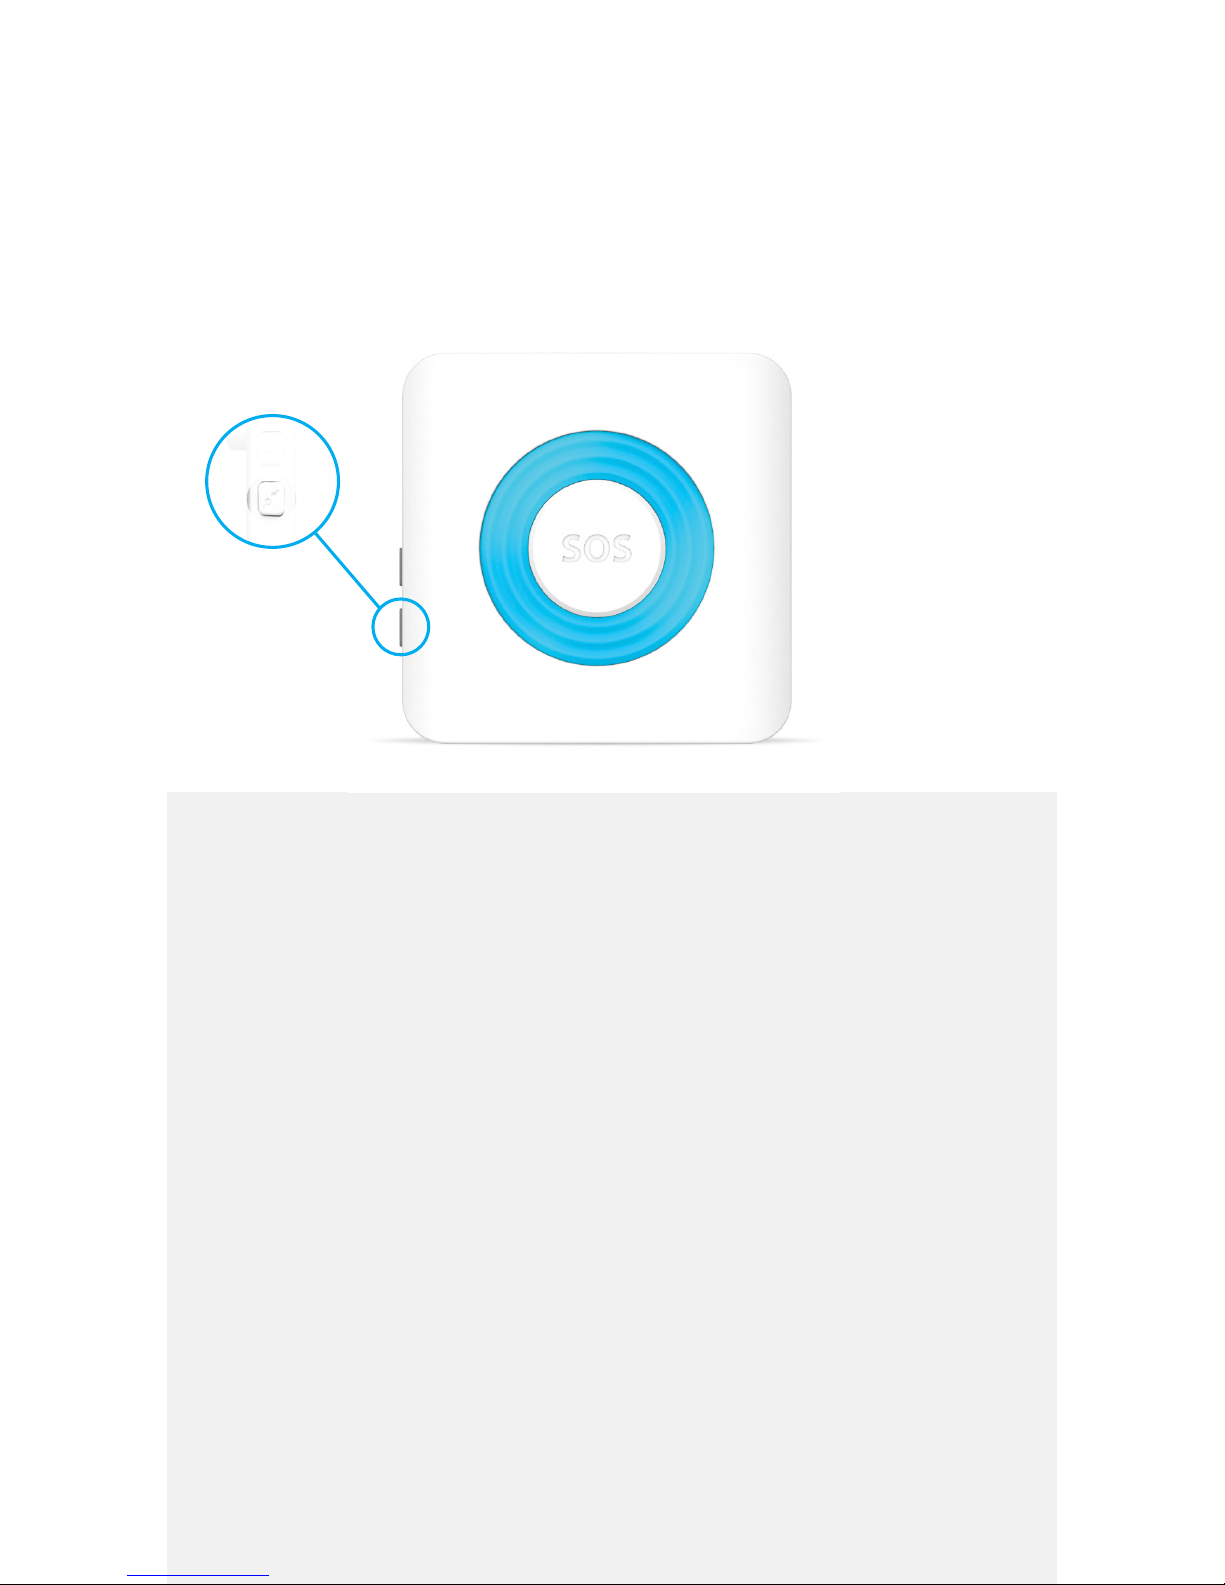
Features
- Ideal for large ats or houses
- Transmission distance: up to 80 m (in open area)
- Powered by AC plug (Built-in backup battery 4.2 V)
Connect the siren to the control panel
- Press briey the Connect Button on the siren
- The siren’s LEDs light up: the siren is now in Connection Mode
- Press “Arm” on the control panel. The siren beeps once: the siren
is connected
- Disarm your system to nish to install
- Do not trigger a sensor when registering the siren in the control
panel
- Do not press any key on the remote control
- Deactivate the delay on the control panel if any
ES-S6A
Indoor Siren
Connection button
Page 24
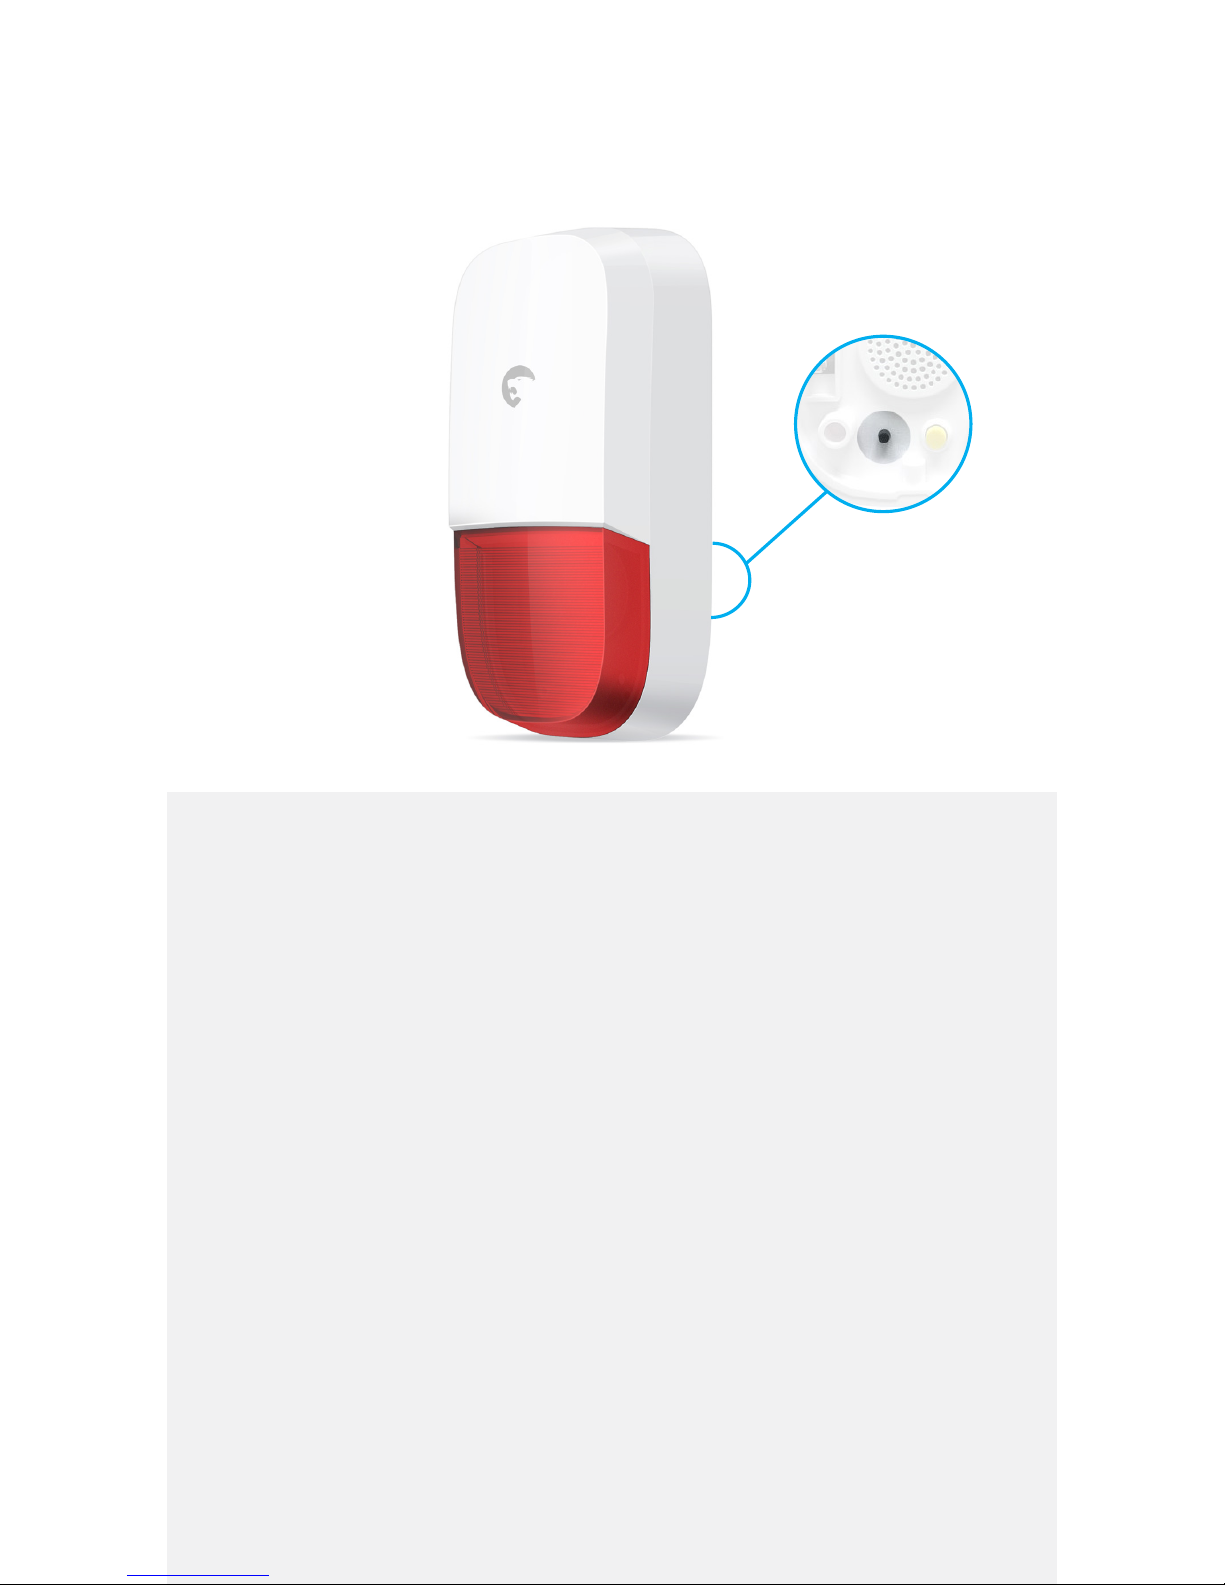
Features
- Ideal for houses
- Can be used as additional siren or standalone alarm system
- Powered by AC adaptor (Built-in backup battery, 7.4 V 800 mA)
Connect the siren to the control panel
- Press briey the Connect Button on the siren
- The siren’s LEDs light up: the siren is now in Connection Mode
- Press “Arm” on the control panel. The siren beeps once: the siren
is connected
- Disarm your system to nish to install
- Do not trigger a sensor when registering the siren in the control
panel
- Do not press any key on the remote control
- Deactivate the delay on the control panel if any
ES-S7A
Outdoor Siren
Connection button
Page 25
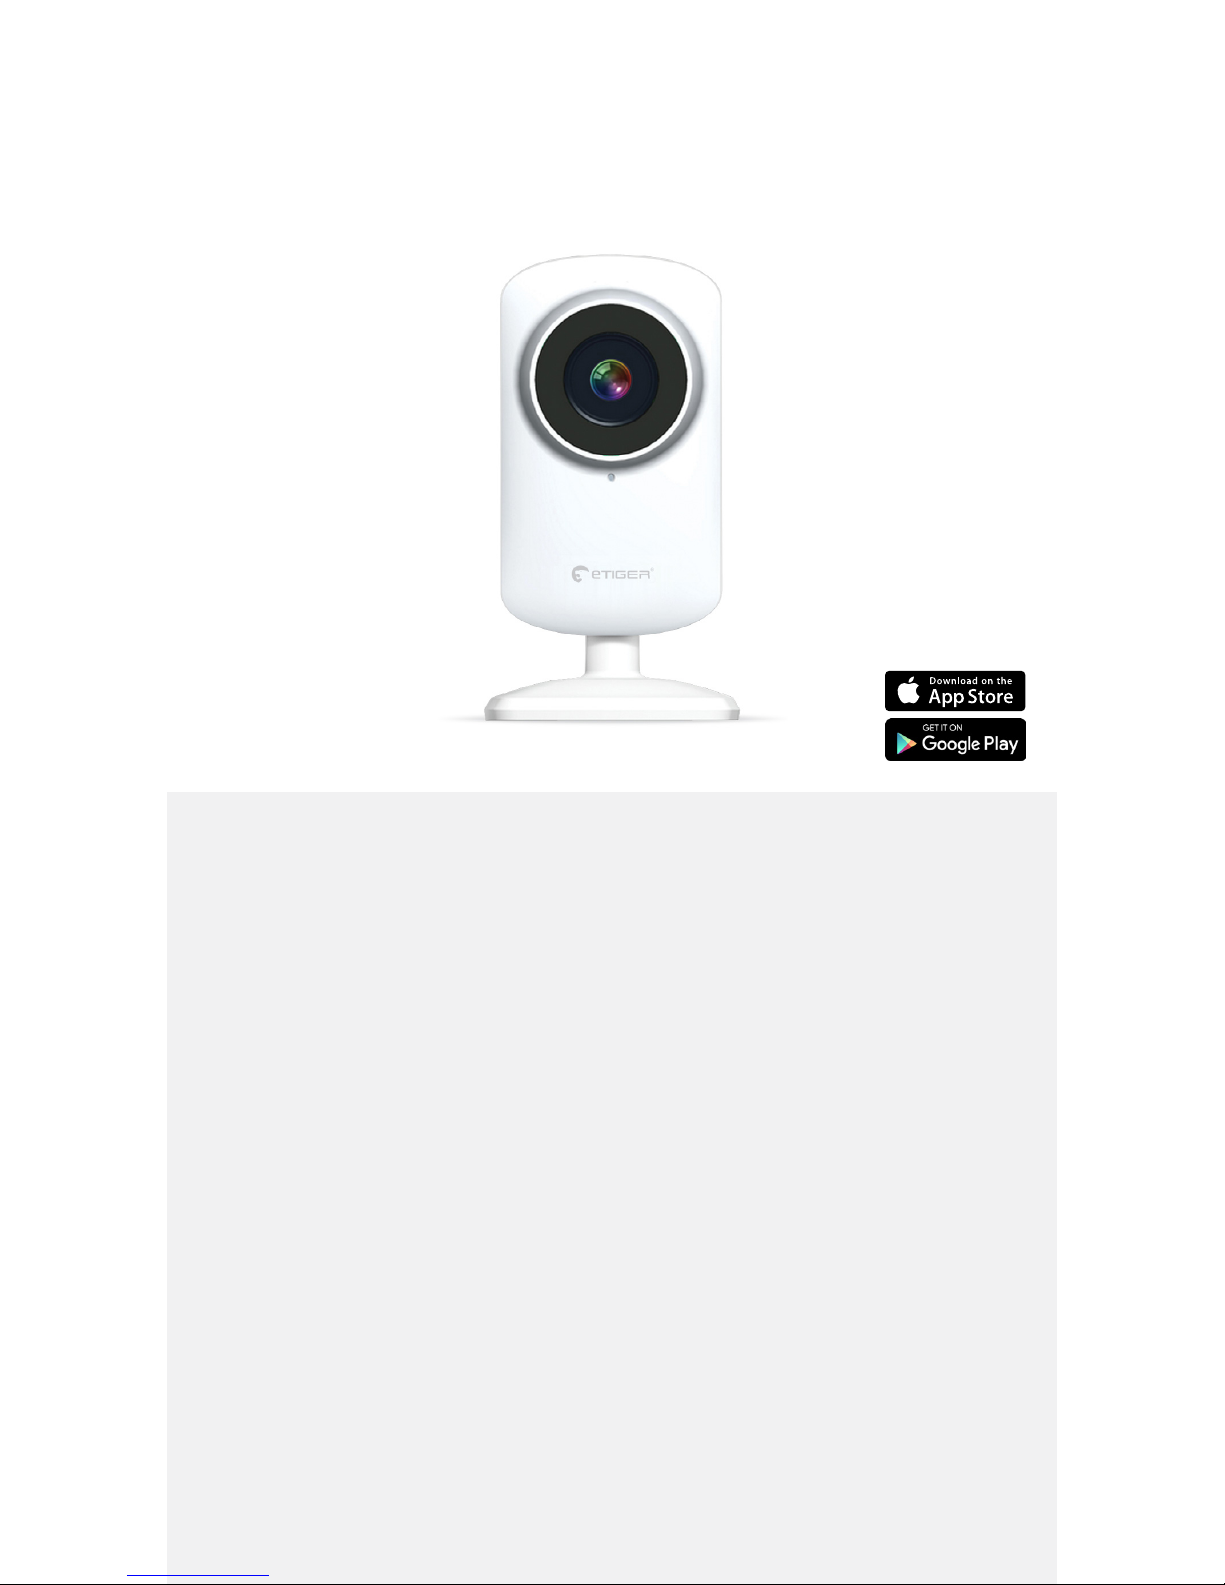
Features
- Wi-Fi connection
- HD 720p streaming
- 8 LEDs for night vision
- Powered by AC Adaptor
- Unlimited live streaming with motion detection alerts
1
- Record a video or a photo on your smartphone (or in the cloud in
option)
1
Internet connection required (4G or Wi-Fi recommended)
ES-CAM2A
HD Wi-Fi Camera
Page 26
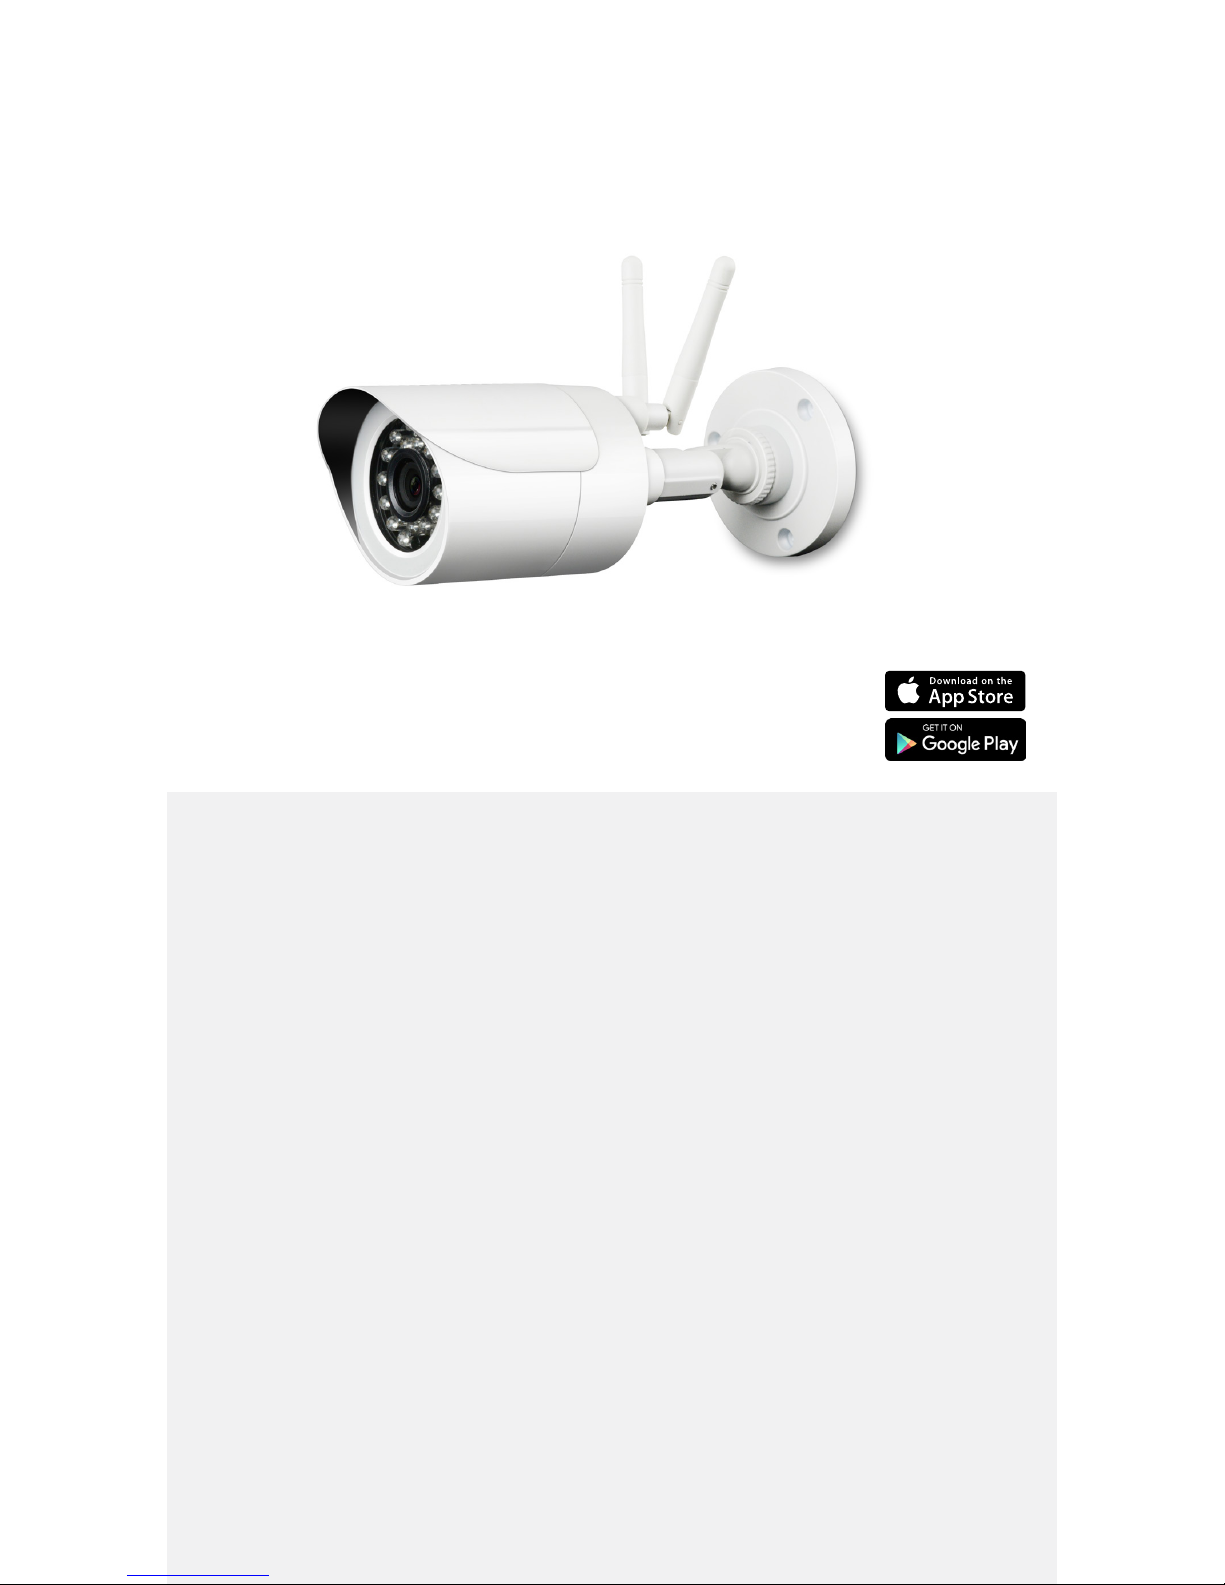
Features
- Wi-Fi connection
- IP 66 certied: completely sealed from dust and protected
against strong jets of water and rain
- HD 720p streaming / Digital zoom x2
- 24 LEDs for night vision
- Powered by AC Adaptor
- Unlimited live streaming with motion detection alerts
1
- Record a video or a photo on your smartphone (or in the cloud in
option)
1
Internet connection required (4G or Wi-Fi recommended)
ES-CAM3A
Outdoor HD Wi-Fi Camera
Page 27
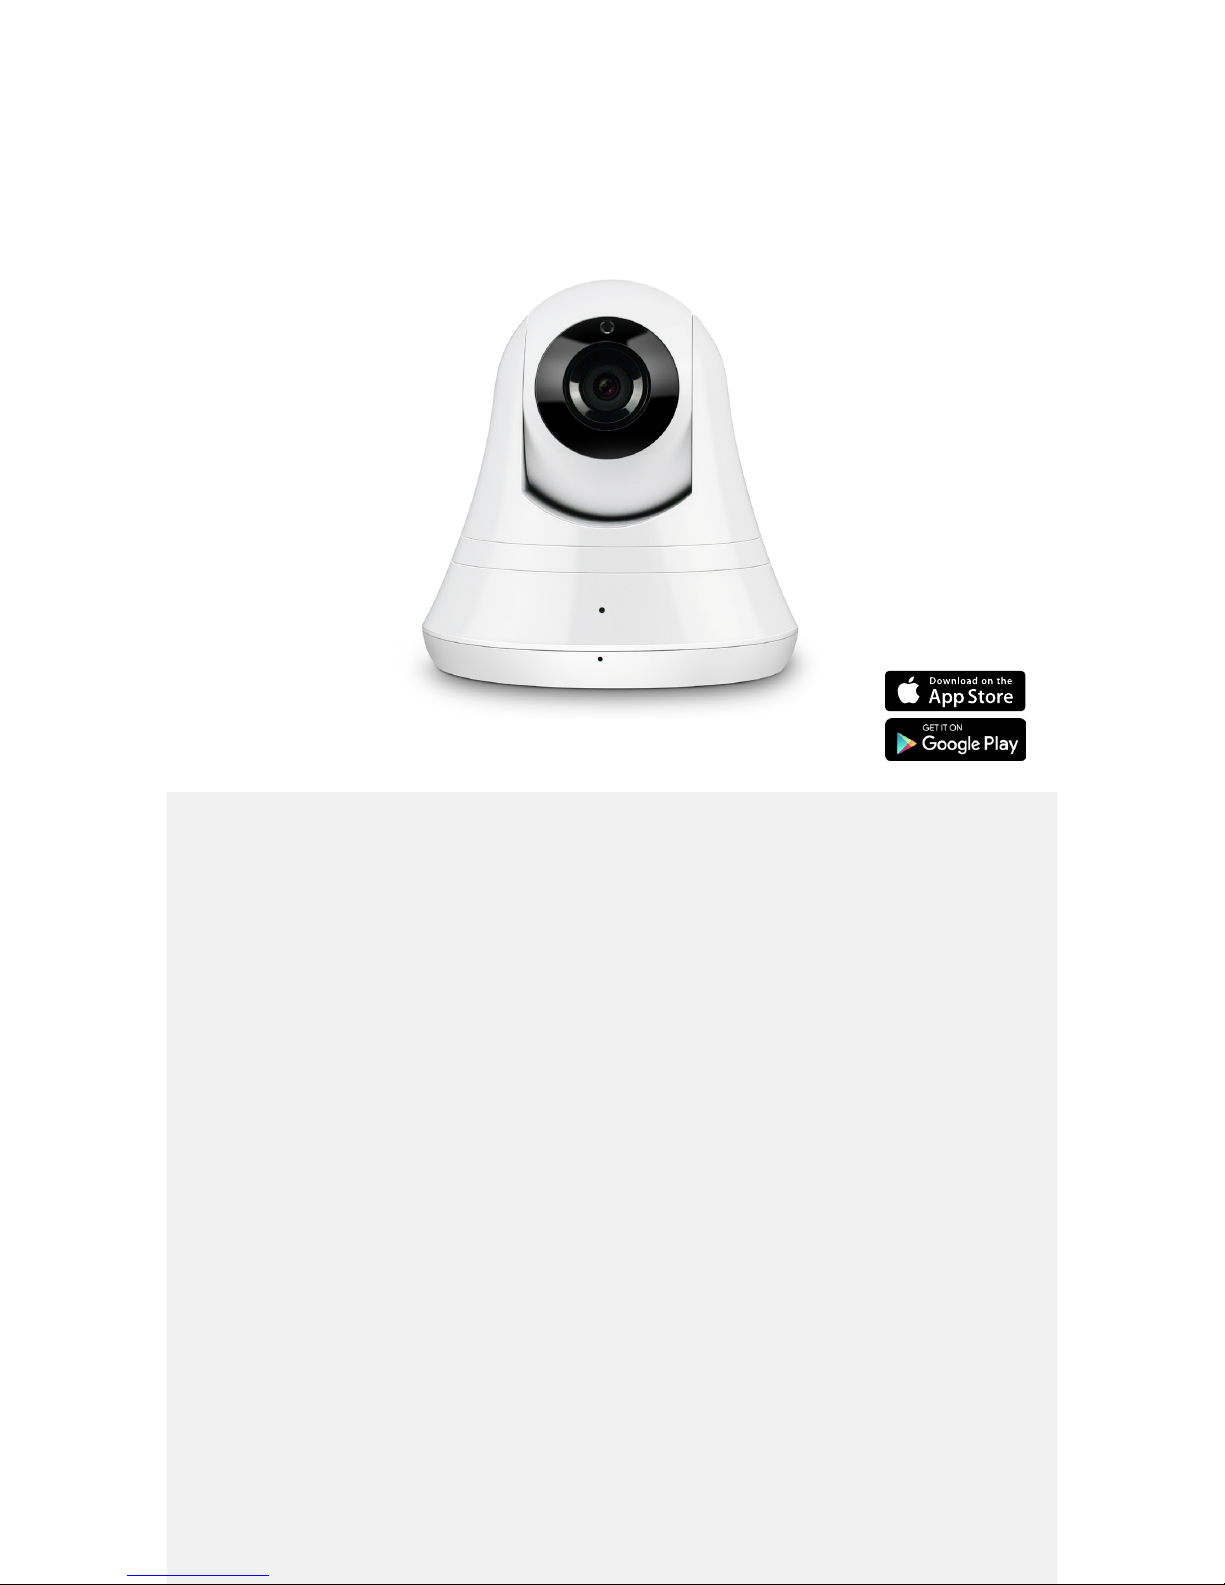
Features
- Wi-Fi connection
- Vertical / horizontal rotation
- HD 720p streaming / Digital zoom x2
- 6 LEDs for night vision
- Powered by AC Adaptor
- Unlimited live streaming with motion detection alerts
1
- Record a video or a photo on your smartphone (or in the cloud in
option)
1
Internet connection required (4G or Wi-Fi recommended)
ES-CAM4A
Motorized HD Wi-Fi Camera
Page 28
Everyday use
Page 29
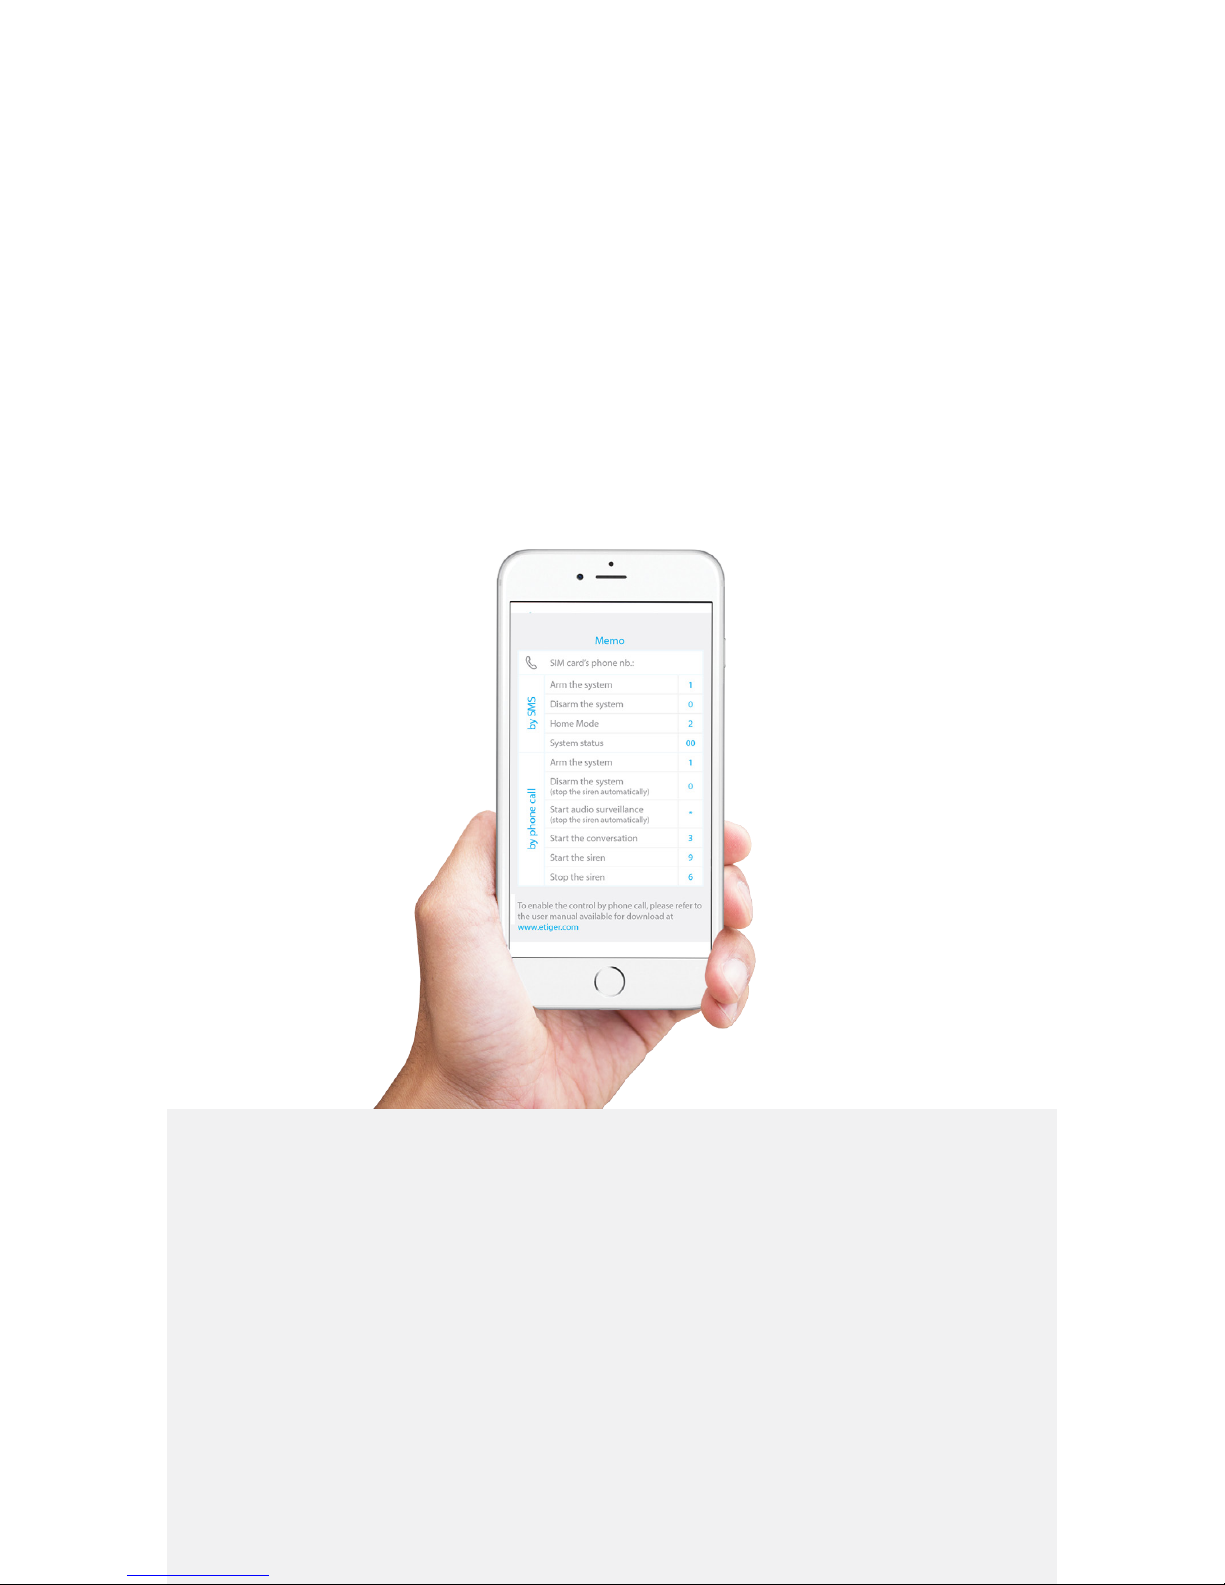
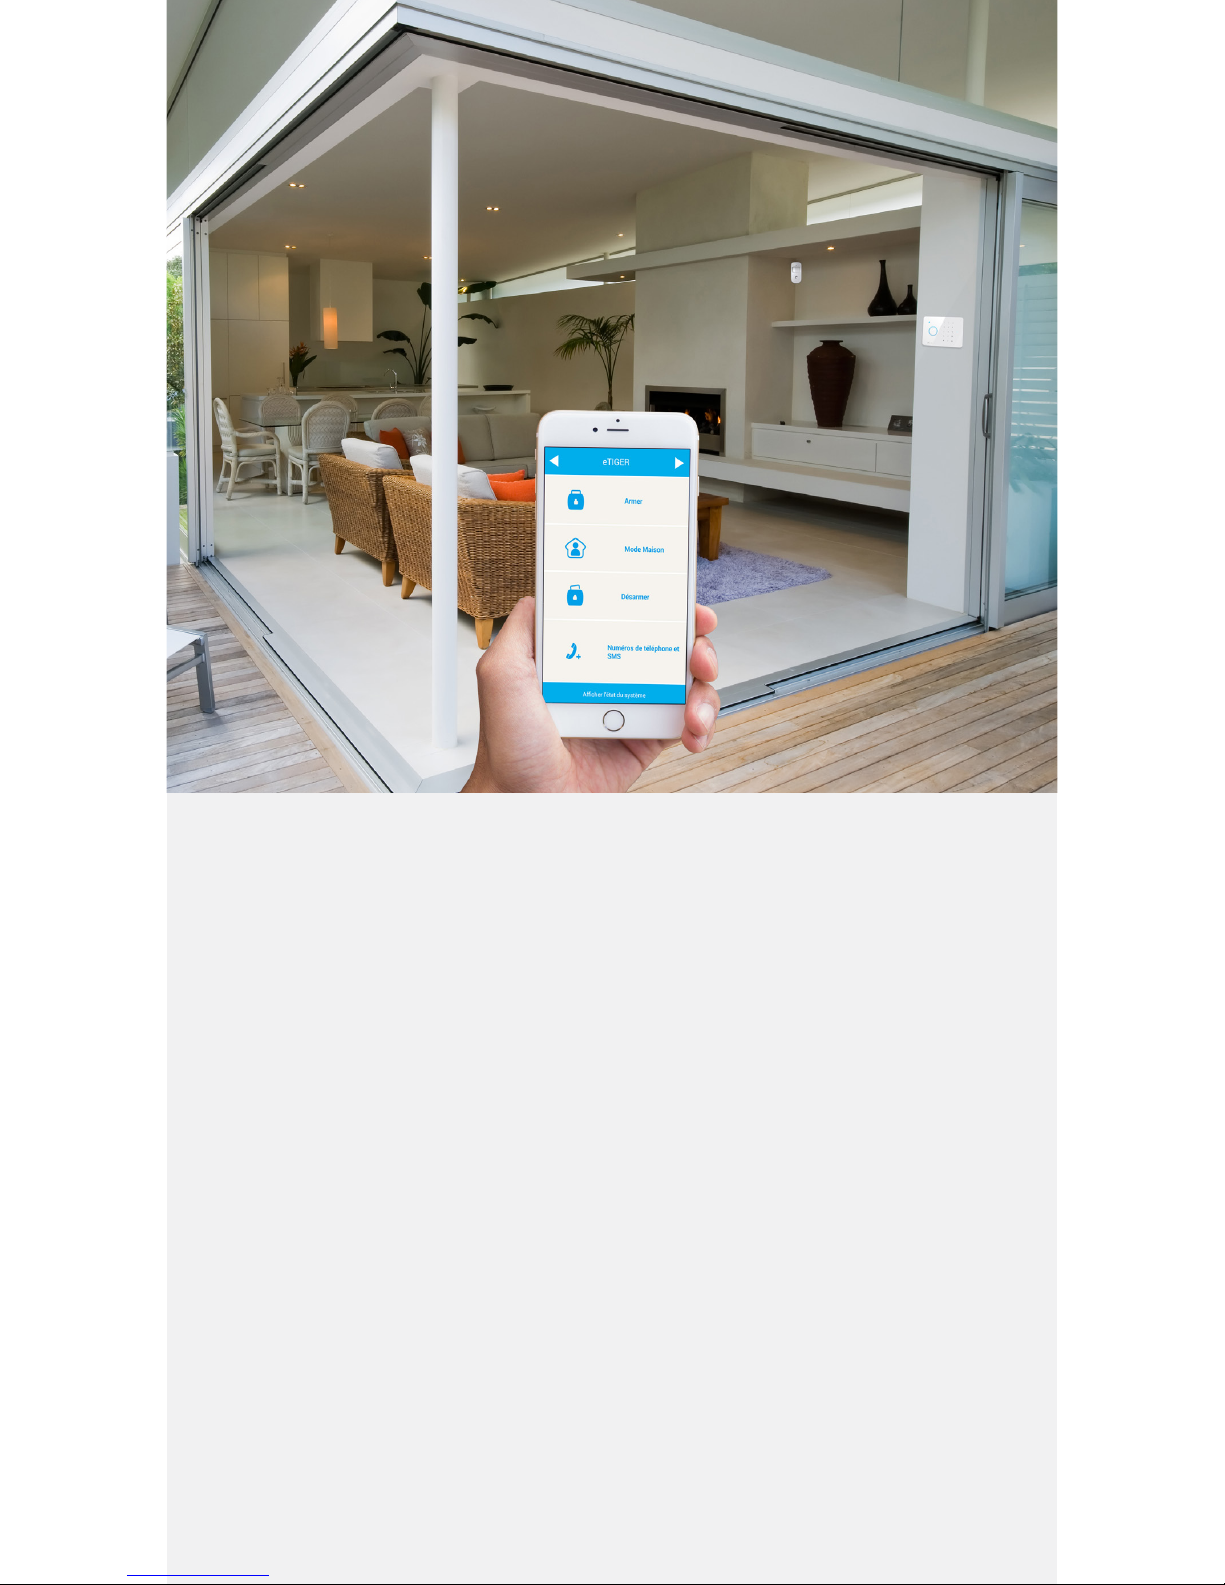
Full control from any mobile phone
- By SMS
- By phone call (your Access Code will be requested)
- To control your system by phone call, read the user manual rst.
Control your alarm
Page 30
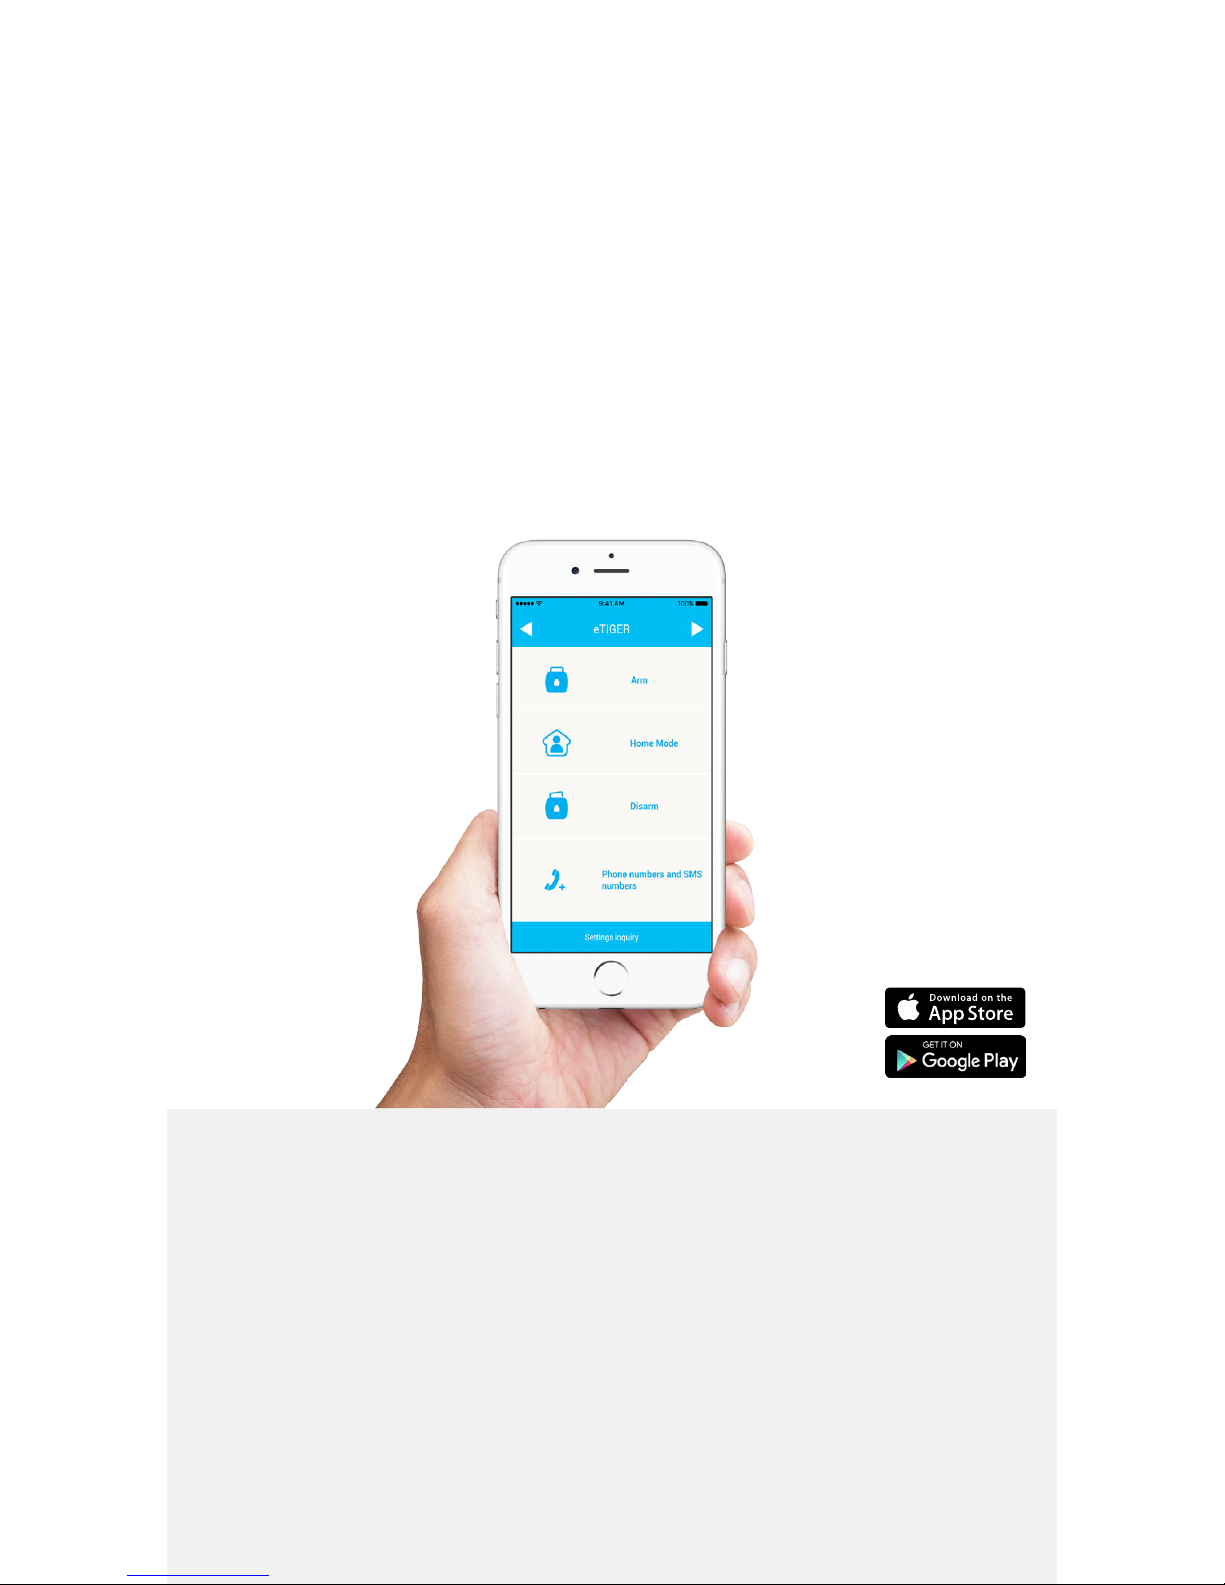
Easier control with the app
- On Android
- On iOS
- Only a text plan is required (no data, no internet connection)
Control your alarm
Page 31
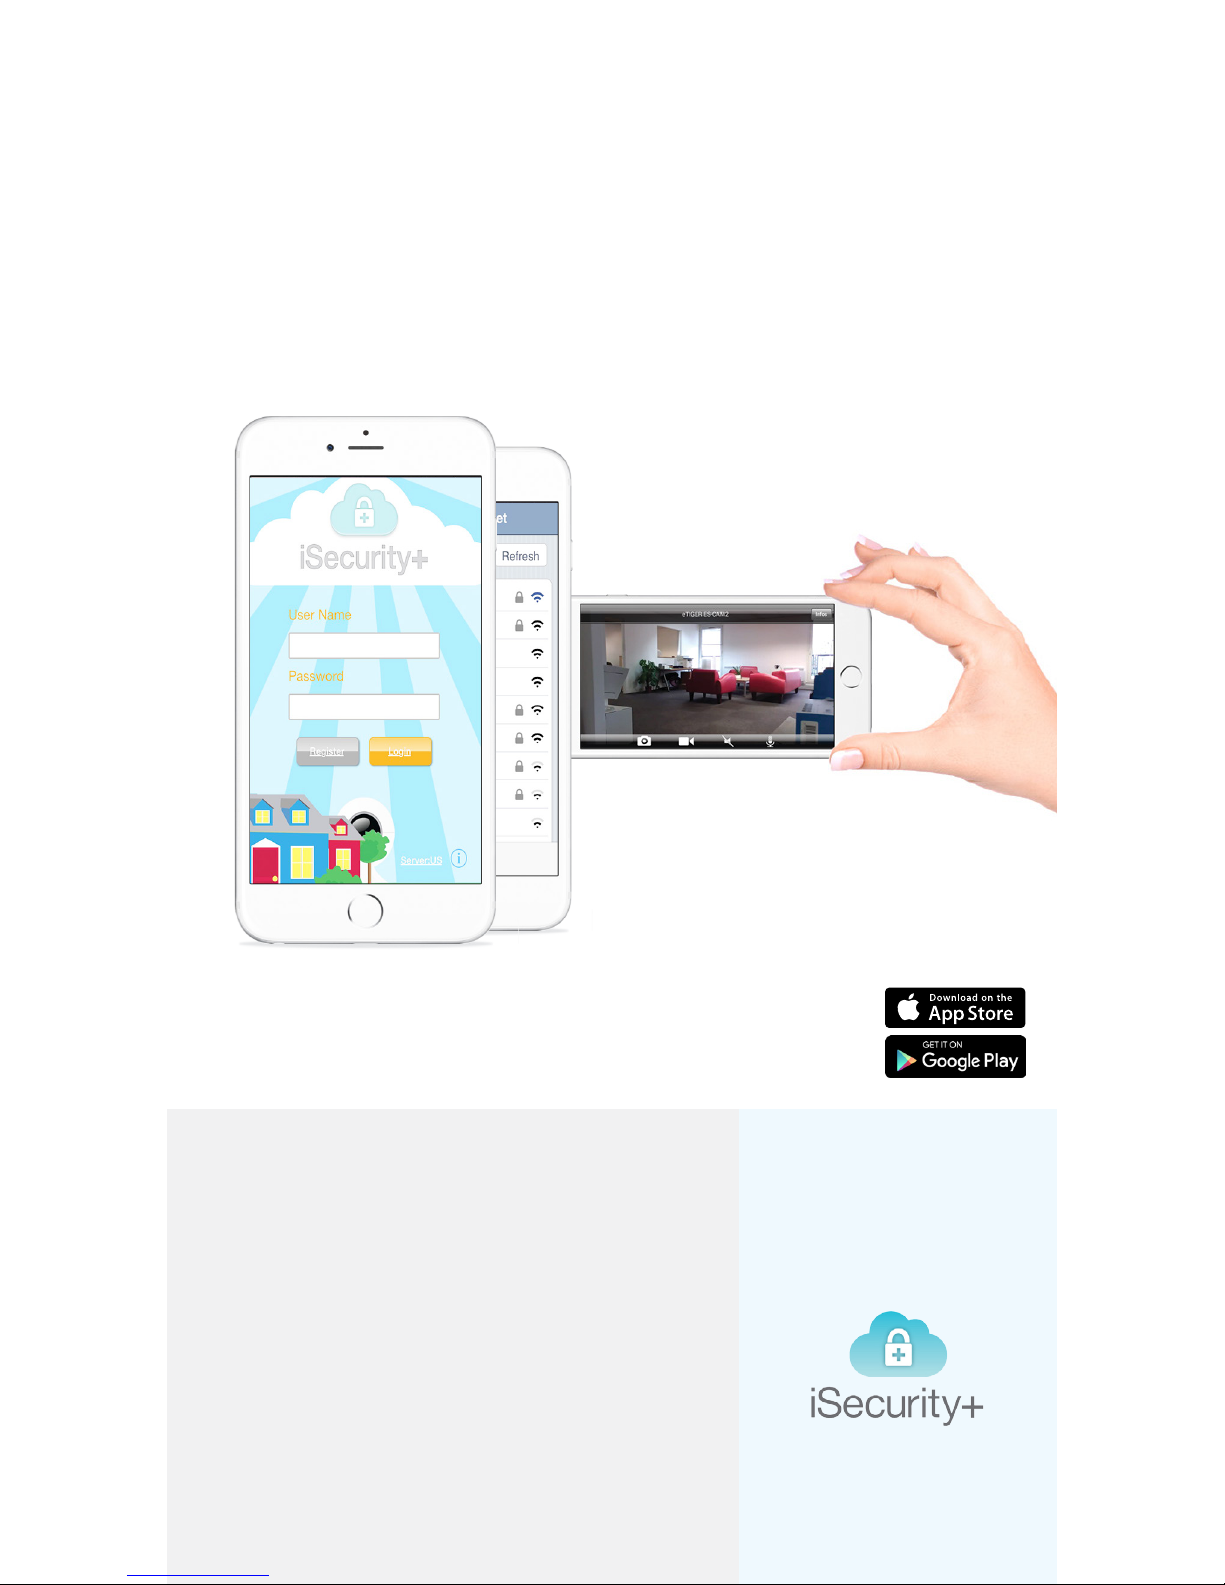
Easy setup / Easy control
- Alert in case of motion detection
- Live streaming in HD 720p
- Possibility to record a video or take a
photo
- Access from any web browser
- Optional cloud storage for $9.99/
month
Control your cameras
Powered by iSecurity+
Page 32
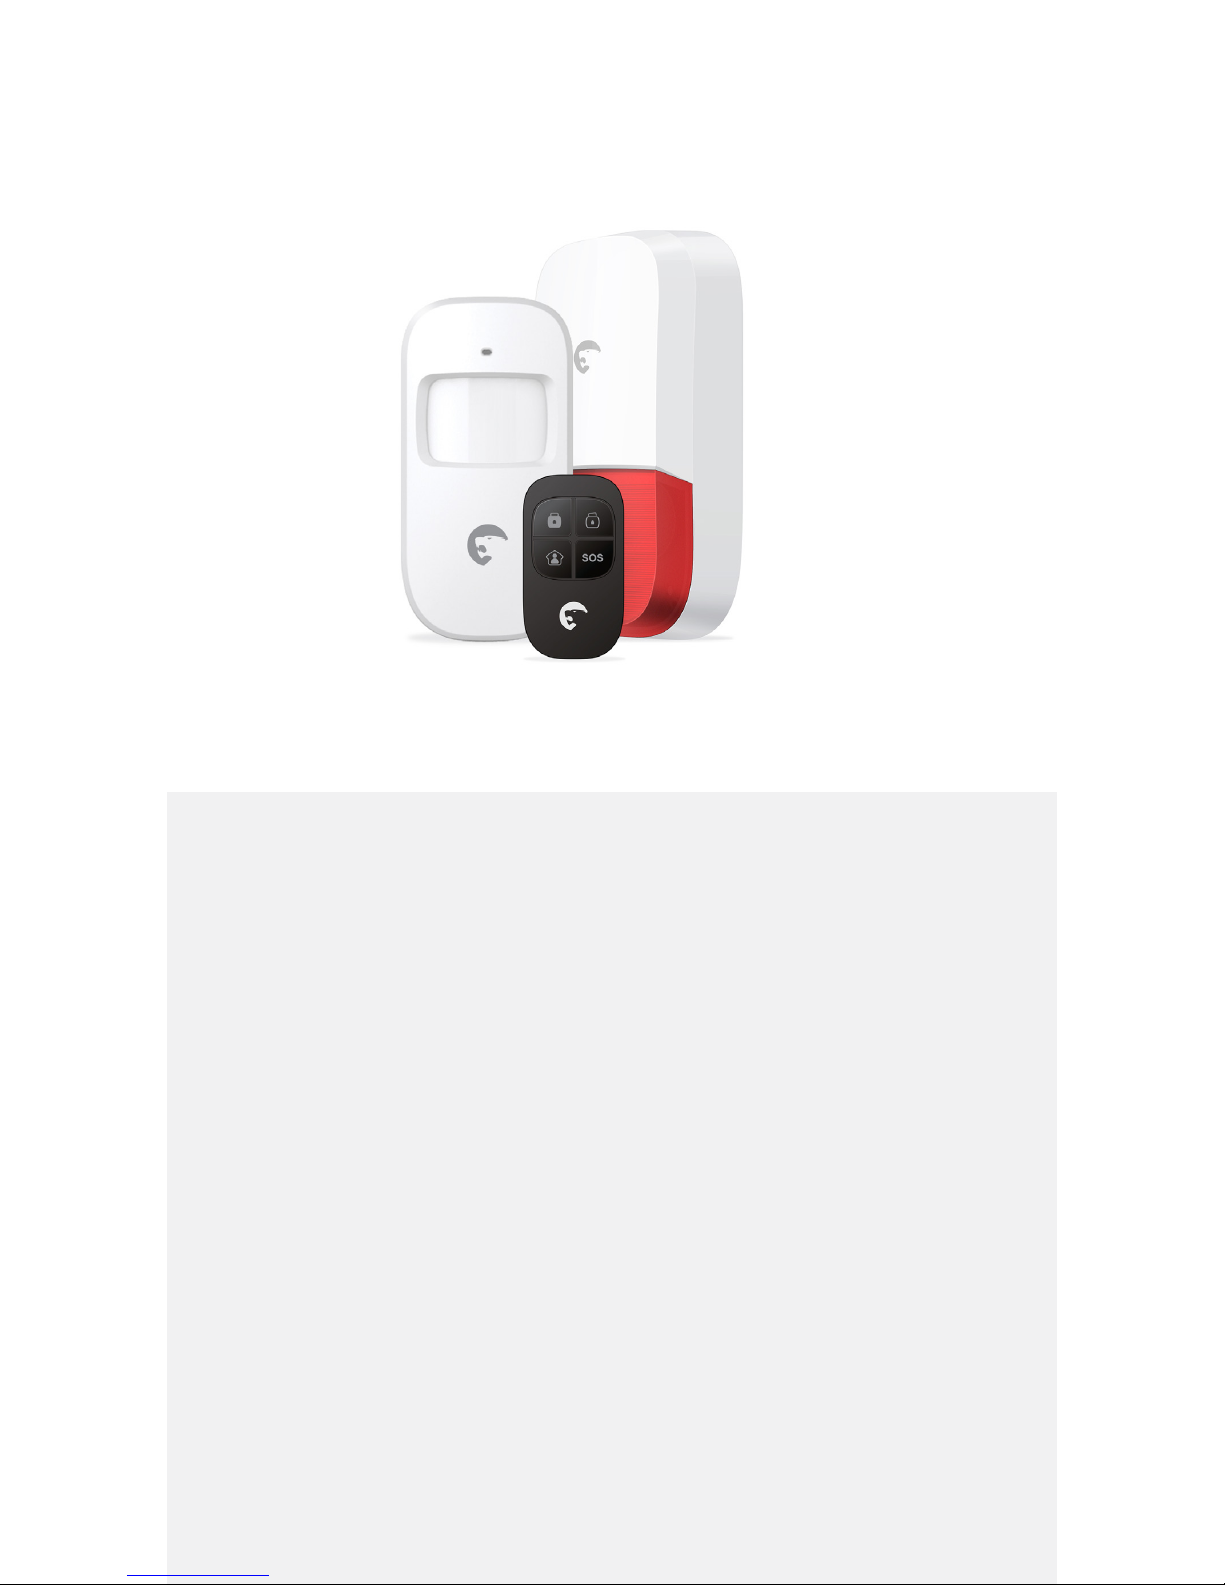
Standalone systems
Page 33
+ + +
...
+ + +
...
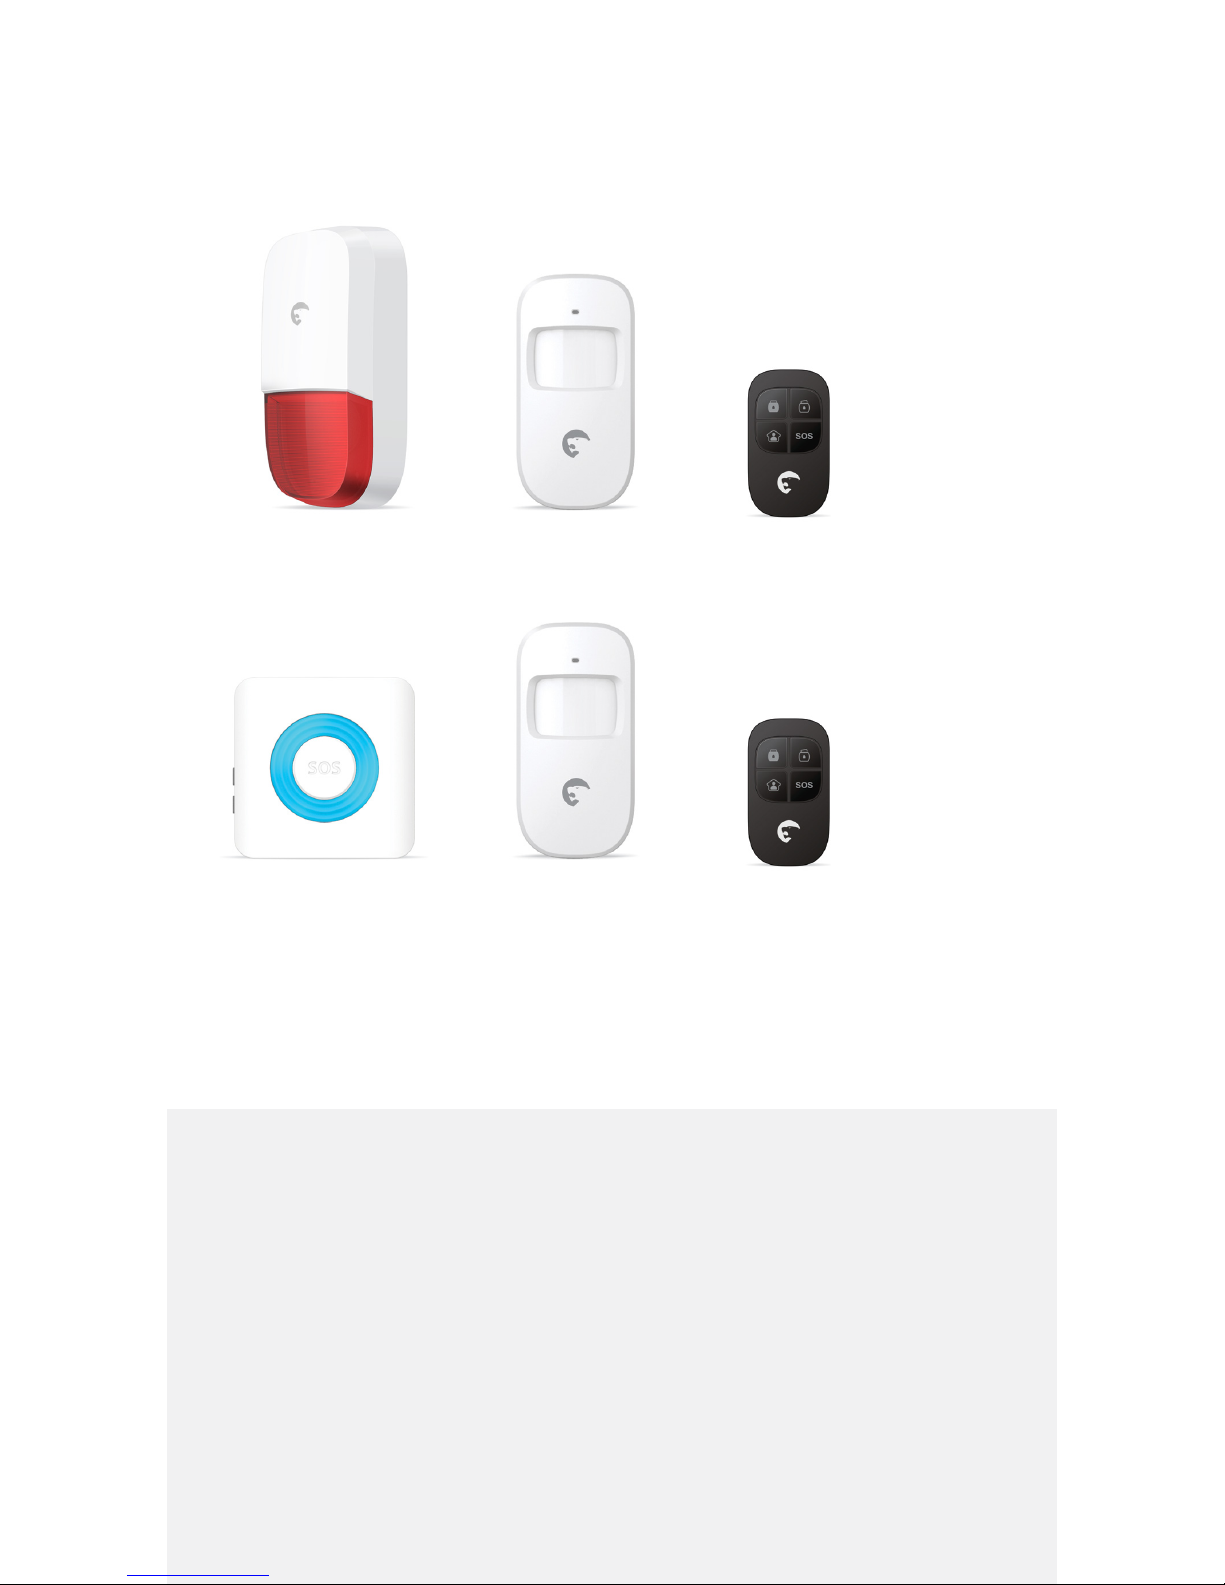
A basic and aordable alarm system
- 1 x Siren
- 1 x Remote Control or more
- 1 x Detector or more
- Up to 50 accessories
Page 34
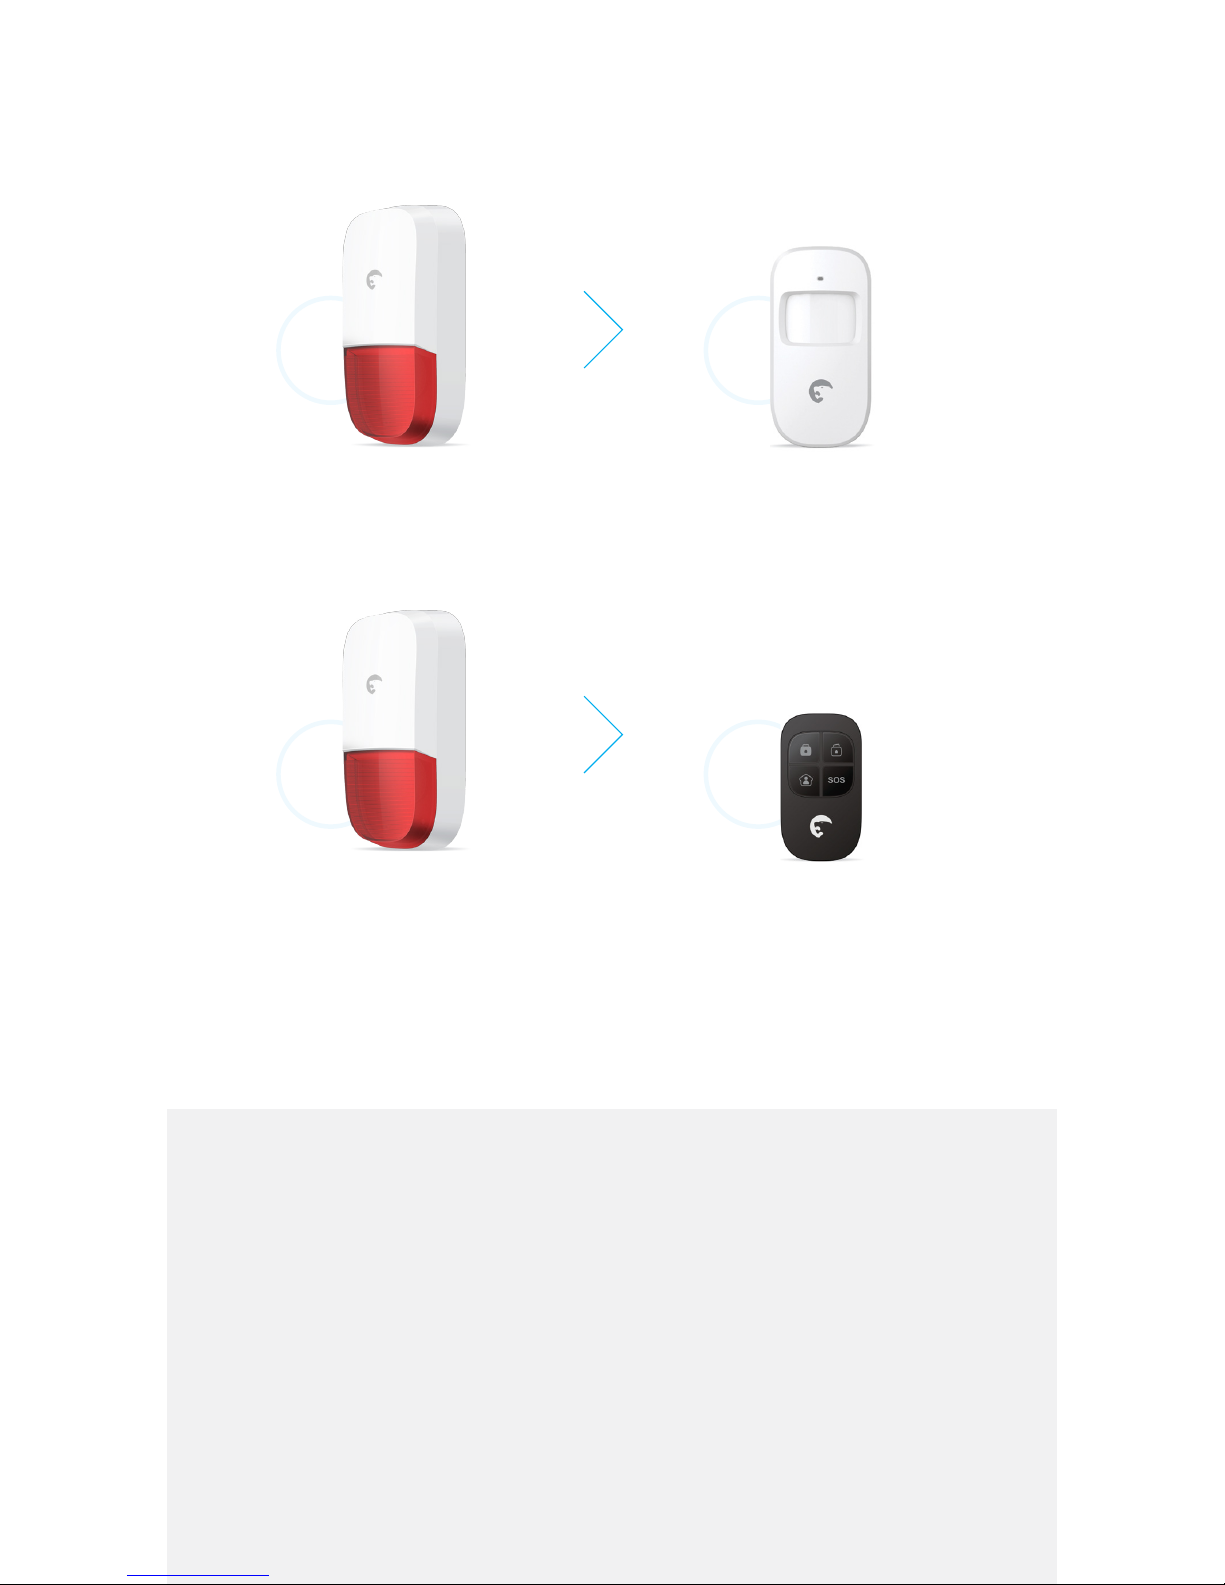
Activate the Connection Mode
1 2
Trigger the accessory
Activate the Connection Mode
3 4
Trigger the accessory
Set up your system
1. Press briey the Connect Button of the siren
The siren’s LEDs light up: the siren is now in Connection Mode
2. Trigger your detector or your remote control
3. Press the Disarm Button to nish to install
Page 35
More support online
- On the FAQ online
- In the user manual: nd all the languages available online
- With the online Connection Assistant for our accessories
Additional support
Page 36

ETTRS3b-EN20160427-2.0
Product specications subject to change (design, color, function, etc.). Images and text are non-contractual.
Copyright © 2016 ETIGER. All rights reserved. All brands and product names are registered trademarks and the
property of their respective owners.
Page 37

www.etiger.com
 Loading...