

Page 1
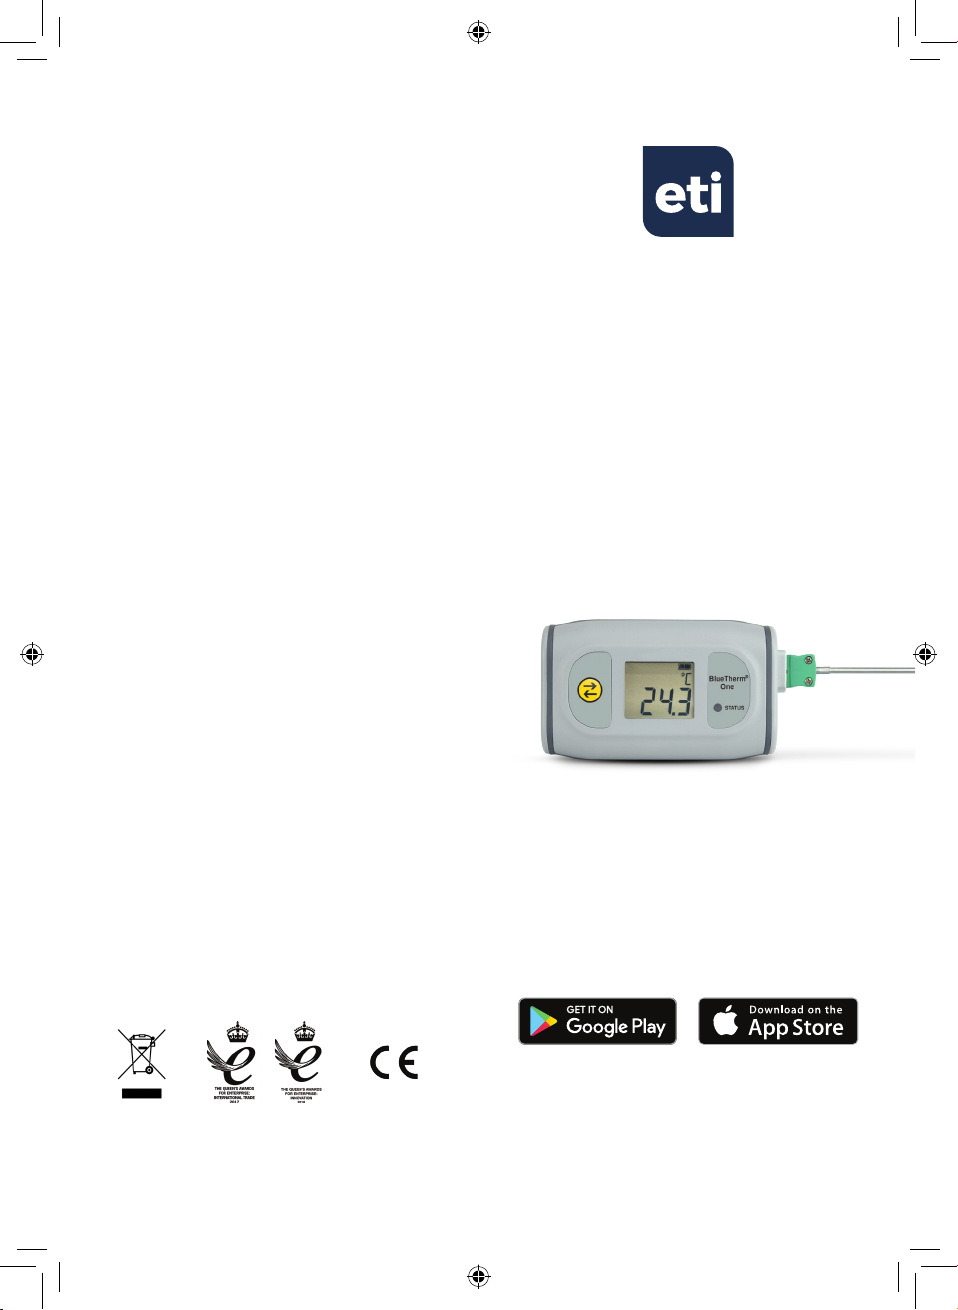
GUARANTEE - The BlueTherm One carries a
two-year instrument guarantee against defects
in either components or workmanship. During
this period, products that prove to be defective
will, at the discretion of ETI, be either repaired or
replaced without charge. The product guarantee
does not cover damage caused by fair wear and
tear, abnormal storage conditions, incorrect use,
accidental misuse, abuse, neglect, misapplication or
modication. Full details of liability are available with
ETI's Terms & Conditions of Sale at etiltd.com/terms.
In line with our policy of continuous development,
we reserve the right to amend our product
specication without prior notice.
The Bluetooth® word mark and logos are registered
trademarks owned by the Bluetooth SIG, Inc. and
any use of such marks by ETI is under license.
Google Play and the Google Play logo are
trademarks of Google Inc.
Apple, the Apple logo, iPhone, and iPod touch are
trademarks of Apple Inc., registered in the U.S. and
other countries. App Store is a service mark of Apple
Inc., registered in the U.S. and other countries.
iOS is a trademark or registered trademark of Cisco in
the U.S. and other countries and is used under license.
Android is a trademark of Google Inc.
BLUETHERM® ONE
With Bluetooth® LE
Wireless Technology
Electronic Temperature Instruments Ltd
Manufactured by
Worthing · West Sussex · BN14 8HQ
01903 202151 · [email protected] · etiltd.com
545-931/19.11.18
Operating Instructions
Page 2

INSTRUMENT OPERATION - Connect a probe via
the miniature thermocouple socket located on
the end of the instrument. Apply the tip of the
probe to the substance, medium or surface to be
measured. The instrument reading may take several
seconds to stabilise, depending on the nature of the
measurement and sensitivity of the probe.
BUTTON FUNCTIONS
Transfer/On-Off button
ON - Press to switch the instrument on.
OFF - Hold down for 3 seconds to switch off.
MEASURE/TRANSFER - Press to measure
and transfer result via Bluetooth (if
connected).
CLEAR BONDING - See Bonding
ALARMS - The default setting is off. The high/low
alarms can be switched on/off and adjusted through
the ThermaQ App.
SENSORS - Only use type K (Nickel Chromium/
Nickel Aluminium) thermocouple probes (to BS EN
60584-1:2013) tted with suitable miniature type K
thermocouple plugs.
TEMPERATURE MEASUREMENTS - The instrument
measures its inputs at a set measurement interval
and displays the value in ºC or ºF.
CONNECTION - Use a Bluetooth® Low Energy
'Smart or Smart Ready' iOS or AndroidTM host
device with the ThermaQ App installed to make
connections to the instrument. The ThermaQ app
can be downloaded free from the App Store (Apple
devices) or on Google PlayTM (Android devices). For
full device compatibility visit etiltd.com. Open the
ThermaQ App and connect to the device via the
Devices screen, use the instrument’s serial number
to select the correct device from the list. Once
connected the ThermaQ App will begin receiving
and storing measurement data.
Please note: When not connected the instrument
continues to measure using its current settings but
no readings are stored in the instrument.
SETTINGS - Adjustable via the ThermaQ App
include: °C or °F, Measurement Interval, Auto-off
Interval, Sensor Name and High/Low Alarm levels.
All settings are stored in the instrument and are
downloaded to the ThermaQ App on connection.
AUTO-OFF - If the instrument is not connected
to Bluetooth within the set Auto-off interval, it will
shut down. This function can be switched off via the
ThermaQ App.
STATUS/TRANSFER LED - When connected via
Bluetooth an amber LED ashes every 10 seconds or
when the button is pressed.
OPEN CIRCUIT/FAULTY PROBE - If the probe has
developed an 'open circuit' fault or is not present the
instrument will display 'Err'.
BONDING - This instrument does not need to
be paired/bonded to your host device. Pairing/
Bonding may cause connection issues within Apps.
If you encounter connection problems please clear
bonding as described below.
Clear Bonding - start with the instrument switched
off, press and hold down the Transfer button for
approximately 5 seconds until the display shows 'clr bond'.
BATTERY STATUS - This is indicated by the
ThermaQ App and the instrument’s display using
the battery symbol. When the battery level falls
below a safe level the instrument displays 'Flat bat'
before shutting down.
BATTERY REPLACEMENT - Unscrew the 4 screws
located on the rear of the instrument and remove
rear case. This can be difcult especially after a long
period but if done gradually at each corner the case
will come apart. Replace the AA battery noting
polarity. Ret rear case and ret screws taking
care not trap/pinch the seal. Tighten the screws
evenly but do not overtighten as this will affect the
instrument water resistance.
WARNING: IPA and other solvents may cause
damage to the case and screen of this instrument.
 Loading...