

Page 1
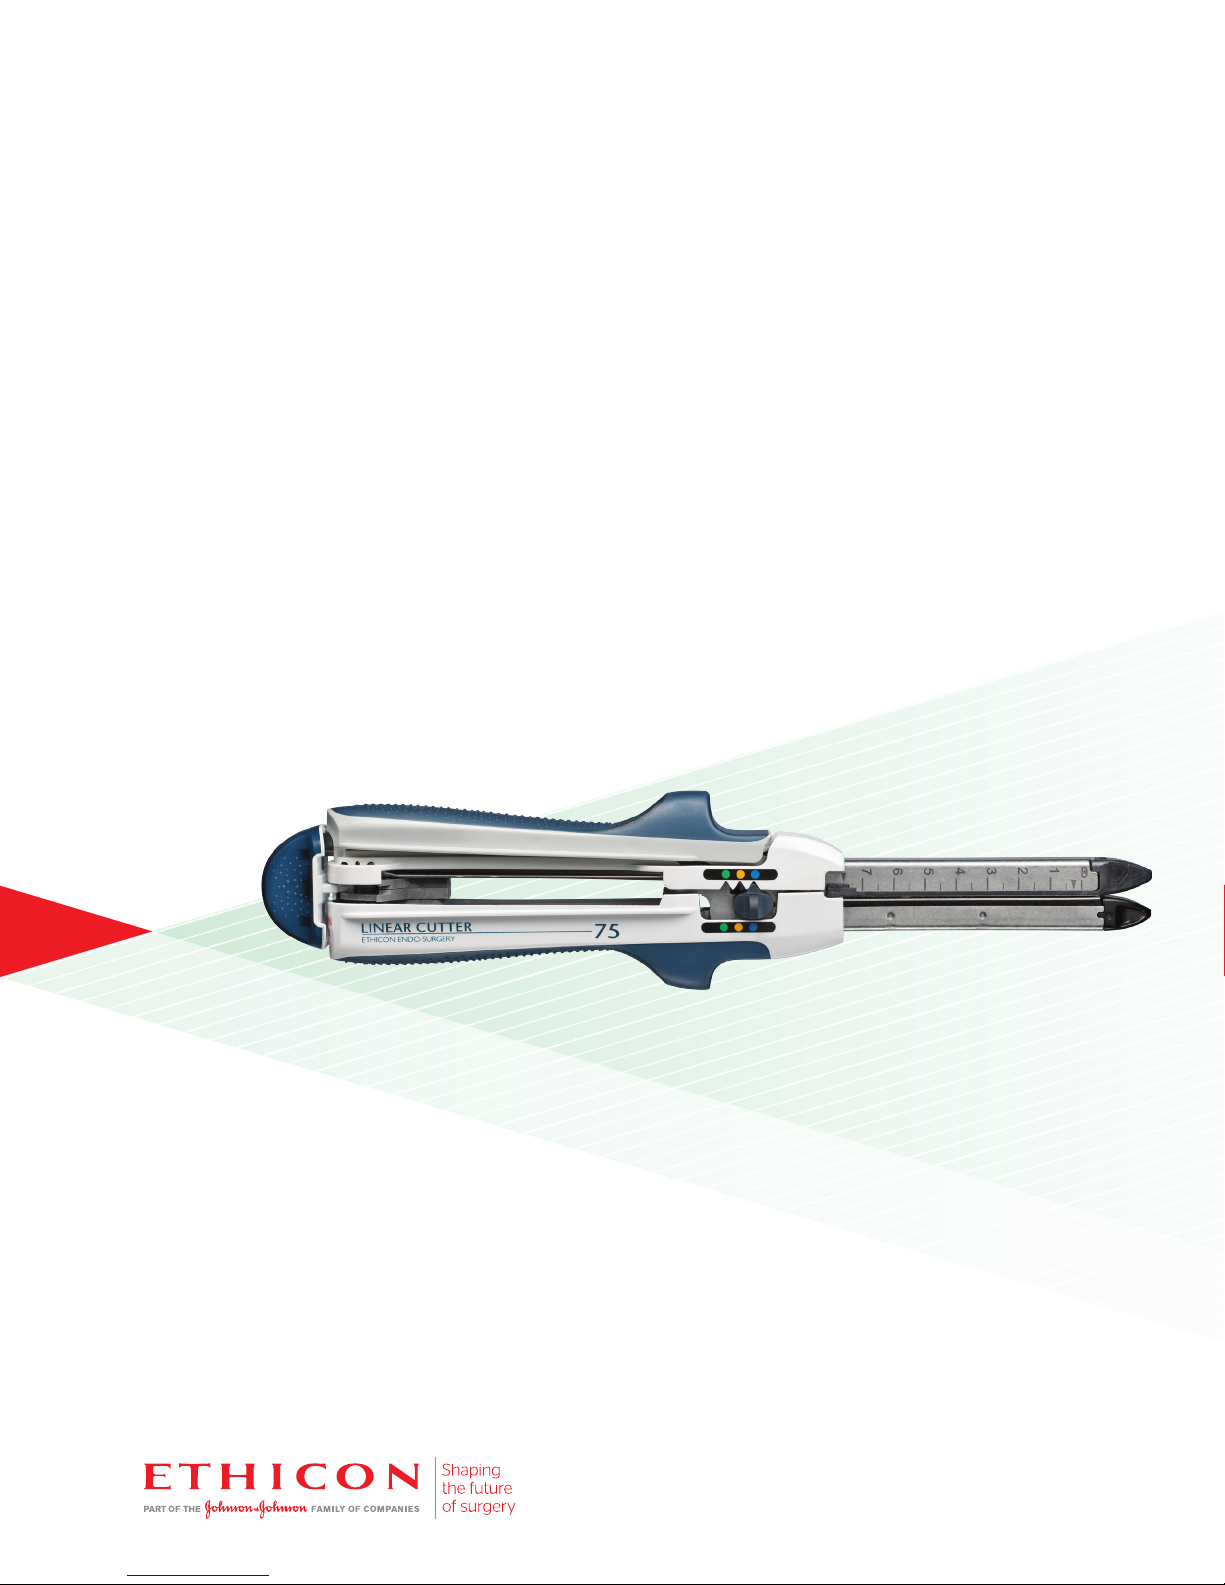
ETHICON Linear Cutter
Steps to Use
*
*Ethicon Endo-Surgery™ Linear Cutter
Page 2
Alignment Slot
Steps to Use
Anvil Half
Gripping Sur face
Anvil Fork
Models available: (55mm, 75mm)
NTLC55, NTLC75
Reloads available:
SR55, SR75
Verify compatibility of all instruments and accessories prior
to using the instrument. For complete product details, see
Instructions for Use.
Staple Retaining Cap
Gripping Surface
1
Using sterile technique, remove the instrument from the
package. To avoid damage, do not lip the Cartridge/Reload
into the sterile ield.
Alignment Tab
Locking Rib
Cartridge/Reload Half
Firing Knob
Gripping Surface
Staple Height Selector
Cartridge/Reload Fork
Alignment/Locking Lever
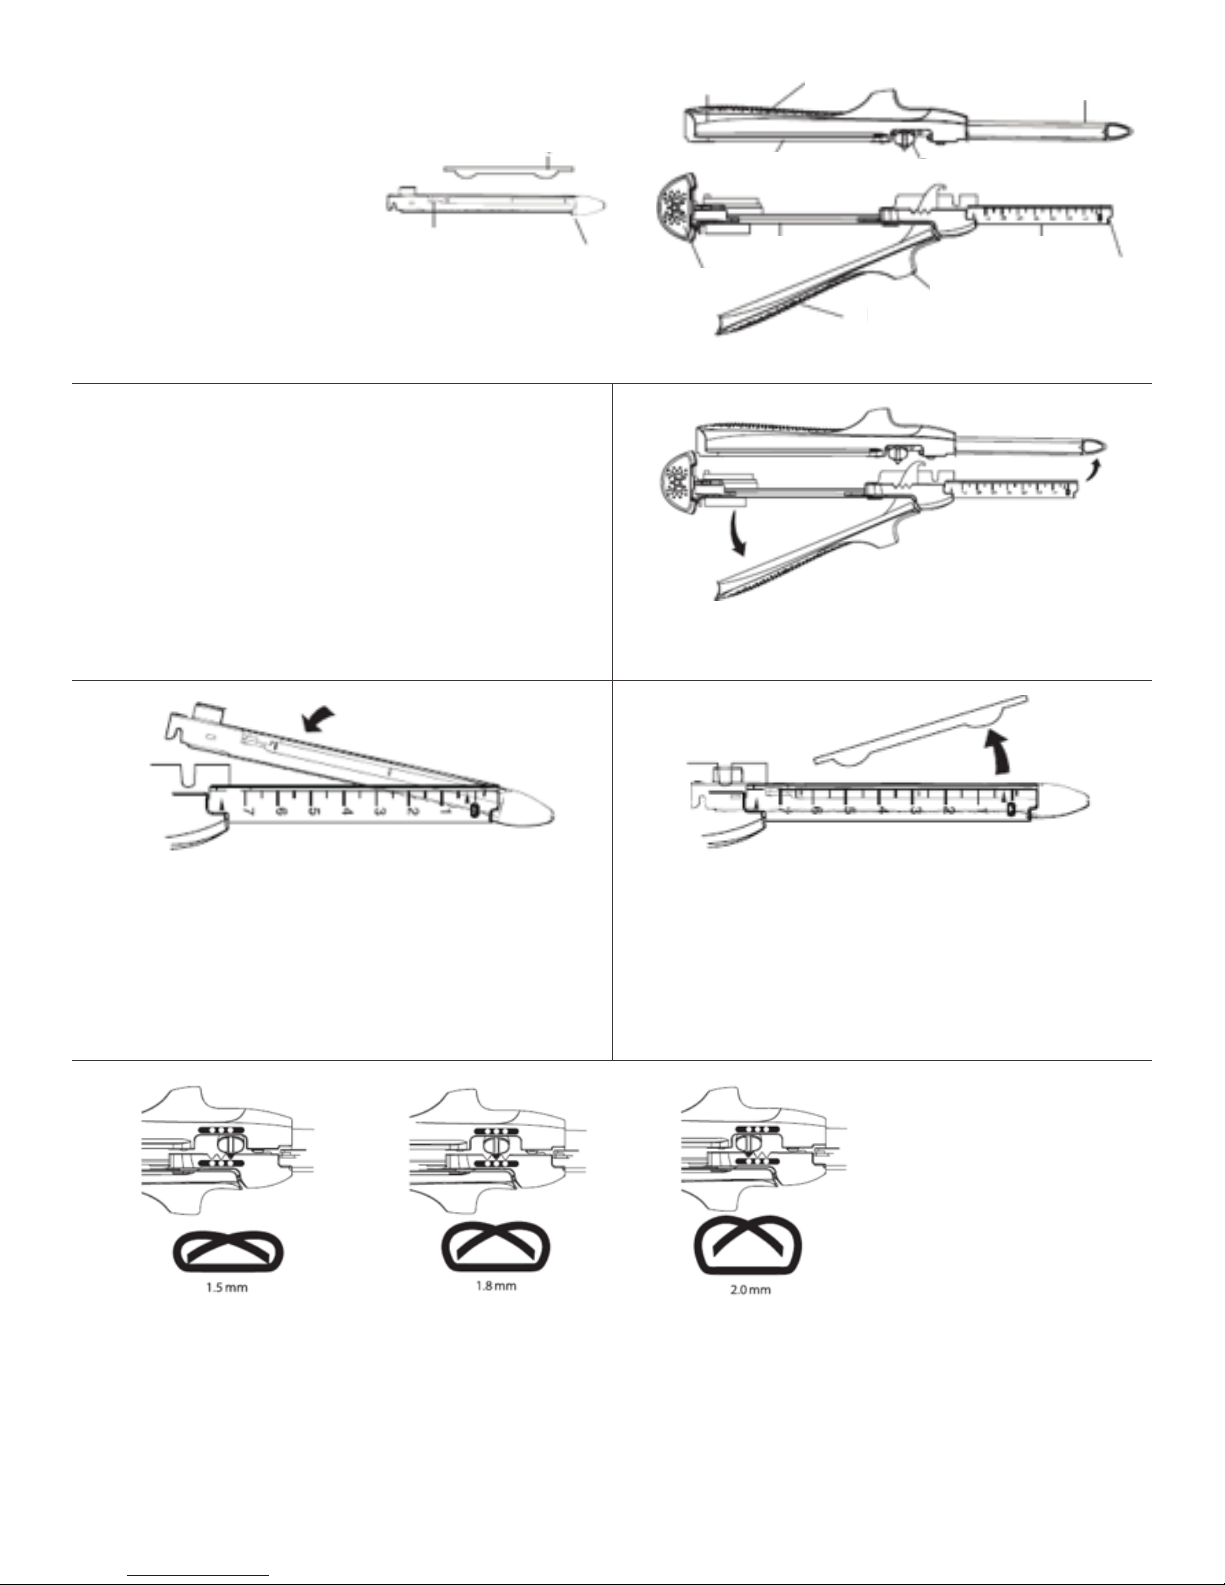
2
If instrument is not separated into halves, separate instrument by
completely disengaging the Alignment/Locking Lever.
3
Load the instrument by inserting the selectable Cartridge/Reload
by placing the alignment tabs into the alignment slots and pivoting
the selectable Cartridge/Reload onto the Cartridge/Reload Fork.
Snap the Cartridge/Reload into position.
5
4
Remove Staple Retaining Cap by grasping the edge of the Staple
Retaining Cap and lift straight up from the Cartridge/Reload.
Discard the Staple Retaining Cap.
Note: The Staple Retaining Cap ensures proper staple orientation
and protects the staple leg points during shipping and
transportation.
Prior to placing instrument across the tissue, select the desired closed staple height. In order to select the desired staple height, push
the Staple Height Selector so that it is aligned with desired color indicator, Blue 1.5 mm, Gold 1.8 mm or Green 2.0 mm. If tissue cannot be
comfortably compressed to the closed staple height, or easily compresses to less than the closed staple height, either the setting or the
tissue is contraindicated for the selected staple size or setting.
CAUTION: Careful consideration should be given to any pre-surgical treatment the patient may have undergone, which may require
alterations to surgical technique or alternative surgical procedures.
CAUTION: Tissue thickness should be carefully evaluated before iring any stapler.
Page 3

6
Place the instrument across the tissue for transection or into the lumen to form an anastomosis.
7
With the Alignment/Locking Lever in the completely opened position, join the instrument halves together by aligning from either the
front, center, or back of the instrument. To adjust tissue on the forks before iring, move the Alignment/Locking Lever to the intermediate
position. This allows maneuvering of the tissue while the instrument halves are joined.
Note: Adjusting tissue is optional. The Alignment/Locking Lever may be moved from the completely opened to the completely closed
position.
CAUTION: Ensure that the tissue lies lat between the forks. Any “bunching” of tissue along the reload or scale may result in an incomplete
staple line. Tissue to be transected must be located between the arrows marked on the instrument jaw. Any tissue located outside of the
arrows is out of the stapling range.
CAUTION: When positioning the device on the application site, ensure that no obstructions such as clips, stents, guide wires, and etc., are
within the instrument anvils. Firing over an obstruction may result in incomplete cutting action and/or improperly formed staples.
Page 4

8
9
Ensure that the Cartridge/Reload Fork and the Anvil Fork are
aligned. Close the Alignment/Locking Lever completely when the
tissue is properly in place.
Note: When iring across thick tissue, holding the jaws in place
for 15 seconds after closing and prior to iring may result in better
compression and staple formation.
CAUTION: Attempting to force the Locking Lever to complete
the closing stroke with too much tissue or thickened tissue may
result in poor staple formation with the loss of staple line integrity
and subsequent leakage, disruption, or poor healing. In addition,
instrument damage or failure may result.
10
To ire the Linear Cutter, place
the thumb on the Firing
Knob and two ingers on the
shoulders of the Linear Cutter.
Fire the instrument by pushing
the Firing Knob completely
forward.
With the instrument closed, the Firing Knob is rotated to either
side of instrument.
Note: In its pre-iring position, the Firing Knob cannot be rotated
from its pre-iring position unless the Alignment/Locking Lever is
engaged.
CAUTION: Do not forcibly move the Firing Knob when it is in
the pre-iring position and/or the Alignment/Locking Lever is not
engaged, as this action may prevent the instrument from iring
properly.
CAUTION: When using a tissue or staple line buttressing material,
the instructions of the manufacturer of the buttress material
should be followed. Selection of the appropriate staple Cartridge/
Reload should be based upon the combined thicknesses of both
the tissue and the staple line buttressing materials.
11
Note: It is possible to utilize the
thumb or palm of hand to ire
the instrument.
Note: Crossing of staple lines
may shorten the life of the
instrument.
CAUTION: The iring stroke
must be completed. Do not
partially ire the instrument.
Incomplete iring can result in
malformed staples, incomplete
cut line, bleeding, and leakage
from the staple line and/or
diiculty removing the device.
Completely return the Firing Knob to the original pre-iring,
“RETURN KNOB HERE” position.
12
Separate the instrument halves by opening the Alignment/Locking
Lever and remove the instrument from the patient.
Page 5

Reloading the Instrument
1
If Firing Knob is not in “RETURN KNOB HERE” position, return
the Firing Knob to the original preiring, “RETURN KNOB HERE”
position.
Note: The Cartridge cannot be inserted unless the Firing Knob is
in its original position.
3
2
Separate the instrument halves by pulling open the Alignment/
Locking Lever. Pull upward on the Gripping Surface and unsnap
the used Cartridge from the Cartridge Fork. Discard the used
Cartridge.
CAUTION: Prior to reloading the instrument, rinse the Anvil and
Cartridge/Reload Jaw in sterile solution and then wipe the Anvil
Fork and Cartridge Fork to clear any formed but unused staples
from the instrument. Do not use the instrument until it has been
visually inspected to conirm there are no staples on the Anvil and
Cartridge/Reload Jaw.
4
Examine the new Cartridge for the presence of a Staple Retaining Cap. If the Retaining Cap is
not in place, discard the Cartridge. Insert the new Cartridge by placing the Alignment Tabs into
the Alignment Slots and pivoting the Cartridge into the Cartridge Fork. Snap the Cartridge into
position. Remove the Staple Retaining Cap and discard.
CAUTION: After reloading, observe the surface of the new Cartridge. If the colored staple drivers
are visible, replace with another Reload. The staple drivers are used to push the staples out of the
pocket, through the tissue to be stapled and into the Forming Anvil.
The instrument is now reloaded
and ready for use.
For complete product information, including full steps for use, indications,
contraindications, warnings and precautions, please see the Instructions for Use.
©2016 Ethicon Inc. All Rights Reserved. 048666160307
 Loading...