

Eternal Lighting STELLAR6OXT User Manual
Eteirn(1
Lighting
STELLAR6OXT
60 Watt LED Moving Head
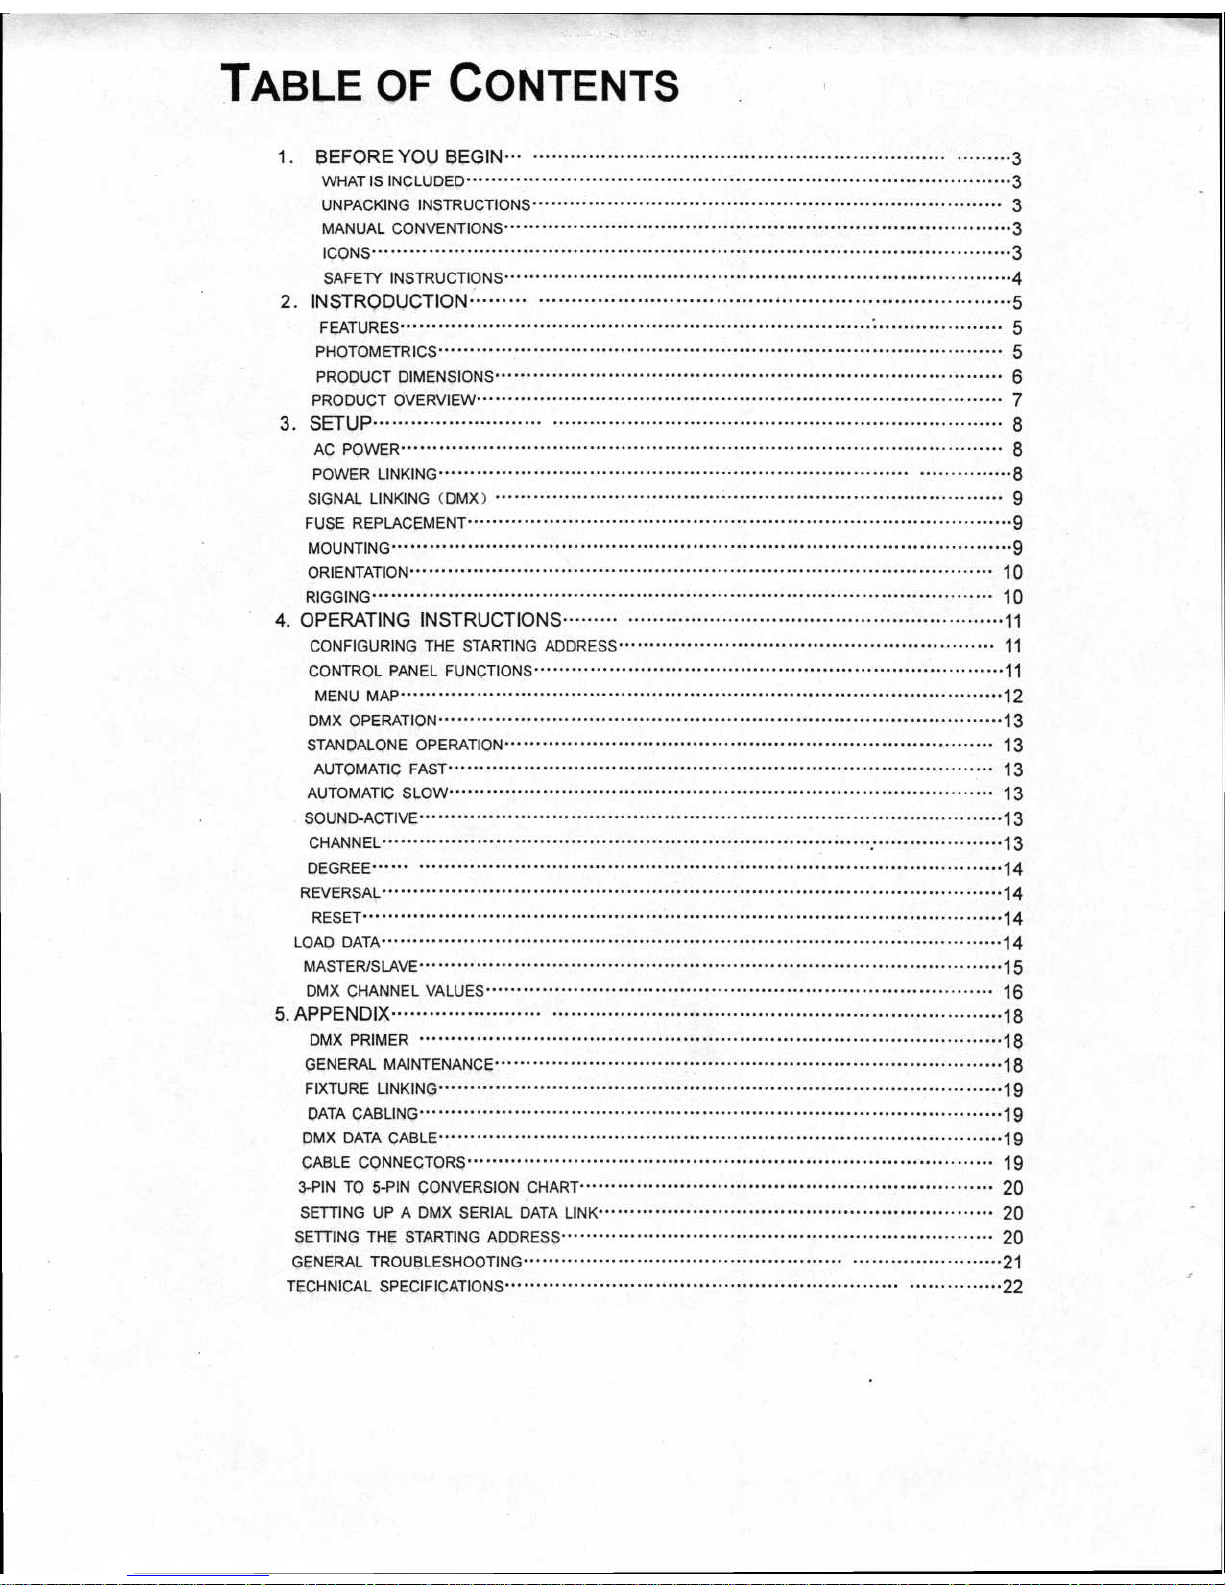
TABLE OF CONTENTS
1.
BEFORE YOU BEGIN•
3
WHAT IS INCLUDED
3
UNPACKING INSTRUCTIONS
3
MANUAL CONVENTIONS
3
ICONS
3
SAFETY INSTRUCTIONS
4
2.
INSTRODUCTION
5
FEATURES
5
PHOTOMETRICS
5
PRODUCT DIMENSIONS
6
PRODUCT OVERVIEW
7
3.
SETUP
8
AC POWER
8
POWER LINKING
8
SIGNAL LINKING (DMX)
9
FUSE REPLACEMENT
9
MOUNTING
9
ORIENTATION
10
RIGGING
10
4.
OPERATING INSTRUCTIONS
11
CONFIGURING THE STARTING ADDRESS
11
CONTROL PANEL FUNCTIONS
11
MENU MAP
12
DMX OPERATION
13
STANDALONE OPERATION
13
AUTOMATIC FAST
13
AUTOMATIC SLOW
13
SOUND-ACTIVE
13
CHANNEL
13
DEGREE
14
REVERSAL
14
RESET
14
LOAD DATA
14
MASTER/SLAVE
15
DMX CHANNEL VALUES
16
5.APPENDIX
18
DMX PRIMER
18
GENERAL MAINTENANCE
18
FIXTURE LINKING
19
DATA CABLING
19
DMX DATA CABLE
19
CABLE CONNECTORS
19
3-PIN TO 5-PIN CONVERSION CHART
20
SETTING UP A DMX SERIAL DATA LINK
20
SETTING THE STARTING ADDRESS
20
GENERAL TROUBLESHOOTING
21
TECHNICAL SPECIFICATIONS
22
1. BEFORE
You BEGIN
What is included
>
1 x Spot
>
1 x
Mounting bracket and screws
•
1 x Power cable
•
1 x User Manual
Unpacking Instructions
Immediately upon receiving a fixture, carefully unpack the carton, check the contents to ensure that
all parts are present, and have been received in good condition. Notify the shipper immediately and
retain packing material for inspection if any parts appear damaged from shipping or the carton itself
shows signs of mishandling. Save the carton and all packing materials. In the event that a fixture
must be returned to the factory, it is important that the fixture be returned in the original factory box
and packing.
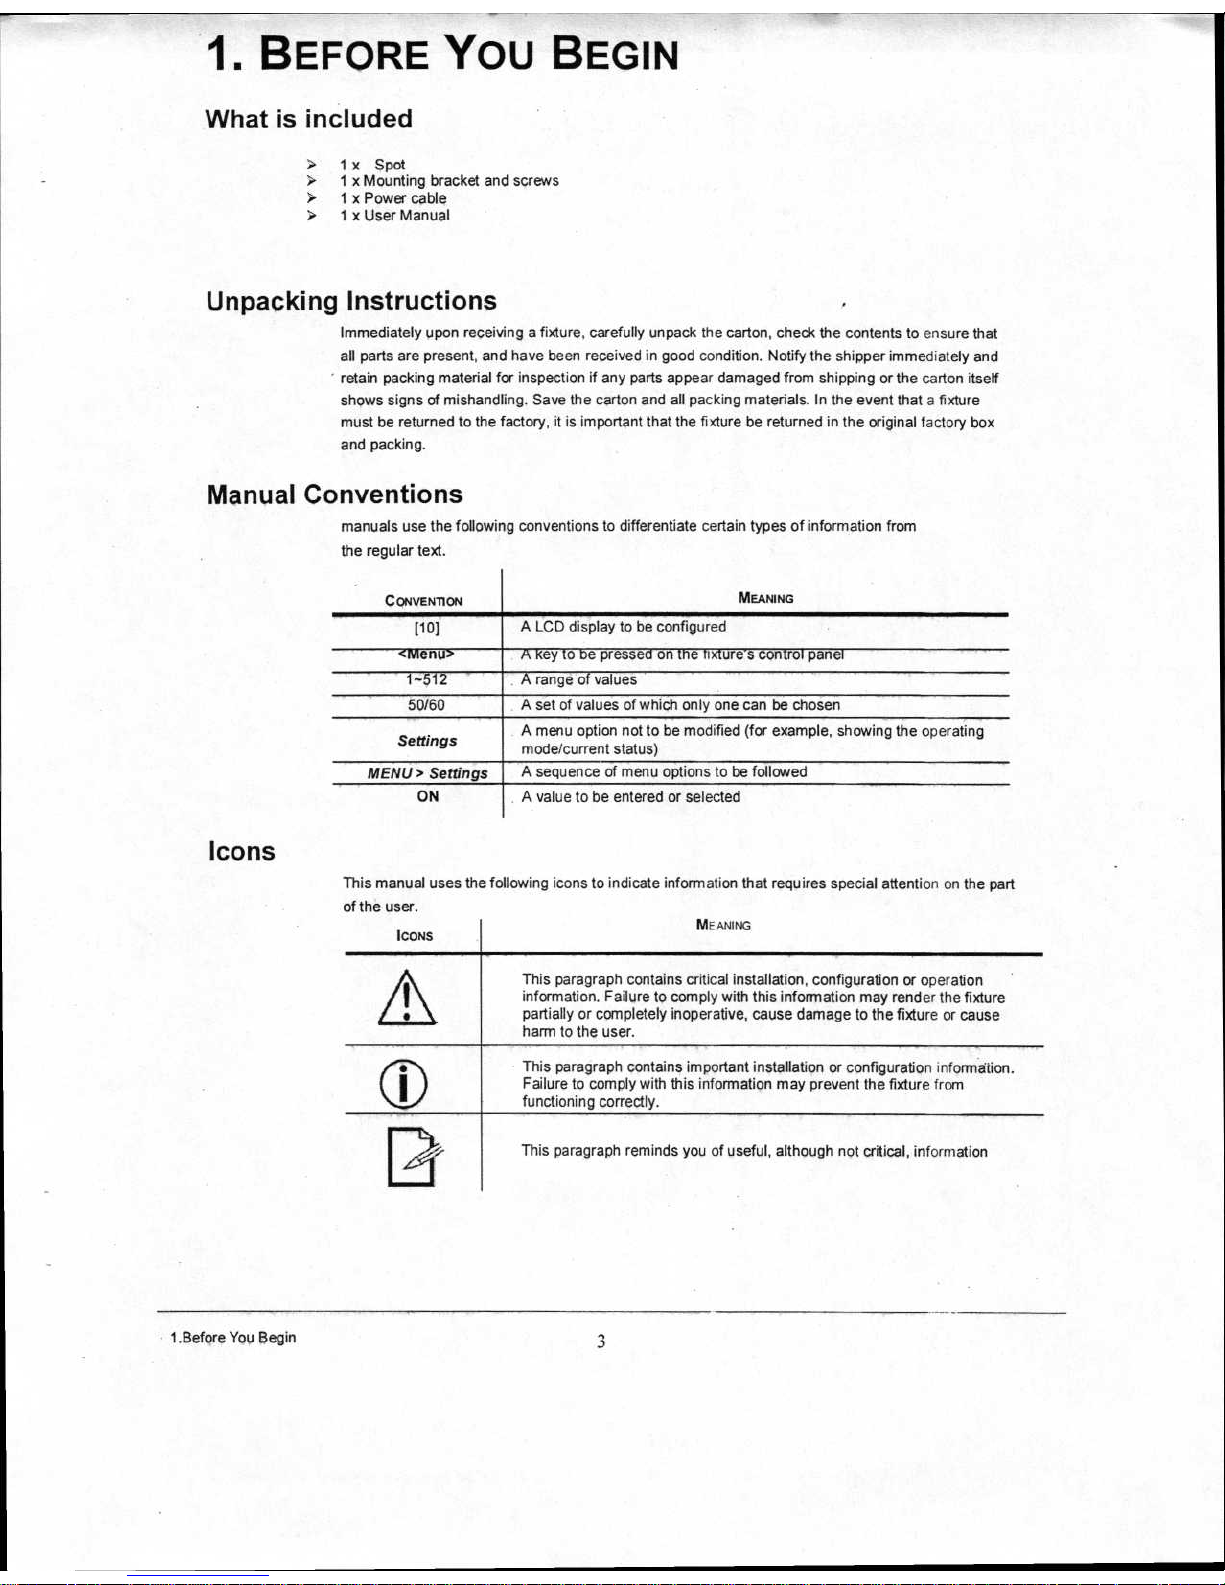
Manual Conventions
manuals use the following conventions to differentiate certain types of information from
the regular text.
CONVENTION
MEANING
[10]
A LCD display to be configured
<Menu>
A key to be pressed on the fixture's control panel
1-512
A range of values
50/60
A set of values of which only one can be chosen
Settings
A
menu option not to be modified (for example, showing the operating
mode/current status)
MENU> Settings
A
sequence of menu options to be followed
ON
A
value to be entered or selected
Icons
This manual uses the following icons to indicate information that requires special attention on the part
of the user.
ICONS
MEANING
This paragraph contains critical installation, configuration or operation
information. Failure to comply with this information may render the fixture
partially or completely inoperative, cause damage to the fixture or cause
harm to the user.
This paragraph contains important installation or configuration information.
Failure to comply with this information may prevent the fixture from
functioning correctly.
This paragraph reminds you of useful, although not critical, information
1.Before You Begin
3
Please read these instructions carefully. It includes important information
about the installation, usage and maintenance of this product.
Please keep this User Manual for future consultation. If you sell the unit to another user,
be
sure that
•
they also receive this instruction booklet.
Always make sure that you are connecting to the proper voltage, and that the line voltage you are
•
connecting to is not higher than that stated on the decal or rear panel of the fixture.
This product is intended for indoor use only! To prevent risk of fire or shock, do not expose fixture to
rain or moisture.
Make sure there are no flammable materials close to the unit while operating.
The unit must be installed in a location with adequate ventilation, at least 20 in (50 cm) from adjacent
•
surfaces. Be sure that no ventilation slots are blocked.
Always disconnect from power source before servicing or replacing fuse and be sure to replace with
same fuse source.
Secure fixture to fastening device using a safety chain.
•
Maximum ambient temperature (Ta) is 104° F (40° C). Do not operate fixture at temperatures higher
•
than this.
In the event of a serious operating problem, stop using the unit immediately. Never try to repair the
•
unit by yourself. Repairs carried out by unskilled people can lead to damage or malfunction. Please
contact the nearest authorized technical assistance center.
Never connect the device to a dimmer pack.
•
Make sure the power cord is never crimped or damaged.
Never disconnect the power cord by pulling or tugging on the cord.
Never carry the fixture directly from the cord. Always use the hanging/mounting bracket.
•
Avoid direct eye exposure to the light source while it is on.
Never carry the fixture by holding the head. Always use the carrying handle.
1.Before You Begin
ux
18000
-
;000
2(
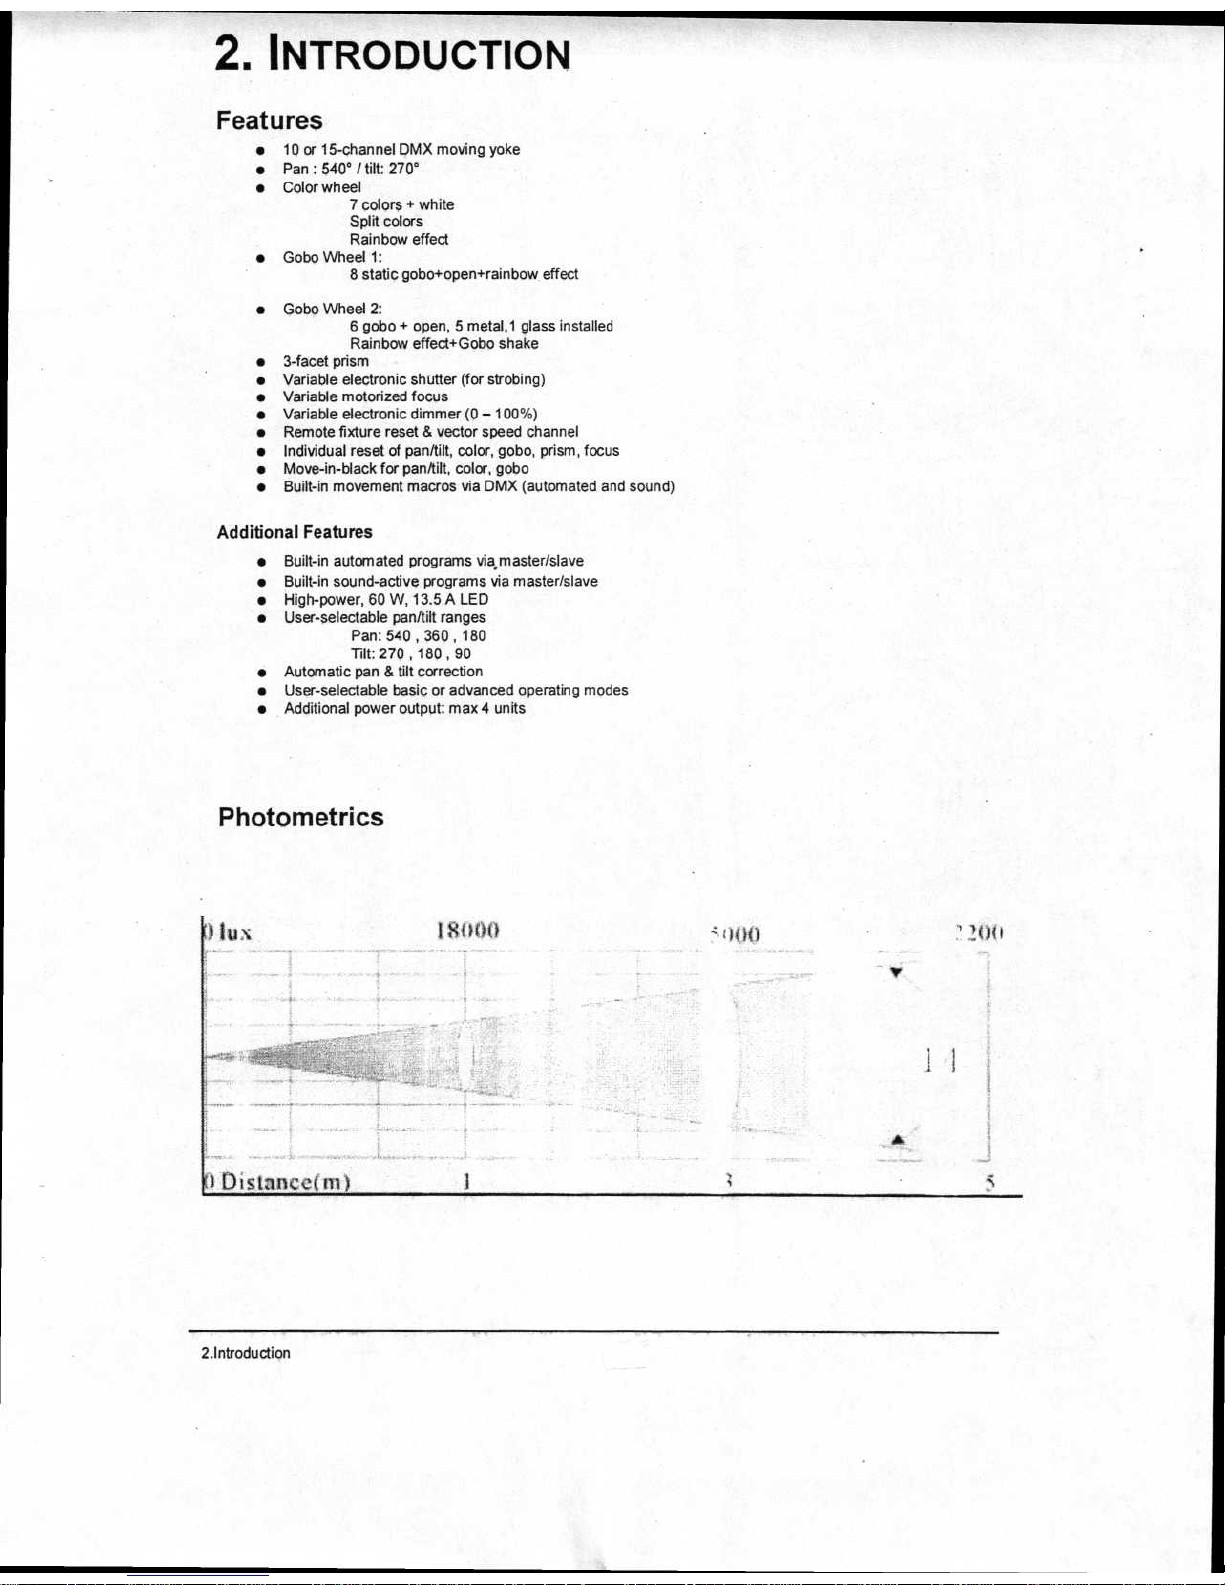
2. INTRODUCTION
Features
•
10 or 15-channel DMX moving yoke
•
Pan : 540° / tilt: 270°
•
Color wheel
7 colors + white
Split colors
Rainbow effect
•
Gobo Wheel 1:
8 static gobo+open+rainbow effect
•
Gobo Wheel 2:
6 gobo + open, 5 metal,1 glass installed
Rainbow effect+Gobo shake
•
3-facet prism
•
Variable electronic shutter (for strobing)
•
Variable motorized focus
•
Variable electronic dimmer (0 — 100%)
•
Remote fixture reset & vector speed channel
•
Individual reset of pan/tilt, color, gobo, prism, focus
•
Move-in-black for pan/tilt, color, gobo
•
Built-in movement macros via DMX (automated and sound)
Additional Features
•
Built-in automated programs viamaster/slave
•
Built-in sound-active programs via master/slave
•
High-power, 60 W, 13.5 A LED
•
User-selectable pan/tilt ranges
Pan: 540 , 360 , 180
Tilt: 270 , 180 , 90
•
Automatic pan & tilt correction
•
User-selectable basic or advanced operating modes
•
Additional power output: max 4 units
Photometrics
2.Introduction
2,
Introduction
I
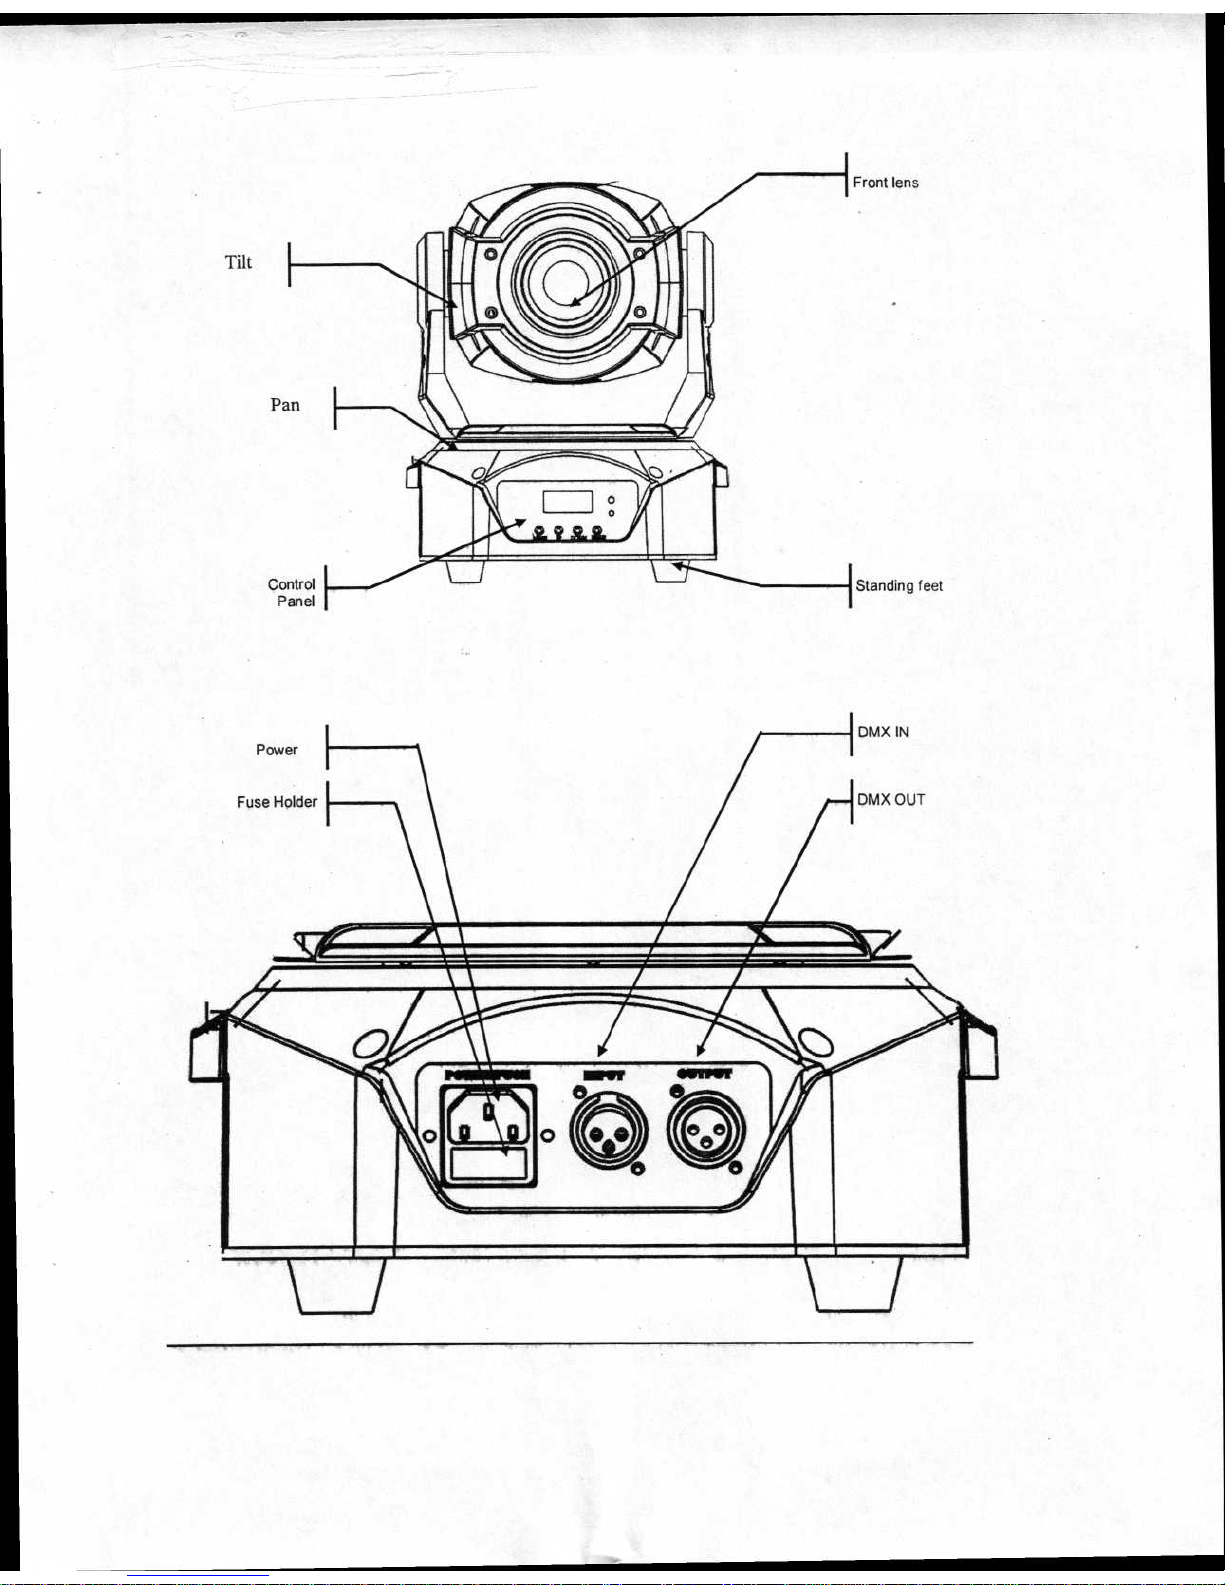
Front lens
Tilt
Pan
Control I
Panel
Standing feet
I DMX IN
Power
Fuse Holder
 Loading...