

Eterna SL1WH, SL1CR, SL1BN, SL2CR, SL2WH Safety And Installation Instructions Manual
...
When your light fi tting comes to the end of its life or you choose to update or upgrade it by
replacing it, please do not dispose of it with your normal household waste, please recycle where
facilities exist. When you need to dispose of this fi tting, check with your retailer or local authority
for suitable options. New regulations require the recycling of Waste from Electrical and Electronic
Equipment (European “WEEE Directive” effective August 2005—UK WEEE Regulations effective 2nd
January 2007). Environment Agency Registered Producer: WEE/GA0248QZ
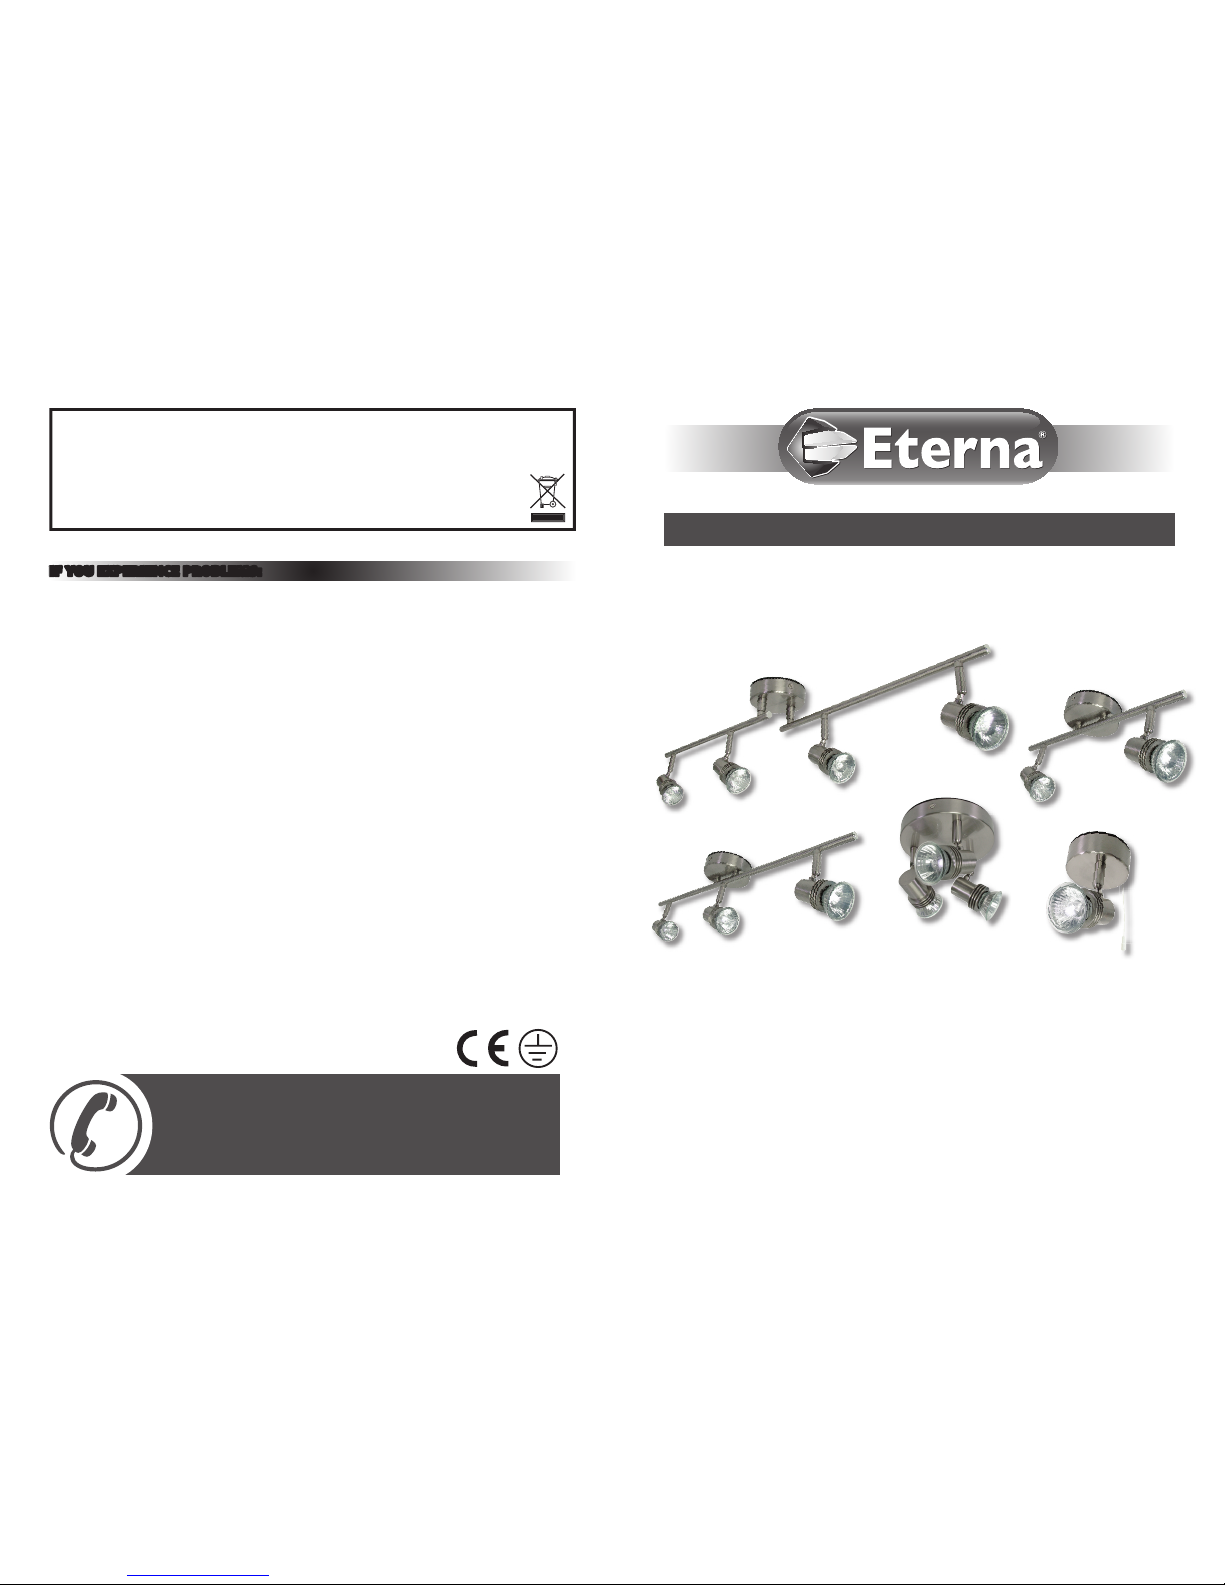
SL1WH, SL1CR, SL1BN
SL2WH, SL2CR, SL2BN
SL3BWH, SL3BCR, SL3BBN
SL3PWH, SL3PCR, SL3PBN
SL4WH, SL4CR, SL4BN
These instructions are provided as a guideline to assist you.
PLEASE READ THESE INSTRUCTIONS BEFORE INSTALLING YOUR NEW FITTING
PLEASE RETAIN FOR FUTURE REFERENCE
SAFETY AND INSTALLATION INSTRUCTIONS
HELPLINE:
T: 01933 673 144 • F: 01933 678 083 • E: sales@eterna-lighting.co.uk
For answers to frequently asked questions (FAQs)
and other information visit our website:
www.eterna-lighting.co.uk
Issue 090507PA
IF YOU EXPERIENCE PROBLEMS:
If your light is defective or develops a fault, please return it to the place where you bought it. You can call our
Helpline for advice. The Helpline will gladly give advice on any aspect of any Eterna Lighting product but may not
be able to give specifi c instructions regarding individual installations.
If in doubt, consult a qualifi ed electrician.

General Information and Safety Instructions: Installation Instructions and Care:
READ THIS FIRST:
Check the pack and make sure you have all of
the parts listed on the front of this booklet. If not,
contact the outlet where you bought this product.
This product contains glass, care must be taken
when assembling, fi tting or handling to prevent
personal injury or damage to the product.
This light fi tting must be installed by a competent
person in accordance with the Building
Regulations
making reference to the current edition
of the IEE Wiring Regulations (BS7671). The Building
Regulations may be obtained from HMSO or viewed
and downloaded from www.communities.gov.uk
following the link for Building Regulations.
As the buyer, installer and/or user of this product it
is your own responsibility to ensure that this fi tting
is fi t for the purpose for which you have intended
it. Eterna Lighting cannot accept any liability for
loss, damage or premature failure resulting from
inappropriate use.
If in any doubt, consult a qualifi ed electrician.
This product is designed and constructed according
to the principles of the appropriate British Standard
and is intended for normal domestic service. Use of
this fi tting in any other environment, for example
where prolonged periods of use may be expected
and/or higher than normal ambient temperatures,
may result in a foreshortened working life.
The lamps (bulbs) supplied with this fi tting are
consumable parts and therefore may be outside of
any warranty offered.
Switch off the mains before commencing installation
and remove the appropriate circuit fuse.
When working at heights, please use a suitable
platform.
Suitable for indoor use only.
This product is suitable for installation on surfaces
with normal fl ammability e.g. wood, plasterboard,
masonry. It is not suitable for use on highly
fl ammable surfaces (e.g. polystyrene, textiles).
If installing/mounting a light fi tting to a plastic
ceiling, you must seek advice from the ceiling
manufacturer regarding the type and specifi cation
of light fi ttings that may be used. Light fi ttings that
generate and retain heat such as halogen downlights
or fl ush fi ttings with incandescent lamps, may
damage or discolour a plastic ceiling.
Before making fi xing hole(s), check that there are no
obstructions hidden beneath the mounting surface
such as pipes or cables.
The chosen location of your new fi tting should
allow for the product to be securely mounted (e.g.
to a ceiling joist) and safely connected to the mains
supply (lighting circuit).
The lamp must be positioned so that there is at
least 0.5m (500mm) between the bulb and any
illuminated surface. Spotlights should be positioned
well away from curtains and beds to ensure this
distance is maintained.
Do not attach to surfaces which are damp, freshly
painted or otherwise electrically conductive (e.g.
metallic surfaces).
If the location of your new fi tting requires the
provision of a new electrical supply, the supply must
conform with the requirements of the Building
Regulations making reference to the current edition
of the IEE Wiring Regulations (BS7671).
This product is designed for permanent connection
to fi xed wiring: this should be either a suitable
lighting circuit (protected with a 5 or 6 Amp MCB or
fuse) or a fused spur (with a 3 Amp fuse) via a fused
connection unit. We recommend that the supply
incorporates a switch for ease of operation.
Make connections to the electrical supply in
accordance with the following code:
Live - Brown or Red
Neutral - Blue or Black
Earth - Green and Yellow
Where this product is used to replace an existing
light fi tting, it will be necessary to remove any
existing ceiling rose to allow clearance for
installation.
If this is the case, carefully note the existing position
of each set of wires. Where more than a single set of
L, N and E wires exist these must be transferred to
a separate approved junction box or terminal block
(not supplied) which must be insulated and placed
within the ceiling.
Additional red wires may be present in your ceiling
that are connected to the ring live circuit. Do not
connect your fi tting to these wires. If these wires are
not terminated in a ceiling rose, join them together
in a separate terminal block (not supplied) and
place in the ceiling. Where more than a single set of
L, N and E wires exist these must be transferred to
a separate approved junction box or terminal block
(not supplied) which must be insulated and placed
within the ceiling.
When making connections, ensure that the terminals
are tightened securely and that no strands of wire
protrude. Check that the terminals are tightened
onto the bared conductors and not onto any
insulation. Wrap loose terminal blocks well with
insulating tape.
This product must be connected to Earth.
You are advised at every stage of your installation to
double-check any electrical connections you have
made. After you have completed your installation
there are electrical tests that should be carried out:
these tests are specifi ed in the Wiring Regulations
(BS7671) referred to in the Building Regulations.
If in doubt, consult a qualifi ed electrician.
INSTALLATION:
taking note of all points above (Read this fi rst).
2. Remove the two screws from the side of the fi tting
to release the mounting plate.
3. Using the mounting plate as a template, mark the
position of the fi xing holes.
4. Make the fi xing holes and secure the mounting
plate in place using the fi xings supplied. If
the fi xings supplied are not suitable for your
installation, use appropriate alternatives.
5. Make the electrical connections according to the
wiring colour code opposite.
6. Ensure that no strands protrude from the
terminals and that all terminals are tightened
properly.
7. Offer the fi tting back onto the mounting plate
taking great care not to pinch any cables or to
damage the gasket. Secure the fi tting in place
replacing the two screws in the side.
8. Insert the lamps and restore the power supply and
switch on.
ENERGY EFFICIENCY:
The following suggestions will help you protect the
environment and save money on your electricity
bills:
Always switch lights off when not in use.
You can often use a lower Wattage bulb than the
maximum stated, e.g. if the maximum stated is 50W,
try using 35W etc.
This product is suitable for use with Low Energy
bulbs. Please use a Low Energy equivalent wherever
possible.
Use of a suitable dimmer switch can reduce
electricity usage and extend life of bulbs. Selected
dimmable Low Energy bulbs are also now available.
CLEANING:
Clean this light fi tting only with a soft dry cloth.
Do not use any chemical or abrasive cleaners.
LAMP REPLACEMENT:
the fi tting to cool down.
2. Turn anti-clockwise and withdraw the lamp.
3. Fit new lamp making sure that it is of the same
type and wattage as stated on the replacement
lamp label.
4. Restore the power and switch on.
REPLACEMENT LAMP TYPE:
Supply Voltage: 240V
Type: GU10 Refl ector
 Loading...