

Page 1
MODELNO.
GH11 Range
CLEANING:
Clean this light tting only with a soft dry cloth.
The glass shade may be removed and washed in
a mild detergent solution. Make sure the shade is
completely dry before putting it back on your light
tting.
Do not use any chemical or abrasive cleaners.
EvENTUALLy, yOU mAy WANT TO
REPLACE THIS PRODUCT:
Regulations require the recycling of Waste from
Electrical and Electronic Equipment (European
“WEEE Directive” eective August 2005—UK
WEEE Regulations eective 2nd January 2007).
Environment Agency Registered Producer: WEE/
GA0248QZ.
WHEN YOUR PRODUCT COMES TO THE END OF
ITS LIFE OR YOU CHOOSE TO REPLACE IT, PLEASE
RECYCLE IT WHERE FACILITIES EXIST DO NOT
DISPOSE WITH HOUSEHOLD WASTE.
INSTALLATION INSTRUCTIONS
A guide for qualied electricians
Pack contents:
1 x Ceiling globe light
1 x Installation guide
874/2012
LAmP REPLACEmENT:
Switch o the electricit y at the mains.
Remove the glass shade.
Remove and replace lamp.
Re-t glass shade. Ensure that the gasket is in place
and take care not to over-tighten.
REPLACEmENT LAmP TyPE:
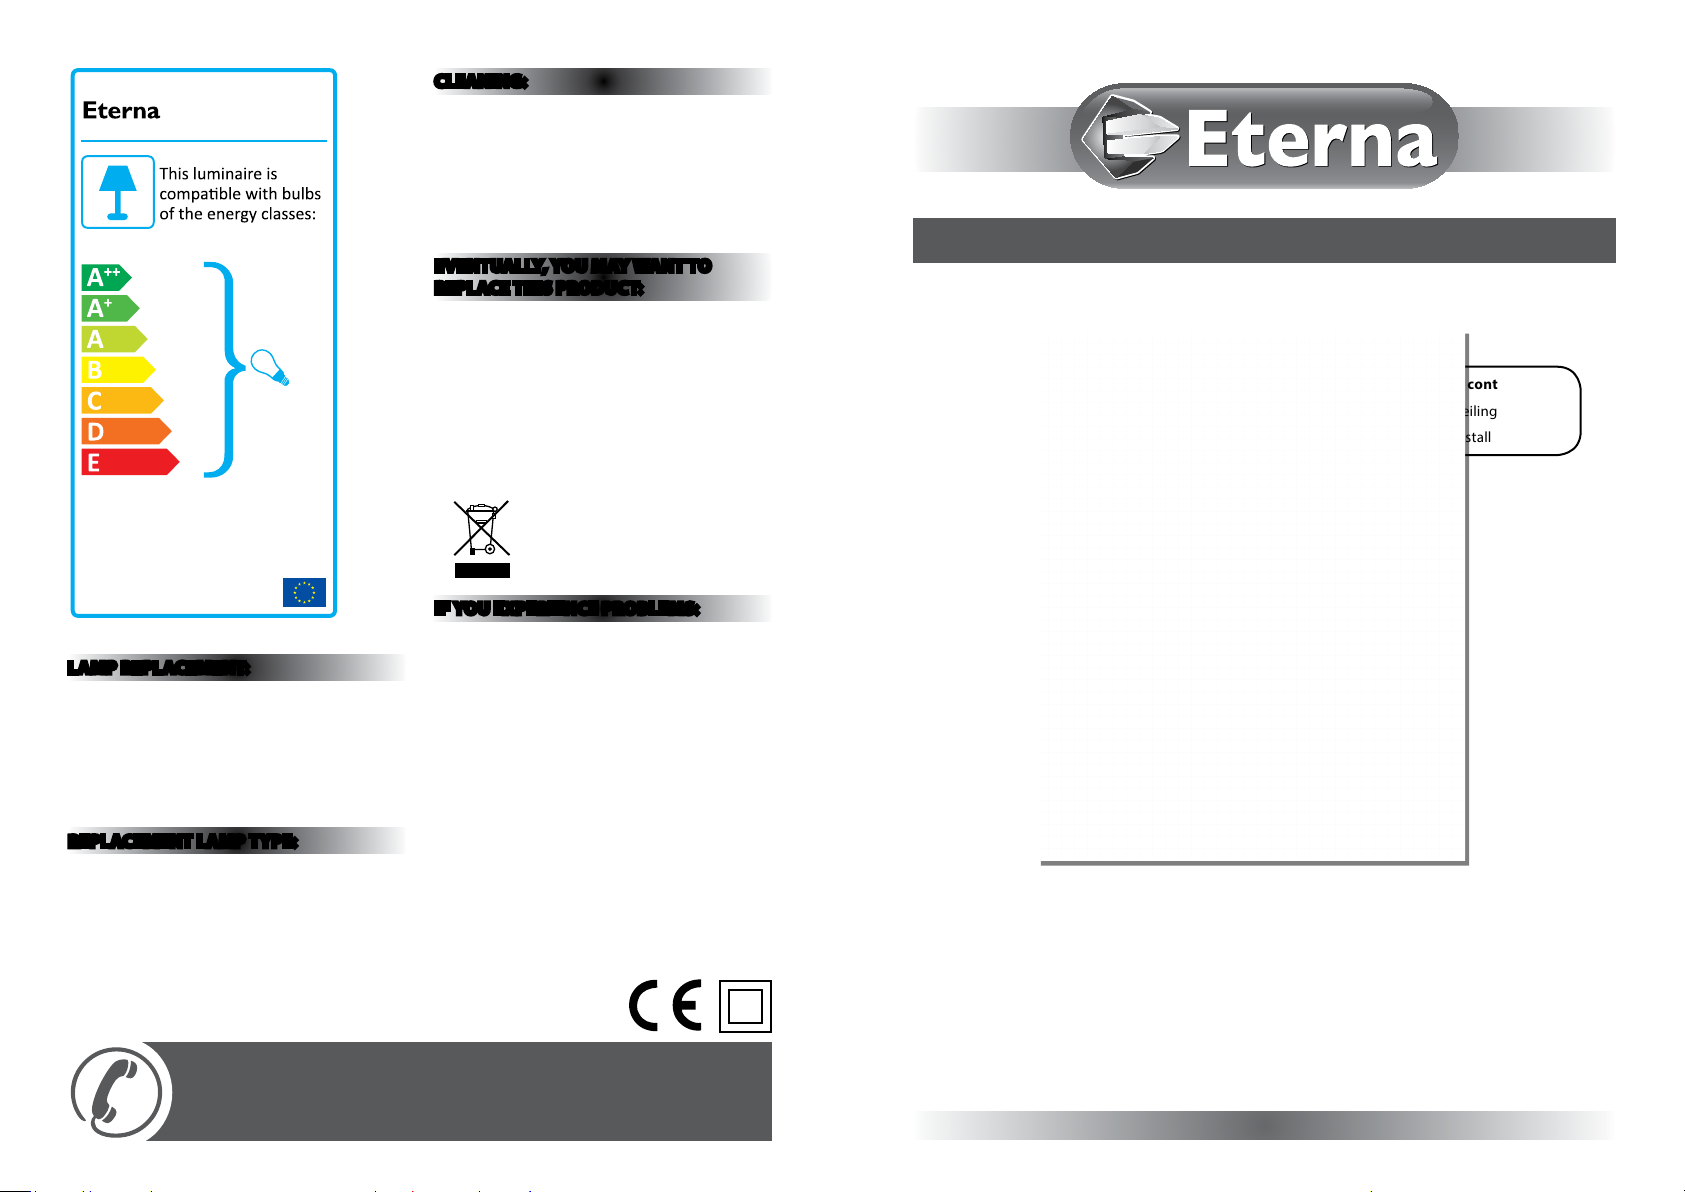
Requires 1 x suitable BC energy saving lamp
(not included).
GH111/W - tting is rated at 60W max.
GH117/W - tting is rated at 100W max.
Issue 2013
FOR PRODUCT ADvICE:
• T: 01933 673 144
• F: 01933 678 083
• E: sales@eterna-lighting.co.uk
IF yOU ExPERIENCE PROBLEmS:
If you believe your product is defective, please return
it to the place where you bought it. Our Technical
Team will gladly advise on any Eterna Lighting
product, but may not be able to give specic
instructions regarding individual installations.
Visit our website:
www.eterna-lighting.co.uk
Model:
GH111/W & GH117/W
Ceiling Globe Fitting
These instructions are provided as a guideline to assist you.
PLEASE READ THESE INSTRUCTIONS BEFORE INSTALLATION
AND RETAIN FOR FUTURE REFERENCE
Page 2

READ THIS FIRST:
Check the pack and make sure you have all of the
parts listed on the front of this booklet. If not,
contact the outlet where you bought this product.
This product contains glass, care must be taken when
assembling, tting or handling to prevent personal
injury or damage to the product.
This product must be installed by a competent
person in accordance with the current building and
IEE wiring regulations.
As the buyer, installer and/or user of this product it
is your own responsibility to ensure that this tting
is t for the purpose for which you have intended
it. Eterna Lighting cannot accept any liabilit y for
loss, damage or premature failure resulting from
inappropriate use.
This product is designed and constructed according
to the principles of the appropriate British Standard
and is intended for normal domestic service. Using
this tting in any other environments may result in
a shortened working life, for example where there
is prolonged periods of use or higher than normal
ambient temperatures.
The lifetime of compact uorescent lamps and
ballasts are negatively aected by increased
switching i.e. where a PIR is being used to control the
tting.
Switch o the mains before commencing installation
and remove the appropriate circuit fuse or lock o
MCB.
This unit is suitable for indoor use only.
This product is suitable for use in living areas, and
bathroom dr y (outside) zones only (see diagram
below and current IEE Wiring Regulations for details).
It is not suitable for bathroom zones 0, 1, 2, or other
areas where contact with moisture is likely. If being
tted in a bathroom a 30mA RCD must be used.
Bathroom Zones Diagram
ZONE 1
ZONE 2
ZONE 2
225cm
60cm
radius
from tap
ZONE 0
60cm240cm
This product is designed for permanent connec tion
to xed wiring: this must be a suitable circuit
(protected with the appropriate MCB or fuse).
This product is suitable for installation on surfaces
with normal ammability e.g. wood, plasterboard
and masonry. It is not suitable for use on highly
ammable sur faces (e.g. polystyrene, textiles).
If installing / mounting a light tting to a plastic
ceiling, you must seek advice from the ceiling
manufacturer regarding the type and specication of
light ttings that may be used
Before making xing hole(s), check that there are no
obstructions hidden beneath the mounting surface
such as pipes or cables.
Make sure that the xings are strong enough to
support the weight of the tting and hold it rigidly.
The chosen location of your tting should allow for
the product to be securely mounted and anchored to
a solid surface e.g. concrete, brick or a joist—do not
x directly onto panelling, cladding, plasterboard
etc.
Make connections to the electrical supply in
accordance with the following code:
Live: Brown or Red
Neutral: Blue or Black
This tting is double insulated; do not connect any
part to ear th.
This product is double insulated; do not connect
either the blue wire or the brown wire to the earth
terminal.
When working at heights ensure you use a suitable
platform.
Do not attach to surfaces which are damp, freshly
painted or otherwise electrically conduc tive (e.g.
metallic surfaces).
When making connections ensure that the terminals
are tightened securely and that no strands of wire
protrude. Check that the terminals are tightened
onto the bared conductors and not onto any
insulation.
WARNING: This product becomes hot!
This product is not intended to be used by children
and persons with sensory, physical and/or mental
impairments that would prevent them from using it
saf ely.
You are advised at every stage of your installation to
double-check any electrical connections you have
made. After you have completed your installation
there are electrical tests that should be carried out,
these tests are specied in the current IEE wiring and
building regulations.
INSTALLATION:
1) Remove the glass from the tting by gently turning
anti-clockwise.
2) Choose the location for your new light and use the
tting as a template to mark position of the xing
holes.
3) Cover the supply cables with the silicon heat proof
sleeving supplied.
4) Connect the Live and Neutral conductors to the
lampholder - see colour code opposite.
NOTE: the terminals are not designated Live or
Neutral and may be connected either way.
5) If there is an earth wire present, terminate it in a
connector block, wrap well with insulating tape
and push it up into the ceiling out of the way of the
tting and the connections.
6) Secure the tting in place using two 1 ½” or 40mm
N°8 screws. Ensure that there are no loops of cable
trapped behind the tting and that all excess cable
is pushed up into the ceiling.
7) Fit a lamp up to the maximum value indicated on
the lampholder - see back page for details.
8) Re-t glass shade. Ensure that the gasket is in place
and take care not to overtighten.
 Loading...