

Page 1
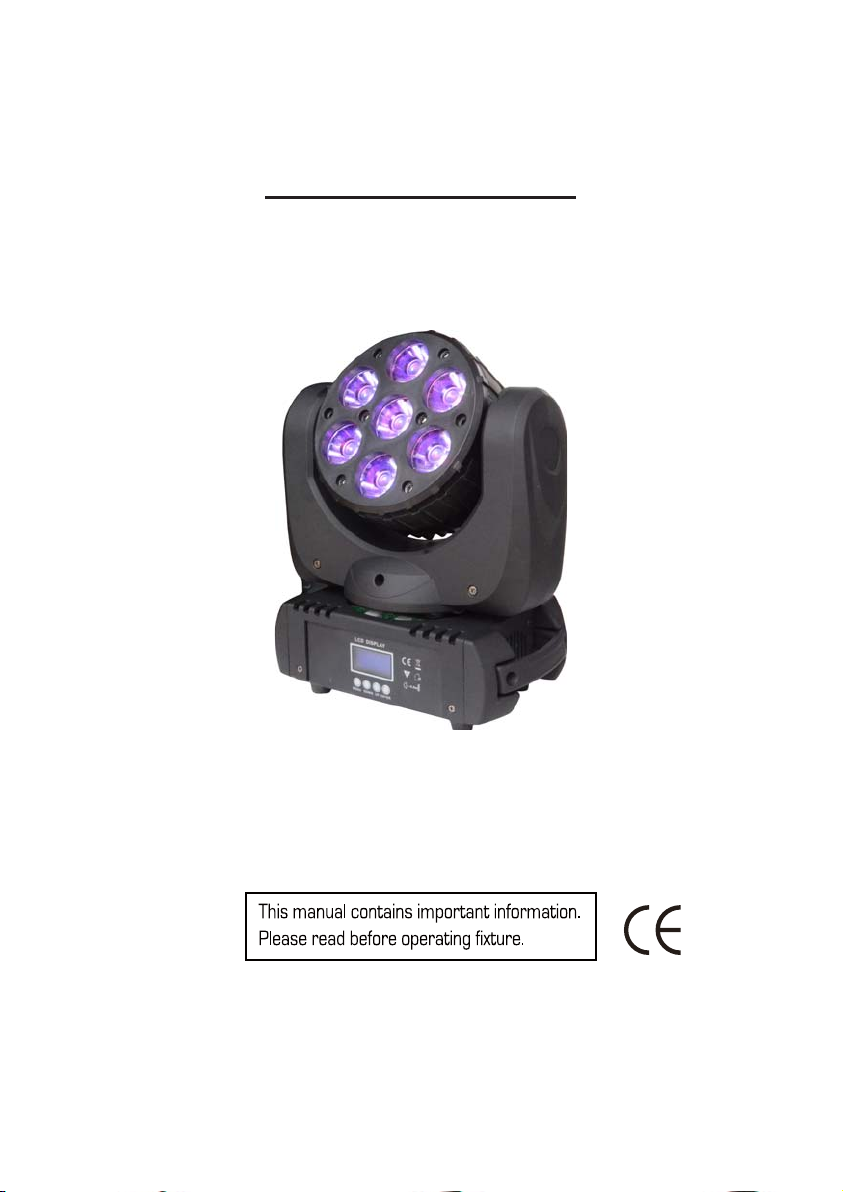
Moving Beam 7Q
LED Beam Moving Head
User Manual
Page 2

1. INTRODUCTION
Thank you for selecting this LED moving head. With 7 x 15W RGBW 4in1 LEDs, it
produces
etc. To optimize the performance of this product, please read the user manual
carefully before use.
1.1 Unpacking
The following items are included in the box:
1 x Moving Beam 7Q
■
1 x Power Cord
■
1 x Mounting bracket
■
1 x User Manual
■
Carefully unpack the carton, check the contents to ensure that all parts are present,
and have been received in good condition. Contact your supplier immediately and
retain packing material for inspection if any part is missing or damaged.
1.2 Safety Instructions
extremely bright beam and unlimited colors. Great for stage, club, bar, DJ,
Warning!!! To reduce the risk of fire, electric shock, or injury to persons,
!
follow these important safety instructions:
The product is for indoor use only.
▪
Always turn off, unplug power and allow fixture to cool before servicing.
▪
Ensure that fixture is properly grounded.
▪
Please keep this User Guide for future consultation.
▪
Always make sure that you are connecting to the proper voltage and that the line
▪
voltage you are connecting to is not higher than that stated on decal or rear panel of
the fixture.
Always disconnect from power before servicing or replacing fuse.
▪
Make sure power cord is never crimped or damaged.
▪
Caution!
Avaid looking directly into the LED light beam at a close distance!
1.3 Features
LED beam effect
▪
DMX, Auto, Sound, M/S
▪
14 DMX channels
▪
1
Page 3

Linear dimmer 0 - 100%
▪
Various strobe 1-25 fps
▪
Pan/Tilt: 540° / 220°
▪
4-button LCD display
▪
1.4 Product overview
Control Panel
Power In/Out ON/OFFFuse
DMX In/Out
2. SETUP
2.1 Mounting
The Moving Head is fully operational in any mounting position, hanging upside-down,
side mounted, or set on a flat llevel surface, etc.
IMPORTANT!!! Safety cables must always be used when unit is celling or truss
mounted. The safety cable must be capable of holding 10 times the weight of the
fixture.
2.3 AC Power
The fixture is designed to work on AC 100-240V 50-60Hz. All units must be powered
directly from a switched circuit. This unit cannot be run on a rheostat or dimmer
circuit even if used solely for a 0% to 100% switching.
WARNING!!! All fixtures must be connected to circuits with a
suitable Earth Ground.
2
Page 4

3. OPERATION INSTRUCTIONS
3.1 Menu Map
12DMX Address DMX Address = 001
Built-in program
Auto Play
3 Reverse Pan = ON / OFF
4 Reverse Tilt = ON / OFF
5 Sound sensitivity
6 Special
7 Reset
Sound activation
Slave
= 0 - 100%
Reset Default
Calibration
Temperature = 000C
Manual control
= ON / OFF
= Alone
= Master
= Alone
= Master
= ON / OFF
Code Code = 000
Pan Pan = 000
Tilt Tilt = 000
Red Red = 000
Green Green = 000
Blue Blue = 000
White White = 000
Pan Pan = 000
Pan fine Pan fine= 000
Tilt Tilt = 000
Tilt fine Tilt fine = 000
P/T speed Speed = 000
Dimmer Dimmer = 000
Strobe Strobe = 000
Red Red = 000
Green Green = 000
Blue Blue = 000
White White = 000
3
Page 5

3.2 DMX channels
14 DMX Channels
Channel
12Pan 000-255
Pan fine
34Tilt
Tilt fine
7 Strobe
8Red
9 Green
10 Blue
11 White
12 Color Macro
13 Auto programs
14 Reset
DMX Value & Functions
Pan movement
000-255
000-255
000-255
000-2555 P/T speed Pan/Tilt speed from high to low
000-2556 Dimmer
000-009
010-250
251-255
000-255
000-255
000-255
000-255
000-010
011-020
021-030
031-040
041-050
051-060
061-070
071-080
081-090
000-015
016-045
046-075
076-105
106-135
201-225
Fine control of Pan movement
Tilt movement
Fine control of Tilt movement
Dimmer 0-100%
Strobe closed
Strobe speed from slow to fast
Strobe open
Red intensity 0-100%
Green intensity 0-100%
Blue intensity 0-100%
White intensity 0-100%
No function
Red
Green
Blue
White
R+G
G+B
B+W
R+B
No function
Program 1
Program 2
Program 3
Program 4
6 seconds to reset
091-100
101-110
111-120
121-130
131-140
141-150
151-200
201-255
136-165
166-195
196-225
226-255
Program 5
Program 6
Program 7
Program 8
G+W
R+W
R+G+B
R+G+W
G+B+W
R+G+B+W
Color snap from slow to fast
Color cross fade from slow to fast
4
Page 6

4. General Maintenance
4.1 Fuse Replacement
a. Unscrew the fuse holder and remove the damaged fuse.
b. Replace with exact same type fuse and screw the fuse holder back in its place.
5. Specifications
Source: 7 x 15W RGBW 4in1 LEDs
Beam angle: 8°
Power consumption: 160W maximum
Fuse: F2A / 250V
Power supply: 100~240V, 50-60Hz
Dimensions: 267 x 168 x 304 mm
Weight: 4.8 kg
MPORTANT INFORMATION!
I
In order to optimize the recovery and recycling of the materials
that old appliances contain and reduce the impact on human
health and the environment, ensure that this product is recycled
at the end of its life.
5
 Loading...