

Page 1

CE User Manual
Revision B
Copyright © 2013 Electronic Theatre Controls, Inc.
Product information and specifications subject to change.
Part Number:
All Rights reserved.
7063M1210
Released: 2013-07
Rev B
Page 2

Table of Contents
Source Four Mini CE Guidelines . . . . . . . . . . . . . . . . . . . . . .1
Introduction . . . . . . . . . . . . . . . . . . . . . . . . . . . . . . . . . . . . . .2
Basic Assembly. . . . . . . . . . . . . . . . . . . . . . . . . . . . . . . . . . .3
Install Lens Tube . . . . . . . . . . . . . . . . . . . . . . . . . . . . . . . . . .4
Adjustments. . . . . . . . . . . . . . . . . . . . . . . . . . . . . . . . . . . . . .4
Adjusting the yoke position . . . . . . . . . . . . . . . . . . . . . . .4
Setting the angle with the yoke . . . . . . . . . . . . . . . . . . . . . . . . . . 4
Locking the rotation in the canopy and track-mount variations. . 5
Focusing the beam . . . . . . . . . . . . . . . . . . . . . . . . . . . . . . . . . . . 5
Shaping the Beam . . . . . . . . . . . . . . . . . . . . . . . . . . . . .5
Gobo Pattern Projection . . . . . . . . . . . . . . . . . . . . . . . . . . . . . . . 6
Colour Frame Holder . . . . . . . . . . . . . . . . . . . . . . . . . . .6
Replacing the Lamp . . . . . . . . . . . . . . . . . . . . . . . . . . . .7
Cleaning the Glass Lens . . . . . . . . . . . . . . . . . . . . . . . . . . . . 8
ETC®, Eos™,Eos Ti™, Gio®,Ion®, Element™, Emphasis®, Expression®, Insight™,
Imagine™, Focus™, Express™, Unison®, Obsession® II, ETCNet2™, EDMX™,
Revolution® and Sensor+® are either registered trademarks or trademarks of Electronic
Theatre Controls, Inc. in the United States and other countries.
ETC permits the reproduction of materials in this manual only for non-commercial
purposes. All other rights are reserved by ETC.
ETC intends this document, whether printed or electronic, to be provided in its entirety.
Page 3
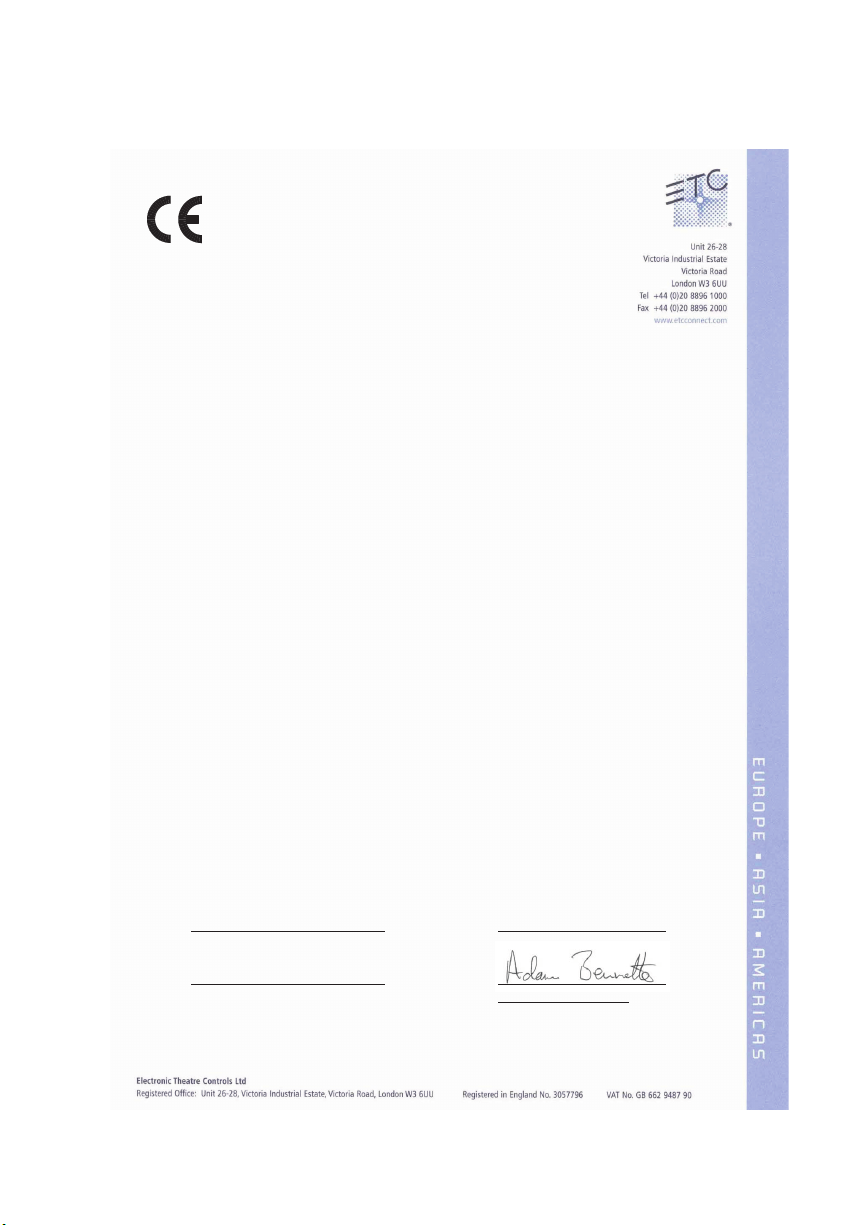
DECLARATION OF CONFORMITY
London, United Kingdom Mr Adam Bennette
)nosrep desirohtua fo emaN( )eussi fo ecalP(
3102 hcraM ht11
)nosrep desirohtua fo erutangis( )eussI fo etaD(
Printed 11 Mar. 13 Page 1
Decl # 117
\\LON-FILE2\Shares\RND\DofC\Master declaration.doc
Version # A
We, Electronic Theatre Controls Limited
declare under sole responsibility that the product:
Product name: Source Four Mini luminaire
Product type/model: Source Four Mini Canopy mount, Source Four Mini
Track mount & Source Four Mini Clamp mount.
Versions fitted with tungsten lamp.
Item numbers: One sample of each type
to which this declaration relates is in conformity with the following Standards:
EN 60598-1:2008 Luminaires. General requirements and tests
EN 60598-2-6:1995 Luminaires. Particular requirements. Luminaires with built-in
transformers for filament lamps
EN 60598-2-17:1989 Luminaires. Particular requirements. Specification for luminaires
for stage lighting, television, film and photographic studios
(outside and indoor)
following the provisions of EU LV Directive(s) 2006/95/EC
EN 55015:2006 Limits and methods of measurement of radio disturbance
characteristics of electrical lighting and similar equipment
EN 61547:2009 Equipment for general lighting purposes. EMC immunity
requirements
EN 61000-3-2:2006 Electromagnetic compatibility (EMC). Limits. Limits for harmonic
current emissions (equipment input current up to and including
16 A per phase) Class C
EN 61000-3-3:2008 Electromagnetic compatibility (EMC). Limits. Limitation of
voltage changes, voltage fluctuations and flicker in public lowvoltage supply systems, for equipment with rated current <= 16 A
per phase and not subject to conditional connection
following the provisions of EU EMC Directive(s) 2004/108/EC
Page 4
Source Four Mini CE Guidelines
Read the entire User Manual before using the equipment.
WARNING:
• Do not mount the Source Four Mini CE on or near a flammable
• The Source Four Mini CE is suitable for indoor use only with a
• Maximum exterior surface temperature: 125°C.
• Relative humidity 90% maximum, non-condensing
• If the external cable is damaged, it shall be replaced by ETC or our
• Always hang the Source Four Mini CE with the colour frame held
• Always replace the lamp if it becomes damaged or thermally
• Disconnect the unit from power before all cleaning and maintenance.
• Keep the luminaire at least 3cm away from any lit surface. Lighted
Please note the following safety precautions:
surface.
maximum ambient temperature: 40°C.
service agents.
securely behind the retaining clip.
deformed.
objects at this distance or greater will not exceed 90°C temperature
from projected light.
1
Page 5

Introduction
Portable TrackCanopy
The Source Four Mini has four field-angle choices and comes in a portable version
with a yoke mounted transformer, a canopy-mount design with an integral
transformer, and a track-mount design with an integral transformer. Surprisingly
bright for its size, the Mini offers crystal-clear image projection and a bright, even
field.
There are three versions of the Source Four Mini. This manual covers common
features for all versions. For information on installing the canopy and track-mount
variations, see the Source Four Mini Canopy and Track-Mount Kits Installation
Guide.
WARNING:
WARNING:
Note:
Note:
2 Source Four Mini User Manual
Please note the following safety warnings before use:
Do not mount the luminaire on or near combustible
surfaces.
Always hang the luminaire with the colour frame retaining
clip in the locked position.
Track Mount Version
To reduce the risk of fire and electric shock, use only with
EUTRAC track system.
Dimmable by most forward and reverse phase dimmers. Reverse
phase dimmers are recommended for best performance.
Forward phase dimming may result in an audible noise and
should be tested before installation.
The Source Four Mini yoke has a C-clamp hole for an M10 bolt.
Page 6

Basic Assembly
Shutter Barrel
Gobo Pattern
Holder Slot
Colour frame
retainer clip
Yoke
Colour frame
Shutters x4
Lens tube
Lamp housing
Lamp housing
knob
Beam focus
knob
INSTRUCTIONS PERTAINING TO A RISK OF FIRE, ELECTRIC SHOCK, OR
INJURY TO PERSONS
IMPORTANT SAFETY INSTRUCTIONS
Lighted lamp is HOT!
WARNING - To reduce the risk of FIRE, ELECTRIC SHOCK, EXPOSURE TO
EXCESSIVE UV RADIATION, OR INJURY TO PERSONS:
1) Turn off/unplug and allow to cool before replacing lamp.
2) Lamp gets HOT quickly! Do not turn power on again before the fixture is
reassembled.
3) Do not touch hot lens, guard, or enclosure.
5) Do not use in proximity to normally flammable materials.
6) Use only with a lamp rated at 50W or less.
SAVE THESE INSTRUCTIONS
3
Page 7

Install Lens Tube
Beam focus knob
Yoke locking
knob
A lens tube must be installed prior to use of the Source Four Mini. There are four
lens tubes available; 19°, 26°, 36°, and 50°.
Step 1: Unscrew the beam focus knob from the loose lens tube.
Step 2: Slide the lens tube into the shutter barrel.
Step 3: Install the beam focus knob.
Adjustments
Adjusting the yoke position
The Source Four Mini provides multi-positioning capabilities within its yoke for
overall luminaire angle.
Setting the angle with the yoke
4 Source Four Mini User Manual
Step 1: Loosen the yoke locking knob. Do not remove the knob.
Step 2: Tilt the luminaire to the desired position.
Step 3: Tighten the yoke locking knob to secure position.
Page 8

Locking the rotation in the canopy and track-mount variations
Yoke lock
Beam focus knob
Step 1: Rotate the luminaire into the desired position. Luminaire will be
Step 2: Insert a 1.5mm Allen wrench into the small hole on the yoke lock.
Step 3: Turn wrench to tighten down the yoke lock.
prevented from rotating completely around to protect the wiring.
Focusing the beam
Step 1: Loosen the beam
Step 2: Slide the lens tube
Step 3: Once the luminaire is
focus knob located
under the barrel. Do
not remove the knob.
forward or backward to
achieve the desired
beam edge.
focused, tighten the
beam focus knob.
Shaping the Beam
The beam can be shaped using
the four shutters or with a gobo pattern.
The Source Four Mini has four shutters:
left, right, top, and bottom. Each shutter
can be pulled out or pushed in to create
the desired beam shape.
5
Page 9

Gobo Pattern Projection
The Source Four Mini has a gobo holder slot on the
top side of the shutter barrel, in front of the shutter. It
accommodates a E-size (37.5mm with a 25.4mm
image area) gobo pattern holder.
Use an optional donut in the colour frame holder to
enhance pattern projection.
When the slot is not in use, a small sheet metal cover
secured with a Phillips screw prevents light leakage.
Step 1: Use a Phillips screwdriver to loosen the
screw on the slot cover. Do not remove the
screw.
Step 2: Slide the cover completely forward to
expose the slot.
Step 3: Insert the gobo holder.
Step 4: Slide the slot cover back toward the
shutters until it meets the handle. Leave
enough space to move the handle.
Step 5: Secure the slot cover by tightening the
screw.
Shown at
actual size.
Retaining
clip
Colour Frame Holder
2.54cm Diameter
Colour Frame Holder
The Source Four Mini comes equipped with a 70mm colour frame, which is a metal
frame used to hold colour media (often referred to as gel) in front of the lens. The
colour frame holder is equipped with a retaining clip that prevents the colour frame
from falling out.
WARNING:
Note:
Step 1: Release the retaining clip by gently
Step 2: Insert the colour frame.
Step 3: Lock the retaining clip by gently pushing it
Additional accessories are available for the Mini that
also fit into the colour frame holder. Those
accessories are top hat, short top hat, half hat, short
half hat, and donut. When an accessory is used, the colour frame should be
installed in the rear slot of the holder.
6 Source Four Mini User Manual
Make sure the colour frame is locked in position with the
retaining clip.
The colour frame should be inserted open side down.
pushing it up.
down.
Page 10

Replacing the Lamp
Step 1: Disconnect power to the Source Four Mini before installing the lamp.
Step 2: Loosen the brass lamp housing knob on the back of the lamp housing. The
knob is not captured so it may come loose from the luminaire.
Step 3: Pull the lamp housing away from the luminaire body.
Step 4: Pull on the lamp carefully to remove it from the lamp housing.
Step 5: Gently push down on the
replacement lamp until it is seated in
place.
Step 6: Re-align the housing into the grooves
of the luminaire.
Step 7: Align the knob with the hole, and
tighten the lamp housing knob.
Lamp housing
Lamp housing
knob
WARNING:
CAUTION:
CAUTION:
Note:
Allow the lamp housing to cool before replacing the lamp.
RISK OF FIRE - Use an MR16 lamp rated at 50 Watts or less.
DRY LOCATIONS ONLY.
It is recommended to use an MR16 lamp with a nominal beam
angle of 38 degrees.
7
Page 11

Cleaning the Glass Lens
WARNING:
Step 1: Remove the beam focus knob from the barrel.
Step 2: Remove the lens tube from the barrel.
Step 3: Remove dust with a blast of oil-free air or wipe with a clean, lint-free cloth.
Step 4: Slide the lens tube back into the barrel with the colour frame retainer clip
Step 5: Reinstall the beam focus knob.
Do not use ammonia-based or other harsh commercial
cleaners. Clean lens only as directed.
Commercially available glass cleaning agents should be
avoided as they may contain ammonia, other harsh chemical
detergents, or abrasive agents. These cleaners may damage
the glass surface and the Anti-Reflective coatings. Do not
immerse or soak the glass in any cleaning solution.
Isopropyl alcohol, distilled water, or a 50%-50% mixture of each can be
used to clean the glass surface.
on the top.
8 Source Four Mini User Manual
Page 12

Corporate Headquarters
London, UK
Rome, IT
Holzkirchen, DE
Hong Kong Rm 1801, 18/F, Tower 1 Phase 1, Enterprise Square, 9 Sheung Yuet Road, Kowloon Bay, Kowloon, Hong Kong Tel +852 2799 1220
Service:
(Americas) service@etcconnect.com
Web:
www.etcconnect.com
7063M1210
3031 Pleasant View Road, P.O. Box 620979, Middleton, Wisconsin 53562-0979 USA Tel +608 831 4116 Fax +608 836 1736
Unit 26-28, Victoria Industrial Estate, Victoria Road, London W3 6UU, UK Tel +44 (0)20 8896 1000 Fax +44 (0)20 8896 2000
Via Pieve Torina, 48, 00156 Rome, Italy Tel +39 (06) 32 111 683 Fax +44 (0)20 8752 8486
Ohmstrasse 3, 83607 Holzkirchen, Germany Tel +49 (80 24) 47 00-0 Fax +49 (80 24) 47 00-3 00
Rev B Released 2013-07 ETC intends this document to be provided in its entirety.
Copyright © 2013 ETC. All Rights Reserved. Product information and specifications subject t o change.
(UK) service@etceurope.com (DE) techserv-hoki@etcconnect.com
(Asia) service@etcasia.com
 Loading...