

Page 1
V1. 2
OWNER‘S
MANUAL
ANDROID 8 EDITION
INFOTAINMENT
TOUCHSCREEN NAVICEIVER
VISION SERIES FOR ANDROID
™
Page 2

Always follow the instructions in this manual before using the device. Please
keep this manual easily accessible in the vehicle for future reference.
2
Page 3

INDEX
Disclaimer .............................................................................................................................................4
Notes for the intended use .................................................................................................................. 4
General Notes ....................................................................................................................................... 5
Safety Information ................................................................................................................................ 6
1. Quick Start ........................................................................................................................................8
1.1 Turning On / Off ...................................................................................................................8
1.2 Tips for using the Touch Screen ........................................................................................... 8
1.3 Function Keys ......................................................................................................................9
1.4 Main Menu / Home Screen ................................................................................................ 11
1.5 Status Bar .......................................................................................................................... 11
1.6 Time and Date Settings ......................................................................................................12
1.7 Language Settings ............................................................................................................. 12
2. Basic Settings ................................................................................................................................. 13
2.1 Custom Main Menu / Home Screen ...................................................................................13
2.2 Wallpapers ..........................................................................................................................13
2.3 Split Screen ........................................................................................................................ 14
2.4 Steering Wheel Control ......................................................................................................15
2.5 Navigation...........................................................................................................................15
2.6 Radio .................................................................................................................................. 16
2.6.1 RDS .......................................................................................................................... 17
2.7 DAB+ Radio ........................................................................................................................ 17
2.8 File Manager.......................................................................................................................18
2.9 Bluetooth
2.9.1 Startup ...................................................................................................................... 18
2.9.2 Pairing ......................................................................................................................19
2.9.3 Phone Book .............................................................................................................. 20
2.9.4 Phone Calls ..............................................................................................................21
2.9.5 Call History ...............................................................................................................22
2.9.6 Audio Streaming ....................................................................................................... 22
2.9.7 Settings ..................................................................................................................... 22
2.10 Equalizer.............................................................................................................................22
2.11 Audio Player ...................................................................................................................... 23
2.12 Video Player .......................................................................................................................24
2.13 Disc Player (optional) .........................................................................................................25
2.14 AUX IN ................................................................................................................................26
2.15 Camera (optional) ............................................................................................................... 26
2.16 Internet Connection via WLAN (optional) ........................................................................... 28
2.17 Internet Connection via 4G/LTE WLAN (optional) ..............................................................29
3. Updates ...........................................................................................................................................30
3.1 MCU Update ....................................................................................................................... 30
3.2 System Update ................................................................................................................... 30
®
.......................................................................................................................... 18
3
Page 4

DISCLAIMER
Dear customer,
The Android operating system is an open platform that allows you to personalize your device according to your wishes. You
can download apps from the Google Play Store after registering and using them on your device.
SAFETY INSTRUCTIONS & DISCLAIMER:
The company Audio Design has no inuence on the content or function of these apps. For this reason, we can not assume
any liability for the functionality, operation or damage resulting from the download and / or use of apps. Audio Design can not
provide service for the apps installed or installed on the device. Use is always at your own risk. If you have any questions,
especially about content or how it works, please contact the developer of the app.
To ensure the safety of the driver, the occupants and other road users, it is essential that the driver always focuses on the
trafc.
ATTENTION: Your ESX device has an internal memory with a limited capacity. By downloading apps, pictures and music you
ll up this memory. When the memory is full, there is a possibility that apps may stop working or be of limited use. If so, you’ll
need to delete apps or content to restore the feature. You are responsible for the management of the store.
NOTES FOR THE INTENDED USE
Only use the device in the area intended for it. In the event of misuse, incorrect installation or modications, the operating permit and the warranty expire.
Only for devices with disc drive: Do not use mini-discs or other shaped media than regular CDs / DVDs,
otherwise the drive may be damaged or the media can no longer be ejected.
The CD / DVD drive has transport locks. Remove these before installation, otherwise no media can be
inserted into the drive.
Labeling of devices with laser scanners:
This designation indicates that there are components in the device that
Class 1
use a weaker Class 1 laser to scan media.
Laser Product
4
Page 5

GENERAL NOTES
Care and Maintenance
This device is equipped with high precision and sensitive technique and should always be treated with caution.
Please note the following tips to avoid endangering the warranty and extend the life of the appliance.
• Children under 12 should not operate the device. Keep the device and all accessories away from small children.
• Keep the device and its components dry. The effects of water, liquid or moisture can cause damage to the vehicle,
the device itself or injury.
• Keep the device and its components away from excessive heat. High temperatures may shorten the life of
appliance of the electrical components.
• Keep the device and its components away from excessive cold. Extreme temperature changes and moisture inside
the device may cause the breaking of certain components. Do not to drop the device and avoid violent shocks or
excessive shaking.
• Do not use strong chemical cleaners, solvents or water to clean the device. Use a slightly moistened cotton cloth
with soft surface.
• Replace a blown fuse only with a new one with the same values . However, before you replace a defective fuse,
check at rst what is the cause of the short circuit. Start with the power supply cable. If the fuse blows again, a
malfunction consists inside the device. In this case you should contact your authorized dealer.
Legal Notice
• ESX or Audio Design GmbH are in no way afliated with the car manufacturer or any of its subsidiaries or afliated
companies connected to, or is acting on its behalf or with its authorization.
• All registered product names, trade marks and brands are the property of their respective owners.
• This owner‘s manual was made with the utmost care.
• Technical changes and errors reserved.
Due to the ongoing development of this device, it is possible that the information in this manual is incomplete or is not
matching to the delivery status.
Please visit periodically www.esxnavi.de on the internet, to check if additional information and updates are available.
Customer service
In general, the assembly and installation of the device should be made by a trained and technically skilled specialists.
If you have any problems with operating the device, contact your specialist dealer or the Audio Design Service Department
under Tel. +49 7253 - 94 65 95 or by E-Mail to navi@esxaudio.de.
If you need to dispose the device, be aware that no electronic devices should be deposed in the household waste.
Dispose the device in an appropriate recycling facility according to the local waste regulations. Consult if necessary
your local authority or dealer.
Declaration of Conformity
Distributor:
Audio Design Lautsprecher Vertriebs GmbH
Am Breilingsweg 3, DE-76709 Kronau/Germany
Hereby, Audio Design GmbH declares that this ESX Android™ device is in compliance with the essential,
fundamental requirements and other relevant provisions of the following directive: R&TTE Directive 1999/5/EG
The complete Declaration of Conformity can be found at www.esxnavi.de/ce
5
Page 6

SAFETY INFORMATION
• In general, the assembly and installation of the device must be performed by a trained and technically
skilled specialists, as the installation and connection of the device requires complex knowledge.
• This device is only suitable for the operation in a vehicle with an on-board voltage of 12 volts, negative
ground.
• Improper installation or use may void the warranty.
• Note any time the trafc regulations of the country in which the device is operated.
• Please ensure, that with the engine turned off the vehicle‘s battery does not discharge fully. The device is another electrical consumer which must be operated with the engine running, other-wise the
vehicle‘s battery will be discharged and the vehicle can not be started.
• Set the volume of the device only as loud, that you are still be able to hear warning signals (e.g. police
sirens) and trafc noise inside the vehicle.
• Operate the device as driver only if it‘s absolutely necessary and in the driving safety is not compromised. The same stands for looking at the screen. If necessary, better park your vehicle at a safe and
appropriate location.
• The trafc rules of the EU prohibit to view moving pictures or movies while driving, if the screen of the
device is installed within sight of the driver, as he may be distracted. View the screen as driver only
for the navigation function, and then only briey that you will not be distracted. Note at any time the
local trafc regulations. In an accident, regress claims could be made by the car insurance company.
• This device is not a substitute for your personal judgment or perception. All suggested routes from the
navigation system should never be taken as a reason to disregard the local trafc rules. Your personal
assessment of trafc or your knowledge of safe driving practices is paramount. Always match your
driving with the current trafc situation.
• Do not follow the suggested routes, if the navigation system instructs you to take an unsafe or illegal
way, puts you in an unsafe situation, or directs you into an area which you consider unsafe.
• If problems occur while driving, park the vehicle in a safe and appropriate place to continue before
you operate.
• Please use only the included original accessories. Ensure a sufcient mounting of the device by using
the included installation accessories, as in the event of an accident enormous accelerations may
occur. Poorly installed devices and equipment in accidents could represent a severe risk to the driver
and the other passengers of the vehicle.
• Note under all circumstances the regulations and advice of the vehicle manufacturer and do not make
any modications to the vehicle, which could interfere with safe driving. Please treat all parts of the
device and the components of your vehicle always with caution.
• Please avoid short circuits and make sure that no metal objects can get inside the device. Also make
sure that all connections are properly connected and avoid the interchanging of the polarity of all
connections. Complete the installation only while the ignition is turned off.
• In the event of a defect or malfunction, do not attempt to repair it by yourself or open the device, this is
dangerous and could cause injury or damage to the equipment or vehicle. A repair should be done by
trained and authorized personnel only. The device uses a Class 1 laser to read the disk. Eye contact
with a laser is very dangerous to the human eye.
6
Page 7

SAFETY INFORMATION
• If you connect an external device, you should rst read the instruction manual of the external device
and make sure that it is compatible. Avoid connecting an incompatible external device.
• If you install external applications onto the operating system of the device or operate les, make sure
that they are „virus free“ and compatible with Android
TM
. Otherwise there is a risk that the operating
system no longer works properly and must be reinstalled.
• Do not damage or scratch the screen with sharp objects. Do not operate the screen with hard objects.
RESET BUTTON
If the device stops responding to input, the system is overloaded or crashed. Then reboot the system by
pressing the reset button (RST or RES) on the front panel. Use a suitable object, such as a paper clip or
a ballpoint pen. After pressing the reset button, the system restarts without losing your previous settings.
7
Page 8

1. QUICK START
1.1 TURNING ON / OFF
Turning On
Turning Off
Start the ignition of your vehicle, the device will be
automatically turned on.
If you turn off the ignition of your vehicle, the device will be
automatically turned off.
1.2 TIPS FOR USING THE TOUCHSCREEN
When using the touchscreen, you can use several ways to perform corresponding operations on the
device
.
Clicking Function
You could select an application icon or option on the screen to realize clicking function. For example, click Bluetooth
to enter into Bluetooth
®
application.
Pressing Function
You could press the current user interface, icon, inputting column by pressing function. For example, press on the blank
area of the main interface, then comes a pop-up menu, you could perform some function on the menu.
®
Dragging Function
Drag the touchscreen or press the scroll bar for up and down operation. For example, browse the contact list of the
®
Bluetooth
phones by dragging function.
Zooming Function
When browsing the web, click the screen twice, then you could zoom in or out the page content. Or you could press
the screen with two ngers by control the sliding distance between the ngers to zoom in or out the page content.
8
Page 9
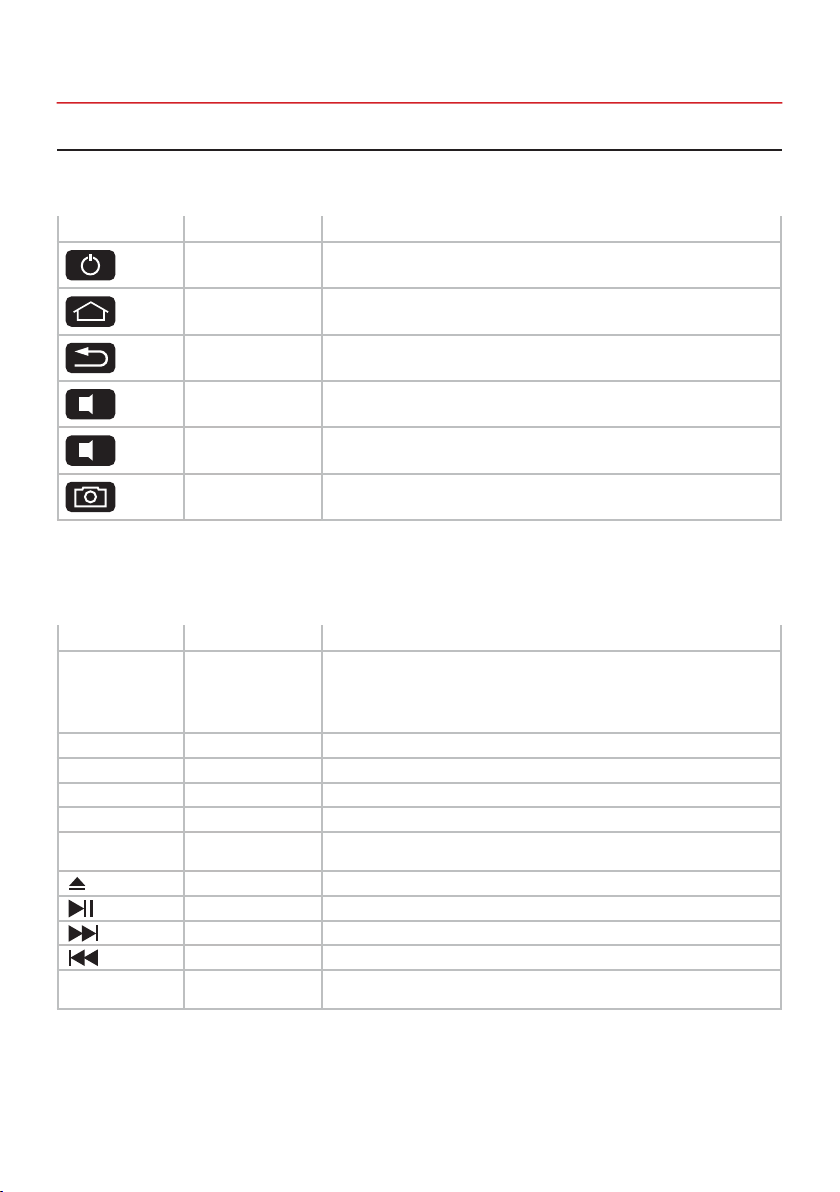
1.3 FUNCTION KEYS
DEVICES TYPE 1
Icon Function Description
Power ON / OFF Turn device ON or OFF
Main Menu Press to enter the main menu
Back Press to enter the previous menu
+
-
+ Volume Press to increase the volume
- Volume Press to decrease the volume
Camera (optional) Press here to display the image signal of a connected camera
DEVICES TYPE 2
Icon Function Description
1. If the device is turned off, press this knob short and the system turns on
PWR / VOL Power / Volume
CALL Telephone Press here to open the Bluetooth
MENU Main Menu Press here to enter into main menu
BAND Radio Band Press here to change the radio band
NAVI Navigation Press here to open the navigation menu
GPS Micro SD Card Slot for
SD Micro SD Card Slot for
Navigation Software
Disc In / Out Press here to slide the disc in and out
Play / Pause Press here to play or pause a track
Next Track Press here to play the next track
Previous Track Press here to play the previous track
Media Content
2. If the device is turned on, press this knob short and the system mutes
3. If the device is turned on, press this knob longer and the system turns off
4. Turn this knob clockwise to increase the volume
5. Turn this knob counterclockwise to decrease the volume
®
Slightly open the button to access the Micro SD Card Slot
Slightly open the button to access the Micro SD Card Slot
menu
9
Page 10
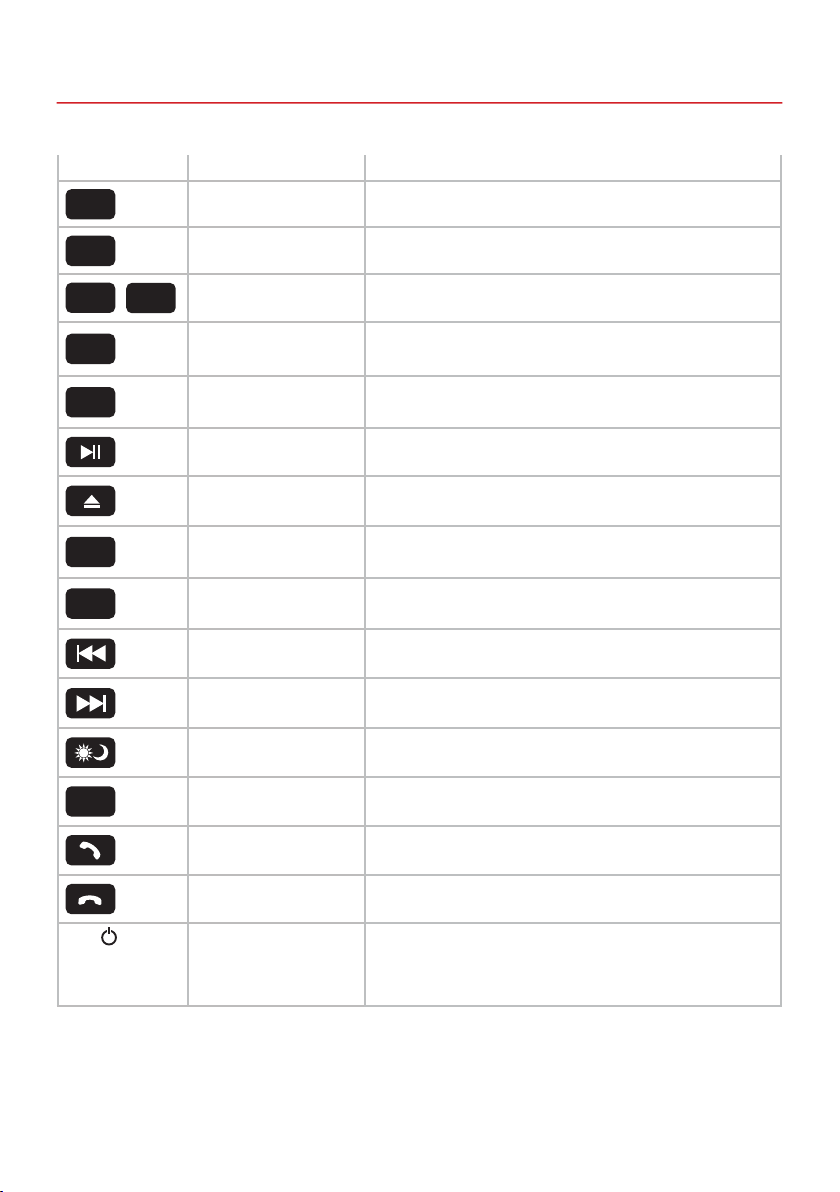
DEVICES TYPE 3
Icon Function Description
BAND
EQ
1 6
MENU
NAVI
DVD
AMS
Radio Band Press here to change the radio band
Audio Settings Press here to open the audio setting and zone menu
-
Radio Channels Press here to select a radio station preset
Main menu Press here to enter into main menu
Navigation Press here to open the navigation menu
Play / Pause Press here to play or pause a track
Disc In / Out Press here to slide the disc in and out
DVD button Press here to start the disc playback or to open the DVD menu
Automatic Radio Station
Search
Previous Track Press here to play the previous track
Next Track Press here to play the next track
Display Brightness Press here to adjust the brightness of the display
Press here to start the automatic radio station search
MODE
VOL / Power / Volume 1. If the device is turned off, press this knob short and the system turns on
Mode
Accept a call Press here to accept a call or open the Bluetooth® menu
Hang up call Press here to hang up a call or open the Bluetooth® menu
Press here to choose quickly between Radio, Navi, Music, Video, Phone,
AUX and Disc
2. If the device is turned on, press this knob short and the system mutes
3. If the device is turned on, press this knob longer and the system turns off
4. Turn this knob clockwise to increase the volume
5. Turn this knob counterclockwise to decrease the volume
10
Page 11

1.4 MAIN MENU / HOME SCREEN
This device has a total of ve main menus that can be accessed by swiping right or left to the edge of the screen. You
can start any app or widget by clicking its icon.
1.5 STATUS BAR
The three symbols on the left side of the status bar are used for menu navigation or indicate the previous used apps or
notications and events. If there is a new message, it will be shown in the status bar. Slowly drag your nger from the
status bar to view all messages. Then you could click on the message and see the content. The icons on the right side
of the status bar are the device status indicators.
Symbol Function Description
Back Go back to the previous menu
Main Menu Go to the Main Menu
Split Screen Screen split of 2 apps
SD Card SD card recognized
Symbol Function Description
USB USB recognized
Bluetooth®Bluetooth® connected
WiFi WiFi connected
Time Current time display
Note: Depending on the currently used OS, the status indicator as shown here may vary!
11
Page 12

1.6 TIME AND DATE SETTINGS
This device has the function of automatically calibrating the current time via active GPS reception. You can also set the
date, time zone, and format manually.
Main Menu > Settings
> System
> Date & time
> Set date
> Set time
> Select time zone
1.7 LANGUAGE SETTINGS
Main Menu: > Settings
> System
> Language & input
> Check the input method according to user’s requirements, for example “English”
> To add other language, click on +
Note: Now move your choice to the rst position with a swipe, that the operating system displays your preferred
language. If your selected language is not available in certain menus and functions, the next language will be
used.
12
Page 13

BASIC SETTINGS
2.1 CUSTOM MAIN / MENU HOME SCREEN
You can freely arrange any app or widget on the ve main menus by holding down the app icon and then moving it. The
seven apps at the bottom of the screen cannot be changed and are always displayed in the ve main menus.
Main Menu 1 with DAB + and iGO symbol.
Main Menu 2 with Chrome symbol. You can access the Widgets Menu by swiping to the left
2.2 WALLPAPERS
Click the blank area of the Main Menu
> Click on Wallpapers, Live Wallpapers or QuickPic Wallpaper
> Chose an image
The apps are always displayed in alphabetical order in the
Apps menu.
in the Apps menu.
13
Page 14

2.3 SPLIT SCREEN
Click at the top of the symbol bar on
All apps currently in use or recently used can then be
seen.
From now on, the primary app will always be shown on
the left. Now choose an app for the right side (e.g. radio).
To cancel the split screen, drag the black frame in the
center of the picture to the left or right.
Select the desired app and slide the app window all the
way to the left until it clicks into place.
The secondary app on the right can be switched by
starting another app in the main menu.
Note: Some apps are not suitable for displaying in split screen mode.
14
Page 15

2.4 STEERING WHEEL CONTROL
Here you can set the steering wheel control buttons and match them with the device.
Apps > Steering wheel button
Note: some vehicles are not compatible. The device is CAN-BUS compatible, but you may need a vehicle-
specic adapter or module.
A. First to click “Start”
B. Click the buttons as you want
C. Click the corresponding button on the steering wheel. If the status displays successful, there will be
a change on the corresponding color on the screen.
D. Repeat step 1 and 2 until you have completed all the button settings on the steering wheel.
E. Exit the menu when the steering wheel control settings are completed.
Note: If you want the reset the steering wheel assignments and the re-learn the functions, press RESET and
repeat the procedure.
2.5 NAVIGATION
Select an appropriate navigation application, then it can be associated with the navigation button on the device and
navigation icon on the main screen.
Apps > Settings
> Car settings
> Navi application
> For example: Google Maps or iGO
15
Page 16

2.6 RADIO
Press the “Radio” button on the device or click on “Radio” in the main menu to open the Radio Menu.
Symbol Function
Click here, to search and save radio stations automatically
Click here, to search a strong and clear channel, frequency band upward
Click here, to switch between mode FM1/FM2/AM
Click here, to search a strong and clear channel, frequency band downward
16
DX (far-away radio stations)
Click here, to open the Audio Settings
Radio frequency ne adjustment, frequency band downwards
Radio frequency ne adjustment, frequency band upwards
Page 17

2.6.1 RDS
Symbol Function
Click on TA to activate the TA function. This function enables the interruption of the media playback (audio player, CD,
DVD, etc.) for trafc announcements. After the announcement, the previous media playback starts again.
Click on AF to activate the AF function. This function enables the automatic switching of the receiving frequency when
leaving the reception range of a RDS radio station. The device then checks the reception quality and automatically
switches to a different frequency, when the same program in another reception area is also available.
The PTY function is a classication of radio stations in different categories. Each program of a RDS radio station is
classied categorically. After you have selected a category, the unit automatically searches for the next matching
radio station in this category.
Click on REG, it will only search the RDS stations with the same national area code (PI 8-Bit representation of the
high country area code) of the current RDS station. If REG is not highlighted, you can search RDS station while
ignoring the area code (excluded the high 8-Bit PI code)
2.7 DAB+ RADIO
Click on DAB + in the Apps Menu.
> Swipe right or left to view all available channels.
> Select a station by clicking on it in the lower gray bar.
> When you tap the channel logo, you select this channel as a favorite.
Symbol Function
Click here to search for all available radio stations.
Click here if you only want to display your channels saved as favorites
Click here to set the program type such as classical, jazz, news, etc.
Click here to start the follow function for all DAB + stations
17
Page 18

2.8 FILE MANAGER
Click on File manager in the Apps Menu.
Here you can see which les have been saved in which
location.
2.9 BLUETOOTH
To enable wireless phone calls, audio streaming or data exchange, you need to connect the device with an other
®
Bluetooth
mobile device.
Note:
1. There may be restrictions for Bluetooth
®
®
devices while driving, please abide by local laws.
In the le manager, les can then be copied, moved or
deleted as required on another storage medium.
2. In order to ensure Bluetooth® security, you should be in a safe and non-public place while connecting a
Bluetooth® device.
2.9.1 STARTUP
If the device is in default setting, the Bluetooth® function is always available.
18
Page 19

2.9.2 PAIRING
At rst you need to activate the Bluetooth® function on your mobile phone or mobile device. Then click on “Bluetooth”
in the main menu or the regarding phone button on the device if given.
Press on , , to start the pairing and the device is searching for Bluetooth® devices in your area.
Press on , to stop the searching process.
Choose the desired Bluetooth® device name in the searching results to start the pairing. After the successful pairing,
a Bluetooth
®
icon in the upper status bar is visible.
The default passkey is 0000.
Note: The following operations are performed when Bluetooth® pairing was successful and the connection
between both devices is enabled.
19
Page 20

2.9.3 PHONE BOOK
Click here , to open the Phone Book.
Symbol Function
Click here, to import only the phone book from your mobile phone.
20
Click here, to import only the phone book on your SIM card.
Click here, to import all phone books.
Click here, to delete the imported phone books.
Page 21

2.9.4 PHONE CALLS
Click here , to open the Phone Calls menu.
Symbol Function
Click here, to delete the last entry.
Click here, to start the call after the entry of the phone number.
Click here, to end the call.
Click here, to switch the current call from the device to the mobile phone.
The function buttons on the lower panel are unavailable while calling; they return when the call is ended.
2.9.5 CALL HISTORY
Click on , to display the call history with the outgoing, received or missed calls from your mobile phone.
Note: They are only displayed if the calls where via the Navceiver.
21
Page 22

2.9.6 AUDIO STREAMING
Click on , to open the Audio Streaming menu.
Use the play/pause and the skip buttons to play audio les from your mobile phone via the device.
Note: Some mobile phones need a start of its music player for using this function.
2.9.7 SETTINGS
Click on , to open the settings
22
Page 23

2.10 EQUALIZER
Click on EQ or on , in the main menu or in the audio or video playing menus. The equalizer menu is divided into
two functions:
> 12-Band Equalizer settings including 8 different presets
> Zone settings
In the Zone settings the user can freely adjust the bass and loudness. The user can also move the sound center stage
position (Balance & Fader) as shown below:
Note: the Subwoofer level is only effective when an external subwoofer amplier incl. subwoofer is connected.
23
Page 24

2.11 AUDIO PLAYER
Click on “Media” in the main menu or “Music” in the app menu to start the Audio Player. The following formats are
compatible: MP3 / AAC / FLAC / WAV / AMR / M4A / OGG
The Audio Player accesses all les that can be found either on the internal device memory (iNand) or optionally
connected storage media (USB or external SD card). Select the location in the top right of the bar.
Symbol Function
Main Menu
Previous track
Play / Pause
Next track
24
Symbol Function
Random play mode
Repeat play mode
EQ
Back to menu
Page 25

2.12 VIDEO PLAYER
Click on “Video” in the main menu to start the video player. The following formats are compatible:
MP4 / AVI / WMV / 3GP / FLV / SAF / MOV / MKV / MPG
Symbol Function
Main Menu
Previous track
Play / Pause
Next track
Note: For your own and your passengers safety the picture display in DVD/Video/TV/AV applications is limited
and the device will only playback the sound track of the medium while driving.
Symbol Function
Fast backward
Fast forward
Full screen
Back to menu
25
Page 26

2.13 DISC PLAYER (OPTIONAL)
Insert a CD/DVD into the disc slot. Click on “Disc” in the app menu or on the device to open the disc menu. The
playback starts automatically.
Symbol Function
Main Menu
Previous track
Play / Pause
Next track
26
Symbol Function
Random play mode
Repeat play mode
EQ
EQ
Back to menu
Page 27

2.14 AUX IN
If you have connected an external audio or video source at the AUX IN inputs of the device, click on AUX in the app
menu. Then you need to start the playback on the external audio or video source.
Note: For your own and your passengers safety the picture display in DVD/Video/TV/AV applications is limited.
2.15 CAMERA (OPTIONAL)
If you have connected an rear view camera at the inputs of the device, the rear view mirror image automatically is
displayed when you engage the reverse gear.
Note: If no camera is connected, the display shows “No Video Signal”
27
Page 28

2.17 INTERNET CONNECTION VIA WI-FI
In order to be able to fully use the Android ™ operating system, such as Google Maps, it is useful to connect the device
to the Internet via Wi-Fi. All you need is a smartphone with a mobile internet connection and the so-called hotspot
function.
> First, enable the Wi-Fi / Hotspot feature in your smartphone
> Then open the Settings in the main menu.
> Click on Network & Internet
> Click on Wi-Fi
Click on your smartphone network in the list.
After successful entry, the device will be connected to your
smartphone after a few seconds.
Note: Depending on the operating system and type of smartphone, you may need to restart the Wi-Fi / Hotspot
feature if the connection with the device has been lost. It is therefore advisable to have the Wi-Fi / Hotspot
function permanently activated on your smartphone.
28
Then enter its password. Then click on the green tick on
the right.
If you click on the network name again in the „Connected“
status, you will get some information about the currently
active internet connection. If you want to interrupt the
connection with your smartphone, click on „Forget“.
After that you have to enter the password again when
reconnecting.
Page 29

2.18 INTERNET CONNECTION VIA 4G/LTE
To connect the device to the Internet via an optionally connected 4G/LTE dongle, please proceed as follows:
> Turn off the device and have your PIN code ready to unlock your SIM card
> Then connect the 4G/LTE dongle with antennas to the device
> Put your SIM card in the SIM card slot of the dongle
> Turn the device on again
After the device has started, enter your 4-digit PIN code of
the SIM card here. Conrm the entry with the tick.
If the device is successfully connected to the mobile
Internet, the “4G” symbol appears in the status bar at the
top right.
After successful entry, the SIM card is unlocked.
If the device is switched off, you have to enter the PIN
code of the SIM card again after each restart, just like with
a smartphone.
29
Page 30

3. UPDATES
3.1 MCU UPDATE
After you have decompressed the downloaded MCU update, copy the les to your SD card or USB stick. Insert the SD
card or USB stick into the device.
Apps > Settings
> Car Settings
> MCU update
Mark the circle symbol and then conrm the entry.
Wait until the update is completed. The system of the device will automatically restart, after the update is
completed. Please don not turn off the device during the update process.
Check under www.esxnavi.de or ask your retail dealer, if update les for your device are available. Then follow the
installation instructions that come with the update.
30
Page 31

3.2 SYSTEM UPDATE
After you have decompressed the downloaded System update, copy the les to your SD card or USB stick. Insert the
SD card or USB stick into the device.
Apps > Settings
> Car Settings
> System update
Mark the circle symbol and then conrm the entry.
Wait until the update is completed. The system of the device will automatically restart, after the update is
completed. Please don not turn off the device during the update process.
Check under www.esxnavi.de or ask your retail dealer, if update les for your device are available. Then follow the
installation instructions that come with the update.
31
Page 32

D E S I G N
ESX Car Media Systems · Audio Design GmbH
Am Breilingsweg 3 · D-76709 Kronau/Germany
Tel. +49 7253 - 9465-0 · Fax +49 7253 - 946510
www.esxnavi.de - www.audiodesign.de
© All rights reserved. Technical changes, errors and mistakes reserved.
 Loading...