

Esteam e1200 Owner's Manual
ESTEAM CLEANING SYSTEMS
OWNER’S MANUAL
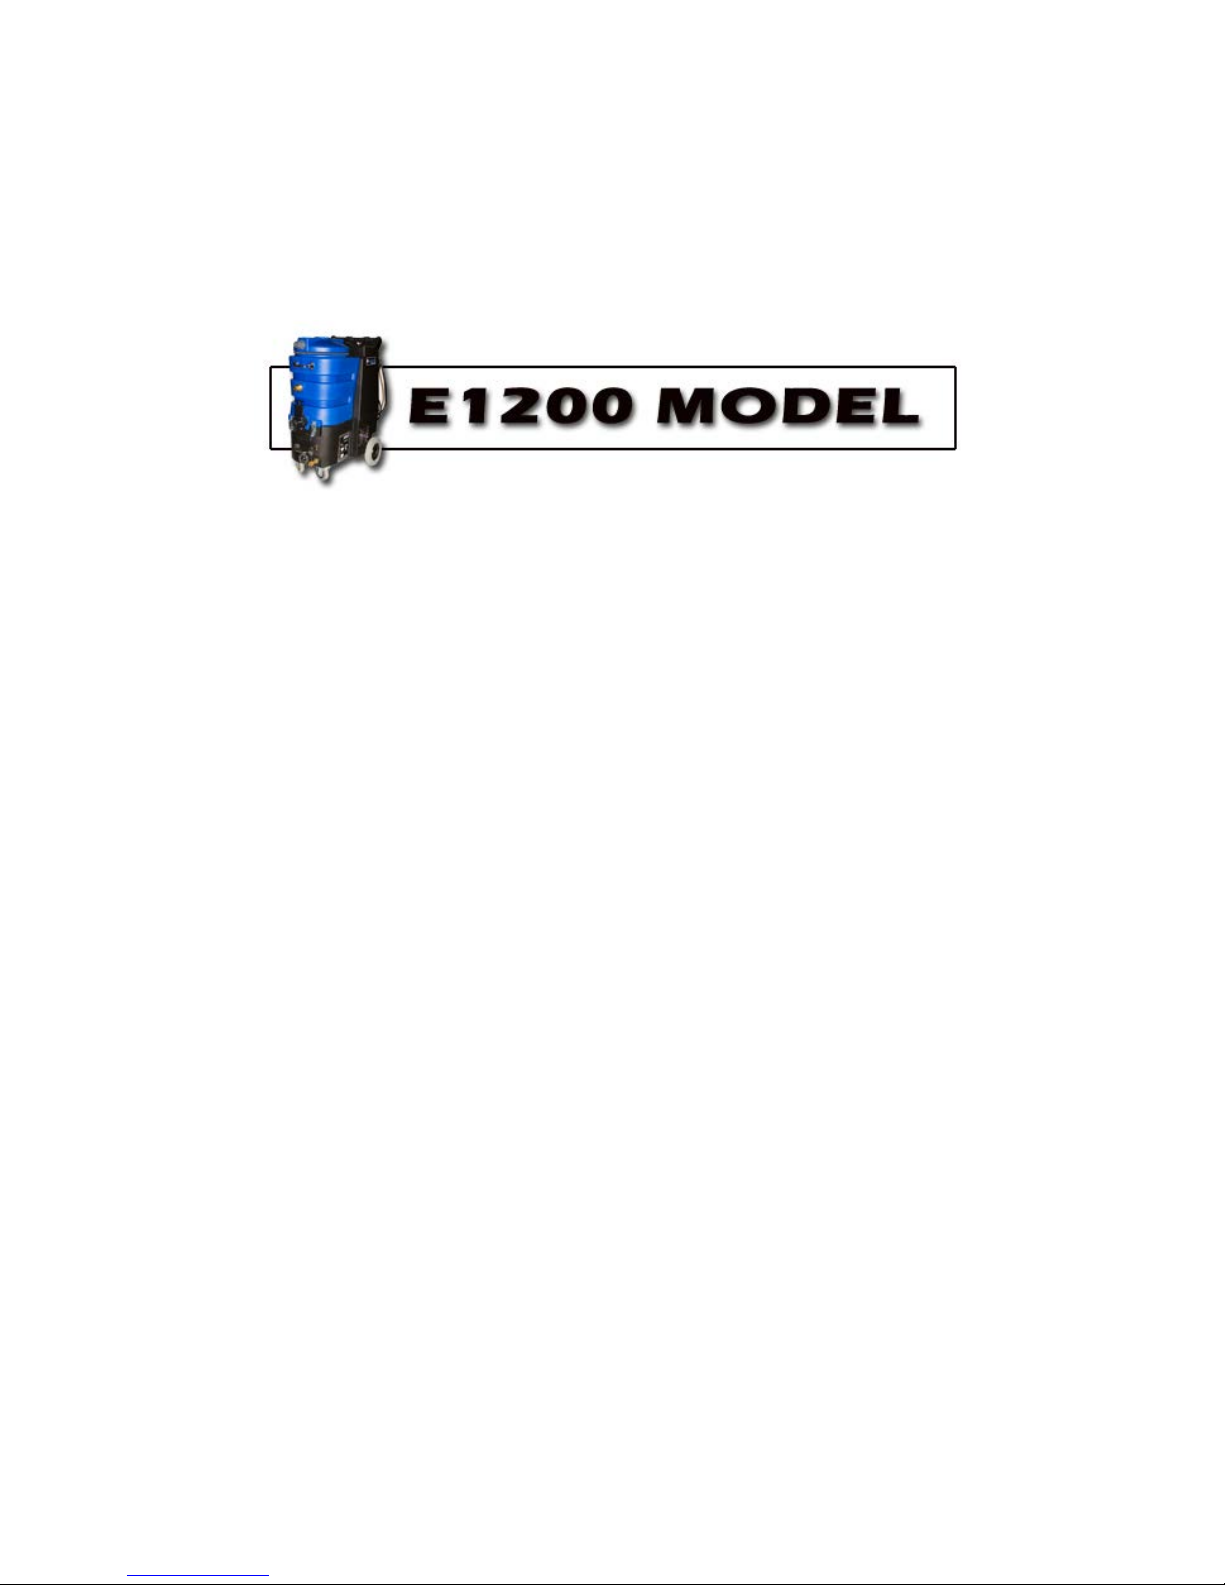
Congratulations on your selection of a new E1200 hard surface and soil
extractor built in Canada by “Esteam Cleaning Systems.” Our goal has
been to produce the best high performance line of cleaning equipment on
the market today. Reading your owners manual will help to achieve
maximum benefit from your purchase.
(760-165)

1
TABLE OF CONTENTS
Page No.
Introduction on the E1200 2
Specifications 2
Maintenance 3
Safety Information 3
Operating Instructions 4
Trouble Shooting 7
Schematic 10
Warranty Registration 18
Warranty 19
Pump-out Cleaning Procedure 23

2
Volts
115 volts
(RULE 2800 )
INTERNAL HEATER
N/A
(Clean water)
RECOVERY TANK
10.5 gallons (40 litres)
LENGHT
26 inches (66 cm)
WIDTH
17 inches (43 cm)
HEIGHT
34 inches (86 cm)
WEIGHT
110 lbs (49.8 kgs)
INTRODUCTION
Only the highest quality components go into our equipment, to deliver you strength and
reliability in a long life, high performance machine. The E1200 ’s housing is made of
high impact, unbreakable polyethylene. We are so confident in the housing that we put
an unlimited 3 year guarantee on this unit.
The E1200 incorporates a unique dual 2 stage vacuum system. Two 2 stage vacuum
motors hooked up in sequence produce 150 inches of water lift. To compliment the
vacuum lift the E1200 comes standard with a Rule industrial pump which disposes up to
2800 gallons per hour under vacuum.
The E1200 is also available for hard surface and carpet cleaning with it’s adjustable
1000 PSI solution pumps.
The E1200 ’s clean water solution tank and the dirty water recovery tank both have a 40
litre capacity. Built into the recovery the E1200 comes standard with a high water
automatic shut off. You never have to fear overfilling your recovery tank, as the
vacuums will automatically stop extracting when the tank becomes full.
ELECTRICAL
Amps
VACUUM MOTOR
Cfm’s
Vacuum lift
PUMP OUT
SOLUTION PUMP
Pump Motor
SOLUTION TANK
SPECIFICATIONS
E1200 ( 110v )
Two cords
14 amps
2 - 2 stage vac
94
150”
2800 GPH
1.5 AMP
1000 psi Plunger
1-1/2 HP A/C
1725 RPM
10.5 gallons (40 litres)

3
MAINTENANCE
DAILY:
- Clean high water level float screen inside the recovery tank.
- Ensure high level float ball is working properly.
- Rinse out recovery tank after use.
- Clean dirt and obstructions from the (recovery tank) drain valve rubber
gaskets to prevent premature wear.
- Rinse out pump with clean water at conclusion of work day.
- Clean poly housing with mild soap and water.
- Check machine fuse.
MONTHLY:
- Clean air inlet and check exhaust port.
- Check to make sure cooling fan is operating properly.
- Check 1 ½ dump valve seal.
YEARLY:
- We recommend that your unit be inspected by a qualified service technician
once a year.
PREVENTATIVE MAINTENANCE:
- Never store this unit in a place where there is a possibility of the temperature
dropping below 0
0
C (320F).

4
SAFETY INFORMATION
1. Prior to inspection or repair of this machine, disconnect all electrical cords
rendering the machine powerless. Failure to do so could result in serious or fatal
injury.
2. Inspect unit daily for worn or damaged components. E.g. frayed cord, loose plug,
or a plug with missing ground pin, etc.
3. This unit should only be operated when in an upright position on a level surface.
4. Do not operate unit unless it is properly grounded in a 3 pin grounded outlets.
Never bend or remove ground pin from plugs.
5. Ensure filters and screens are free from lint or dirt.
6. Do not run unit if vacuum motor or pump are wet. Allow sufficient time for motor
to dry before plugging unit in.
7. Do not use solvent based cleaning products in this extractor.
8. Keep air inlets and exhaust ports free from obstructions. Blocked air inlets or
exhaust ports can cause the unit to overheat.
9. Do not use solution or recovery tanks for storing hoses, cords or accessories.
10. When using electrical equipment around water it is important to wear rubber
soled shoes and keep machine properly grounded at all times. Failure to do so
could result in a fatal electric shock.

5
OPERATING INSTRUCTIONS
Hard surface Cleaning or Carpet Cleaning
1. Insert electrical cords into 3 pin grounded outlets.
2. We recommend the use of a liquid defoamer, to prevent the machine from
prematurely shutting off due to excess foam in the recovery tank. Turn on
vacuum switch and pour approximately ¼ cup of Esteam Liquid Defoamer into
the end of the vacuum hose.
3. The E1200 is equipped with auto fill and drain, simply attach the supplied hoses
to a water supply and the pump out hose to a sanitary drain. You may also
manually fill and drain the machine, especially for a small amount of cleaning.
4. Turn the pump out switch on, the pump will start sensing electronically for
present water and then turn off. The pump will sense every 2 minutes thereafter
for water to pump out.
5. The float in the fresh water tank will automatically allow water in to a preset level
and maintain that level thereafter.
6. The E1200 pump is adjustable from 400-1000 PSI. To adjust pressure turn the
regulator (located on lower front of machine) clockwise to increase pressure and
counter clockwise to decrease pressure.
7. Attach the prime hose to the quick connect on the E1200, inserting the other end
into the vacuum barb cupping off the remainder with your hand. Turn on the
pump switch and run for about 15 seconds. This will prime any air out off the
pump and fitting.
8. Connect vacuum and solution hoses to the machine and then to the hard surface
tool to be used.
9. Turn on switches and proceed to clean.
10. When not using the Auto Fill or Drain features, when the recovery tank becomes
full the vacuum motors will stop extracting. The vacuum motors make a
distinctive high pitched noise as all the air flow will be cut off. At this time turn off
all switches, then the recovery tank may be drained by pulling up the drain valve
handle on the front of the machine and emptying the contents into a pail for
disposal.
NOTE: Ensure that the high water level float screen inside the recovery tank is free
from any obstructions. Be sure to close drain valve before resuming cleaning.

6
11. To empty solution tank remove vacuum hose from wand. Turn on vacuum
switches and partially submerge end of hose into solution tank. Continue until all
water has been removed from solution tank and transferred into recovery tank.
Drain recovery tank.
WARNING: When using electrical equipment around water it is important to wear
rubber soled shoes and keep machine properly grounded at all times. Failure to do so
could result in electric shock.

7
TROUBLE SHOOTING
WARNING: Prior to inspection or repair of this machine, disconnect all electrical cords
rendering the machine powerless. Failure to do so could result in serious or fatal injury.
PROBLEM CAUSE SOLUTION
1. Entire unit will not 1. Unit not plugged in 1. Connect unit to 3 pin
operate grounded outlets
2. Blown fuse on machine 2. Check machine fuses
and replace if necessary
3. Blown fuse or breaker for 3. Check fuse panel for
plug in outlet blown fuse
4. Loose wiring 4. See dealer
2. 1000 PSI Plunger 1. Switch not turned on 1. Turn on switch
pump will not run
2. Broken switch 2. See dealer
3. Blown fuse 3. Replace fuse
4. Loose wiring 4. See dealer
5. Pump motor defective 5. See dealer
6. Motor reset button 6. Press button for reset
3. Vacuum will not run 1. Switch not turned on 1. Turn on switch
3. Broken switch 3. See dealer
4. Loose wiring 4. See dealer
5. Blocked rotor 5. See dealer
4. 1000 PSI Plunger 1. Out of solution 1. Fill solution tank with
pump runs but does solution
not pump solution
2. Pump inlet screen plugged 2. Clean inlet screen
3. Pump was not properly 3. Prime pump using
primed priming hose
4. Kink in solution hose 4. Remove kink
5. Plugged jet or quick connect 5. Remove blockage

8
00 PSI pump
6. Internal (inside machine) or 6. See dealer
external solution line damaged
and leaking
TROUBLE SHOOTING (CONTINUED)
PROBLEM CAUSE SOLUTION
5. 1000 PSI Plunger 1. Pressure regulator valve 1. Adjust pressure using
pump runs but has out of adjustment regulator located at the
loss of pressure front of the machine
2. Partial kink in solution hose 2. Remove kink
3. Partial blockage in solution 3. Remove blockage
hose
4. Jet orifice opening on clean- 4. Total jet opening for
ing wand is too large 10
should be .04
5. Pressure regulator valve 5. See dealer
components wearing out
6. Internal pump components 6. See dealer
wearing out
6. Vacuum operates 1. Recovery tank full 1. Drain recovery tank
but has poor or no
suction 2 Vacuum hose plugged 2. Locate and remove
blockage
3. Wand plugged 3. Locate and remove
blockage
4. Exhaust port blocked 4. Locate and remove
blockage
5. High level float stuck in off 5. Turn vacuum off and tap
position top of float screen cage

9
6. Front drain valve left open 6. Close recovery tank
after draining recovery tank drain valve on front of
machine
7. Vacuum prema- 1. Excess foam in recovery 1. Add defoamer to
turely stops extracting tank recovery tank
2. Lint or dirt on automatic 2. Clean auto shut off float
shut off float screen screen
3. Defective float ball 3. Replace float screen
cage
TROUBLE SHOOTING (CONTINUED)
PROBLEM CAUSE SOLUTION
8. Machine spits water 1. High level float not working 1. Check auto shut off float
out of exhaust port properly cage and ball for proper
operation
9. Machine blowing 1. Damaged (leaking) recov- 1. Immediately shut unit
excessive amounts of ery tank fittings down. Bring unit to a
water out of exhaust dealer for service
ports
10. Water accumulate- 1. Inside solution line leaking 1. Immediately shut unit
ing in bottom electrical down. Bring unit to a
component area dealer for service
 Loading...