

Estate Design EFW-TJ34A, EFW-TJ48A, EFW-TJ22B, EFW-TJ34B, EFW-TJ48B Owner's Manual
OWNER’S MANUAL
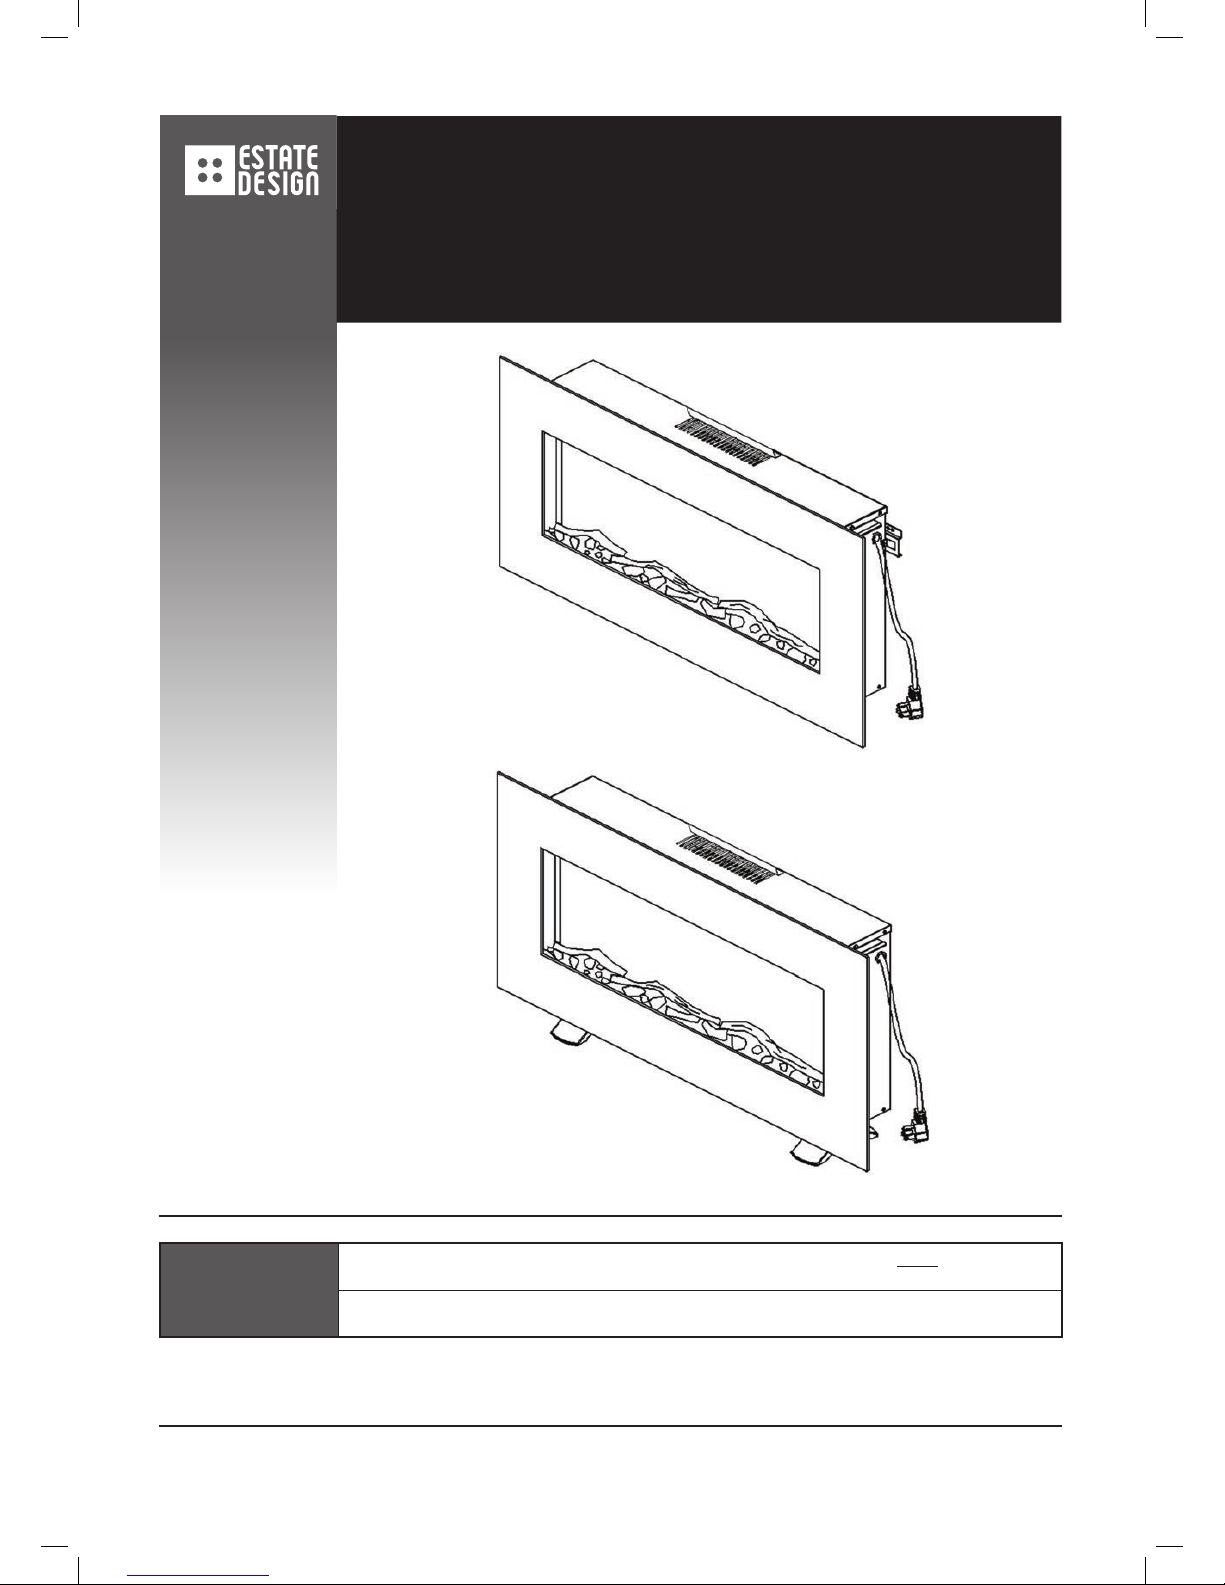
HARRISON-FLAT
LINEAR ELECTRIC FIREPLACE WITH HEATER
MODEL# EFW-TJ34A, EFW-TJ48A
i WARNING
Read and understand this entire owner’s manual, including all safety information, before plugging
in or using this product. Failure to do so could result in fi re, electric shock, or serious personal injury.
i CAUTION
Keep this owner’s manual for future reference. If you sell or give this product away, make sure this
manual accompanies this product.
Wall Mounted Option
Free Standing Option with Feet
NO VENTING REQUIRED
110V AC; 60 Hz; 1500 Watts

2
IMPORTANT SAFETY INSTRUCTIONS!
i WARNING
• Read all instructions before using this heater!
• This heater is hot when in use. To avoid burns, DO NOT let bare skin touch hot surfaces.
If provided, use handles when moving this heater. Keep combustible materials, such as
furniture, pillows, bedding, papers, clothes, and curtains at least 3 feet (36") from the
front of the heater, and keep them away from the sides and rear.
• Extreme caution is necessary when any heater is used.
• DO NOT operate any heater with a damaged cord or plug or after the heater malfunctions,
has been dropped or damaged in any manner. Discard heater, or call a certified technician
for examination and or/repair.
• DO NOT run power cord under carpeting. DO NOT cover power cord with throw rugs,
runners, or similar coverings. DO NOT route power cord under furniture or appliances.
Arrange power cord away from traffic area, and where it will not be tripped over.
• Connect to properly grounded outlets ONLY.
• DO NOT insert or allow foreign objects to enter any ventilation or exhaust opening,
as this may cause electric shock, fire, or damage the heater.
• To prevent a possible fire, DO NOT block air intakes or exhaust in any manner.
Doing so could cause a fire. DO NOT use on soft surfaces, like a bed, where openings
may become blocked.
• A heater has hot and arcing or sparking parts inside. DO NOT use it in areas where
gasoline, paint, or flammable liquids are used or stored.
• Use this heater only as described in this manual. Any other use not recommended
by the manufacturer may cause fire, electric shock, or injury to persons.
• ALWAYS plug heaters directly into a wall outlet/receptacle. NEVER use with an
extension cord or relocatable power tap (outlet/power strip).
• DO NOT place the heater near a bed because objects such as pillows or blankets
can fall off the bed and be ignited by the heater.
• NEVER use this heater in bathrooms, laundry rooms, or any other location where the
heater could fall into a bathtub or pool, become damp, or come in contact with water.
• AVOID FIRE! Regularly inspect all air vents to make sure they are free from dust, lint,
or other blockage. Unplug the unit and clean with a vacu u m ON LY. DO NOT rinse or get wet.
• NEVER hang this unit on a wall directly below an electrical outlet.
• NEVER permanently install in a recessed area of the wall. This may result in
blocked air flow, overheating, or fire.
• NEVER use a wall mount bracket from another manufacturer.
Pictures within this manual are for reference only. Please refer to the actual
product for appearance.
NOTICE

3
i WARNING
Grounding Pin
Adapter
Metal Grounding Screw
• For residential use only! NOT for commercial use! Any commercial or public use of this
heater voids all warranties, and could cause injur y.
• This product is not intended to be a primary heat source. It is for supplemental heat only.
• INDOOR use only! NEVER use this heater outdoors! Doing so may result in electric shock!
• Risk of electric shock! DO NOT OPEN! No user-serviceable parts inside!
• NEVER modify this heater. Doing so could result in personal injury or property damage.
Modification of this fireplace completely voids all warranties.
• ALWAYS turn this heater off before unplugging it from the outlet.
• ALWAYS disconnect this unit from the power supply before performing any assembly
or cleaning, or before relocating the product.
• NEVER leave this heater unattended. ALWAYS unplug this heater when not in use.
• ALWAYS store this heater in a dry location. NEVER use the product if it has become wet.
• Place the heater near a wall outlet so an extension cord is not needed.
• ONLY use this heater on a minimum 110V AC 15-Amp grounded circuit. NEVER overload
the circuit. If this heater trips the circuit breaker, or blows the fuse, unplug it and all other
appliances on the same circuit before the next use.
• NEVER plug this heater into an outlet that is old, cracked, or has any loose wires or
connections. Plugging this heater into a faulty outlet could result in electric arcing within
the outlet that could cause the outlet to overheat or catch fire.
• ALWAYS check your heater cord and plug connections with each use!
i) Make sure the plug fits tight in the outlet! Faulty wall outlet connections or loose plugs
can cause the outlet to overheat.
ii) Heaters draw more current than small appliances. Overheating may occur even if it has
not occurred with the use of other appliances.
iii) During use check frequently to see if the plug outlet or faceplate is HOT!
iv) If the outlet or faceplate is HOT, discontinue use immediately and have a qualified
electrician inspect and/or replace the faulty outlets.
• The power cord supplied with the heater has
three prongs: two flat blades (live and neutral)
and one round pin (ground). If a 3-slot receptacle
is not available, an adapter MUST be used.
The adapter MUST be properly grounded
to the outlet box (see figure at right).
[NOTE: Adapter NOT INCLUDED.]
• SAVE THESE INSTRUCTIONS!
4
PREPARATION
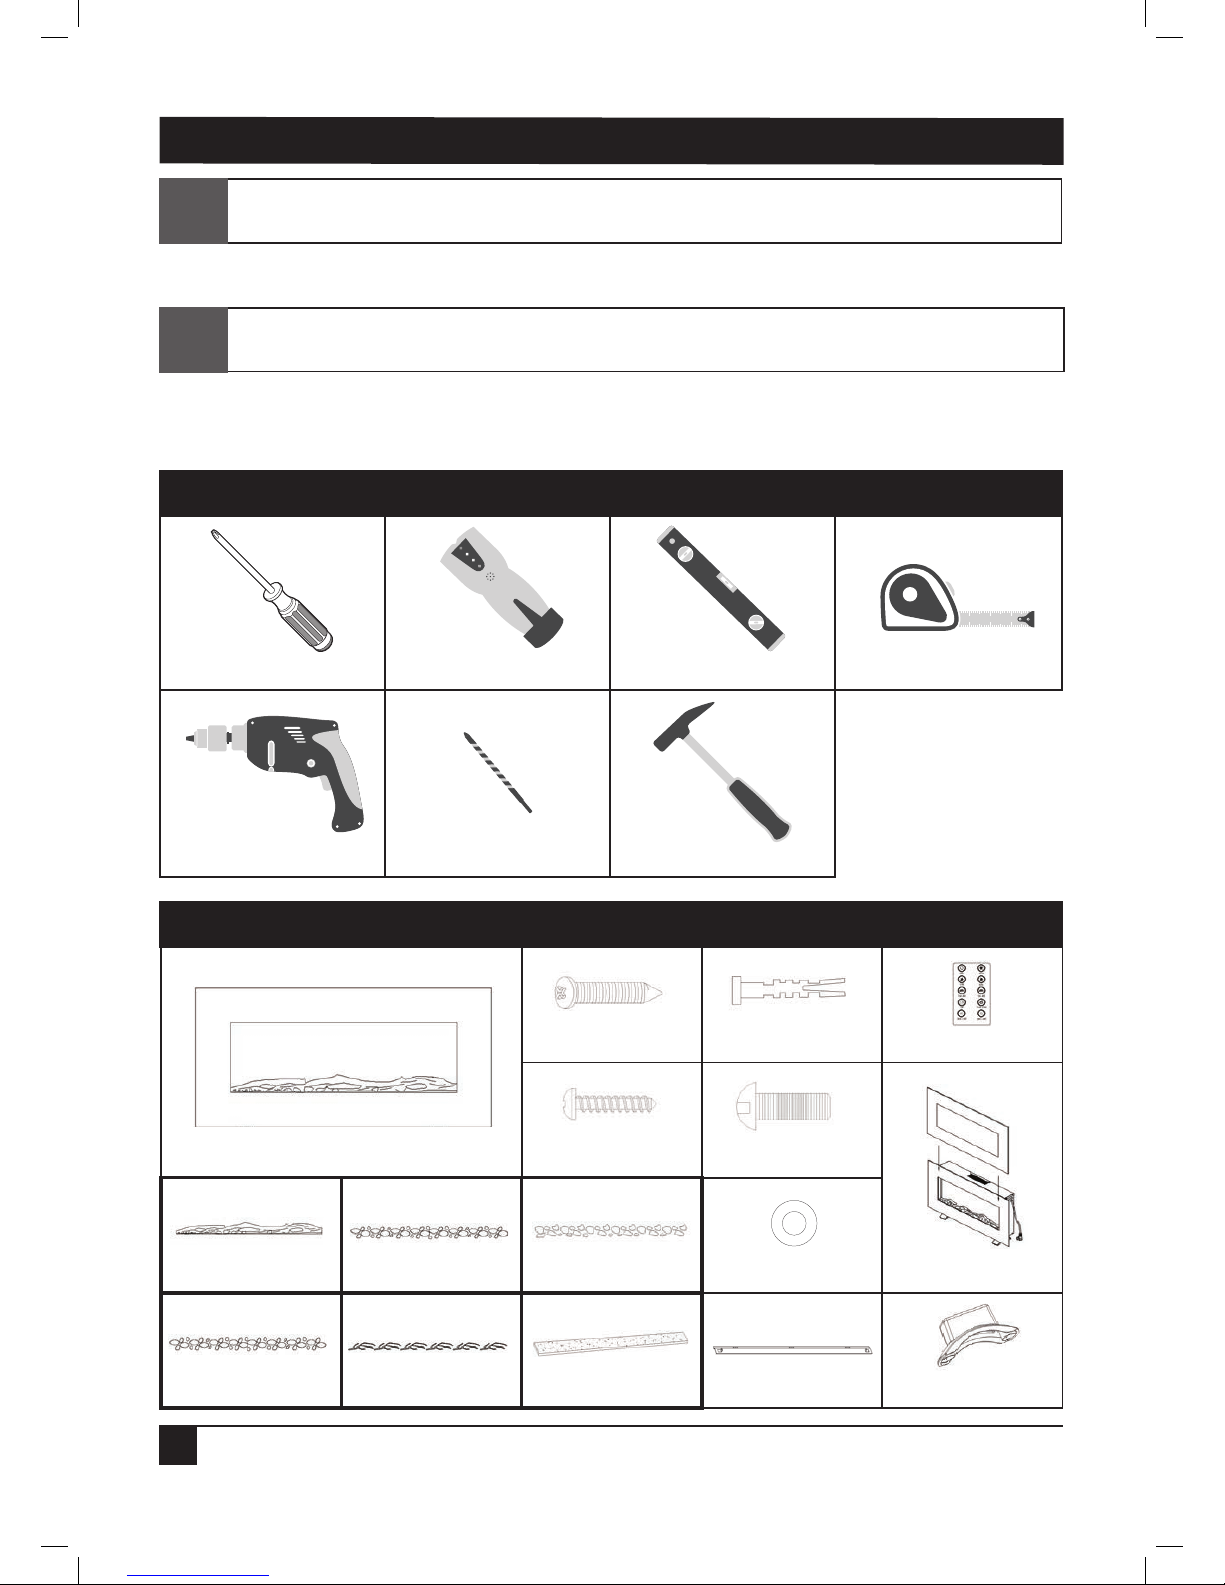
PARTS AND HARDWARE
3-Wood Screws(B)
3-Drywall Anchors(C)
Remote Control
Front Panel x 2
2-M4x8 Metal
Screws(D)
White Stones(F)
4-M6x14 Bolts(H)
Shelf Insert(I)
Faux Log Bed
(Currently Installed)
Crushed Glass(F)
River Rocks(F)
Faux Branches(F)
• Remove all parts and hardware from the carton and place them on a clean, soft,
and dry surface.
• Compare the contents with the parts list to make sure nothing is missing.
• Dispose of all packaging materials properly.
• Please recycle whenever possible.
This product includes GLASS! ALWAYS use extreme caution when handling glass.
Failure to do so could result in personal injury or property damage.
Make sure all parts are dry, and the power cord and plug are not damaged.
See IMPORTANT SAFETY INFORMATION on pages 2 and 3.
i
i
Fireplace(A)
TOOLS NEEDED (NOT INCLUDED)
Phillips Screwdriver
Electric Drill
Stud Finder
1/4" Wood Drill Bit
Level Tape Measure
Hammer
Wall Bracket(E)
2-Foot Brackets(G)
3-Metal Washers(J)
5
INSTALLATION AND ASSEMBLY
ALWAYS unplug this fireplace heater before assembly, cleaning, or relocating.
Failure to do so could result in electric shock, fire, or personal injury.
i
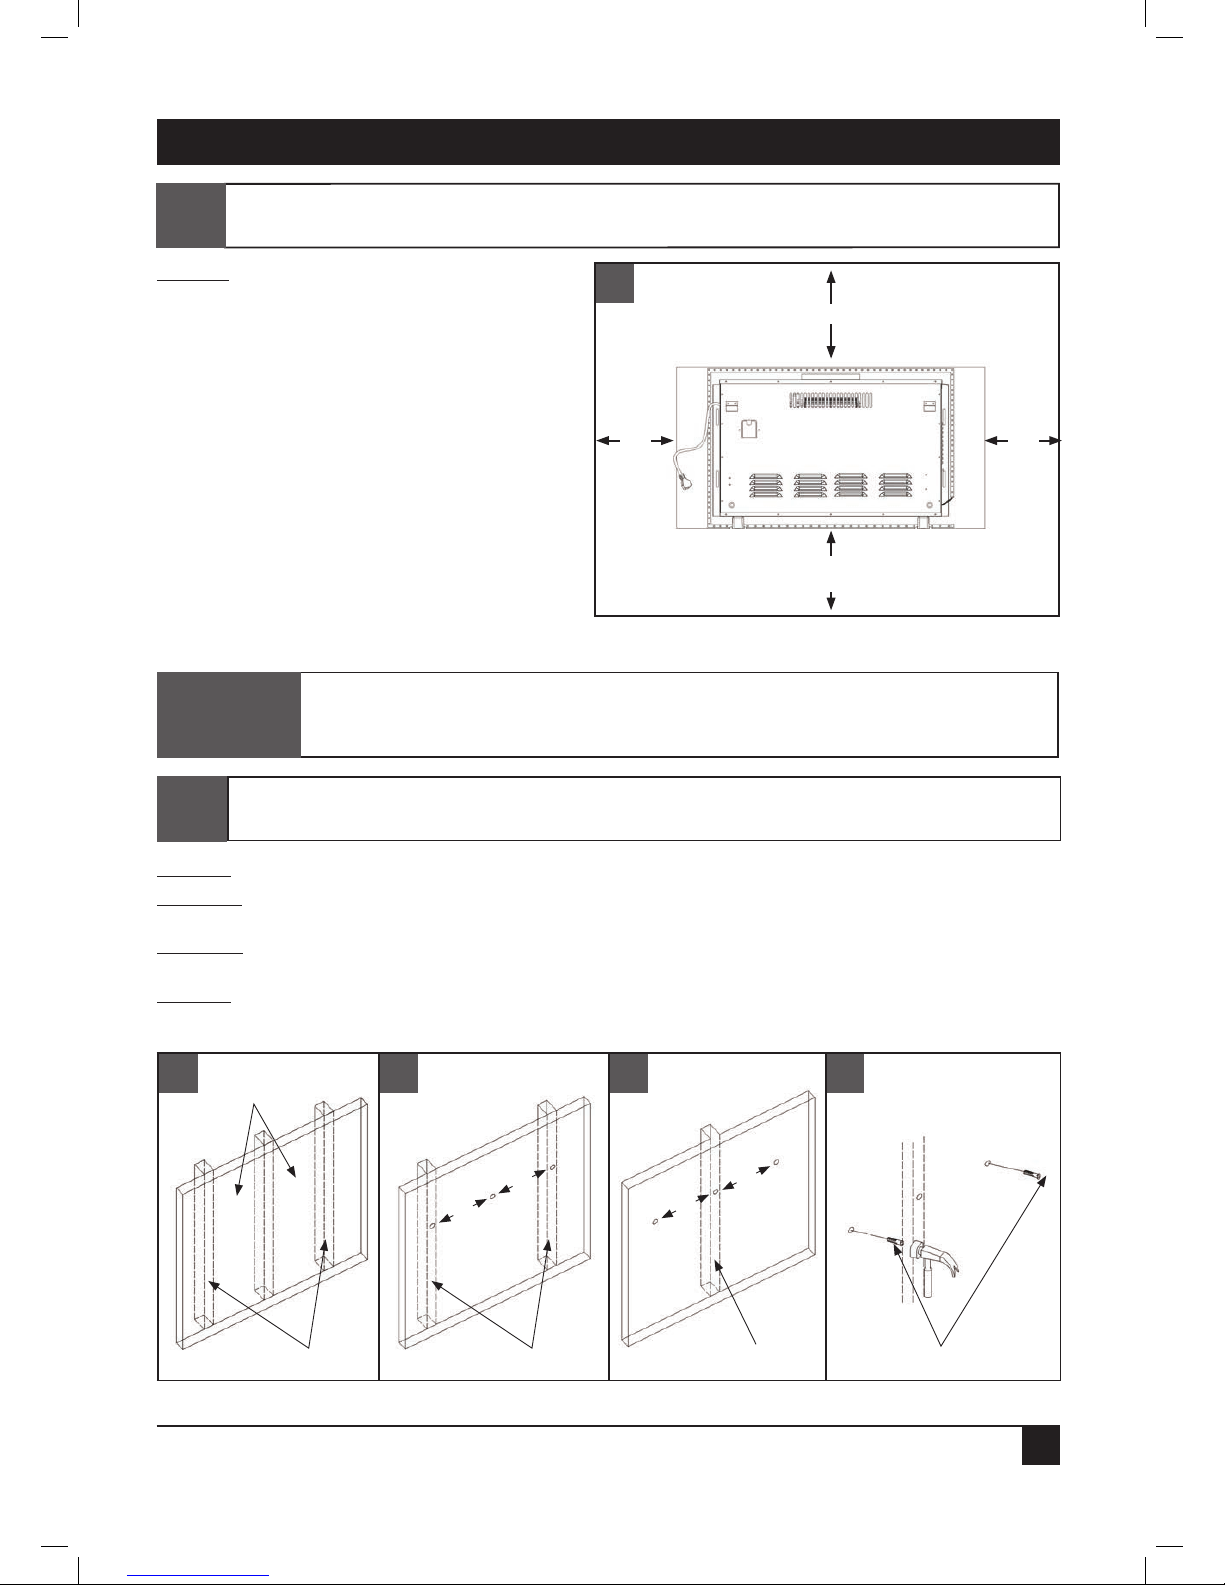
STEP 1: Find a safe location.
Minimum clearance
on each side: 20".
Minimum clearance below:
20 ". (Wall mount only).
Minimum clearance above:
39. 5".
Minimum clearance from the front:
36".
Choose a location near an outlet so
an extension cord is not required.
DO NOT position the unit
directly below a power outlet.
The Drywall Anchors(C) included with this fireplace are for use ON LY with a wood
framed wall covered in drywall (sheet rock). For concrete walls, cinder blocks, or
other wall types, consult a professional for the best attachment methods.
NOTICE
Minimum 39.5"
Minimum 20"
(Wall mount only)
20" 20"
1
STEP 2: Locate the wall studs using an electronic stud finder.
STEP 2a: If two studs are available, drill 1 hole in each using 1/4” drill bit. Drill third and
final hole in between the two studs.
STEP 2b: If only 1 stud is available, use stud as center and drill 2 holes on either side of stud
(each hole should be 8” apart from one another).
STEP 3: With a hammer, tap the Drywall Anchors(C) carefully into the hole(s) until they are flush
with the drywall surface. Use care to avoid damaging the drywall with the hammer.
2
Studs
Drywall Anchors(C)
2a 2b
Two Studs
One Stud
8"
8"
8"
8"
3
Drywall Anchors(C)
ALWAYS make sure the unit is unplugged before beginning assembly! NEVER move or
clean the heater while it is plugged in.
i
 Loading...