

Page 1

X7 – User Manual
www.esslindia.com
Page 2

Instructions
1. User Management
1.1 Administrator Operations
Authenticator the Administrator Password
Change Administrator Password
Open the Door by the Administrator Password
Administrator Password Be Forgotten
1.2 Add Users
Add Users
Register Cards in Batches
1.3 Authentication Users
1.4 Delete Users
Delete a User
Delete All Users
Recommended Procedure:
Step 1: Install the device and power on.
Step2: After the administrator password is authenticated and
changed, register user’s fingerprints, cards, or passwords.
Step3: Configure access control parameters, including
modifying eight passwords for opening the door and configuring
the unlocking duration, authentication mode, stealth mode, door
status mode, and alarm.
Functions of the Device
Page 3

2. Access Control Management
2.1 Change Eight Passwords for Opening the Door
2.2 Configure Unlocking Duration
2.3 Configure Authentication Mode
2.4 Configure Concealed Mode
2.5 Configure Door Sensor Mode
2.6 Configure Alarm
Configure Alarm setting
Configure Error Operation-Triggered Alarm
Configure Tamper Alarm
Configure Alarm Delay for the Door Status Sensor
Page 4
Operation Instructions
1. Press (*)
(The indicator is off and
makes a long beep)
2. Press (#)
(You can authenticate the
password)
3. Enter the administrator
password.( The initial
password is 1234)
5.Exit
(Press * or do not operate the
device within 20 seconds)
4. The authentication is
successful.
(The indicator turns green)
1. User Management
1.1 Administrator Operations
To ensure data security of the device , you can operate the
device only after the administrator password is authenticated.
Authenticator the Administrator Password
Yes
Note: The initial administrator password is 1234. You are
advised to change the initial password at the beginning.
Page 5
Change Administrator Password
2. Press 8. (You can
change the password)
1. The administrator
password is
4. Enter the new
administrator password
again for authentication
6. Exit. (The device
automatically exits the
process when the operation
3. Enter a new
administrator password.
5. Succeeded. (The
indicator turns green and
then makes a long beep.)
1. The administrator
password is authenticated.
2. Press 8. ( The indicator
turns green and makes a
long beep.)
3. Press 0. (The indicator
turns green and makes a
long beep.)
4. The door is opened.
(The indicator turns
green and makes along
5. Exit. ( The device
automatically exits the
process when the operation
Failed Yes
(The indicator turns red
and makes three beeps.)
Note: Four-digit passwords are automatically verified. For
passwords with less than four digits, press # to enter the
verification process.
Open the Door by Entering the Administrator
Password
Page 6
Note: This Function can be used to open the door.
1. The administrator
password is authenticated.
2. Press 1. (The indicator
turns green and makes a
long beep.)
3. Register fingerprints or
cards. (Press fingers three
times to get a fingerprint
or swipe the card once.)
4. Adding Users is
successful. (The indicator
turns green and makes a
long beep.)
5. Exit.
(Press * to exit.)
Administrator Password Be Forgotten
If the administrator password is forgotten, you can press the
disassembly key three times to reset the password to the initial
administrator password 30 to 60 seconds after the device is
disassembled from the wall or door. (There is a long beep 30
seconds after the device is disassembled from the wall or door.)
1.2 Add Users
Register the fingerprint or card of a user or register cards in
batches.
Add Users
Failed.
(The indicator turns red YES
and makes three beeps.)
Page 7
Note: 1. In the registration process, the user ID increases
password is
authenticated.
4. Enter the total number
of cards.
5. Cards are successfully
registered in batches.
6. Exit. (The device
automatically exits the
process when the operation
is completed.)
automatically. The device automatically enters the process of
registering the next user when a user is successfully registered.
2. The registration process fails if the fingerprint is of poor
quality or the fingerprint or the card has been registered. After
the device indicator turns green, you can register the user again.
Registered users must not be registered again.
Register Cards in Batches
1. The administrator 2. Press 6. (Registering 3. Swipe the first card
Failed.
(The indicator turns red
and makes three beeps.)
Cards in Batches) once only.
Note: 1. In the process of entering the total number of cards,
three-digit numbers are automatically verified. For numbers with
less than three digits, press # to enter the verification process.
Press * to reenter the total number of cards.
Page 8
2. You must clear all the registered users before registering
1. The device is in the
authentication state.
2. Press fingerprints,
swipe cards, or enter
passwords. Press # after
entering a password.
3. The authentication is
successful.
cards in batches. IDs of to-be-registered cards must be
consecutive numbers.
1.3 Authentication Users
Authentication Users’ Fingerprints/Cards/Passwords
After the device is powered on, it enters the authentication state for users to unlock
the door.
Failed.
(The indicator turns red
and makes three beeps.)
Note: Press # after entering a password for authentication. The
door opens if entered password is identical with one of the eight
passwords for opening the door. The initial eight passwords for
opening the door are 8888. For how to change passwords for
opening the door. See 2.1 Change Eight Passwords for Opening
the Door.
1.4 Delete Users
Delete a user whose fingerprint or card is registered, or delete all
users.
Page 9
Delete a User
1. The administrator
password is
authenticated.
2. Press 2. (The indicator
turns green and makes a
long beep.)
3. Enter a user ID, pres
the fingerprint, or swipe
the card.
4. Determine whether
the user is authentic.
5. The user is deleted.
6. Exit. (Press * or do
not operate the device
within 20 seconds.)
1. The administrator
password is
authenticated.
2. Press 9. (The indicator
turns green and makes a
long beep.)
3. Press 9. (The indicator
turns green and makes a
long beep.)
4. Deleting All Users is
successful. (The indicator
turns green and makes a
long beep.)
5. Exit. (the device
automatically exits the
process when the operation
is completed.)
Failed
(The indicator turns red
and makes three beeps)
Note: 1. In the process of entering user IDs, five-digit IDs are
automatically verified. For IDs with less than five digits, press #
to enter the verification process.
2. The device automatically enters the process of deleting the
next user when a user is deleted.
Delete All Users
Page 10
Note: Press 9 for automatic confirmation. Other values are
1. The administrator
password is authenticated.
2. Press 3. (The indicator
turns green and makes a
long beep.)
3. Enter the password ID
of the to-be-changed
password. (The password
4. Enter a new password.
(The password consists of
four digits.)
5. Enter the new password
again for authentication.
6. The password is
changed. (The device
indicator turns green and
7. Exit
(Press * or to exit)
considered invalid. If an invalid is entered, the device indicator
turns red, and the device makes a long beep and exits the
process.
2. Access Control Management
2.1 Change Eight Passwords for Opening the Door
Failed
(The indicator turns red
and makes three beeps.)
YES
Note: 1. If you set a password to an all-0 password after
entering the password ID, this password will be locked and you
cannot use this password to open the door.
Page 11
2. If a password is successfully changed, enter the password ID
1. The administrator
password is authenticated.
2. Press 4. (The indicator
turns green and makes a
long beep.)
3. Enter the unlocking
duration.
(range: 0 to 255)
4. The unlocking duration
is modified. (The indicator
turns green and makes a
long beep.)
5. Exit. (The device
automatically exits the
process when the operation
is completed.)
1. The administrator
password is authenticated.
2. Press 5. (The indicator
turns green and makes a
long beep.)
3. Enter the authentication
mode.
4. The authentication is
successful. (The indicator
turns green and makes a
long beep.)
5. Exit. (The device
automatically exits the
process when the operation
is completed.)
of the to-be changed password to change the next password.
2.2 Configure Unlocking Duration
Note: Three-digit values are automatically verified. For values
with less than three digits, press # to enter the verification
process. Values greater than 254 are considered invalid.
2.3 Configure Authentication Mode
Note: 1. Details about the authentication mode are as follows:
Page 12
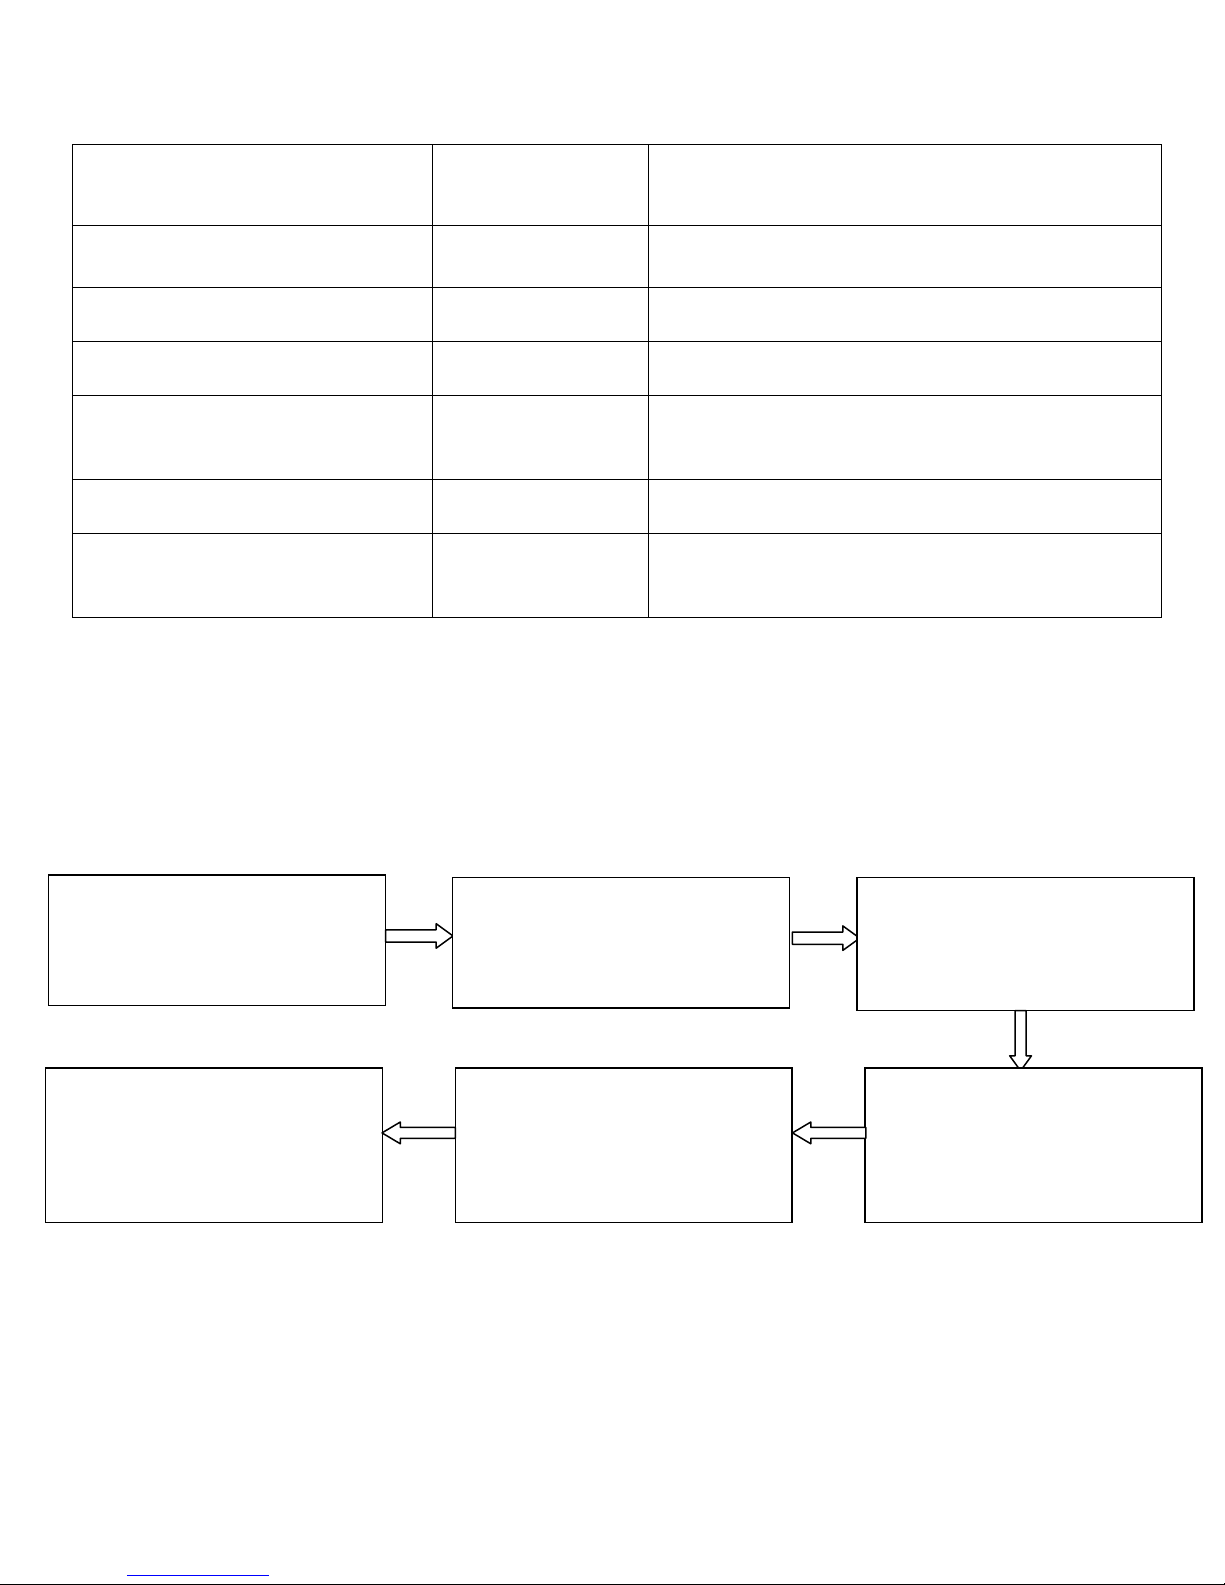
Authentication Mode
Type
Description
Mode 1 (number 1)
PW
Only password verification
Mode 2 (number 2)
RF
Only RF Card verification
Mode 3 (number 3)
FP
Only fingerprint verification
Mode 4 (number 4)
FP/ PW/ RF
Fingerprint or password or RF
verification
Mode 5 (number 5)
RF/ PW
RF and password verification
Mode 6 (number 6)
FP /PW
Fingerprint and password
verification
1. The administrator
password is authenticated.
2. Press 0. (The indicator
turns green and makes a
long beep.)
3. Press 3. (The indicator
turns green and makes a
long beep.)
4. Configure the concealed
mode. (0: enable; 1:
disable)
5. The configuration is
successful. (The indicator
turns green and makes a
long beep.)
6. Exit. (The device
automatically exits the
process when the operation
is completed.)
2.4 Configure Concealed Mode
If the concealed mode is enabled, the indicator is off when the
Concealed mode is in the sleep mode.
Note: An indicator blinks to indicate the status of this function
when users are authenticating their cards or fingerprints.
Page 13
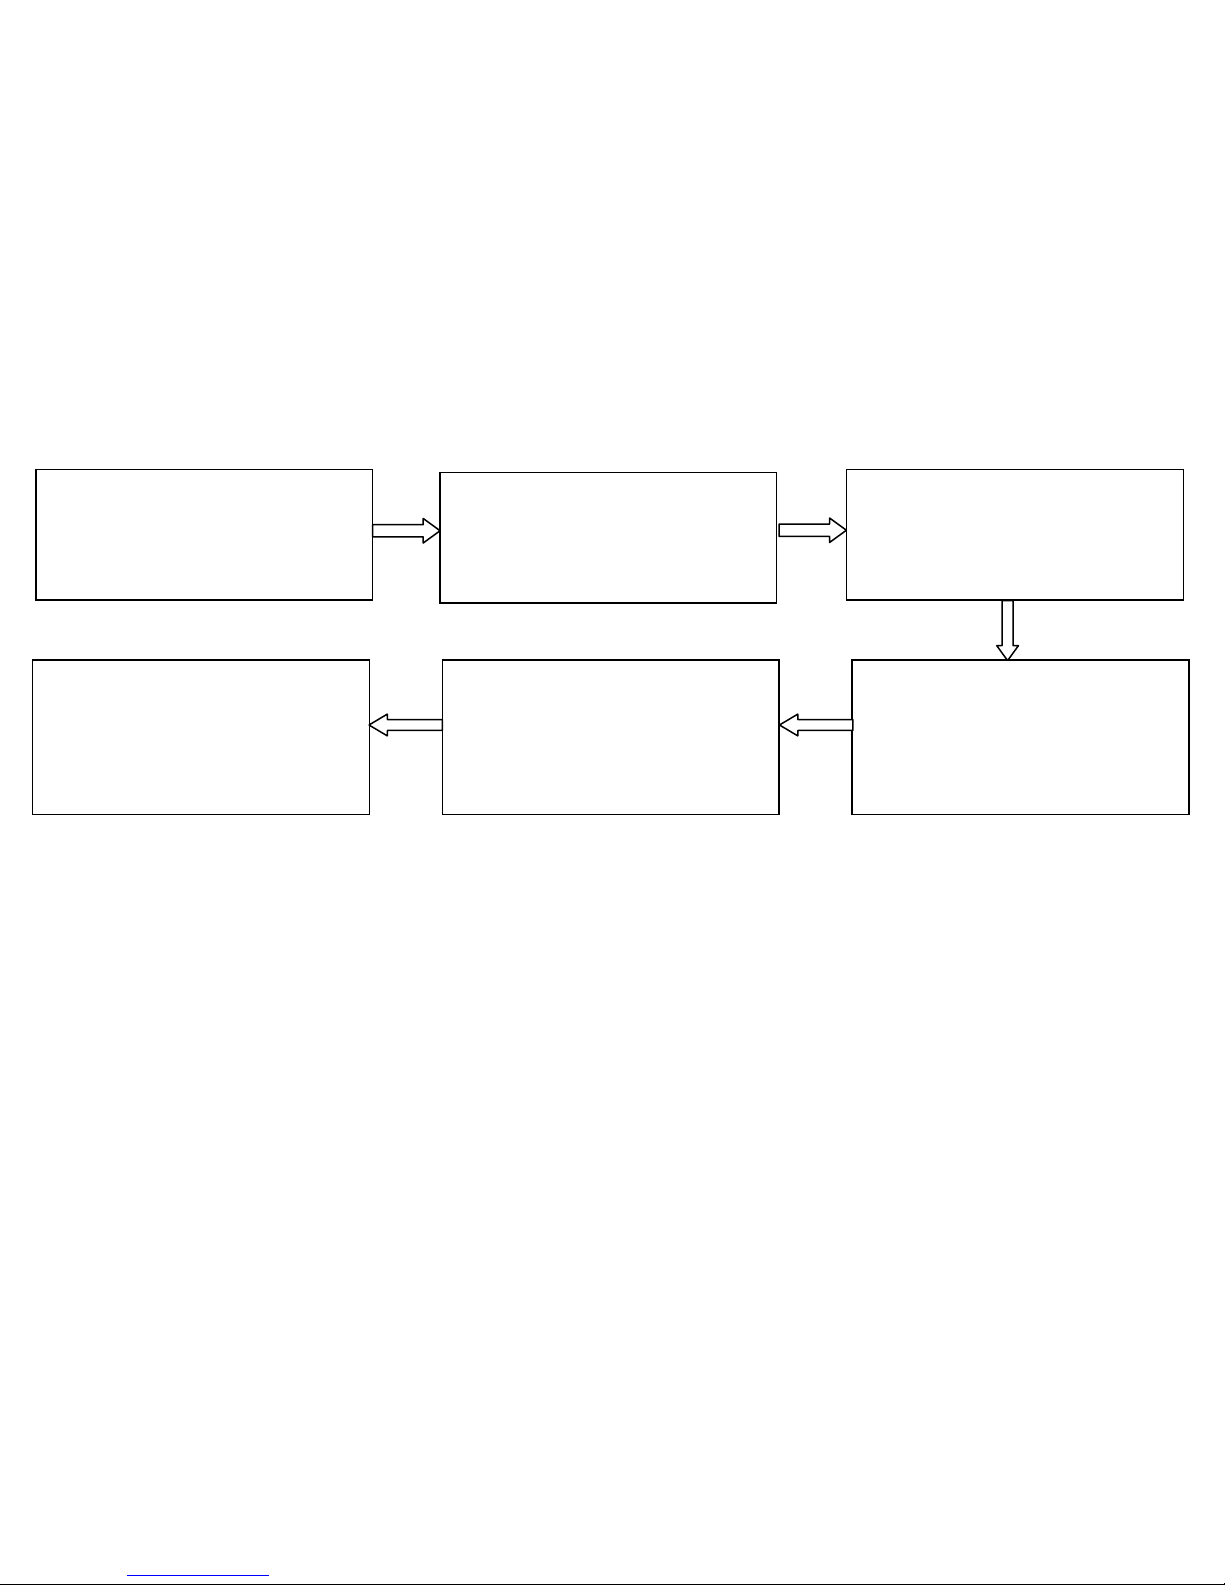
2.5 Configure Door Sensor Mode
1. The administrator
password is authenticated.
2. Press 0. (The indicator
turns green and makes a
long beep.)
2. Press 5. (The indicator
turns green and makes a
long beep.)
4. Configure the door
sensor mode. (0: enable; 1:
disable; 2: without door
status sensor).
5. The configuration is
successful. (The indicator
turns green and makes a
long beep.)
6. Exit. (The device
automatically exits the
process when the operation
is completed.)
The door sensor switch includes three modes:
NONE: The door sensor switch is not used.
NO: The lock is open as long as the door is open.
NC: The lock is closed after the door is closed.
Note: The door sensor mode configured here is used as the basis
for the door sensor alarm.
2.6 Configure Alarm
Note: If an alarm is triggered, the buzzer of the device generates
an alarm. 30 seconds later, the alarm is switched to an alert. The
alarm can be terminated after the user is authenticated.
Configure Alarm Setting
The defaute should be on, when it is set to be close, then
Error Operation-Triggered Alarm, the Alarm delay for the
Door Status Sensor will be disabled.
Page 14
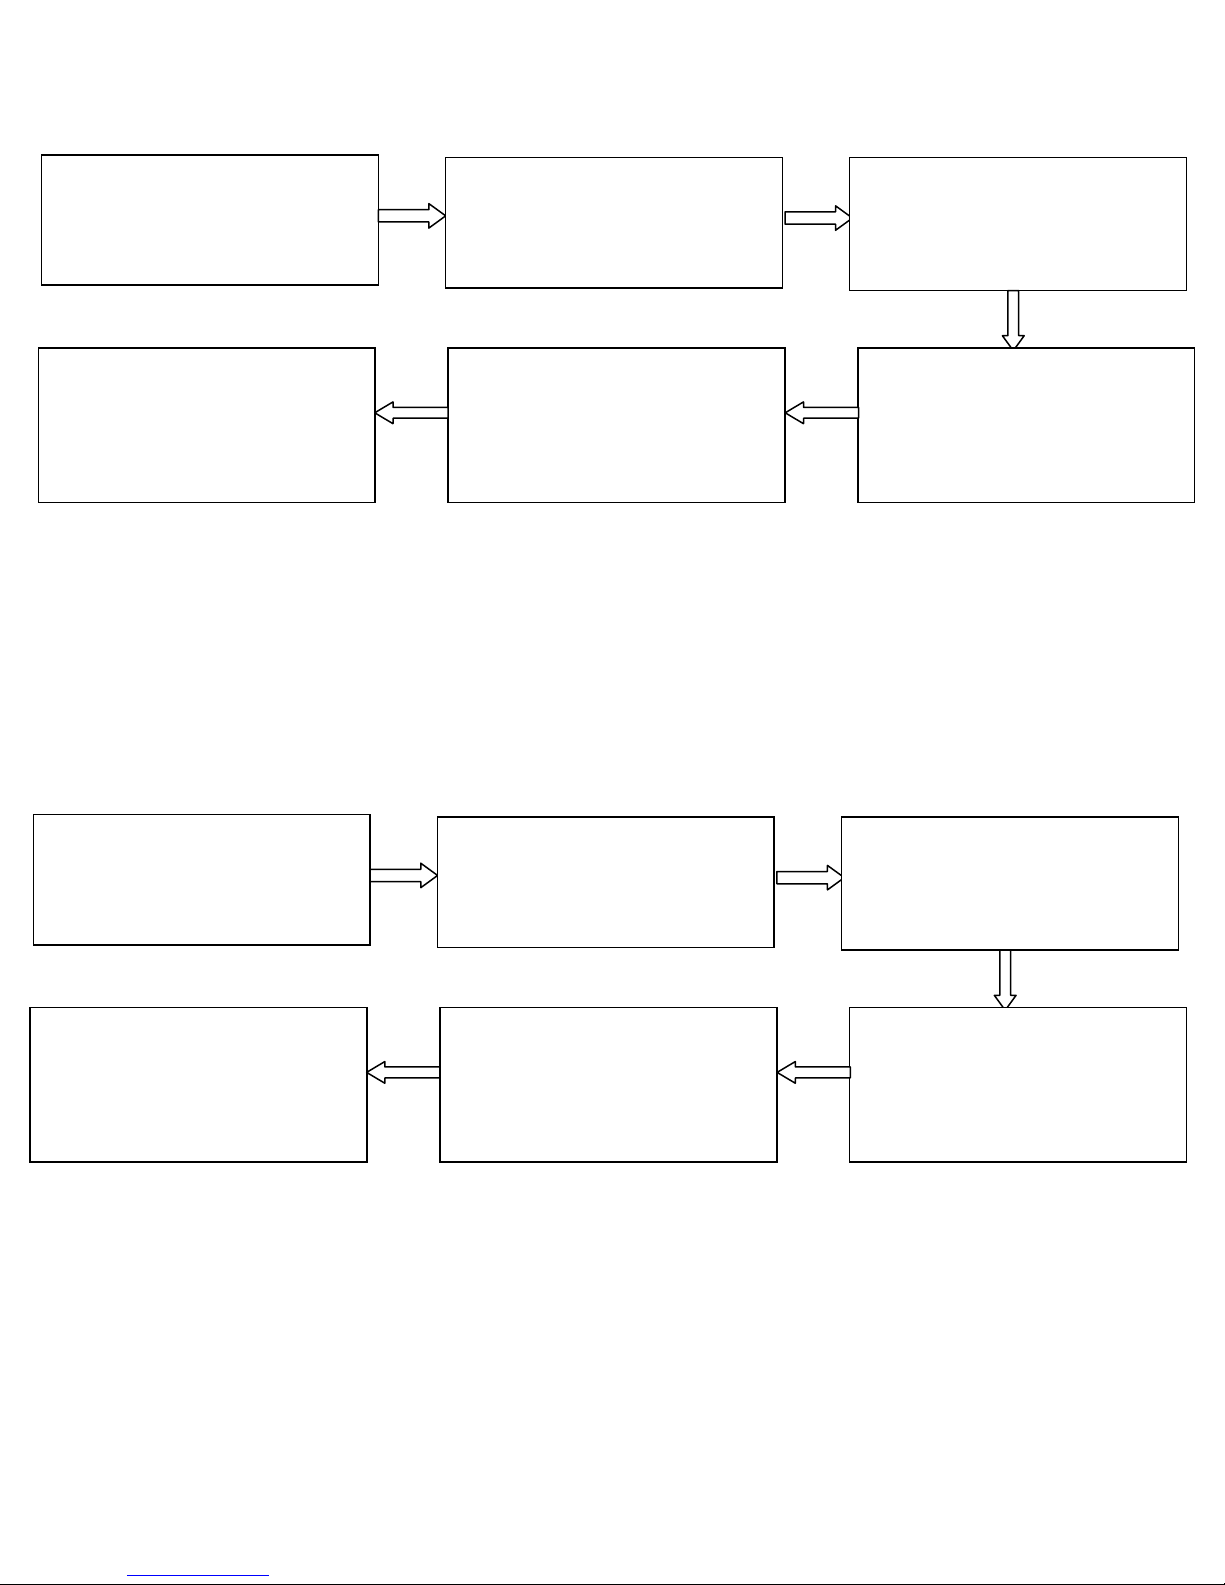
1. The administrator
password is authenticated.
2. Press 0. (The indicator
turns green and makes a
long beep.)
3. Press 1. (The indicator
turns green and makes a
long beep.)
4. Configure the alarm
setting.
(0: enable; 1: disable)
5. The configuration is
successful. (The indicator
turns green and makes a
long beep.)
6. Exit. (The device
automatically exits the
process when the operation
is completed.)
1. The administrator
password is authenticated.
2. Press 0. (The indicator
turns green and makes a
long beep.)
3. Press 2. (The indicator
turns green and makes a
long beep.)
4. Configure the error
operation-triggered alarm
switch. (0: enable; 1:
disable)
5. The configuration is
successful. (The indicator
turns green and makes a
long beep.)
6. Exit. (The device
automatically exits the
process when the operation
is completed.)
Configure Error Operation-Triggered Alarm
If this function is enabled, alarms are generated if a user
fails the authentication upon three attempts. The
administrator authentication is not allowed within 20
seconds after an alarm is generated.
Configure Tamper Alarm
If this function is enabled, alarms are generated upon
device disassembly.
Configure whether to enable the disassembly alarm.
Page 15
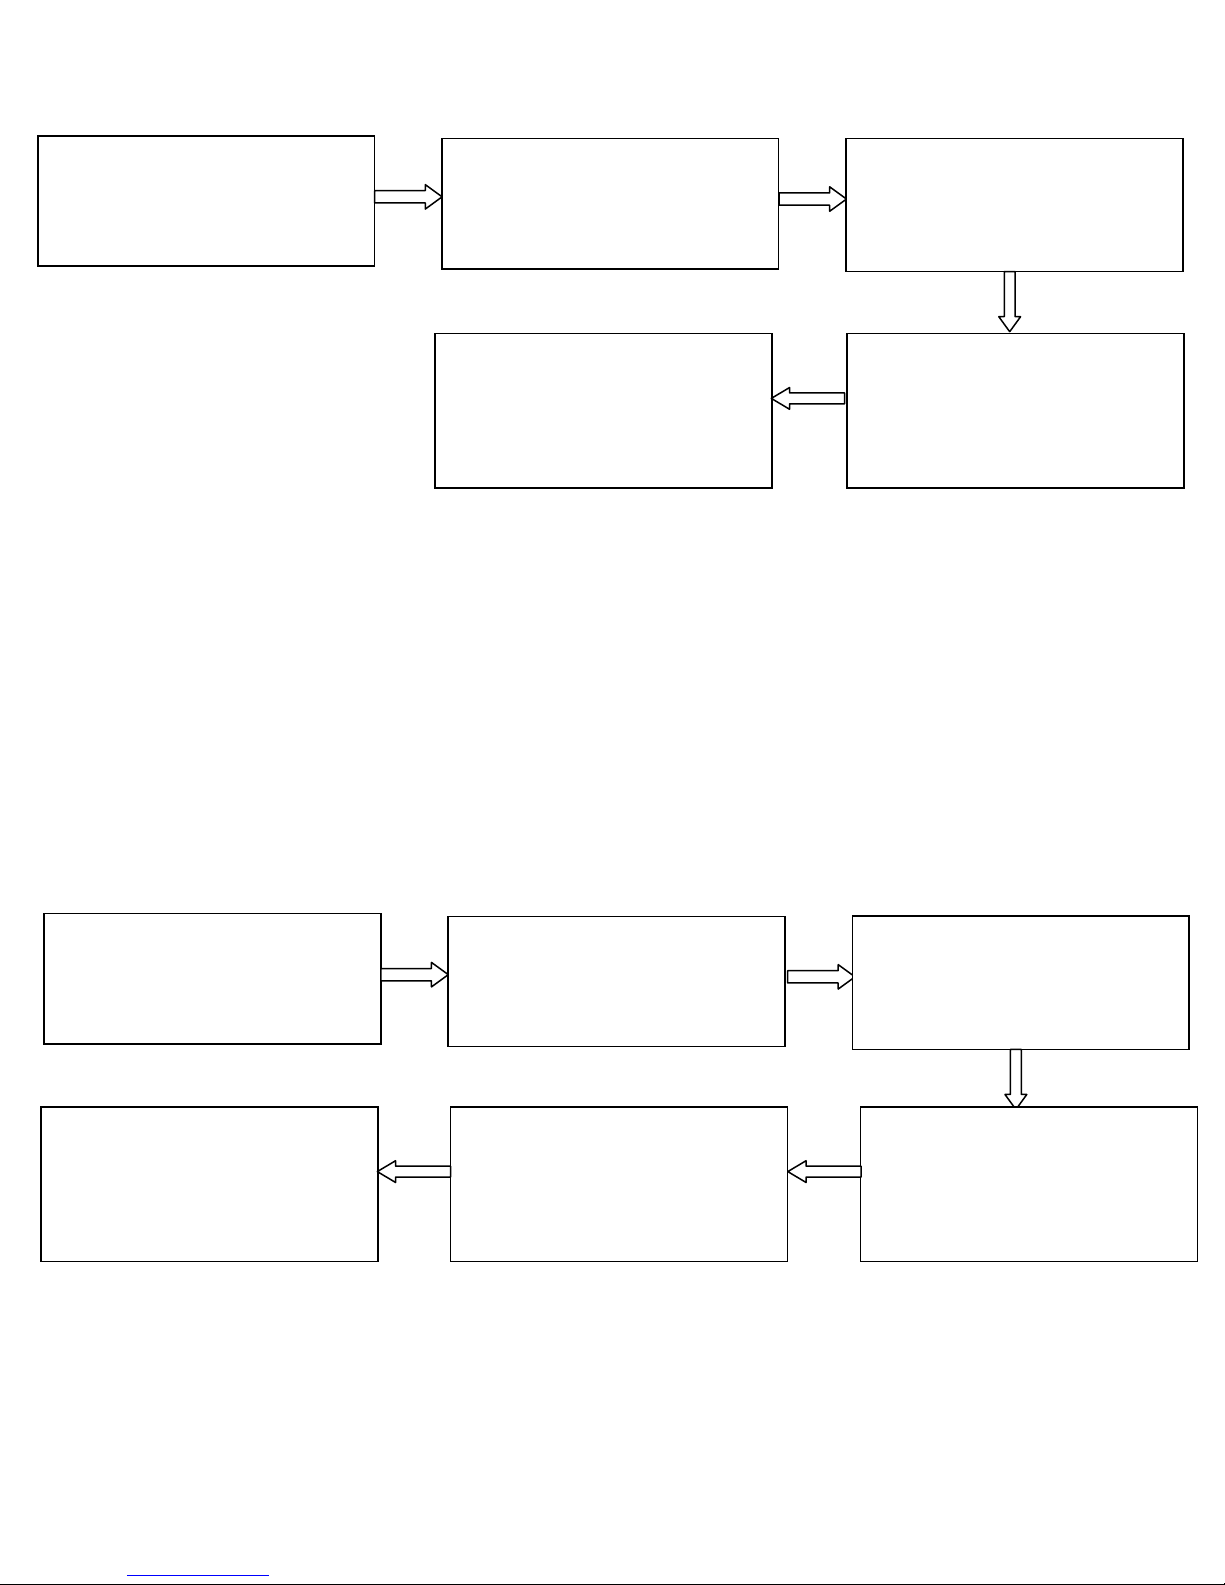
1. The administrator
password is authenticated.
2. Press 7. (The indicator
turns green and makes a
long beep.)
3. Configure whether to
enable the tamper alarm.
(0: enable; 1: disable.)
5. The configuration is
successful. (The indicator
turns green and makes a
long beep.)
6. Exit. (The device
automatically exits the
process when the operation
is completed.)
1. The administrator
password is authenticated.
2. Press 0. (The indicator
turns green and makes a
long beep.)
3. Press 4. (The indicator
turns green and makes a
long beep.)
4. Configure the alarm
delay.
(range: 1 to 254.)
5. The configuration is
successful. (The indicator
turns green and makes a
long beep.)
6. Exit. (The device
automatically exits the
process when the operation
is completed.)
Configure Alarm Delay for the Door Status Sensor
DSen. Delay (Door Sensor Delay): Indicates the delay in
checking the door sensor after the door is open. If door
sensor state is inconsistent with the normal state set by the
door sensor switch, an alarm will be generated, and this
period of time is regarded as the “door sensor delay.”
Note: Three-digit values are automatically verified. For values
with less than three digits. Press # to enter the verification
process. Values greater than 254 are considered invalid.
 Loading...